How to Choose a Record Player or Turntable

Ah, the sweet sound of vinyl! There’s something magical about dropping the needle on a record and hearing those warm, rich tones fill the room.

I’ll never forget the first time I experienced it – I was hooked instantly. But here’s the thing: choosing the right record player or turntable can be a bit overwhelming, especially if you’re just getting into the world of vinyl.

Trust me, I’ve been there, and I’ve made my fair share of mistakes along the way. That’s why I’m here to help you navigate this journey and find the perfect turntable for your needs.

Whether you’re a newbie or a seasoned audiophile looking to upgrade, I’ve got you covered. Let’s dive in and explore how to choose a record player or turntable that’ll make your vinyl collection sing!

How to Choose a Record Player or Turntable
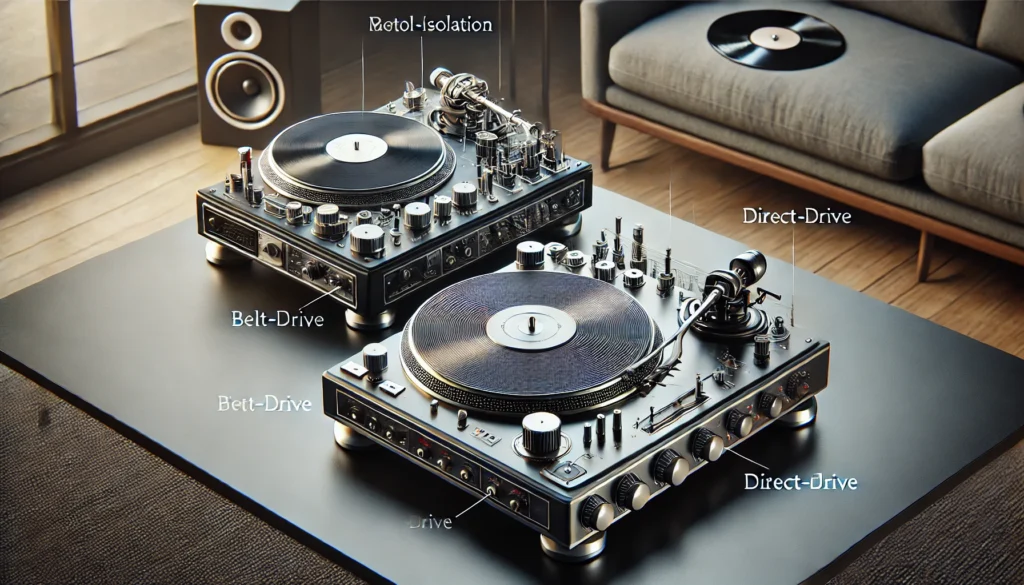
A detailed comparison image of two turntables side by side – a belt-drive and a direct-drive model. The image highlights key components such as the platter, tonearm, and cartridge, set in a modern living room with vinyl records and speakers in the background. It emphasizes the differences in motor isolation and speed precision, helping users choose the right turntable based on their sound quality preferences and budget.

Choosing a record player or turntable boils down to understanding your needs, budget, and desired sound quality. First, consider the type of turntable – belt-drive for better isolation from motor noise, or direct-drive for precise speed control.

Look at key features like the platter material, tonearm design, and cartridge quality. Don’t forget to factor in your budget, as prices range from entry-level to high-end audiophile models.

Consider additional components you might need, like a preamp or speakers. Ultimately, the best choice depends on your listening preferences and how much you’re willing to invest in your vinyl setup.

We’ll explore these factors more deeply below, but remember – the perfect turntable is the one that brings you joy when you drop the needle!

Types of Record Players and Turntables
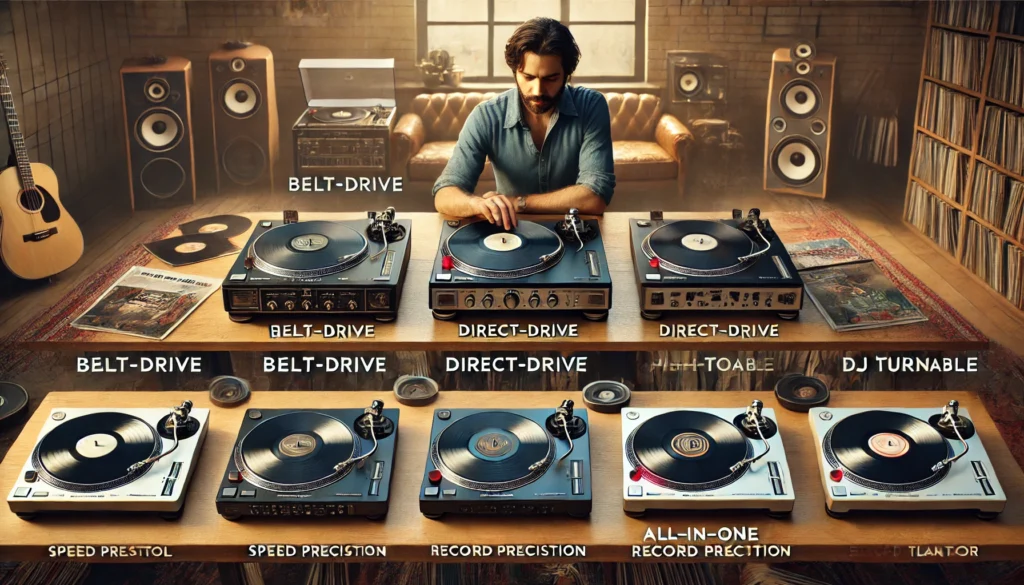
 A comparison image showing various types of turntables, including a belt-drive, direct-drive, all-in-one record player with built-in speakers and Bluetooth, and a DJ turntable with pitch control and high-torque motors. The scene is set in a cozy room with vinyl records and speakers, highlighting the unique features and uses of each type of turntable for different listening preferences.

Alright, let’s break down the different types of record players and turntables out there. Trust me, knowing these distinctions can save you a lot of headaches (and money) down the road!

First up, we’ve got belt-drive turntables. These bad boys are my personal favorites for home listening.

Why? Well, they use a belt to connect the motor to the platter, which helps isolate the platter from motor vibrations. The result? A cleaner, more accurate sound.

I remember when I first switched from a cheap all-in-one player to a belt-drive – it was like hearing my records for the first time all over again!

Now, don’t get me wrong, direct-drive turntables have their place too. These have the motor directly connected to the platter, which gives you more consistent speed and faster start-up times.

They’re great for DJs who need to scratch and beat-match. I tried my hand at DJing once… let’s just say I’ll stick to home listening!

Then there are all-in-one record players. These are the jack-of-all-trades of the vinyl world.

They usually come with built-in speakers and sometimes even Bluetooth connectivity. They’re convenient, especially if you’re tight on space or just dipping your toes into vinyl.

But here’s the catch – they often sacrifice sound quality for convenience. I started with one of these, and while it was fun, I quickly found myself craving better sound.

Lastly, we’ve got DJ turntables. These are the tanks of the turntable world – built to withstand heavy use and designed for mixing and scratching.

They’re usually direct-drive and have features like pitch control and high torque motors. Unless you’re planning on becoming the next big thing in the club scene, these might be overkill for home use.

Remember, there’s no one-size-fits-all solution. The best type for you depends on your listening habits, space, and budget.

Don’t be afraid to visit a local hi-fi shop and listen to different types – your ears will thank you!

Key Features to Consider
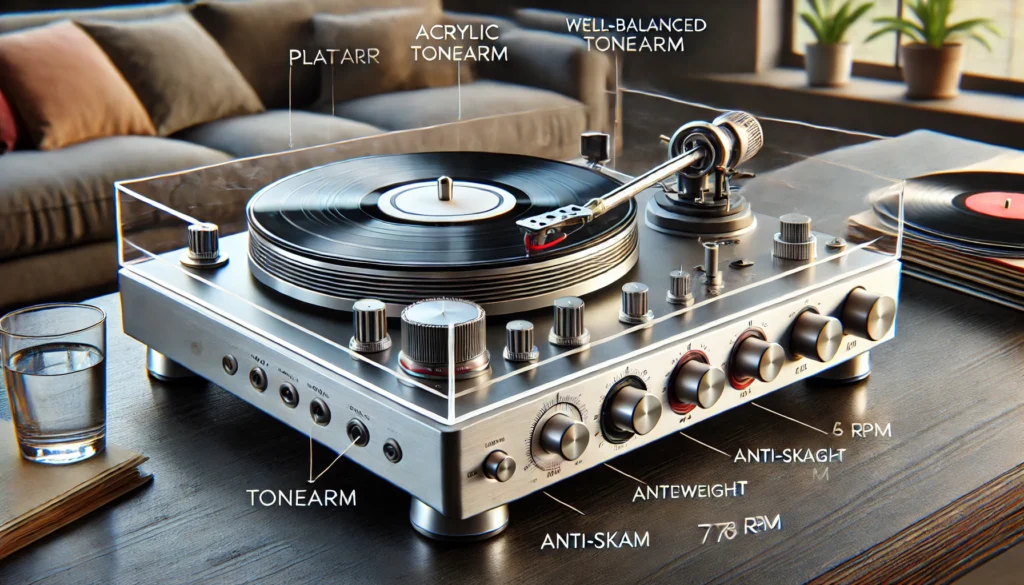
A detailed scene highlighting key features of a turntable, including an acrylic platter, a well-balanced tonearm with adjustable counterweight and anti-skate, and a high-quality cartridge. The speed control knob shows options for 33 1/3, 45, and 78 RPM. The setting is a modern living room with vinyl records nearby, showcasing how these features enhance the listening experience.

When it comes to choosing a record player or turntable, there are some key features you’ll want to keep an eye on. Trust me, I’ve learned the hard way that overlooking these can lead to some serious buyer’s remorse!

First up, let’s talk about the platter. This is the circular platform that your record sits on, and it’s more important than you might think.

Materials like aluminum or acrylic can help reduce resonance and improve sound quality. I remember upgrading from a plastic platter to an acrylic one – the difference was like night and day!

Next, we’ve got the tonearm. This is the arm that holds the cartridge and tracks the record grooves.

Look for a well-balanced tonearm with adjustable counterweight and anti-skate. Getting these settings right can be a bit fiddly (I spent a whole afternoon once trying to perfect mine), but it’s worth it for the improved sound and reduced record wear.

Speaking of cartridges, this little guy is where the magic happens. It’s the device at the end of the tonearm that holds the stylus (needle) and converts the physical grooves into an electrical signal.

A good cartridge can make a world of difference. I once splurged on a high-end cartridge, and let me tell you, it was like hearing my favorite albums for the first time all over again!

Don’t forget about speed options. Most turntables offer 33 1/3 and 45 RPM, which covers most vinyl records.

But if you’ve got some oldies in your collection, you might want to look for one that also plays at 78 RPM. Just be careful not to accidentally play your 33s at 45 like I did once – everything sounded like Alvin and the Chipmunks!

Lastly, consider whether you want a built-in preamp. If you’re planning to connect directly to powered speakers or an amplifier without a phono input, a built-in preamp can be super convenient.

But if you’re an audiophile looking for maximum flexibility, you might prefer an external preamp. I started with a built-in preamp and later upgraded to an external one – the improvement in sound quality was noticeable, but it did mean more cables and gear to manage.

Remember, these features all work together to create your listening experience. It’s not about ticking every box, but finding the right combination that works for your needs and budget.

And hey, half the fun is in the journey of discovering what you like!

Budget Considerations
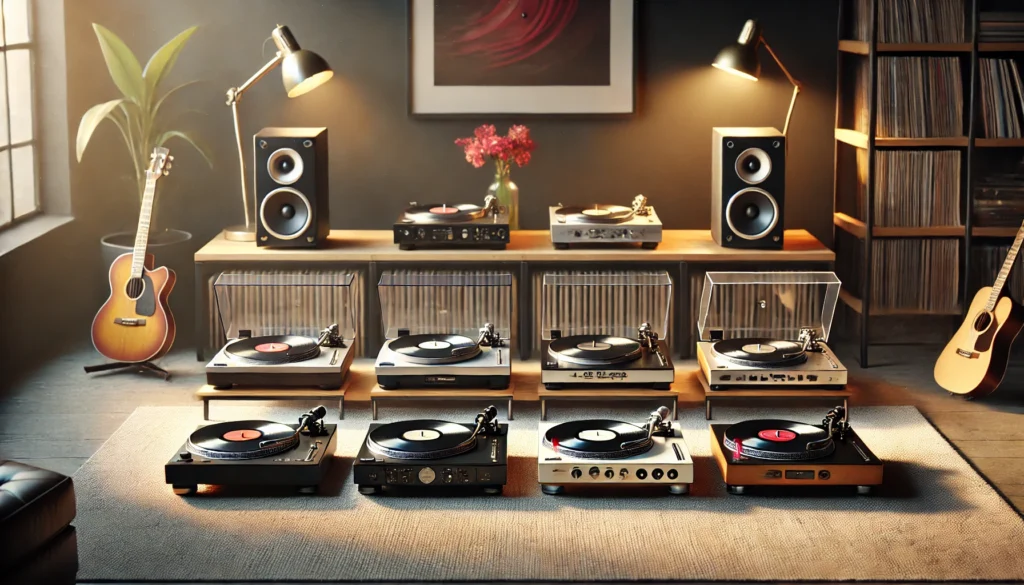
A scene displaying different tiers of turntables, from entry-level to mid-range and high-end audiophile models. The turntables are set on a sleek wooden console in a modern living room, surrounded by vinyl records and speakers. The image highlights the differences in build quality, features, and price, helping users understand how their budget affects their turntable options.

Let’s talk money, honey! Choosing a record player or turntable can be a bit like buying a car – there’s a wide range of options at different price points, and it’s easy to get carried away.

But don’t worry, I’ve been there, and I’m here to help you navigate the financial waters of vinyl playback.

Starting at the entry-level, you can find decent turntables for around $100-$300. These are great for beginners or casual listeners.

They might not have all the bells and whistles, but they’ll get you spinning vinyl without breaking the bank. I started with one of these, and you know what? It was perfect for getting my feet wet in the world of vinyl.

Moving up to the mid-range, we’re looking at $300-$1000. This is where things start to get interesting.

You’ll find better build quality, improved cartridges, and more precise speed control. It’s also where you might start to notice significant improvements in sound quality.

I remember upgrading to a mid-range turntable and being blown away by how much clearer and more detailed my records sounded.

Now, if you’ve got deep pockets and a serious passion for audio quality, there’s the high-end audiophile market. We’re talking $1000 and up, way up.

These turntables are the crème de la crème, with precision engineering, exotic materials, and top-of-the-line components. I once had the chance to listen to a ultra-high-end turntable at a hi-fi show, and let me tell you, it was a religious experience!

But here’s the thing – more expensive doesn’t always mean better for you. It’s all about finding the sweet spot where your budget meets your ears’ satisfaction.

And remember, the turntable is just one part of the equation. You’ll also need to factor in the cost of speakers, amplifiers, and maybe even some room treatment if you’re going all out.

My advice? Start with what you can comfortably afford, and upgrade over time as your passion (and budget) grows. There’s no shame in starting small – every vinyl enthusiast has been there.

And hey, half the fun is in the journey of upgrading and discovering new levels of sound quality along the way!

Additional Components and Accessories
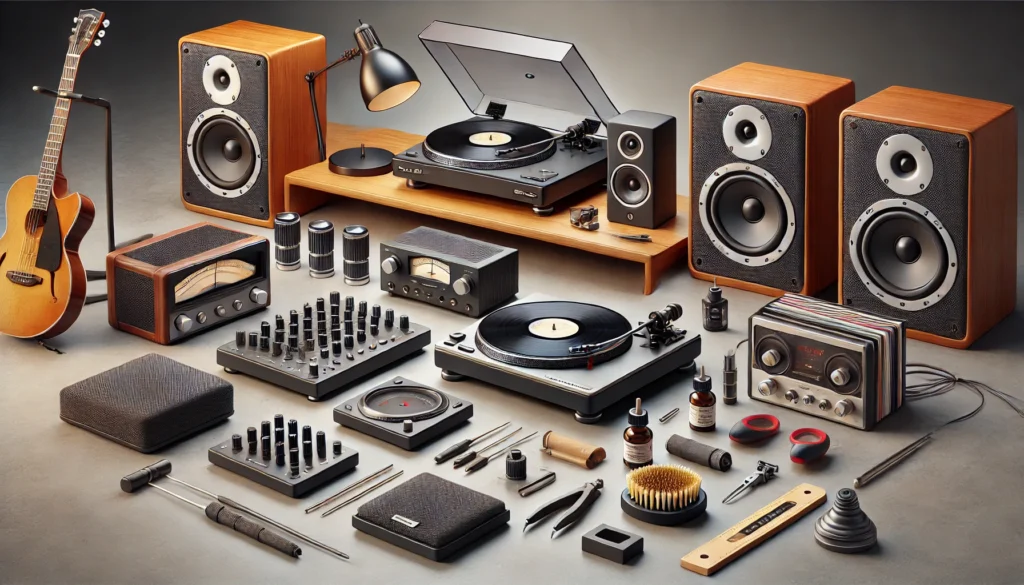
A detailed scene showcasing essential components and accessories for a vinyl setup, including speakers, an amplifier, a phono preamp, cartridge upgrades, and cleaning tools like a carbon fiber brush and a record cleaning machine. Additional accessories like a stylus pressure gauge, bubble level, and isolation feet are also featured. The setting is a modern listening room with a turntable on a wooden console, emphasizing the importance of these accessories in enhancing the vinyl listening experience.

Alright, let’s talk about the supporting cast in your vinyl setup. These additional components and accessories can make or break your listening experience.

Trust me, I’ve learned this through plenty of trial and error!

First up, speakers and amplifiers. These are crucial – even the best turntable in the world won’t sound great through poor speakers.

I started with some basic bookshelf speakers and a budget amp, and they were fine to begin with. But when I upgraded to a pair of floor-standing speakers and a decent integrated amp? Mind. Blown.

Just remember, you don’t need to break the bank right away. Start with what you can afford and upgrade over time.

Next, let’s talk about phono preamps. If your turntable or amplifier doesn’t have a built-in phono stage, you’ll need one of these.

It boosts the tiny signal from your cartridge to a level that your amp can work with. I used to think all preamps were created equal until I borrowed a friend’s high-end model.

The improvement in clarity and detail was eye-opening!

Cartridge upgrades can be a game-changer too. The cartridge that comes with your turntable is usually decent, but upgrading can really elevate your listening experience.

I remember the first time I splurged on a good cartridge – suddenly, I was hearing details in my favorite albums that I’d never noticed before. Just be careful when installing it – I may or may not have accidentally bent a stylus during my first attempt (oops!).

Now, onto cleaning tools and accessories. These might seem boring, but they’re essential for keeping your vinyl and equipment in top shape.

A good carbon fiber brush is a must for removing dust before each play. And don’t get me started on the joys of a record cleaning machine – it’s like sending your vinyl to a spa! I used to think my old records were just noisy, but after a proper cleaning, they sounded almost new.

Other accessories to consider include a stylus pressure gauge for ensuring the correct tracking force, a bubble level for properly setting up your turntable, and maybe even some isolation feet to minimize vibrations.

Oh, and if you really want to go down the rabbit hole, look into record weights or clamps. They can help flatten warped records and improve overall sound quality.

Remember, you don’t need to buy everything at once. Build your setup gradually, and enjoy the process of discovery.

Each new component or accessory is an opportunity to fall in love with your music all over again. Happy listening!

Sound Quality and Performance
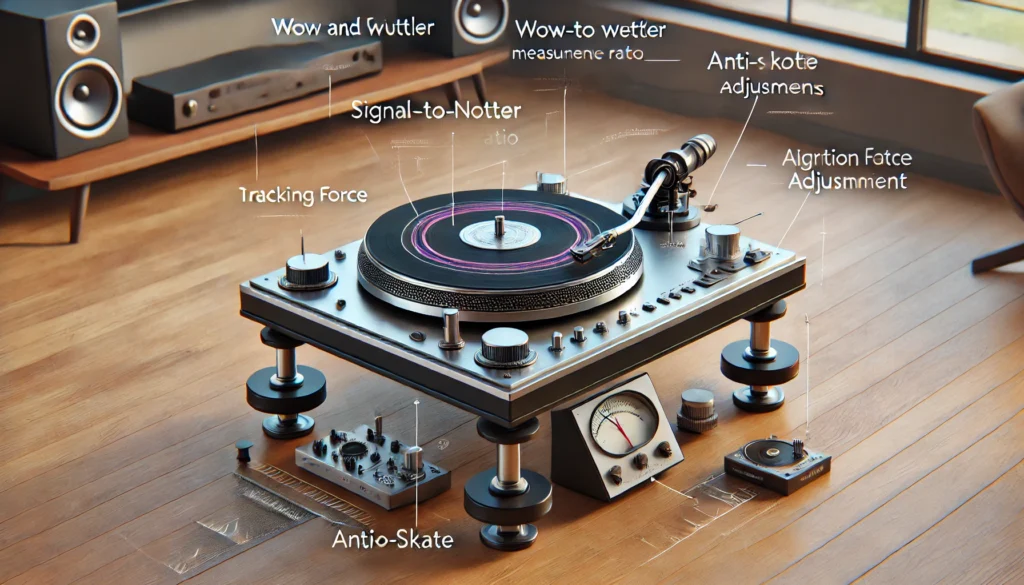
A detailed scene highlighting key aspects of sound quality and performance for turntables, including wow and flutter measurement, signal-to-noise ratio, tracking force, anti-skate adjustments, and vibration isolation. The turntable is set on a stable platform with isolation feet, a tonearm equipped with a tracking force gauge, and an alignment protractor for cartridge adjustment, all contributing to achieving high-quality sound in a modern listening room.

Let’s dive into the nitty-gritty of sound quality and performance. This is where things get really exciting – and sometimes a bit technical.

But don’t worry, I’ll break it down in a way that won’t make your head spin!

First up, we’ve got wow and flutter. No, it’s not a new indie band – it’s a measure of speed consistency.

Wow refers to slower speed variations, while flutter is about faster ones. Both can make your music sound wobbly or off-pitch.

I once had a turntable with bad wow and flutter, and listening to piano recordings was like being on a nauseating carnival ride!

Then there’s the signal-to-noise ratio. This is all about how much of what you’re hearing is music versus unwanted noise.

A higher ratio means cleaner sound. I remember upgrading my phono preamp and being amazed at how much quieter the background was – it was like cleaning a dirty window and suddenly seeing the view clearly.

Now, let’s talk about tracking force and anti-skate adjustments. These are crucial for getting the best sound and protecting your records.

Tracking force is how heavily your stylus sits in the groove, while anti-skate counteracts the tendency of the tonearm to move inward. Getting these right can be a bit fiddly – I spent a whole afternoon once with a tracking force gauge, trying to get it just perfect.

But trust me, it’s worth it for the improved sound quality and reduced record wear.

Another factor to consider is the turntable’s ability to reject external vibrations. This is where things like the plinth (the base of the turntable) and the feet come into play.

I learned this the hard way when I first set up my turntable near my washing machine – every spin cycle turned my listening session into a remix!

And let’s not forget about cartridge alignment. This ensures that your stylus is tracking the groove accurately.

There are alignment protractors you can use for this, and while it might seem like you need an engineering degree to get it right (I certainly felt that way at first), the improvement in sound quality is worth the effort.

Remember, achieving great sound quality is a journey, not a destination. It’s about finding the right balance for your ears and your budget.

Don’t get too caught up in the numbers and specs – at the end of the day, if it sounds good to you, that’s what matters most. Happy listening!

Maintenance and Care
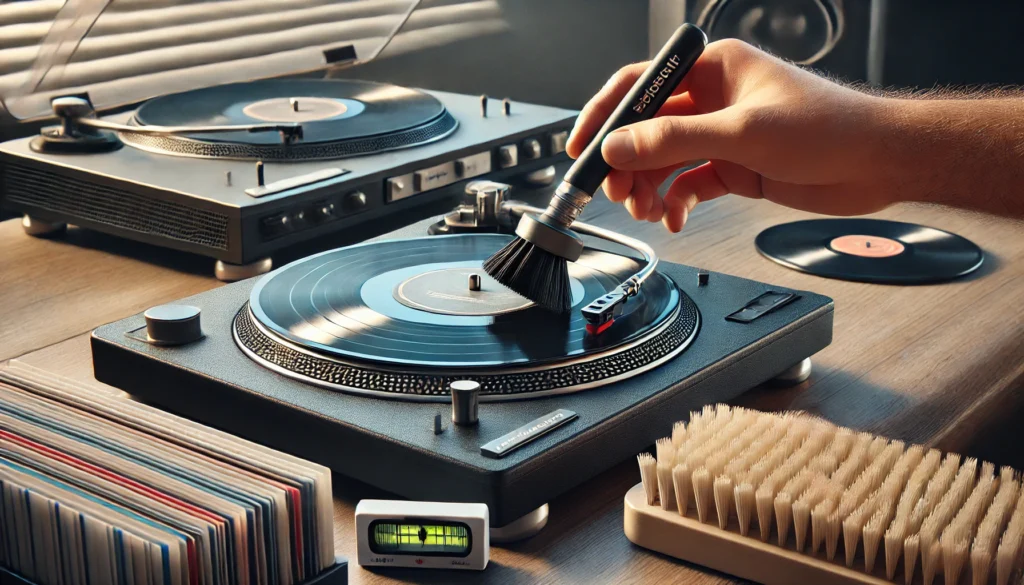
A detailed scene showing the maintenance and care of a turntable and vinyl records, including using a carbon fiber brush to clean a record, a stylus cleaning brush for the needle, and properly storing records vertically in protective sleeves. The turntable is level on a surface with a bubble level visible, highlighting the importance of regular cleaning, correct setup, and careful handling to ensure sound quality and equipment longevity.

Alright, let’s talk about keeping your vinyl setup in tip-top shape. Proper maintenance and care can make a world of difference in both sound quality and the longevity of your equipment.

Trust me, I’ve learned some of these lessons the hard way!

First things first: proper setup and alignment. This is crucial for getting the best sound and protecting your records.

I remember the first time I set up a turntable – I was so excited that I rushed through it, only to wonder why everything sounded off. Take your time with this step.

Make sure your turntable is level (use a bubble level if you have one), set the tracking force and anti-skate correctly, and align your cartridge properly. It might seem tedious, but your ears (and your records) will thank you.

Now, let’s talk about cleaning. Both your records and your stylus need regular cleaning to sound their best.

For records, invest in a good carbon fiber brush and use it before and after each play. Trust me, once you get into the habit, it becomes second nature.

For deeper cleaning, consider a record cleaning solution and maybe even a record cleaning machine if you’re really serious (or have a lot of dusty old records like I did).

As for the stylus, a gentle brush designed for this purpose works wonders. Just remember to brush from back to front, never side to side or you might damage it.

I learned that lesson the hard way once – let’s just say I had to replace a cartridge sooner than expected!

Storage is another crucial aspect of vinyl care. Always store your records vertically to prevent warping.

I once left a record lying flat under a pile of books, and well… it didn’t end well. Use inner sleeves to protect against dust and static, and outer sleeves for additional protection.

And please, whatever you do, don’t stack your records horizontally – future you will be very upset!

Now, let’s talk about stylus replacement. This is something that often gets overlooked, but it’s super important.

A worn stylus can damage your records and sound terrible. How often you need to replace it depends on usage, but a general rule of thumb is every 1000 hours of play time.

I once pushed mine way past its prime, and when I finally replaced it, it was like hearing my records for the first time all over again!

Don’t forget about your turntable itself. Keep it dust-free with a soft, dry cloth.

If you’re not using it, keep the dust cover on. And here’s a pro tip: if you’re moving your turntable, even just a short distance, remove the platter and secure the tonearm.

I once didn’t do this and… well, let’s just say I had to do some recalibrating afterwards.

Lastly, be mindful of your turntable’s environment. Keep it away from sources of vibration (like speakers or foot traffic), direct sunlight, and extreme temperatures.

I once set up my turntable right next to a window – big mistake. The temperature fluctuations wreaked havoc on my listening experience.

Remember, a little bit of regular maintenance goes a long way. It might seem like a chore at first, but trust me, it becomes a enjoyable ritual.

There’s something deeply satisfying about caring for your vinyl setup, knowing that you’re preserving your music for years to come.

Conclusion

Whew! We’ve covered a lot of ground, haven’t we? From choosing the right type of turntable to maintaining your vinyl setup, there’s certainly a lot to consider when diving into the world of record players.

But don’t let that intimidate you – remember, this is all about enjoying music in one of its most pure and engaging forms.

Whether you’re just starting out with a budget-friendly option or you’re ready to invest in a high-end audiophile setup, the key is to find a turntable that suits your needs and brings you joy.

After all, there’s nothing quite like the ritual of selecting a record, gently lowering the needle, and being transported by the warm, rich sound of vinyl.

As you embark on your vinyl journey, don’t be afraid to experiment and upgrade
How to Connect a Turntable to Sonos

Hey there, fellow music lover! Remember the first time you dropped the needle on a vinyl record and heard that warm, rich sound fill the room?

It’s a magical experience, right? Well, what if I told you that you could combine that vintage charm with the convenience of modern wireless speakers?

That’s right – we’re talking about connecting your turntable to Sonos!

I’ve been tinkering with audio setups for years, and let me tell you, figuring out how to marry my old-school turntable with my shiny new Sonos system was a game-changer.

Sure, I made a few mistakes along the way (like that time I forgot about the preamp and wondered why everything sounded like a whisper), but now I’ve got it down to a science.

So, grab your favorite record, and let’s dive into the world of vinyl-meets-wireless!

How to Connect a Turntable to Sonos

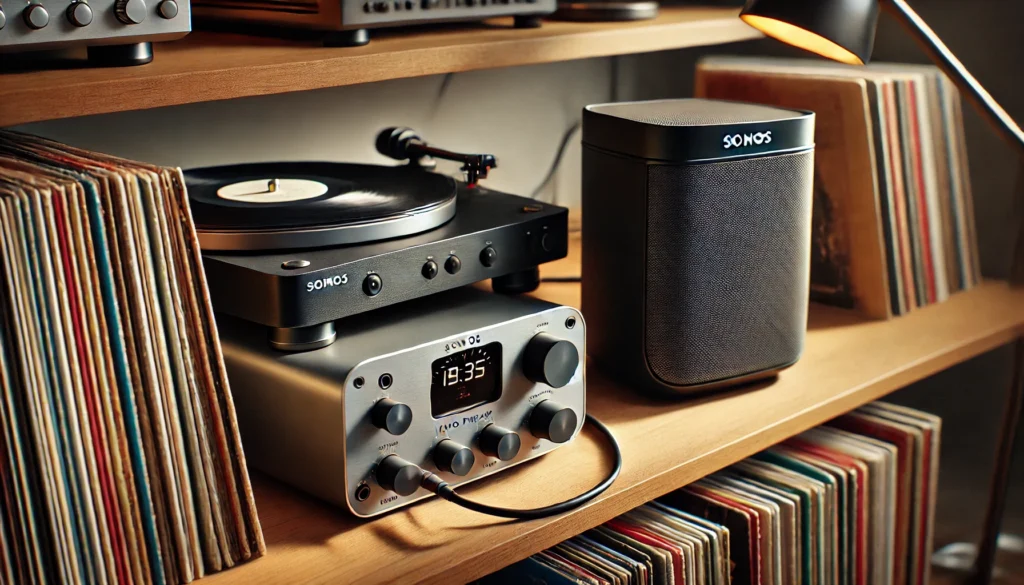
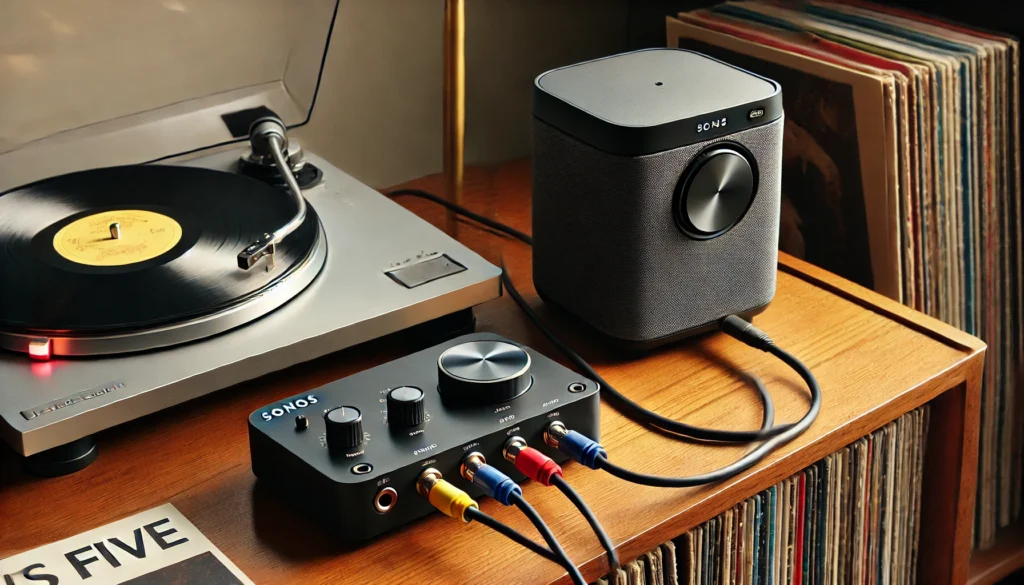
A turntable connected to a phono preamp and a Sonos Five speaker using RCA cables. The setup includes a wooden console with vinyl records and focuses on the connection process, illustrating how analog sound meets modern wireless audio technology.

Connecting a turntable to Sonos is a process that involves using a phono preamp and a Sonos device with a line-in port, such as the Sonos Five or Sonos Port.

You’ll need to connect your turntable to the phono preamp, then connect the preamp to your Sonos device using RCA cables.

After making the physical connections, you’ll need to configure the Sonos app to recognize the turntable input.

This setup allows you to stream your vinyl collection through your Sonos speakers, combining the warmth of analog sound with the convenience of wireless audio.

We’ll explore this process in more detail below, but that’s the gist of how to connect your turntable to Sonos!

Understanding Turntables and Sonos Compatibility

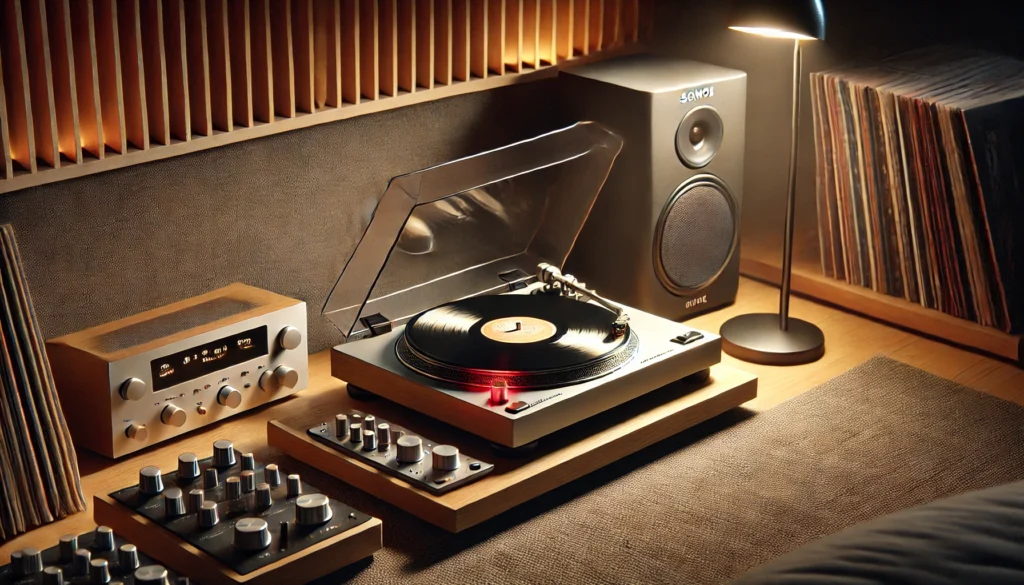
A modern turntable connected to a Sonos Five speaker with a phono preamp in between, showcasing the importance of compatibility. The setup is in a clean, well-lit living room, with vinyl records and accessible placement of the Sonos device, blending vintage and modern audio technology.

Alright, let’s get down to brass tacks. When I first decided to connect my trusty turntable to my Sonos system, I was like a kid in a candy store – excited but totally overwhelmed.

I mean, we’re talking about bridging the gap between technology from different eras here!

First things first, you need to understand that turntables output a very low-level signal that needs to be amplified before it can play nice with other audio equipment.

This is where a phono preamp comes in. Some turntables have this built-in (aren’t they fancy?), but most don’t.

I learned this the hard way when I first plugged my turntable directly into my Sonos and heard… well, practically nothing.

Now, on the Sonos side of things, you’re going to need a Sonos device with a line-in port.

The main contenders here are the Sonos Five (formerly Play:5), Sonos Port, or Sonos Amp. These bad boys are designed to accept external audio sources, which is exactly what we need for our vinyl setup.

I remember when I first got my Sonos Five, I was so excited to start playing my records through it.

But here’s a pro tip: make sure your Sonos device is placed somewhere accessible. I initially had mine tucked away on a high shelf, which made connecting cables a real pain in the neck – literally!

One more thing to keep in mind is that once your turntable is connected to Sonos, you can stream that sweet, sweet vinyl sound to any Sonos speaker in your home.

It’s like magic, I tell you! I nearly fell off my chair the first time I heard my favorite jazz record playing in perfect sync throughout my house.

Remember, compatibility is key here. Not all turntables are created equal, and neither are all Sonos devices.

But don’t worry, we’ll get into the nitty-gritty of what equipment you’ll need in the next section. Trust me, once you get this setup right, you’ll be in audio heaven!

Essential Equipment for Connecting a Turntable to Sonos

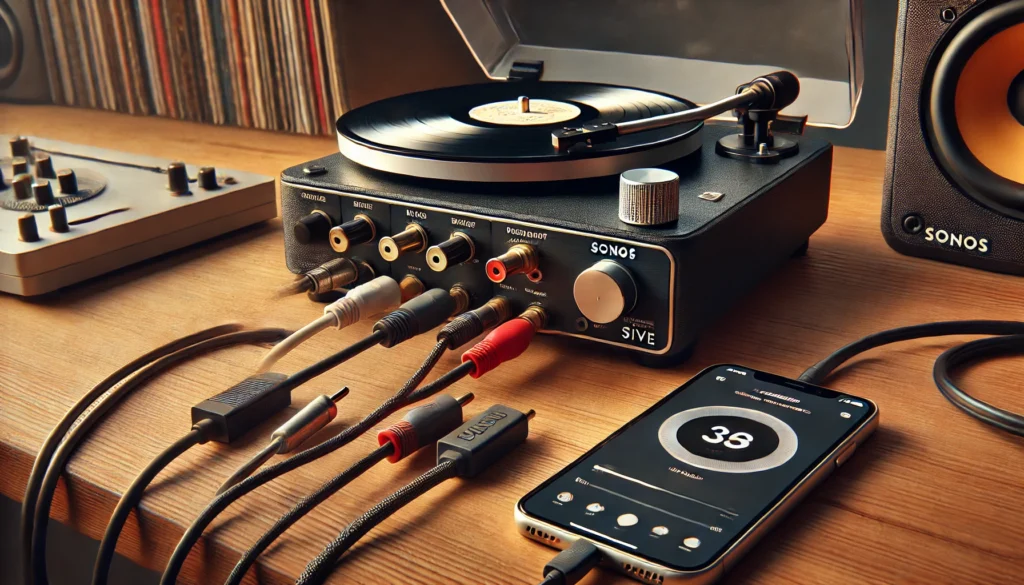
A setup showing a turntable connected to a phono preamp, with visible RCA cables leading to a Sonos Five speaker. The grounding wire is attached to reduce hum, and the Sonos app is open on a smartphone in the background, controlling the music. The scene highlights all essential equipment for connecting a turntable to Sonos, set in a modern, cozy room with vinyl records nearby.

Okay, folks, it’s time to talk gear! When I first decided to connect my turntable to Sonos, I felt like I was prepping for a mission.

I mean, I had a list longer than my arm! But don’t worry, I’ve simplified it for you based on my own trial and error.

First up, obviously, you need a turntable. Duh, right?

But here’s the kicker – make sure it has a built-in preamp, or be prepared to buy one separately. I learned this the hard way when I first tried to connect my vintage turntable directly to my Sonos.

Let’s just say it was quieter than a mouse in a library!

Next, you’ll need a Sonos device with a line-in port. Your best bets are the Sonos Five, Sonos Port, or Sonos Amp.

I personally use a Sonos Five, and let me tell you, it’s been a game-changer. Just make sure you place it somewhere easily accessible – I initially had mine on a high shelf and nearly gave myself a hernia trying to connect everything!

Now, let’s talk cables. You’ll need a set of RCA cables to connect your turntable (or preamp) to your Sonos device.

Pro tip: don’t skimp on the cables! I once bought the cheapest ones I could find, and the sound quality was about as good as two tin cans connected by string.

If your turntable doesn’t have a built-in preamp, you’ll need a separate phono preamp. This little box of magic boosts the signal from your turntable to a level that your Sonos can understand.

Trust me, it’s worth the investment!

Oh, and don’t forget about the grounding wire! Some turntables come with this, and it’s crucial for reducing unwanted hum.

The first time I hooked everything up without it, my system sounded like a swarm of angry bees!

Lastly, you’ll need the Sonos app on your smartphone or tablet. This is where you’ll configure everything and control your music.

It’s pretty user-friendly, but I’ll admit I spent a good hour poking around and accidentally blasting music at 2 AM. Sorry, neighbors!

Remember, quality matters. I tried to cut corners at first, and let’s just say the result was less than stellar.

Invest in good equipment, and your ears will thank you. Trust me, when you hear that first needle drop through your Sonos speakers, it’ll all be worth it!

Step-by-Step Guide to Connecting Your Turntable

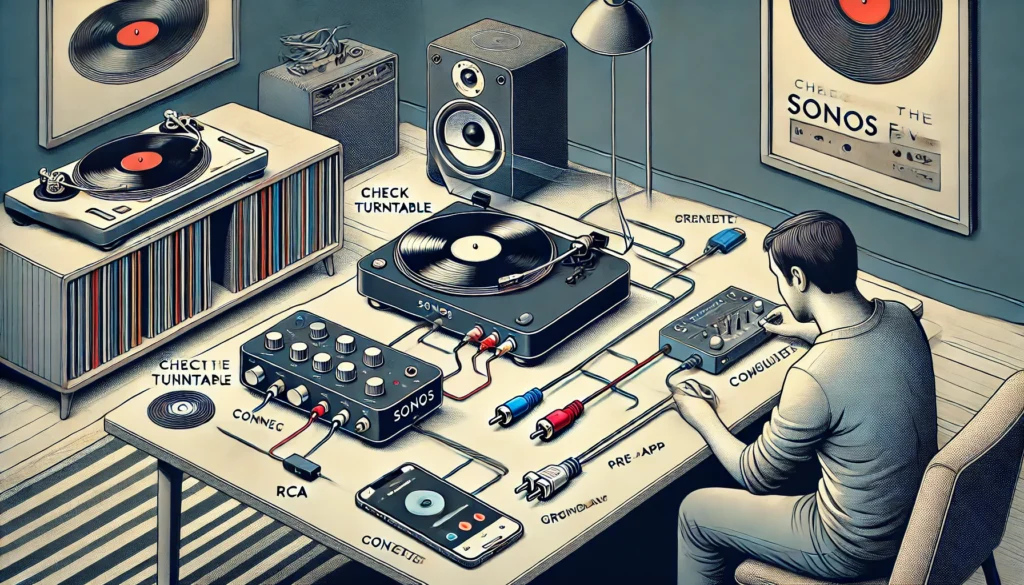
A visual guide showing a turntable connected to a Sonos Five speaker through a phono preamp, with RCA cables properly connected. The scene highlights each step of the process, including checking the turntable, connecting the preamp, attaching the grounding wire, and configuring the Sonos app, all set in a modern living room with vinyl records nearby.

Alright, music lovers, it’s time to roll up our sleeves and get down to business! Connecting your turntable to Sonos might seem like rocket science at first, but trust me, if I can do it, anyone can.

So, let’s break it down step by step.

Step 1: Check your turntable

First things first, figure out if your turntable has a built-in preamp. If it does, great!

If not, don’t panic – we’ll just need to add an external one to the mix. I remember when I first realized my vintage turntable didn’t have a preamp.

I was all, “Preamp? What’s that?” Oh, how far we’ve come!

Step 2: Connect the preamp (if necessary)

If you need an external preamp, connect your turntable to it using RCA cables. Make sure to match the colors – red to red, white to white.

It’s not rocket science, but I’ll admit I got them mixed up once. Let’s just say the sound was… interesting.

Step 3: Connect to Sonos

Now, connect your turntable (or preamp) to your Sonos device. I use a Sonos Five, but a Port or Amp works too.

Again, use those RCA cables and match the colors. This is where I nearly took out my entire audio setup trying to reach behind my poorly placed Sonos.

Learn from my mistakes, folks – accessibility is key!

Step 4: Grounding

If your turntable has a grounding wire, connect it to the grounding terminal on your preamp or Sonos Amp. Skipping this step?

Prepare for a hum that’ll drive you nuts. Been there, done that, got the t-shirt!

Step 5: Power up

Plug in and turn on all your devices. This is the moment of truth!

I remember holding my breath the first time I did this, half expecting something to explode. Spoiler alert: it didn’t.

Step 6: Configure the Sonos app

Open your Sonos app and add the line-in source. Go to Settings > System > [Your Sonos Device] > Line-In.

Select the appropriate source name (like “Turntable”) and adjust the line-in level. This part took me a while to figure out, but once I did, it was smooth sailing.

Step 7: Play that funky music!

Put on a record, drop the needle, and bask in the glory of vinyl through your Sonos speakers. The first time I heard it, I danced around my living room like a lunatic.

No regrets!

Remember, patience is key here. It might take some tweaking to get everything just right, but don’t get discouraged.

And for heaven’s sake, don’t be like me and attempt this after a few beers. Turns out, audio setup and alcohol don’t mix well.

Who knew?

Optimizing Your Turntable-Sonos Setup for Best Sound Quality

A cozy and detailed scene of a turntable placed on a solid surface, away from electrical interference, with a perfectly aligned cartridge on a vinyl record. The setup includes a Sonos speaker, proper speaker placement, and acoustic treatments for optimal sound quality. A stack of vinyl albums is nearby, creating a dedicated space for fine-tuning the turntable setup for the best audio experience.

Alright, audiophiles, now that we’ve got everything connected, it’s time to fine-tune our setup. Because let’s face it, we didn’t go through all this trouble just to settle for mediocre sound, did we?

Nope, we’re after audio nirvana here!

First things first, let’s talk about turntable placement. I learned this the hard way when I first set up my system right next to my refrigerator.

Every time the fridge kicked on, my records sounded like they were playing underwater! Keep your turntable away from vibrations and electrical interference.

A solid, level surface is your best bet.

Next up, cartridge alignment. This is where things get a bit techy, but stick with me.

Your cartridge needs to be properly aligned to get the best sound and avoid wear on your precious vinyl. I remember spending hours with a protractor, squinting at my cartridge like it held the secrets of the universe.

It was worth it though – the improvement in sound quality was night and day!

Now, let’s talk about tracking force and anti-skate. These settings ensure your needle sits just right in the groove of your records.

Too much pressure, and you’ll wear out your vinyl faster than you can say “audiophile.” Too little, and you’ll be skating across the surface like a clumsy ice skater.

Trust me, finding that sweet spot is crucial.

On the Sonos side of things, don’t forget to play around with the settings in the app. The line-in level is particularly important.

Set it too high, and you’ll get distortion. Too low, and you’ll be straining to hear anything.

I spent a good week tweaking this until I found the perfect balance.

Room acoustics matter too! I once had my speakers set up in the corner of my room, and let me tell you, the bass was so boomy it felt like I was inside a subwoofer.

Experiment with speaker placement and consider acoustic treatments if you’re really serious about sound quality.

Don’t forget about your vinyl care routine. Clean records sound better, period.

I learned this after playing a particularly dusty album and wondering why it sounded like it was recorded in a sandstorm.

Lastly, be patient and trust your ears. What sounds good to me might not be perfect for you.

I spent countless hours fine-tuning my setup, and honestly, I’m still tweaking it. It’s a labor of love, but when you drop that needle and hear your favorite album in all its glory through your Sonos speakers, it’s all worth it.

Remember, optimizing your setup is a journey, not a destination. Embrace the process, and before you know it, you’ll be the go-to person for all your friends’ audio questions.

Just don’t be surprised if they start calling you “The Vinyl Whisperer.” Yes, that’s a thing now.

I should know – it’s what my neighbors call me!

Troubleshooting Common Issues When Connecting Turntables to Sonos

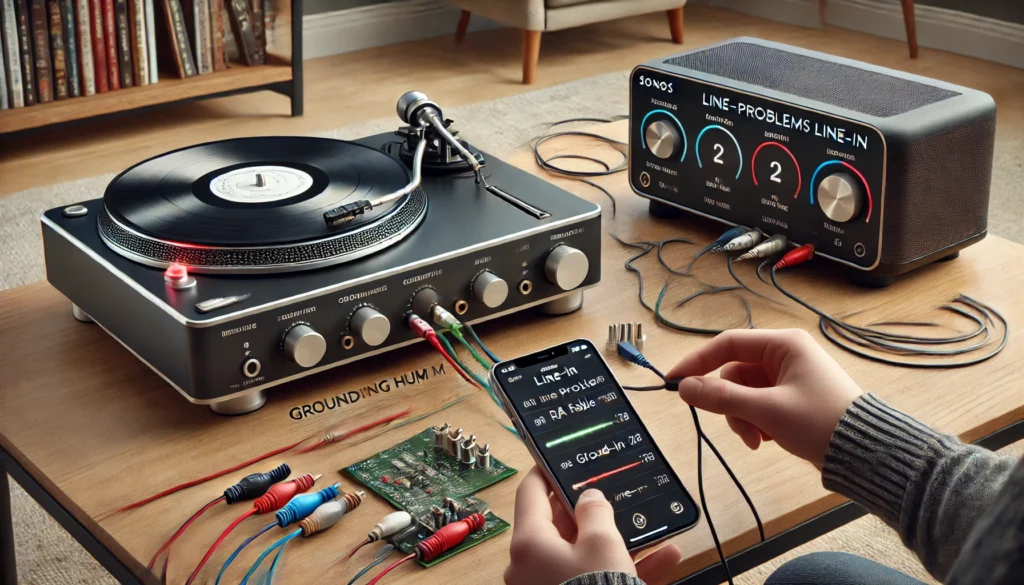
A troubleshooting scene showing a user checking RCA cable connections, a ground wire attached to the preamp, and adjusting settings in the Sonos app on a smartphone. The image captures common turntable-to-Sonos connection issues, such as grounding hum, sound distortion, and low volume, all in a modern living room with a turntable and Sonos speaker setup.

Alright, folks, let’s talk troubleshooting. Because let’s face it, even with the best instructions (ahem), things can sometimes go a bit sideways.

Don’t worry, though – I’ve been there, done that, and got the “I Survived Turntable-Sonos Integration” t-shirt to prove it!

First up, the dreaded hum. If you’re hearing a constant buzz that’s louder than your Great Aunt Mildred after her third glass of wine, you might have a grounding issue.

I remember the first time I heard this – I thought a bee had somehow gotten into my speaker! Make sure your turntable is properly grounded.

If you’re using an external preamp, double-check that the ground wire is connected.

No sound at all? Been there! First, check all your connections.

I once spent an hour troubleshooting only to realize I hadn’t pushed the RCA cables in all the way. Talk about a facepalm moment!

Also, make sure you’ve selected the correct input source in the Sonos app. It’s an easy thing to overlook, trust me.

If your sound is distorted or too quiet, you might need to adjust the line-in level in the Sonos app. I remember playing a record for the first time through my setup and it sounded like it was being played through a tin can telephone.

A few tweaks to the line-in level, and voila – audio bliss!

Skipping or skating issues? This could be due to improper cartridge alignment or incorrect tracking force.

I once had a record that kept skipping at the same spot. Turns out, my tracking force was way off.

A little adjustment, and suddenly my needle was riding those grooves like a champ!

If you’re hearing a lot of surface noise or static, it might be time to clean your records and stylus. I learned this lesson after pulling out some old records from my college days.

Let’s just say they were carrying more dust than a neglected attic!

One issue that had me scratching my head for days was intermittent sound cutting out. Turns out, it was a Wi-Fi issue.

Make sure your Sonos device has a strong connection to your network. I ended up moving my router, and suddenly, smooth sailing!

Lastly, if you’re not getting that warm, full sound you expect from vinyl, you might need to play around with your Sonos EQ settings.

I spent a good week tweaking these until I found the perfect balance. It was like finding the audio equivalent of the Holy Grail!

Remember, troubleshooting is part of the fun… okay, maybe “fun” is stretching it, but it’s definitely part of the process.

Don’t get discouraged if things aren’t perfect right away. Keep at it, and before you know it, you’ll be enjoying your vinyl collection through your Sonos speakers without a hitch.

And hey, if all else fails, there’s always the trusty “turn it off and on again” method. You’d be surprised how often that works.

It’s like magic, I tell you!

Conclusion

Whew! What a journey we’ve been on, huh? From understanding the basics of turntables and Sonos compatibility to troubleshooting those pesky issues, we’ve covered it all.

And let me tell you, connecting my turntable to Sonos has been one of the best audio decisions I’ve ever made!

Remember when we started? The idea of marrying old-school vinyl with modern wireless speakers seemed like a dream.

But now, here we are, spinning records and enjoying that warm, rich sound through our Sonos system. It’s like having the best of both worlds!

I won’t lie – there were moments when I thought about throwing in the towel. Like that time I couldn’t figure out why my system was humming louder than a beehive.

Or when I accidentally blasted my neighbors with a 2 AM jazz session (sorry again, Mrs. Johnson!). But trust me, the payoff is worth every bit of frustration.

The beauty of this setup is how it brings together the tactile, intimate experience of vinyl with the convenience of modern technology.

There’s something special about carefully selecting a record, gently lowering the needle, and then being able to hear that music anywhere in your home. It’s like magic, I tell you!

But here’s the thing – your journey doesn’t end here. The world of audio is vast and ever-evolving.

Don’t be afraid to experiment, to tweak, to try new things. Maybe you’ll upgrade your cartridge, or try out different Sonos speakers.

The possibilities are endless!

And remember, this isn’t just about the tech – it’s about the music. It’s about rediscovering your favorite albums, or introducing your kids to the joys of vinyl.

It’s about hosting listening parties where your friends marvel at how you’ve managed to combine retro cool with modern convenience.

So go ahead, drop that needle, fire up your Sonos, and let the music play. And if you run into any hiccups along the way, just remember – we’ve all been there.

Keep at it, and before you know it, you’ll be grooving to your vinyl collection in every room of your house.

Now, if you’ll excuse me, I’ve got a date with my turntable and a stack of records that aren’t going to play themselves.

Happy listening, folks!

Oh, and one last thing – don’t forget to share your own experiences in the comments below. Did you run into any unique challenges?

Any tips or tricks you’ve discovered? Let’s keep this vinyl-meets-wireless conversation going!

How to Clean a Record Player Needle or Stylus

Hey there, vinyl enthusiasts!

Today, we’re diving into a topic that’s near and dear to my heart: keeping your record player needle (or stylus, if you want to get fancy) in tip-top shape.

Trust me, I’ve learned the hard way that a clean stylus is the secret sauce to crisp, clear tunes and happy, long-lasting records.

How to Clean a Record Player Needle or Stylus

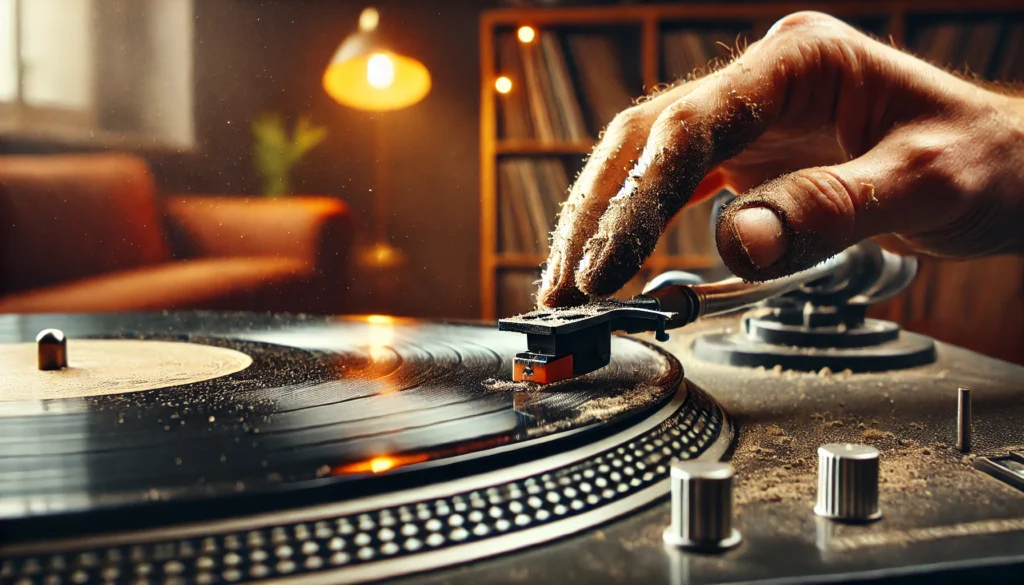
A close-up of a dusty and dirty record player needle (stylus) struggling to track the grooves of a vinyl record, highlighting the importance of regular cleaning for optimal sound quality.

Alright, let’s cut to the chase. To clean your record player needle, you’ve got two main options: dry cleaning with a soft brush or wet cleaning with a specialized solution.

For a quick clean, gently brush from back to front with a dry brush, like a carbon fiber brush. For a deeper clean, apply a tiny amount of cleaning solution to a stylus brush and carefully clean the needle.

Remember, always be gentle – that little needle is more delicate than my grandma’s china! We’ll dive into the nitty-gritty details below, but that’s the gist of it.

Why Clean Your Record Player Needle?

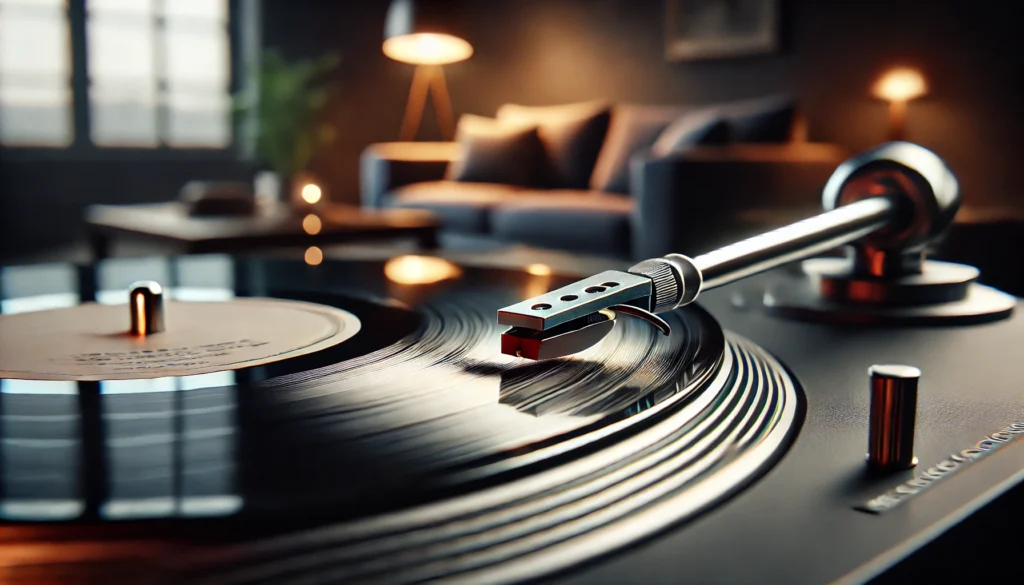
A close-up view of a clean record player needle (stylus) with a vinyl record underneath, showcasing the precision and cleanliness needed for optimal sound quality.

Listen up, because this is important! A dirty stylus is like trying to listen to your favorite album through a mouthful of cotton balls. Trust me, I’ve been there, and it’s not pretty.

Here’s the deal: First off, sound quality takes a major hit. A gunked-up needle can’t track the grooves properly, leading to distortion, skips, and overall crappy sound.

It’s like trying to read a book with smudged glasses – frustrating and totally unnecessary. Secondly, and this one hurts my soul, a dirty stylus can actually damage your precious vinyl!

It’s like taking sandpaper to your records every time you play them. Ouch! Lastly, neglect your stylus, and you’ll be shelling out for a replacement way sooner than you should.

And let me tell you, those little buggers aren’t cheap! I remember the first time I really cleaned my stylus after months of neglect.

The difference was like night and day – suddenly, I was hearing details in my favorite albums that I’d never noticed before. It was like getting a brand new record collection!

Types of Stylus Cleaning Methods

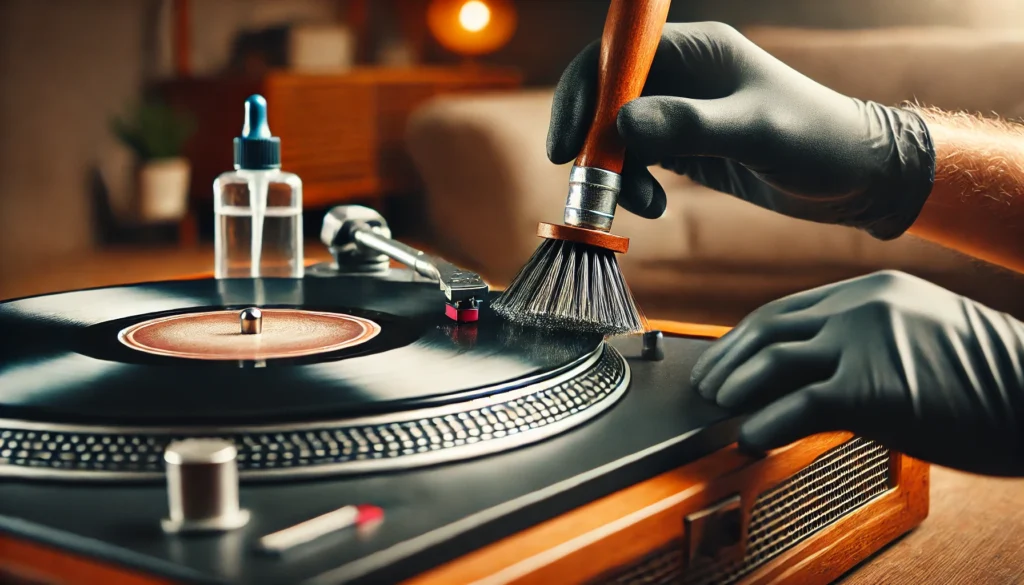
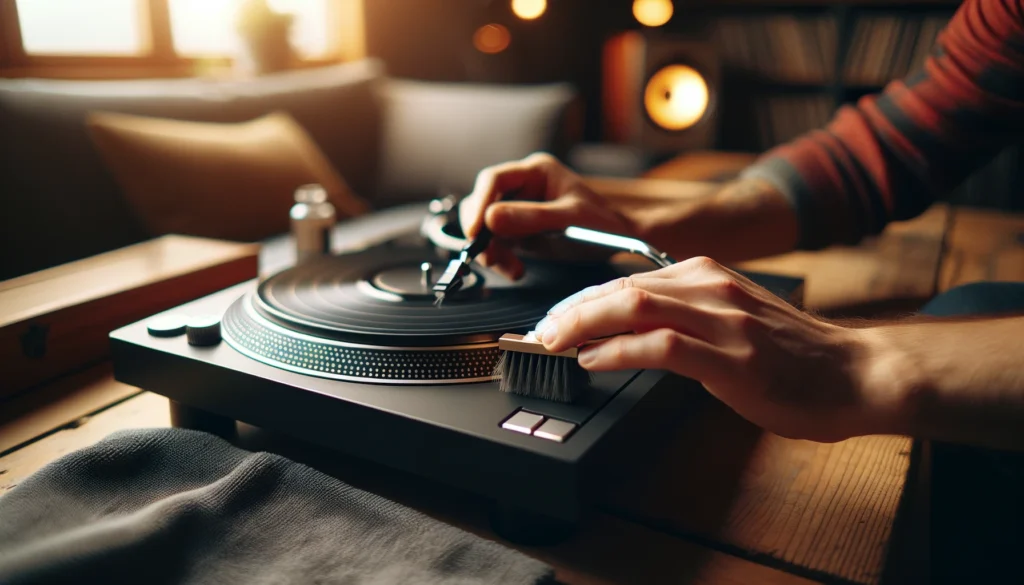
A close-up image of a record player stylus being cleaned with a carbon fiber brush, alongside a bottle of cleaning solution in a cozy, warmly lit room.

Alright, let’s break down your cleaning options. We’ve got two main camps here: dry cleaning and wet cleaning.

Each has its place, kind of like how you wouldn’t use a pressure washer to clean your glasses (learned that one the hard way). Dry cleaning is your everyday, quick-and-easy option.

Perfect for a little maintenance before you drop the needle. Carbon fiber brushes are these little miracles that are my go-to.

The super-fine bristles can get into all the nooks and crannies without risking damage. A soft-bristled brush is a good alternative if you don’t have a carbon fiber brush handy.

Just make sure it’s clean and dry! The pro of dry cleaning is that it’s quick, easy, and low-risk if done gently.

The con is that it might not remove stubborn gunk buildup. When your stylus needs a spa day, it’s time to break out the wet cleaning methods.

Specialized stylus cleaning fluid is designed specifically for this delicate job. A little goes a long way!

In a pinch, distilled water can work for light cleaning. But be careful – water and electronics aren’t always the best of friends.

The pro of wet cleaning is that it’s more thorough for stubborn dirt and buildup. The con is that there’s a slightly higher risk if not done carefully.

Don’t go drowning your stylus! I’ll admit, the first time I tried wet cleaning, I was nervous as heck.

But man, the results were worth it. Just remember: less is more when it comes to liquid near your turntable!

Step-by-Step Guide to Cleaning Your Stylus

A close-up of a person gently cleaning a record player stylus with a carbon fiber brush in a cozy living room setup, showcasing proper turntable maintenance in a warm, ambient-lit space.

Alright, class, it’s time to get hands-on! Here’s your step-by-step guide to stylus cleaning nirvana.

Follow along, and don’t worry – I’ve made all the mistakes so you don’t have to! First things first, let’s talk preparation and safety precautions.

Power down your turntable. Seriously, don’t skip this step unless you enjoy the tingle of electrical shocks.

Remove the dust cover if you have one. We need clear access here!

If possible, lock your tonearm in place. This prevents any accidental bumps that could bend your stylus (and break your heart).

Take a deep breath. You’ve got this! For the dry cleaning technique, grab your carbon fiber brush (or soft-bristled alternative).

Gently (and I mean GENTLY) brush from back to front of the stylus. Think of it like petting a very tiny, very expensive cat.

Repeat a few times, making sure to clean all sides of the stylus. Stand back and admire your work!

When it comes to wet cleaning, apply a TINY amount of cleaning solution to your stylus brush. We’re talking a drop, not a dollop!

Very carefully brush the stylus from back to front, just like with dry cleaning. If using a cleaning solution, follow up with a dry brush to remove any residue.

Let the stylus air dry completely before playing any records. As for frequency, a quick dry clean before each listening session is ideal.

It takes 10 seconds and can save you a world of trouble! For a deeper wet clean, aim for every 20-30 hours of playtime, or if you notice sound quality issues.

Remember, folks: when in doubt, err on the side of caution. It’s better to clean too little than to clean too aggressively and damage your precious stylus!

Best Products for Cleaning Record Player Needles

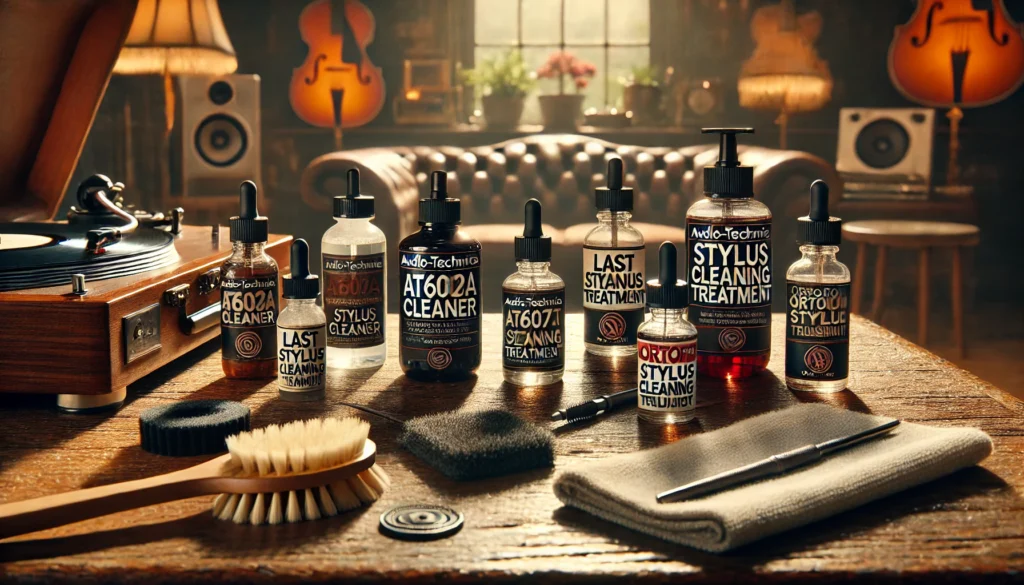
A detailed, close-up shot of several recommended record player stylus cleaning products displayed on a wooden table in a cozy, vintage-inspired living room. The setup includes bottles of cleaning solutions, soft brushes, and a carbon fiber brush, creating a warm, meticulous atmosphere for vinyl care.

Alright, time for some product talk! After years of trial and error (and a few cringe-worthy mistakes), here are my top picks for keeping your stylus spick and span.

When it comes to recommended cleaning solutions, Audio-Technica AT607a Stylus Cleaner is like liquid gold for your stylus. A little pricey, but worth every penny.

LAST STYLAST Stylus Treatment is not just a cleaner, but a treatment that can extend the life of your stylus. It’s like a multivitamin for your needle!

Ortofon Stylus Cleaning Fluid is another solid option from a trusted brand in the turntable world. Now, I get it.

Sometimes you’re itching to clean your stylus but don’t have the fancy stuff on hand. Here are some DIY alternatives that won’t break the bank (or your stylus): Distilled water, for light cleaning, a tiny drop can do the trick.

Just be extra careful! Isopropyl alcohol (91% or higher), mix one part alcohol with four parts distilled water.

Use sparingly! Warning: These DIY methods should be a last resort.

Use at your own risk, and please, for the love of vinyl, be careful! Now, let’s talk about what NOT to use.

Trust me, I’ve made some of these mistakes so you don’t have to: Tap water contains minerals that can leave residue on your stylus. Big no-no!

Household cleaners, unless you want to turn your stylus into modern art, keep these far away. Your breath and a cloth, I know it seems tempting, but your breath can actually introduce moisture and oils.

Resist the urge! Remember, when it comes to cleaning products, sometimes less is more.

You don’t need a whole chemistry set to keep your stylus clean – just a few quality products and a gentle touch.

Common Mistakes to Avoid When Cleaning Your Stylus

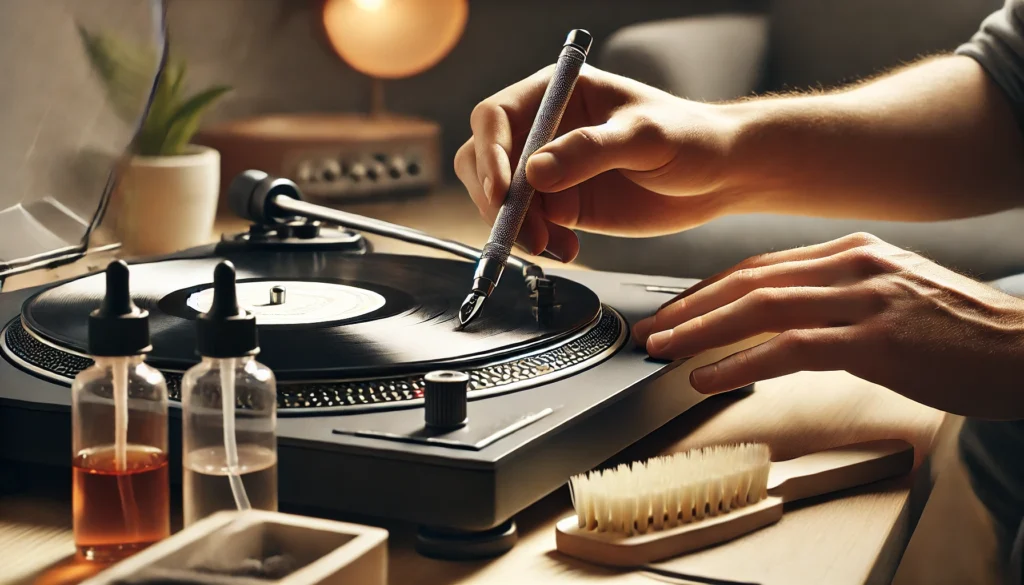
A close-up image of a person carefully cleaning a record player stylus using a cleaning tool. The scene includes cleaning solutions and a soft brush, with the turntable in focus, showcasing a cozy and minimalist living room setting.

Alright, gather ’round for story time. I’ve made just about every mistake in the book when it comes to stylus cleaning, and I’m here to save you from the same fate.

Learn from my facepalm moments! The number one sin in stylus cleaning?

Thinking “elbow grease” applies here. It doesn’t! Your stylus is more delicate than a house of cards in a windstorm.

I once pressed too hard and ended up with a bent stylus and a very expensive lesson learned. Tip: Let the cleaning tool do the work.

You’re just there to guide it gently. Oh boy, where do I start with using the wrong cleaning materials?

I’ve seen people use everything from Q-tips to their shirt sleeves. Heck, I once used a cotton ball and ended up with a stylus that looked like it had a tiny sweater.

Stick to proper stylus cleaning tools. They’re designed for the job and won’t leave fibers or residue behind.

Over-cleaning is another common mistake. I went through a phase where I was cleaning my stylus before and after EVERY. SINGLE. SONG.

Talk about overkill! Not only was I wasting time, but I was also increasing the risk of accidental damage.

Remember: A quick brush before each session and a deeper clean every 20-30 hours of playtime is usually plenty. Here’s a mistake I see a lot: obsessing over the stylus but neglecting the rest of the turntable.

Your stylus is part of a larger system, and if the other parts are dirty or out of whack, you’re fighting a losing battle. Make sure you’re also keeping your records clean, your turntable dust-free, and everything properly aligned.

The first time I used stylus cleaning fluid, I treated it like I was watering a very tiny plant. Big mistake!

You need the tiniest drop – think less “watering can” and more “eye dropper.” Less is more with cleaning solutions.

You can always add a bit more if needed, but too much can lead to residue build-up or even damage. By avoiding these common pitfalls, you’ll be well on your way to stylus cleaning mastery.

And hey, if you do make a mistake, don’t beat yourself up. We’ve all been there!

Maintaining Your Record Player Beyond the Stylus

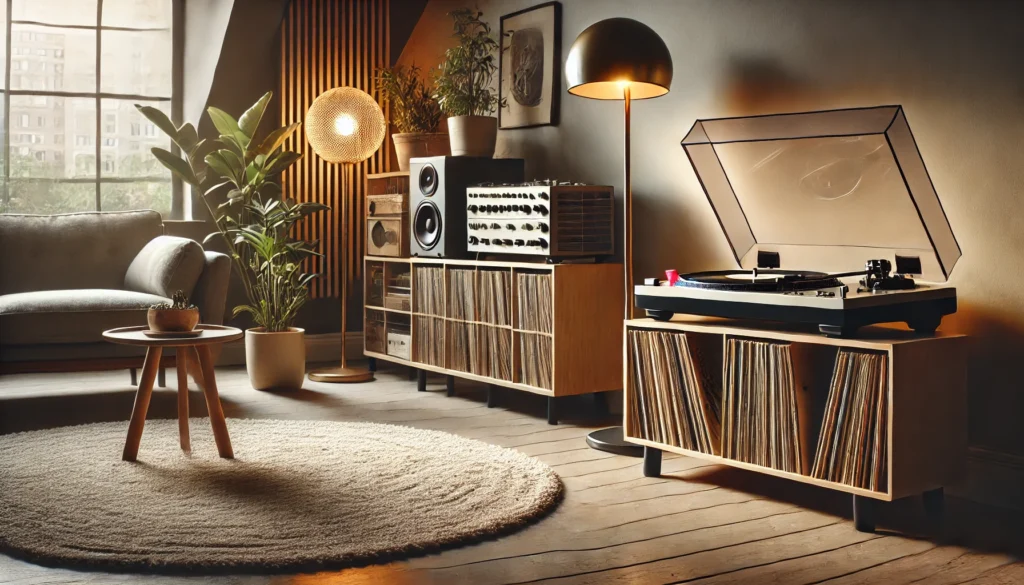
A modern, stylish living room featuring a vinyl turntable setup with a dust cover in place. The turntable is well-maintained, and a collection of vinyl records is neatly organized in a record shelf next to it. The cozy room is softly lit with warm lighting, a soft rug on the floor, and minimalistic decor.

Alright, vinyl virtuosos, let’s zoom out a bit. Keeping your stylus clean is crucial, but it’s just one part of the bigger picture.

Let’s talk about how to keep your entire turntable setup in harmony. Your turntable is like a finely tuned instrument, and it needs some TLC to keep hitting those high notes.

First off, use that dust cover! It’s not just there to look pretty.

When you’re not spinning records, keep that cover closed to prevent dust build-up. Check your turntable’s level regularly.

An uneven surface can affect playback and put unnecessary stress on your stylus. I once realized my turntable was slightly tilted, and fixing it was like getting a free upgrade!

If you have a belt-drive turntable, check the belt periodically for signs of wear or stretching. A worn belt can affect speed consistency.

This next bit is a bit more advanced, but proper cartridge alignment is crucial for optimal sound and to minimize record wear. If you’re not comfortable doing it yourself, don’t be afraid to seek help from a pro.

Your records are the lifeblood of your system. Treat them right, and they’ll reward you with sweet, sweet music for years to come.

Always handle records with clean, dry hands. The oils from your skin can actually damage the vinyl over time.

When handling records, only touch the edges and the label area. Never touch the grooves!

Store records vertically, never stacked. Use inner sleeves to protect against dust and static.

Keep your records in a cool, dry place. Extreme temperatures and humidity can warp vinyl faster than you can say “audiophile.”

Invest in a good record cleaning system. Clean records not only sound better but also help keep your stylus cleaner for longer.

I remember the day I reorganized my record storage and started using proper inner sleeves. It was like rediscovering my collection all over again – suddenly, albums I thought were noisy started playing like new!

Here’s a bonus tip about the importance of break-in time: new styli and cartridges often need a break-in period. If you’ve just installed a new one, give it some time before making any judgments.

I once nearly returned a “defective” cartridge, only to realize it just needed about 20 hours of playtime to really start shining. Remember, maintaining your record player is a labor of love.

It takes a bit of effort, but the payoff in sound quality and longevity is absolutely worth it. Plus, there’s something deeply satisfying about caring for your audio equipment – it’s like you’re part of the music-making process!

Conclusion

Whew! We’ve covered a lot of ground today, from the nitty-gritty of stylus cleaning to the broader picture of turntable care.

Let’s recap the key points: Regular stylus cleaning is crucial for sound quality and record longevity. Use the right tools and techniques – gentle is the name of the game!

Don’t forget about the rest of your turntable and your precious vinyl collection. Proper handling and storage of records go a long way in maintaining your entire system.

Remember, every turntable setup is unique, so don’t be afraid to experiment (carefully!) to find what works best for you. The world of vinyl is all about the journey and the joy of discovery.

I’d love to hear about your experiences! Have you had any vinyl care epiphanies?

Any cleaning disasters you’ve learned from? Drop a comment below and share your story.

We’re all in this together, spinning our way to audio nirvana one clean stylus at a time. Now, if you’ll excuse me, I’ve got a date with my turntable and a freshly cleaned stylus.

Happy listening, folks!

How to Use a Victrola Turntable: A Beginner’s Guide

Are you ready to dive into the world of vinyl and start spinning those records on your Victrola turntable? You’re in for a treat!

As a long-time vinyl enthusiast and proud owner of several turntables, including a beloved Victrola, I’m here to guide you through the process.

Let’s get that needle dropping and those tunes flowing!

How to Use a Victrola Turntable

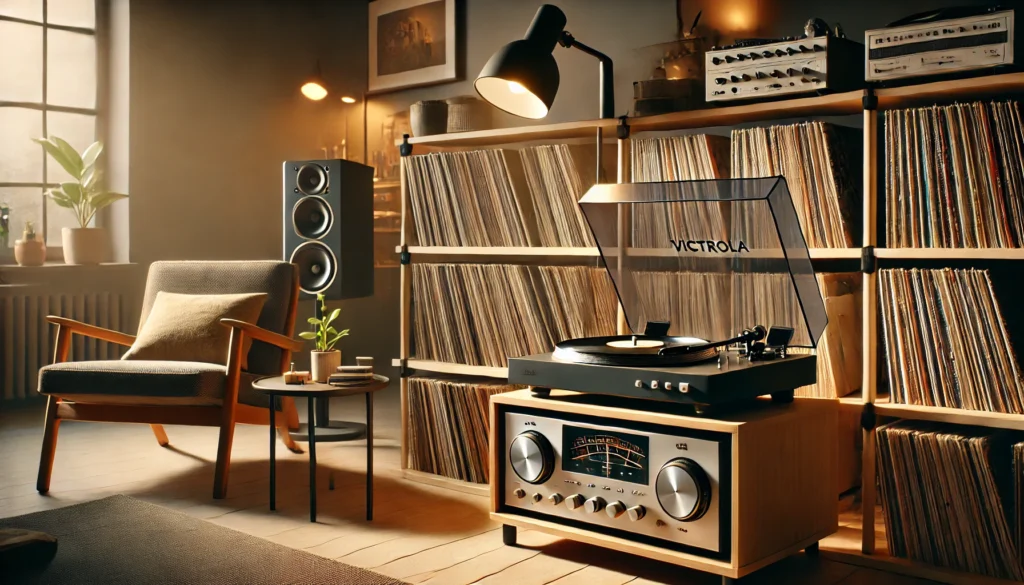
A modern Victrola turntable setup in a stylish living room with warm lighting. The turntable sits on a wooden shelf, spinning a vinyl record, surrounded by shelves filled with records. A cozy chair, small table with a plant, and high-quality speakers create a relaxed, music-loving atmosphere.

Alright, so you’ve got your shiny new Victrola turntable sitting there, looking all sleek and ready to rock. But how exactly do you use this thing?

Don’t worry, I’ve been there too! When I first got my Victrola, I was a bit intimidated by all the components.

But trust me, it’s not as complicated as it looks. In a nutshell, you’ll need to set it up properly, learn how to operate it, and then maintain it for the best sound quality.

We’ll dive into all of that in more detail below, but I wanted to give you a quick overview first. Just remember, like riding a bike, once you get the hang of it, using your Victrola will become second nature!

Setting Up Your Victrola Turntable

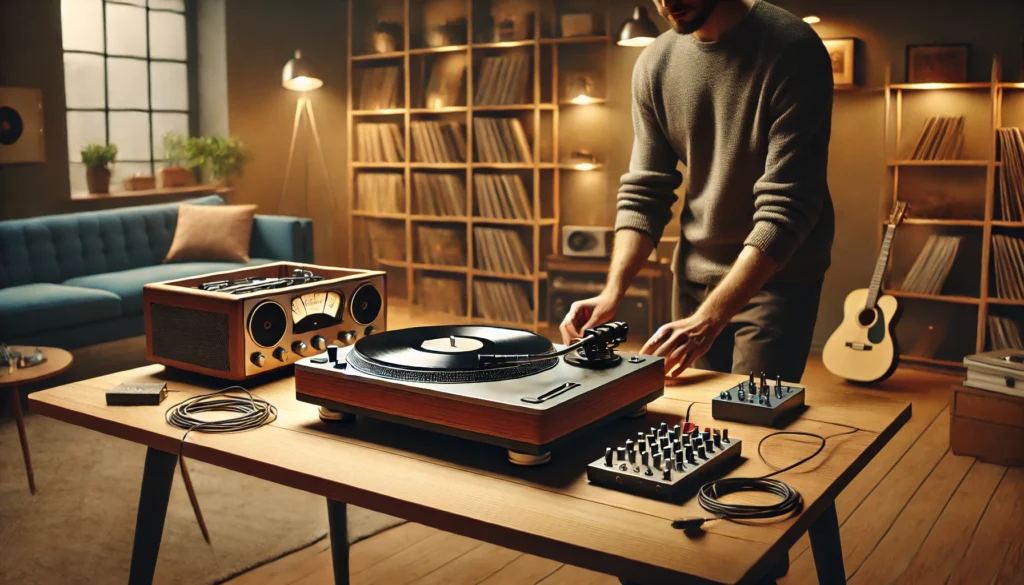
A person setting up a modern Victrola turntable on a wooden table in a cozy living room. Cables are neatly arranged, ready to connect to nearby speakers. The tonearm and cartridge are being adjusted while shelves filled with vinyl records and a soft, warm-lit atmosphere complete the scene.

Okay, let’s get this party started! Setting up your Victrola turntable is the first step to audio nirvana.

When I first unboxed mine, I was so excited I nearly tripped over my own feet trying to get it set up. Don’t be like me – take your time and do it right!

First things first, find a nice, level surface for your turntable. I made the mistake of putting mine on a wobbly table once, and let me tell you, it was not pretty.

You want something sturdy and flat – no dance floors here!

Next up, you’ll need to connect your Victrola to power and speakers. This part can be a bit tricky, especially if you’re not tech-savvy like yours truly.

I remember spending a good hour trying to figure out which cable went where. But don’t worry, your Victrola should come with clear instructions.

Just match the colored cables to the right inputs, and you’ll be golden.

Now comes the fun part – adjusting the tonearm and cartridge. This is where the magic happens, folks!

The tonearm is that long, slender arm that holds the cartridge (which houses the needle or stylus). Getting this right is crucial for good sound quality.

Here’s a pro tip I learned the hard way: don’t just eyeball it! Use the protractor that came with your turntable to align the cartridge properly.

And when you’re setting the tracking force (how heavily the needle sits in the groove), start light and adjust from there. I once set mine too heavy and nearly had a heart attack when I heard the resulting sound.

Thankfully, no records were harmed in the process!

Remember, setting up your turntable is an art form. It might take a bit of trial and error, but once you get it right, oh boy, is it worth it!

The first time I heard a perfectly set-up Victrola, I swear I could hear angels singing. Or maybe that was just Freddie Mercury.

Either way, it was magical!

Operating Your Victrola Turntable

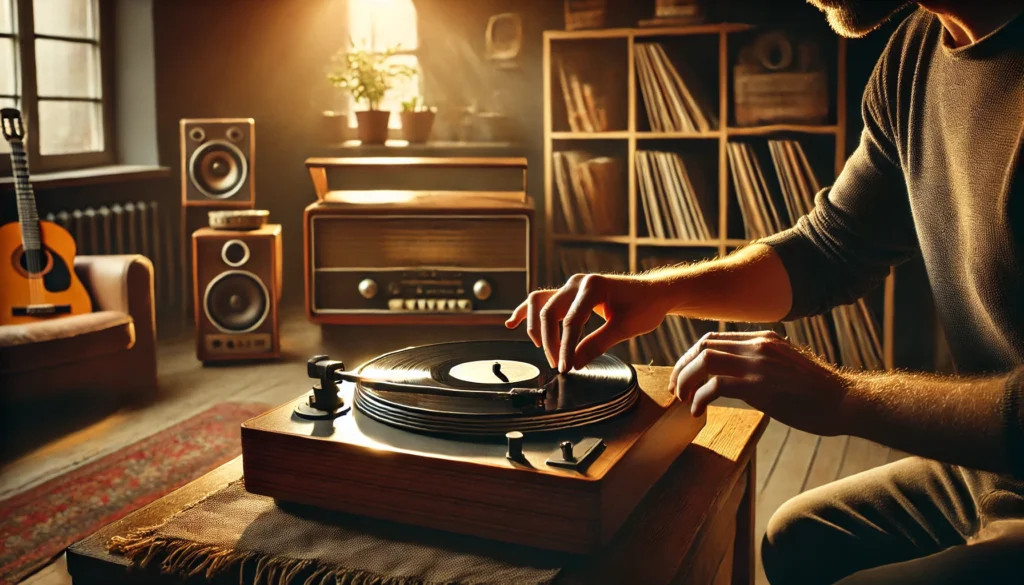
A cozy living room scene featuring a person carefully operating a Victrola turntable, gently lowering the needle onto a vinyl record using the cueing lever. Shelves filled with vinyl records and speakers are visible in the background, creating a warm and nostalgic atmosphere. Soft lighting adds to the relaxing mood of the space.

Alright, you’ve got your Victrola all set up and ready to go. Now comes the fun part – actually using it!

Trust me, there’s nothing quite like the ritual of putting on a record. It’s like a little dance, and soon you’ll be doing it with your eyes closed.

First up, you need to select the correct speed. Most records play at 33 1/3 RPM, but some play at 45 RPM.

I learned this the hard way when I played my first 45 at 33 1/3 – let’s just say it sounded like the chipmunks on sedatives. Not my finest moment!

Next, you’ll want to carefully place your record on the platter. I like to hold it by the edges and label, avoiding those delicate grooves.

Oh, and make sure your hands are clean! I once left a greasy fingerprint on my favorite Beatles album and nearly cried.

Now comes the moment of truth – lowering the needle. This is where the cueing lever comes in handy.

It’s like a little elevator for your needle, allowing you to lower it gently onto the record. I used to try and do this by hand, but after a few heart-stopping scratches, I learned to love the cueing lever.

To start playback, simply lower the cueing lever and let the magic happen. The first time I heard the warm crackle of a vinyl record on my Victrola, I swear time stood still.

It’s a sound like no other!

When you’re done listening (if you ever want to stop, that is), just lift the cueing lever to raise the tonearm, and then move it back to its rest. Some Victrola models have an automatic return feature, which is pretty nifty.

But I kinda like doing it manually – it feels more authentic, you know?

Remember, operating a turntable is all about being gentle. Treat your Victrola and your records with love, and they’ll reward you with years of amazing sound.

And don’t be discouraged if you make a mistake or two along the way. We all do!

It’s part of the charm of vinyl.

Maintaining Your Victrola Turntable

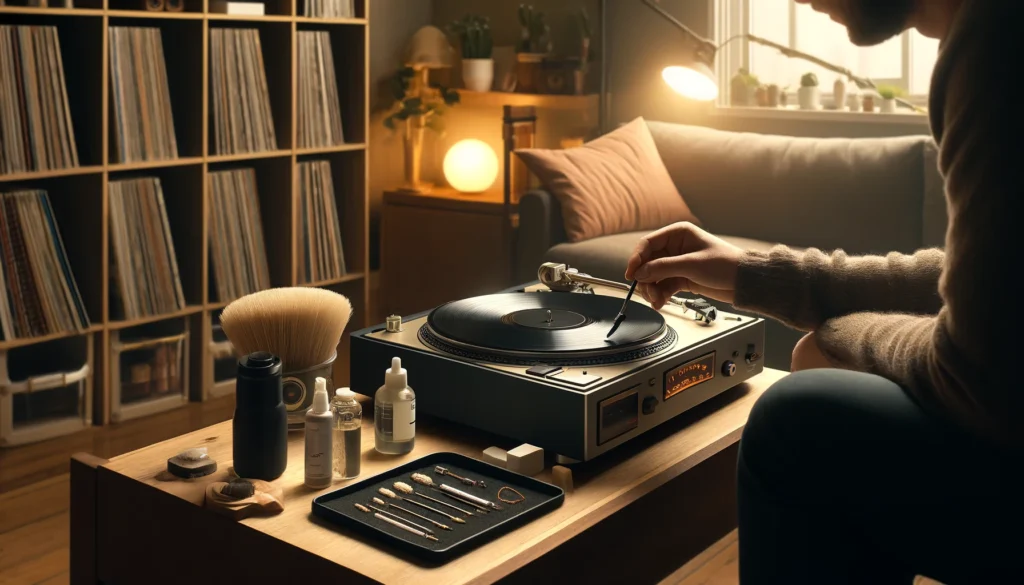
A cozy living room setting with someone carefully maintaining a Victrola turntable. The person is gently cleaning the stylus using a stylus brush, with cleaning supplies like a carbon fiber brush and vinyl cleaning solution on the table. Shelves filled with vinyl records line the background, illuminated by soft, warm lighting from a table lamp.

Alright, now that you’re a pro at using your Victrola, let’s talk about keeping it in tip-top shape. Trust me, a little TLC goes a long way in the world of turntables.

I learned this the hard way when I neglected my first turntable and ended up with more pops and crackles than a bowl of Rice Krispies!

First up, cleaning. Your stylus (that’s the fancy word for the needle) is like a little explorer, traveling through the grooves of your records.

And just like any explorer, it can get a bit dirty. I use a stylus brush to gently clean mine before each use.

Word of caution: be gentle! I once pressed too hard and bent my stylus.

Let’s just say it wasn’t my proudest moment.

Now, onto the records themselves. Keep ’em clean, folks!

I use a carbon fiber brush to remove dust before and after each play. For deeper cleaning, I use a special vinyl cleaning solution.

But whatever you do, don’t use water or household cleaners. I made that mistake once and… well, let’s just say that record now makes a lovely wall decoration.

Speaking of the stylus, these little guys don’t last forever. I replace mine every 1000 hours of play or so.

It’s like changing the oil in your car – a bit of a pain, but necessary for smooth operation. The first time I changed mine, I was sweating bullets!

But now it’s a breeze.

Lastly, let’s talk storage. Store your records vertically, never stacked.

And keep ’em away from heat and sunlight. I once left a record in my car on a hot day.

When I came back, it looked like a Salvador Dali painting. Not cool, man.

Not cool.

Remember, maintaining your Victrola is all about consistency. A little bit of care goes a long way.

And trust me, when you hear the crisp, clear sound of a well-maintained turntable, you’ll know it’s all worth it!

Troubleshooting Common Issues

A cozy living room setting with a Victrola turntable on a sturdy surface. The turntable is shown in use, with a record spinning, illustrating a troubleshooting process for common vinyl playback issues. A modern yet relaxed ambiance surrounds the setup with warm lighting and vinyl records nearby.

Okay, so you’ve set up your Victrola, you’re using it like a pro, and you’re keeping it squeaky clean. But what happens when things go a little… sideways?

Don’t panic! Even the best turntables can have off days.

I’ve been there, and I’ve got some tricks up my sleeve to share.

First up, let’s talk about sound quality problems. If your tunes are sounding a bit off, it could be a few things.

Check your stylus – is it dirty or worn out? I once spent hours trying to figure out why my records sounded like they were underwater, only to realize my stylus was coated in dust.

Embarrassing, but an easy fix!

If you’re experiencing skipping or repeating, don’t throw your hands up in despair just yet. This could be due to a few things.

Is your turntable level? I once had a persistent skipping problem that was solved by simply adjusting the feet of my Victrola.

Also, check your tracking force. If it’s too light, your needle might be bouncing around like a kangaroo on a trampoline.

Now, let’s address the dreaded speed inconsistencies. You know, when your favorite song suddenly sounds like it’s being played by a drunk DJ?

This is often due to a worn-out belt (if your Victrola is belt-driven). Replacing the belt is usually a quick and easy fix.

I remember the first time I did this – I felt like a turntable surgeon!

Sometimes, the issue might be with the record itself. Warped records can cause all sorts of problems.

I once bought a “mint condition” record online that turned out to be as wavy as the ocean. Lesson learned: always check your records carefully!

Remember, troubleshooting is all about patience and process of elimination. Start with the simplest solutions and work your way up.

And don’t be afraid to consult your Victrola’s manual or reach out to other vinyl enthusiasts. We’ve all been there, and most of us are happy to help a fellow record lover in need.

Conclusion

Well, there you have it, folks! You’re now equipped with all the knowledge you need to use your Victrola turntable like a pro.

From setting it up just right to troubleshooting those pesky issues, you’re ready to dive headfirst into the wonderful world of vinyl.

Remember, using a turntable is as much an art as it is a science. Don’t be afraid to experiment and find what works best for you.

Maybe you’ll discover that slightly adjusting the tracking force brings out the bass in your favorite jazz records. Or perhaps you’ll find the perfect cleaning routine that keeps your vinyl in pristine condition.

Always keep in mind the importance of treating your equipment and records with care. These aren’t just pieces of plastic and metal – they’re gateways to incredible sonic experiences.

Treat them well, and they’ll reward you with years of amazing music.

And hey, don’t forget about safety! Make sure your turntable is placed somewhere stable, keep liquids away (trust me on this one), and always handle electrical connections with care.

Your ears will thank you for the great tunes, but they’d probably appreciate not being electrocuted, too!

Now, I’d love to hear from you! What’s been your experience with Victrola turntables?

Any tips or tricks you’ve discovered? Or maybe you have a funny story about your first time using a turntable?

Drop a comment below and let’s keep this vinyl conversation spinning!

Remember, every scratch, pop, and hiss is part of the vinyl experience. Embrace it, enjoy it, and most importantly, keep those records turning.

Happy listening!