Best Acoustic Ceiling Panels (That Actually Reduce Reverb) [2026]
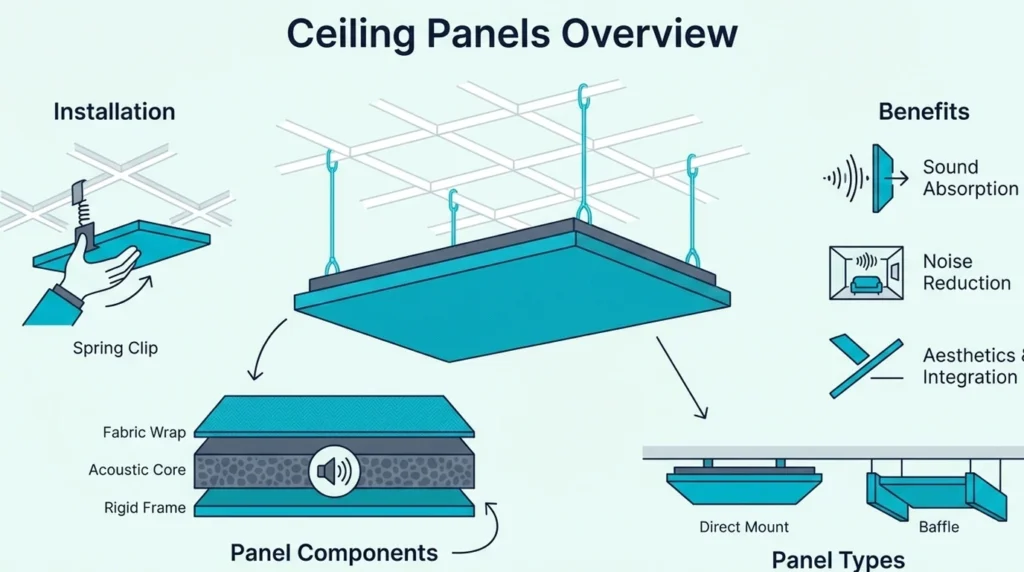
The best acoustic ceiling panels can make a bigger difference than wall panels—but only if they’re placed where the ceiling reflection is actually hitting your ears or mic. Stick a couple of panels in random spots, and you’ll still hear the same “roomy” splash.
This guide helps you pick panels that are real treatment (not thin decor) and shows you the placements that give you the fastest audible win. Start with the Top Picks if you’re buying today, then use the coverage + placement sections to avoid under-treating.
Acoustic ceiling panels work best as a “ceiling cloud” above the listening/recording position, because that’s where the strongest early reflection happens. Buy enough coverage to treat one meaningful zone first, then expand—one tiny panel won’t change the room.
Best Acoustic Ceiling Panels (Top Picks)
All of these picks are “real panels” you can mount to a ceiling as a cloud or direct-mount treatment. The best choice depends on how much area you want to cover and how permanent you want the install to be.
Ceiling panels are most valuable when they form a cloud above your listening or recording position. If you mount a panel above a random corner, you can spend money without hearing the payoff.
If you’re treating a low ceiling, prioritize a clean, low-profile mount. If you can hang a cloud with an air gap, you’ll usually get more absorption from the same panel thickness.
Best Overall: The safest balance of performance and finish quality
If you want one pick that works for most rooms, choose a dense, fabric-wrapped panel you can mount overhead without it looking like a DIY project. The BXI High-Density Acoustic Panels (4-Pack) is the “buy it and stop thinking” option.
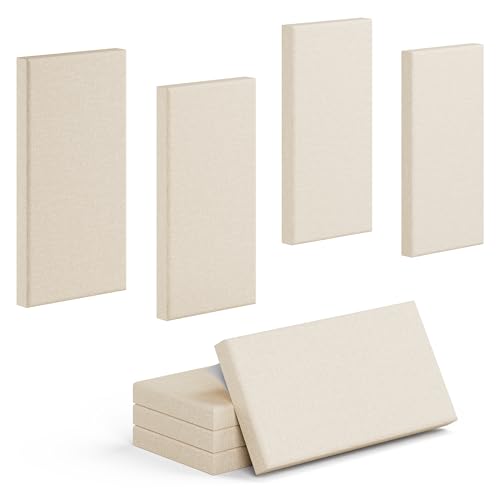
BXI High-Density Acoustic Panels (4-Pack)
It’s a strong match for home studios and offices because it treats the reflection that makes speech sound hard and “boxy.” Mount it above the desk or mix position and you usually hear clearer mids immediately.
Best Large Panel: Fewer pieces, cleaner look, faster coverage
Large panels matter when you’re treating a bigger listening area or you want the ceiling to look intentional. The UMIACOUSTICS 47-inch Panels helps you cover meaningful area without turning the ceiling into a patchwork.
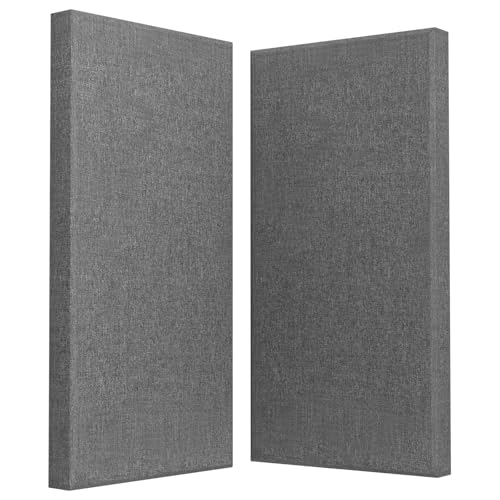
UMIACOUSTICS 47-inch Panels
This is a great pick for home theaters and dedicated studios where you want a “real install” look. You’re paying for fewer seams, fewer mounts, and a more professional finish overhead.
Best Value: The most cost-efficient path to real coverage
If you already know you need multiple panels, value is really about price-per-treated-area. The UMIACOUSTICS Standard Pack is the “buy enough to matter” option.
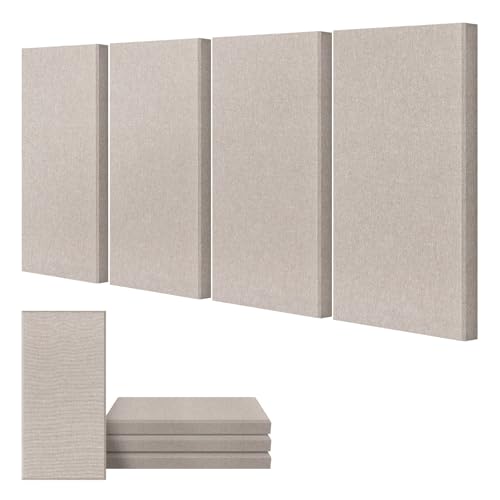
UMIACOUSTICS Standard Pack
Use this when you’re treating a couch area, a desk setup, or a small studio and you want to cover a full zone instead of sprinkling panels around. Coverage beats perfection when you’re fighting reverb.
Best Budget: Good for testing the concept before committing
Ceiling treatment is one of those things you don’t fully believe until you hear it. The 2-Pack Fabric Acoustic Panels lets you do a low-risk “before/after” test.
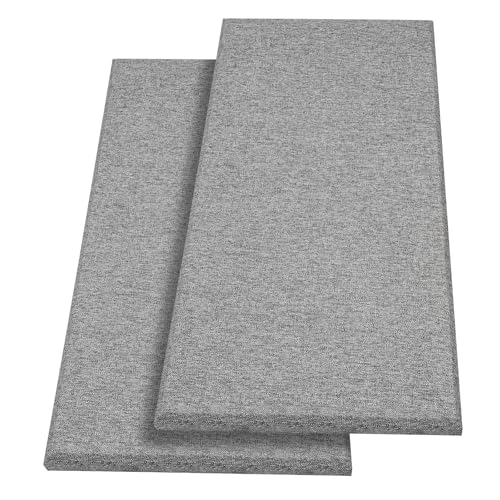
2-Pack Fabric Acoustic Panels
It’s best for smaller problem areas like a desk corner or a tight office. If you love the result, you can upgrade to thicker fiberglass panels and scale up coverage.
Best Mid-Range: Fiberglass performance without the heavy spend
If you’re trying to beat foam tiles without jumping straight to premium installs, fiberglass is the move. The Olanglab Fiberglass Panels is a solid middle ground.
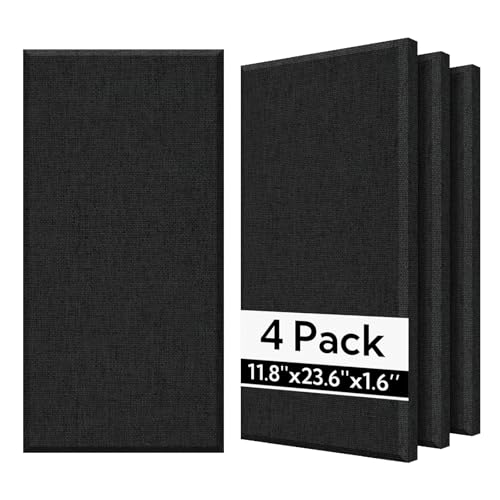
Olanglab Fiberglass Panels
This is a good pick when your room has slap echo but you don’t need a full “studio ceiling cloud” yet. Treat the main reflection zone first, then decide if you need more.
Best Alternative: Same performance, different color options
Sometimes the “best” pick is the one that matches the room so you actually install it. The Olanglab Alternative Pack is for people who want the same general performance but a different look.
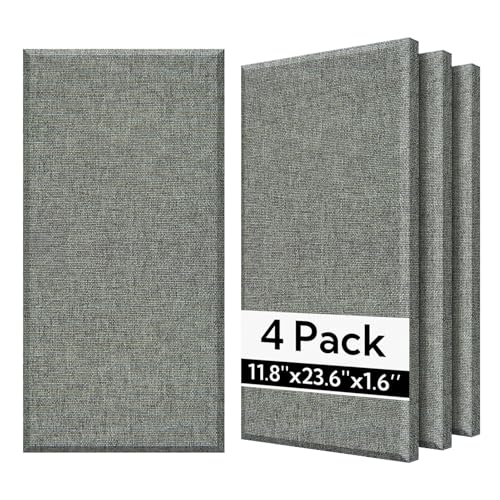
Olanglab Alternative Pack
If your panels will be visible every day, “aesthetic fit” is not a small detail. The panels that match your ceiling and lighting are the ones you won’t regret.
Why Ceiling Treatment Works So Well
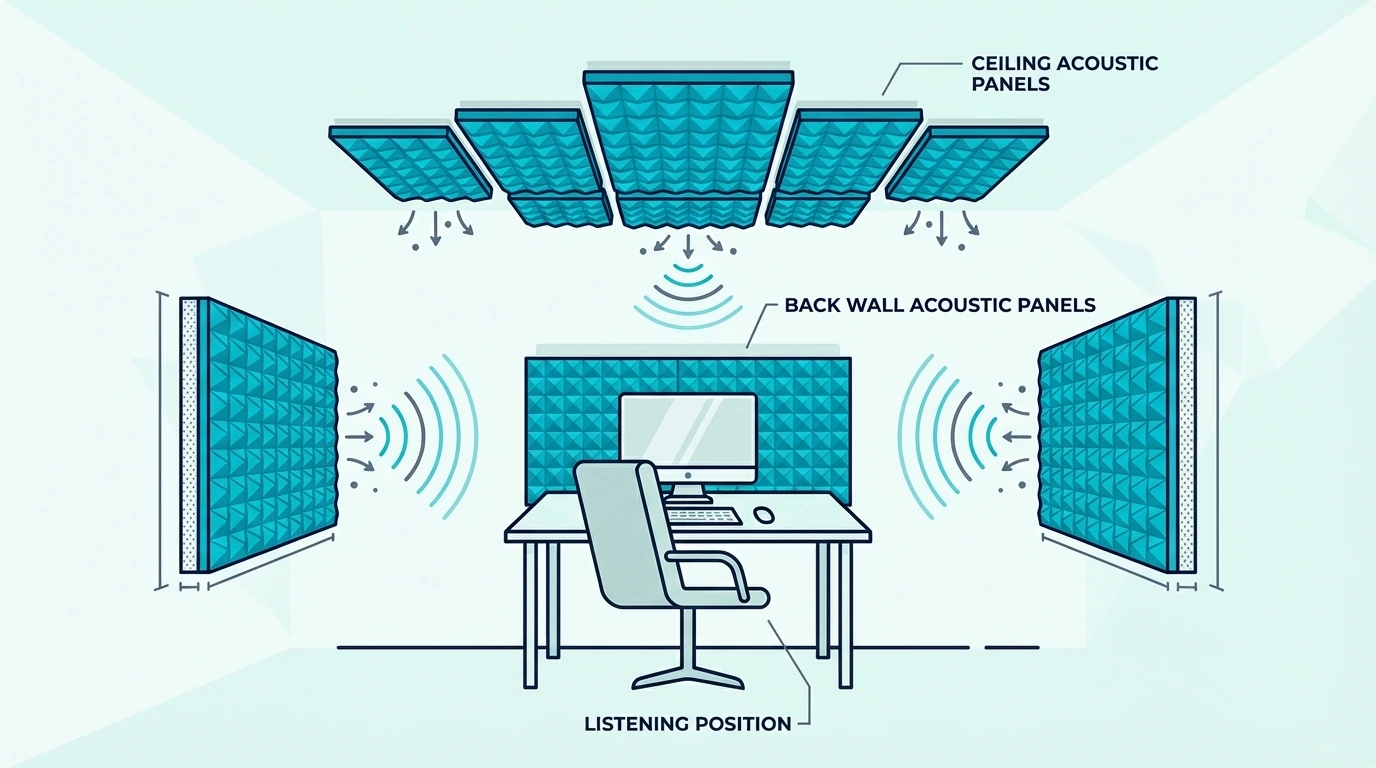
The ceiling is a giant, flat reflector that sits right between your speakers (or voice) and your ears. That’s why untreated ceilings often create a “halo” of reverb even when your walls are partially treated.
When you add a ceiling cloud, you’re usually killing one of the strongest early reflections in the room. That tends to improve clarity and reduce fatigue faster than chasing tiny changes on side walls.
Ceiling panels also help rooms that feel “ringy” because of hard floors. The floor and ceiling act like two mirrors, and sound bounces between them.
If you’re still mapping out a full plan (walls + corners + ceiling), the acoustic panels hub is the right starting point. Ceiling panels are just one piece — bass, isolation, and wall reflections each need different treatment.
Most rooms need both wall and ceiling treatment — the best acoustic panels list includes picks for both. If raw absorption matters more than aesthetics, fiberglass panels outperform polyester and foam at the same thickness.
Get Studio Tips Weekly
Join 5,000+ creators getting acoustic treatment advice every week.
No spam. Unsubscribe anytime.What Are the Different Types of Acoustic Ceiling Panels?
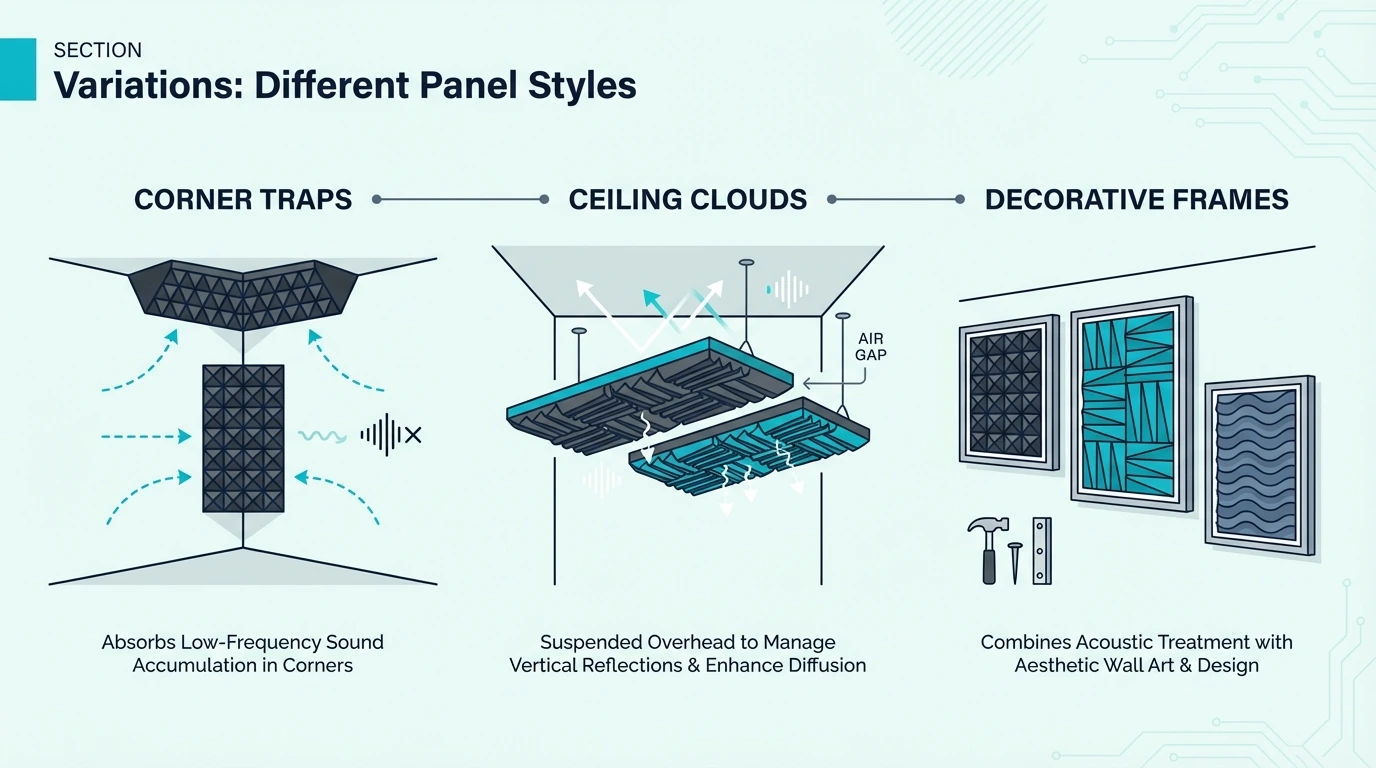
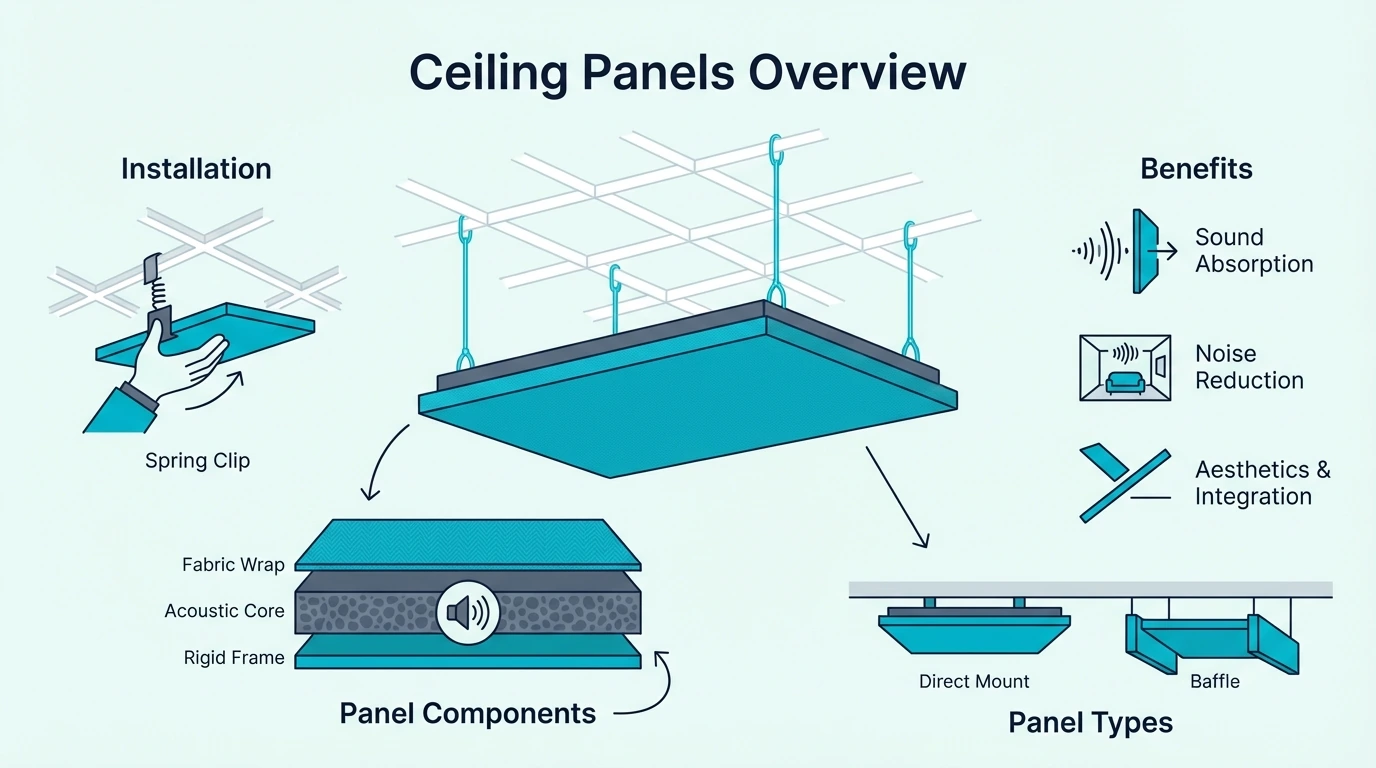
“Ceiling panels” can mean a few different products, and choosing the right type prevents a lot of wasted money. Three options cover most installs: suspended clouds, direct-mount panels, and drop ceiling tiles.
Ceiling clouds (best for most home studios)
A cloud is a panel hung horizontally with an air gap above it. That air gap helps absorption and makes clouds very effective for reflections above the listening/recording position.
Clouds are the go-to ceiling treatment in recording studios, where the overhead reflection above the mic can make or break a vocal take.
Direct-mount ceiling panels (best when you need a low-profile look)
If a suspended cloud won’t fit your ceiling height, direct-mount panels are the alternative — they sit flush against the surface and look cleaner in low rooms. You lose the absorption boost from an air gap, but for many rooms the visual simplicity is worth it.
If you’re also treating walls and you want the room to look finished (not “treated”), art panels are a strong complement to ceiling treatment. Pair a ceiling cloud with tasteful wall treatment using best acoustic art panels, and the room can sound controlled without looking like a studio.
Drop ceiling tiles (best for grid ceilings)
Clouds and direct-mount panels assume a solid ceiling, but if you have a suspended grid, traditional acoustical tiles slot right in. They’re designed for that frame and can cover broad areas without visible “panels.”
Just make sure you’re buying acoustic tiles (rated for absorption), not basic decorative tiles. The grid makes it easy to treat a large surface area, which is why offices sound so different when tiles are chosen correctly.
How Many Ceiling Panels Do You Need?
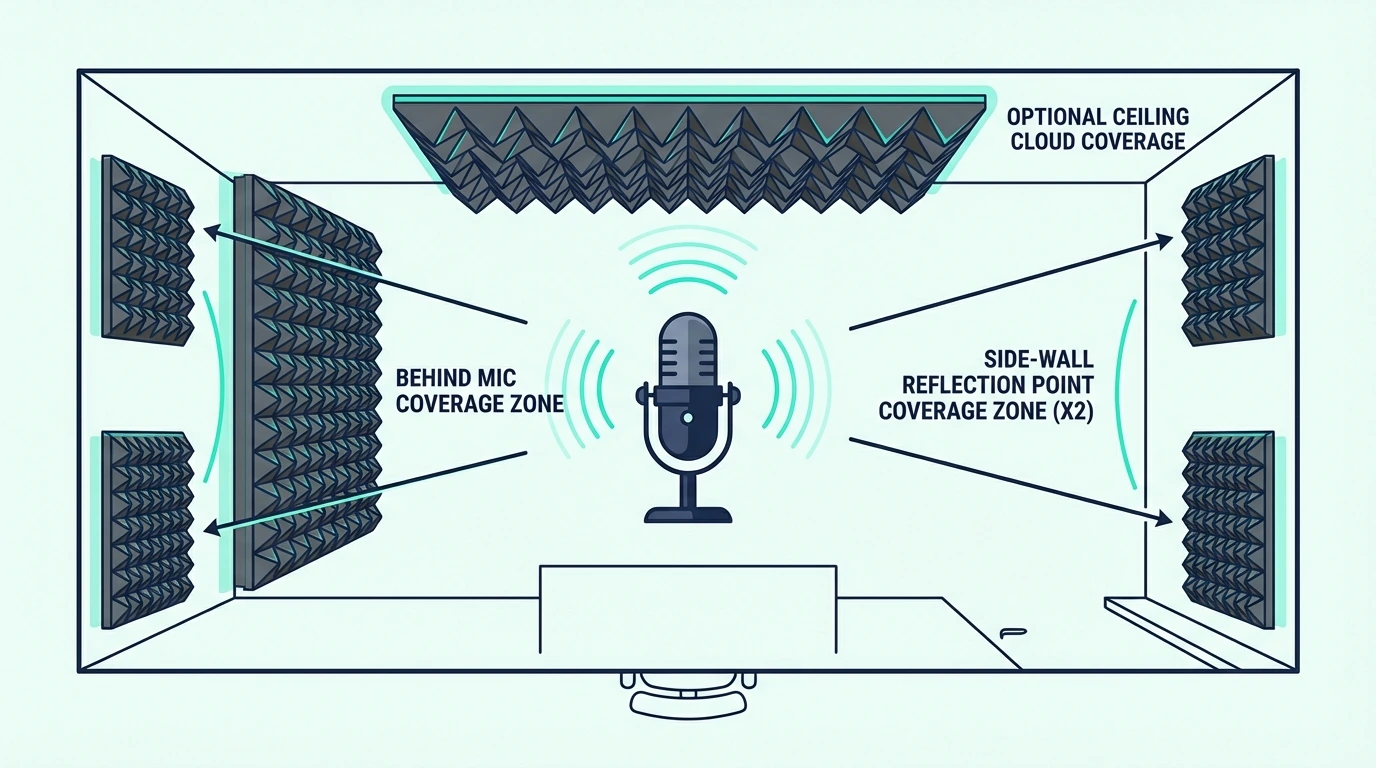
Think in zones, not in “number of panels.” Your first goal is to treat the ceiling reflection above the listening or recording position.
If you’re treating a desk setup, start above the desk and the space between you and your speakers. If you’re treating a couch area, start above the seating position where dialogue and music are actually heard.
Once that zone is treated, decide whether you still hear reverb when you clap or speak normally. If you do, expand outward rather than scattering panels across the ceiling randomly.
A good starting target is to cover the ceiling area directly above the listening position and the space between you and the speakers. In many small rooms, that’s less total area than people assume, but it’s placed where it matters.
If you’re on a tight budget, fully treat one zone with fewer, higher-quality panels instead of sprinkling thin panels everywhere. The panel material matters more than quantity — a dense fiberglass core in one zone absorbs more than polyester scattered across the whole ceiling.
How Do You Safely Mount Acoustic Panels to a Ceiling?
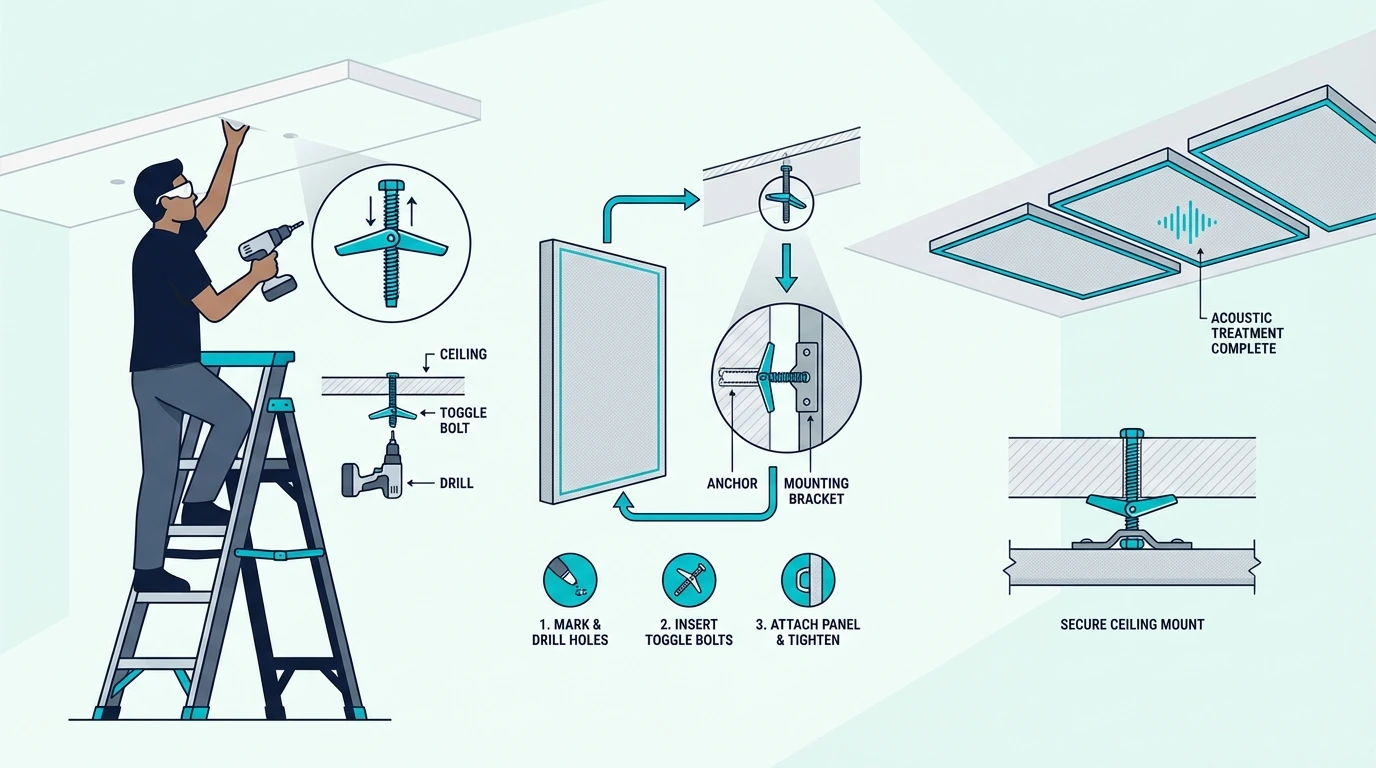
Ceiling mounting has one rule: overbuild the attachment method. If you’re unsure about anchors, use hardware designed for overhead loads and don’t rely on “light-duty” hooks.
For clouds, use wire/cable kits rated for overhead load and use redundant hardware when possible. It’s cheap insurance when you’re mounting anything above people.
If you can find joists, mount into them. If you can’t, use rated toggle bolts or rated anchors and follow the panel manufacturer’s mounting guidance.
Avoid spray adhesives for ceiling installs in warm rooms. Gravity plus heat is a bad combination, and failed adhesive installs are messy to repair.
If you’re working with fiberglass panels, wear gloves and keep the panel fabric intact. You want the absorption, not fiberglass dust in your room.
Where Should You Place Ceiling Panels?
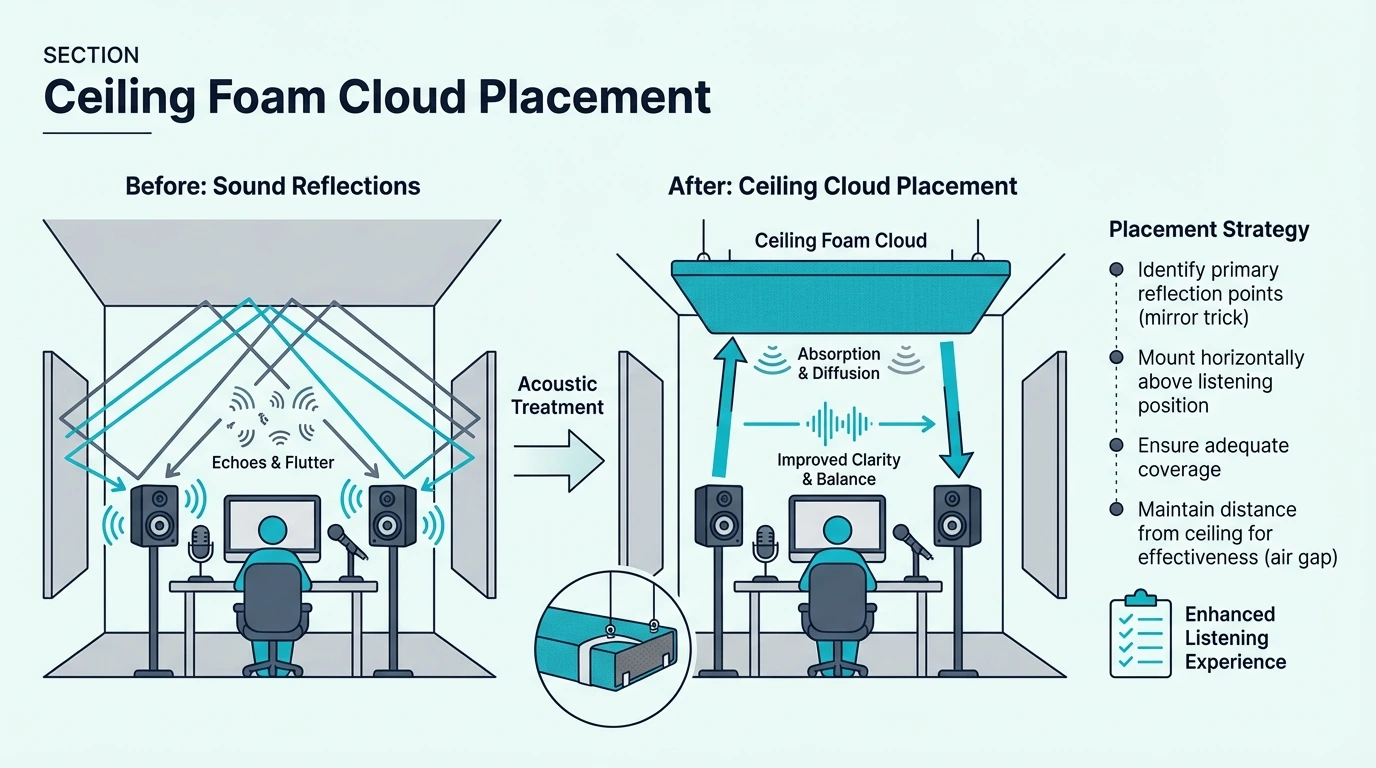
For listening rooms and home theaters, the highest-impact placement is usually a cloud above the main seating position. That’s where dialogue clarity and imaging improvements show up first.
For desk setups, place panels above the desk and slightly forward toward the speakers. You’re trying to catch the reflection that bounces off the ceiling and straight back to your ears.
For vocal recording, treat the ceiling above the mic position. A ceiling reflection above a mic can make recordings sound “roomy” even when walls are partially treated.
For a dedicated home theater, the ceiling cloud usually extends wider than a desk setup — covering the full seating row and the space between the seats and the screen improves surround imaging across all positions.
If you’re unsure, walk around the room and clap, then listen for where the echo blooms. Treat the ceiling above that area first, then expand.
The Bottom Line
Ceiling acoustic panels are one of the highest-impact upgrades you can make, because they target a major reflection path. They work best when you treat the zone above the listening/recording position, not when you scatter panels around the ceiling.
Start with a real fiberglass or high-density panel you can mount safely, then build coverage outward. Suspended clouds with an air gap give you more absorption per panel — and once the first zone sounds right, you’ll know exactly where to expand.
Frequently Asked Questions
Do acoustic ceiling panels soundproof a room?
No. They reduce echo and reflections inside your room, but they don’t block sound from passing through the ceiling to other rooms.
Are ceiling clouds worth it?
In most rooms with untreated ceilings, yes — a cloud above the listening position is one of the fastest upgrades you can make. You’ll usually hear the difference on the first clap test: less splash, tighter vocals, cleaner imaging.
Can you install ceiling panels without drilling?
Sometimes, but it depends on panel weight and ceiling surface. For safety, overhead installs should use rated mounting methods instead of relying on adhesives.
Do ceiling panels help in apartments?
For echo and call quality, absolutely. For blocking neighbor noise through the ceiling, no — that’s a soundproofing problem, and panels only treat what’s happening inside your room.