How to Make DIY Bass Traps: Complete Build Guide [2026]
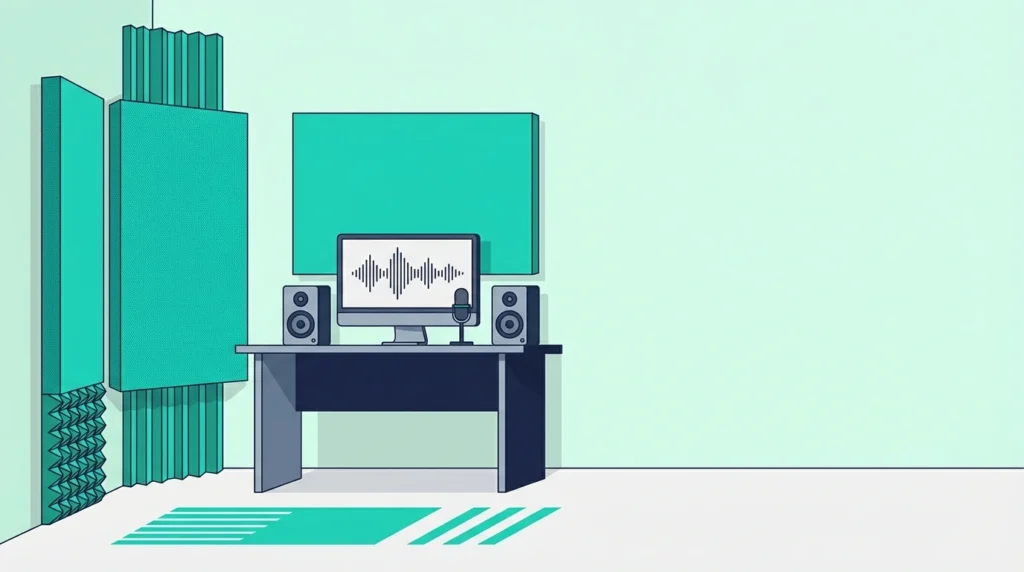
Can you make DIY bass traps that actually fix boomy low end? Yes — but only if you build them like real low-frequency treatment instead of filling corners with thin foam or decorative panels that merely look acoustic.
The pain is that bass buildup comes from room dimensions and corner pressure, not from a lack of generic wall coverage. That is why shallow foam, weak materials, and bad placement leave you with the same muddy lows and uneven monitoring after all the effort.
The upside is that a proper DIY build with rigid fiberglass or mineral wool can smooth room response, tighten bass, and make listening or mixing decisions far more trustworthy without forcing you into commercial-trap pricing.
Below, you’ll see the first moves that matter most: choose the right insulation, build enough depth into the frame, place the finished traps in the corners first, and avoid the common products that solve the wrong problem.
Build DIY bass traps with rigid fiberglass or mineral wool at least 4 inches thick, wrap them in breathable fabric, and place them floor-to-ceiling in room corners. The material and thickness matter far more than cosmetic finish, and thin foam sheets are not a substitute for real bass trapping. Start with the rear corners, then add the front corners and wall-ceiling junctions if budget and space allow.
What Materials Do You Need for DIY Bass Traps?
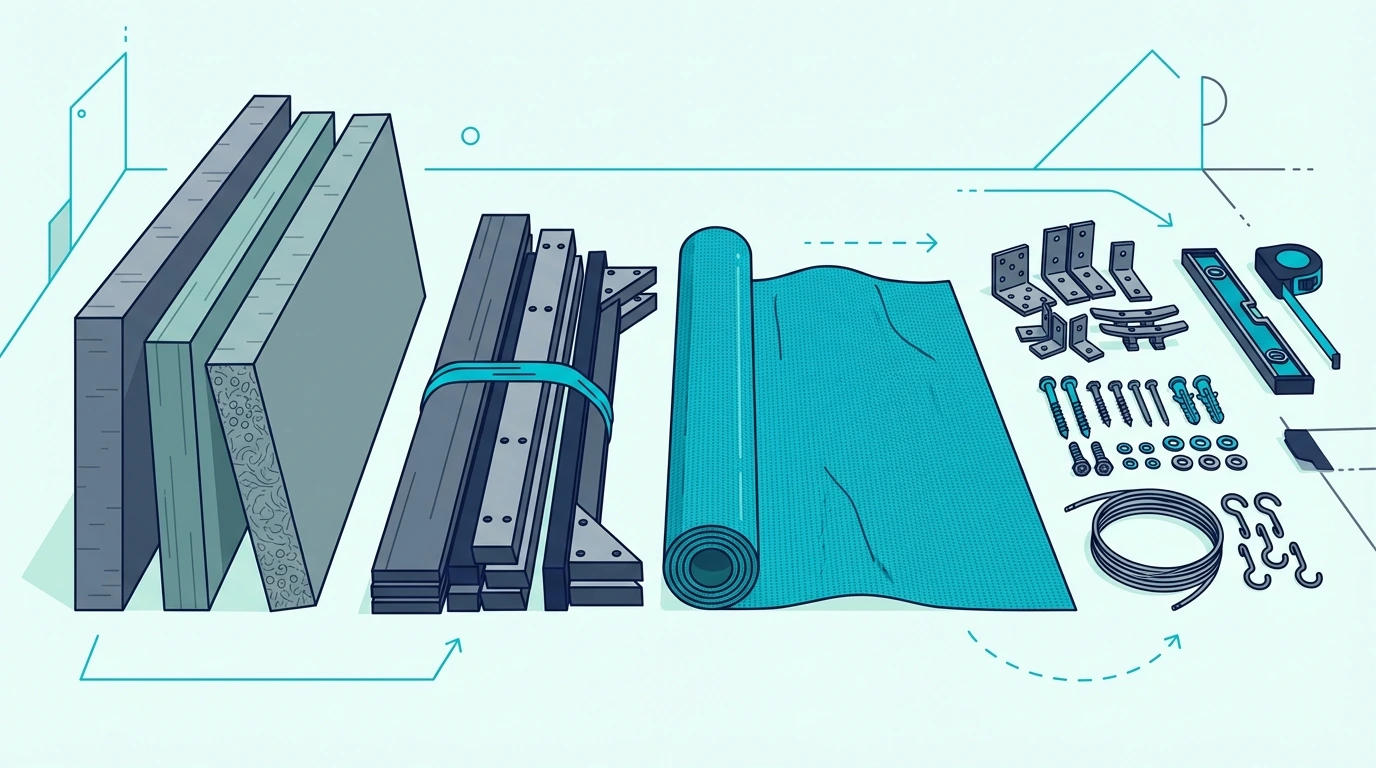
The effectiveness of your bass traps depends almost entirely on choosing the right absorptive material. Foam won’t work — it’s too light and doesn’t absorb low frequencies effectively.
You need dense, rigid insulation specifically designed for acoustic applications. The two most common options are Owens Corning 703 (rigid fiberglass) and Rockwool Safe’n’Sound (mineral wool). Both work excellently for bass absorption.
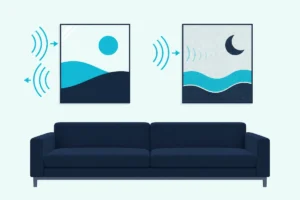
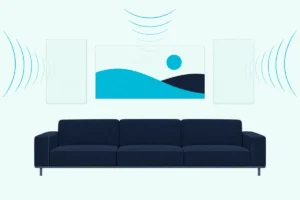
Understanding the difference between bass traps and acoustic panels helps you choose the right thickness — bass traps need to be significantly thicker than standard panels.
Which Insulation Works Best?
Owens Corning 703 is the industry standard for DIY acoustic treatment. It’s rigid, easy to cut, and has excellent absorption characteristics across the frequency spectrum. A 4-inch thick panel absorbs effectively down to around 125 Hz.
A rigid fiberglass board option like Owens Corning 703 semi-rigid fiberglass board is the closest match to the classic studio-style DIY trap recipe.
If you want a more forgiving mineral-wool route for thicker corner builds, plain mineral wool batts are a DIY-friendly alternative.
Both materials are safe when handled properly. Wear gloves, a dust mask, and long sleeves during construction — the fibers can irritate skin and lungs during cutting. For more on acoustic panel safety, the same principles apply to bass trap materials.
Complete Materials List
For a standard 2’ x 4’ floor-to-ceiling corner trap, you’ll need:
- 2-4 panels of 2” mineral wool or rigid fiberglass insulation (stacked for 4”+ thickness)
- 1” x 4” lumber for the frame (approximately 20 linear feet per trap)
- Acoustically transparent fabric (enough to wrap the entire trap)
- Wood screws (1.5” and 2.5”)
- Staple gun and staples
- Mounting hardware sized for the finished trap weight
- Wood glue (optional but recommended)
Total cost runs $40-60 per trap depending on local material prices and insulation choice.
How Do You Build the Frame?
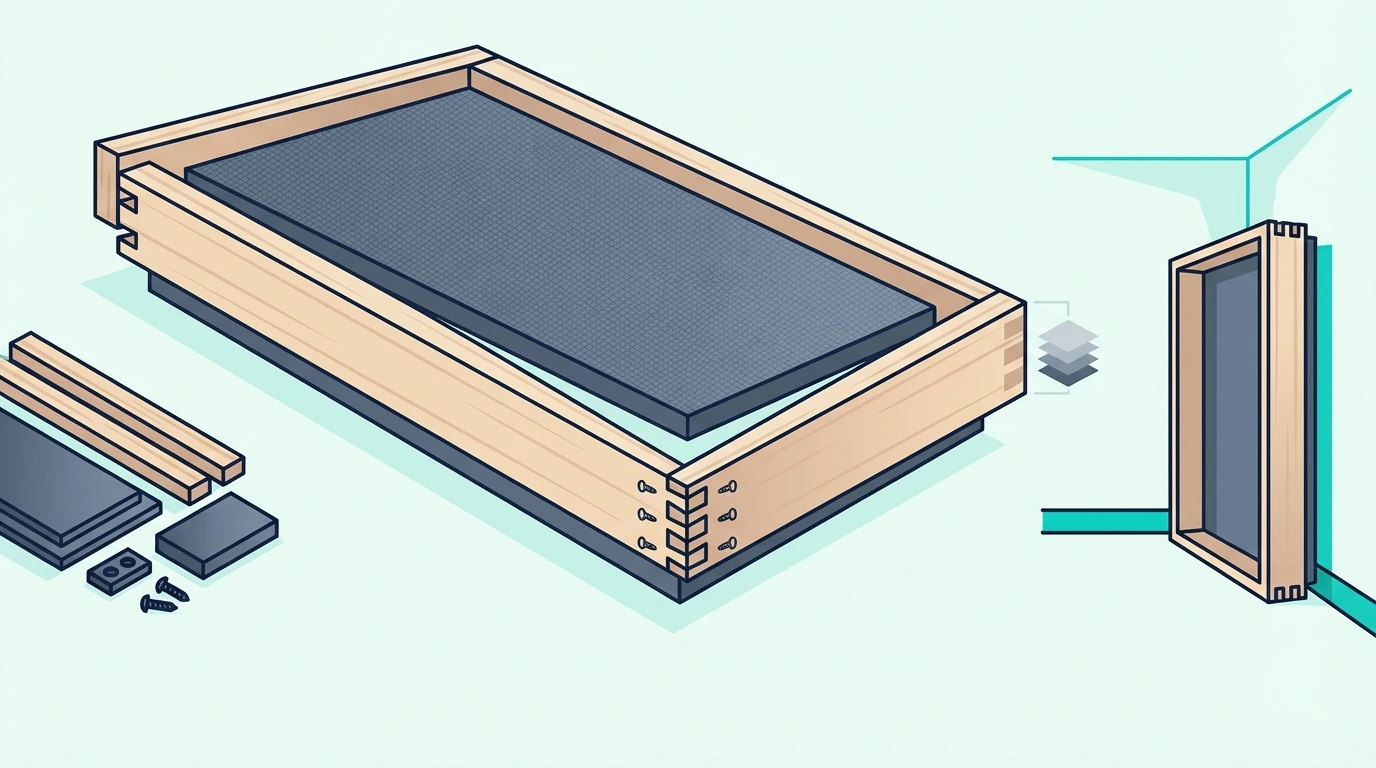
The frame serves two purposes: it holds the insulation in place and provides a surface for mounting the fabric covering. A well-built frame also makes installation much easier.
Start by determining your trap dimensions. Standard bass traps are 2 feet wide and extend from floor to ceiling (typically 8 feet). The depth should accommodate at least 4 inches of insulation — I recommend building 4.5-inch deep frames to allow slight compression of the insulation.
Cut your 1” x 4” lumber to create a rectangular frame matching these dimensions. The 1×4 is actually 0.75” x 3.5”, so two pieces stacked give you the 4+ inch depth you need.
Step-by-Step Frame Construction
Cut two long pieces for the vertical sides (matching your ceiling height minus 1 inch for clearance). Cut horizontal pieces for top, bottom, and one or two cross-braces.
Assemble using wood screws and wood glue for maximum strength. Pre-drill holes to prevent splitting, especially near the ends of boards. The frame should be rigid enough that it doesn’t flex when you press on the center.
Add a cross-brace at the midpoint for traps taller than 4 feet. This prevents bowing and keeps the insulation properly positioned. The brace can be a single horizontal piece or an X-pattern for extra rigidity.
Frame Design Variations
For corner-mounted traps, you can build triangular frames that fit directly into corners. These “superchunk” designs pack more insulation into the corner where bass accumulates most intensely.
The triangular approach uses the corner itself as part of the structure, requiring less lumber and creating a more effective bass trap. Cut the frame pieces at 45-degree angles where they meet the walls.
Freestanding rectangular frames work better if you might relocate the traps later or want to position them slightly away from walls for additional absorption.
Get Studio Tips Weekly
Join 5,000+ creators getting acoustic treatment advice every week.
No spam. Unsubscribe anytime.How Do You Install the Insulation?
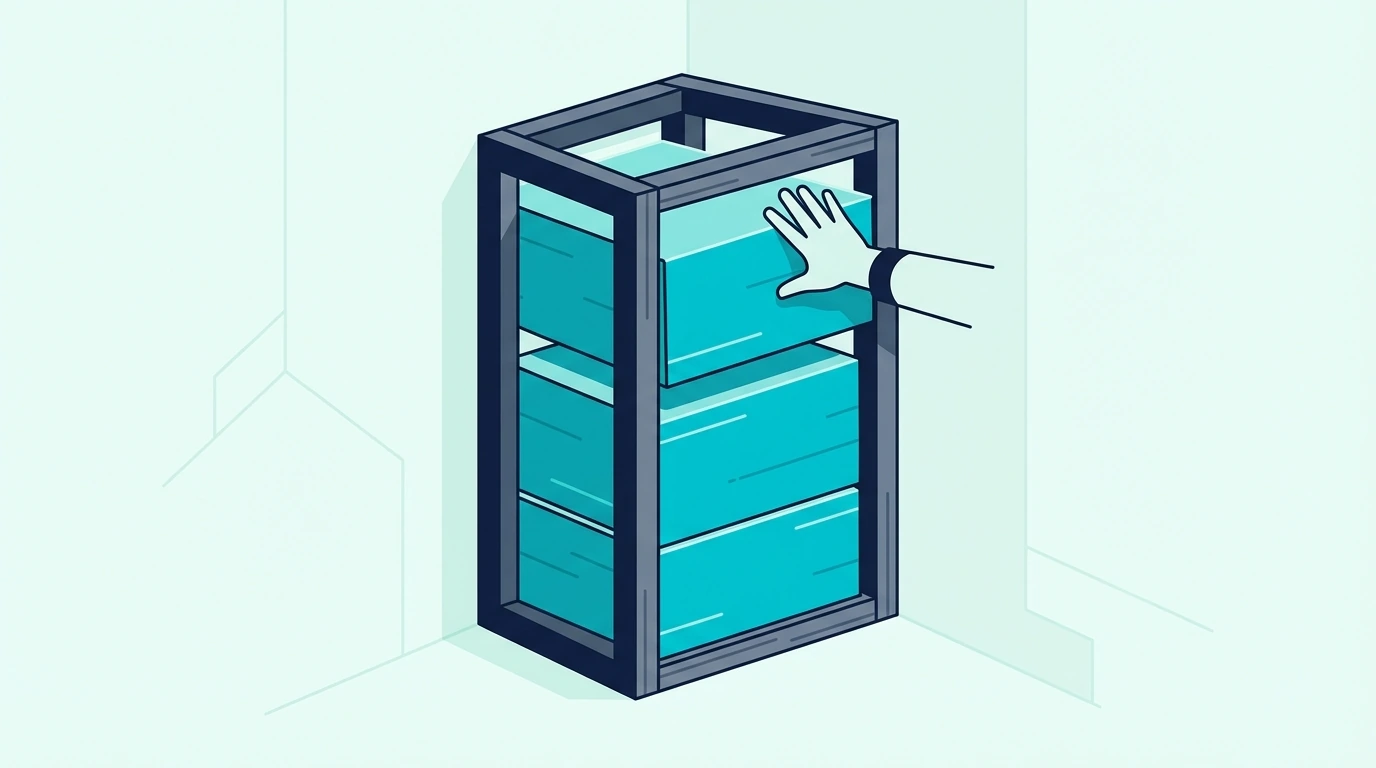
Insulation installation is straightforward but requires attention to fit. Gaps between insulation panels reduce effectiveness, so aim for a snug fit throughout.
Cut your insulation panels to match the interior frame dimensions. Use a straightedge and utility knife for clean cuts — serrated bread knives also work surprisingly well for rigid fiberglass.
Stack multiple 2-inch panels to achieve 4+ inch thickness. The panels should press slightly against each other and the frame when installed, eliminating air gaps.
Cutting Techniques for Clean Edges
Mark your cut lines clearly before cutting. A permanent marker shows up well on both fiberglass and mineral wool. Measure twice — insulation isn’t cheap, and mistakes mean buying more.
For straight cuts, clamp a straightedge along your cut line and run the knife along it in multiple passes. Don’t try to cut through in one stroke — three or four lighter passes produce cleaner edges.
For notches around frame cross-braces, make the vertical cuts first, then the horizontal. Remove the waste piece carefully to avoid tearing adjacent material.
Ensuring Proper Density
The insulation should fill the frame completely without excessive compression. Moderate compression (about 10-15%) actually improves low-frequency absorption slightly, but heavy compression reduces effectiveness.
If your insulation is too loose in the frame, add an additional thin layer or use spray adhesive to secure panels to each other. If it’s too tight, you may need to trim slightly — forcing oversized insulation creates bulges that make fabric application difficult.
Check that no gaps exist between insulation panels or between insulation and frame edges. Even small gaps create acoustic “leaks” that reduce bass absorption.
How Do You Apply the Fabric Covering?
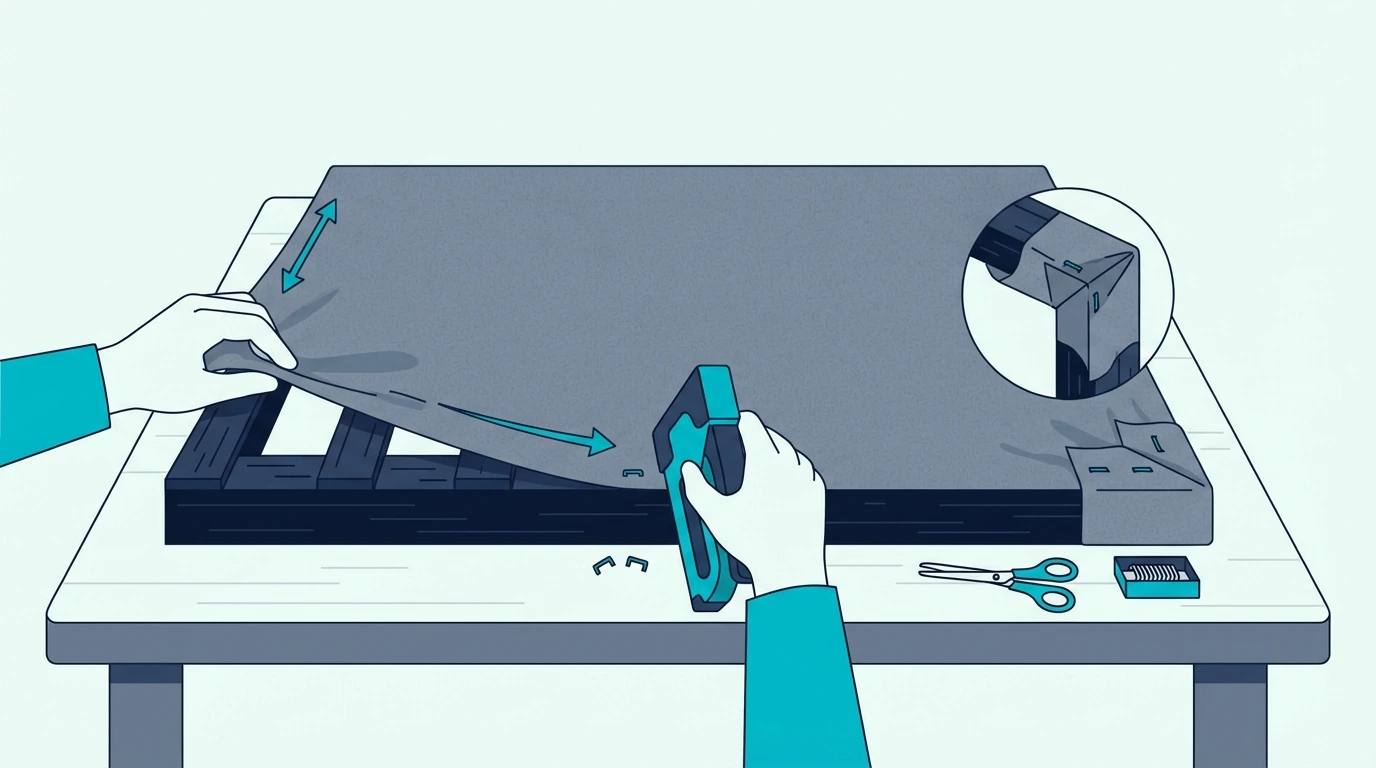
The fabric covering gives your bass traps a finished appearance while protecting the insulation from damage. It must be acoustically transparent — sound needs to pass through easily to reach the absorptive material.
Burlap, muslin, and purpose-made speaker cloth all work well. Avoid tightly woven fabrics, vinyl, or anything with a plastic backing — these reflect sound instead of letting it through.
Test fabric transparency by holding it over your mouth and breathing through it. If airflow is easy and unrestricted, the fabric will work for acoustic applications.
Wrapping Technique
Cut your fabric at least 4 inches larger than the frame on all sides. This provides enough material to wrap around the edges and staple securely to the back.
Lay the fabric face-down on a clean surface. Center the bass trap frame (insulation side down) on the fabric. Pull one long edge taut and staple to the back of the frame every 2-3 inches.
Move to the opposite long edge. Pull the fabric tight (but not so tight it distorts the weave) and staple. Repeat for the short edges. The fabric should be smooth and wrinkle-free on the visible face.
Corner Finishing
Corners require neat folding to avoid bulky bunches of fabric. The hospital corner technique works well — fold one edge flat, then fold the adjacent edge over it at a 45-degree angle.
Trim excess fabric at corners before folding to reduce bulk. Leave enough material to secure properly, but remove thick layers that would create visible bumps.
Staple corners securely — they experience the most stress during handling and installation. A few extra staples here prevent future loosening.
Where Should You Place DIY Bass Traps?
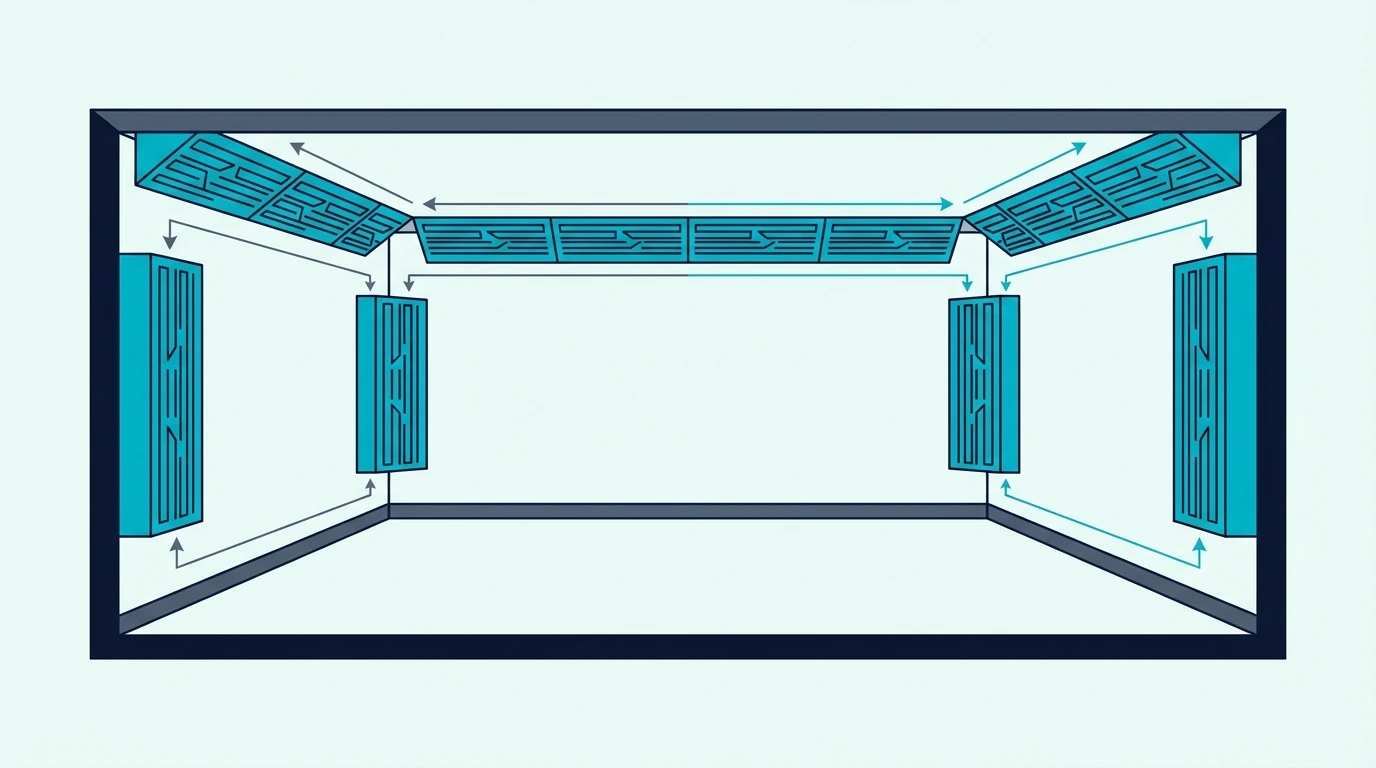
Placement determines how effectively your bass traps control low frequencies. Bass energy accumulates in corners where three surfaces meet (tri-corners) and along edges where two surfaces meet (di-corners).
Vertical room corners are the highest priority. The four vertical corners where walls meet contain the highest concentration of bass energy and should be treated first.
After vertical corners, address the horizontal junctions between walls and ceiling, then walls and floor. Full treatment of all corner junctions provides maximum bass control, but even treating the four vertical corners makes a significant difference.
Priority Placement Order
Start with the two corners behind your listening position. Bass buildup here creates the most audible problems — boomy low end, uneven frequency response, and masking of mid-range detail.
Add traps to the front corners next. These corners accumulate bass from your speakers or subwoofer before it has a chance to spread evenly through the room.
If budget allows, treat the ceiling-wall junctions above the front and rear walls. These horizontal traps catch bass that travels along the ceiling, further smoothing room response.
Mounting Options
Floor-to-ceiling traps can rest on the floor with simple L-bracket support at the top. This approach is stable and doesn’t require wall damage beyond a few screw holes. The mounting principles are similar to hanging acoustic panels, just scaled for larger, heavier units.
For ceiling-mounted horizontal traps, use sturdy eye hooks and aircraft cable for a clean, floating appearance. Make sure ceiling attachments hit studs or use appropriate anchors — bass traps are heavy. Proper acoustic panel installation techniques apply here as well.
Leaning traps against walls works for temporary setups but isn’t ideal. Any gap at the top allows bass to escape untreated, and the traps can shift over time.
What Mistakes Should You Avoid?
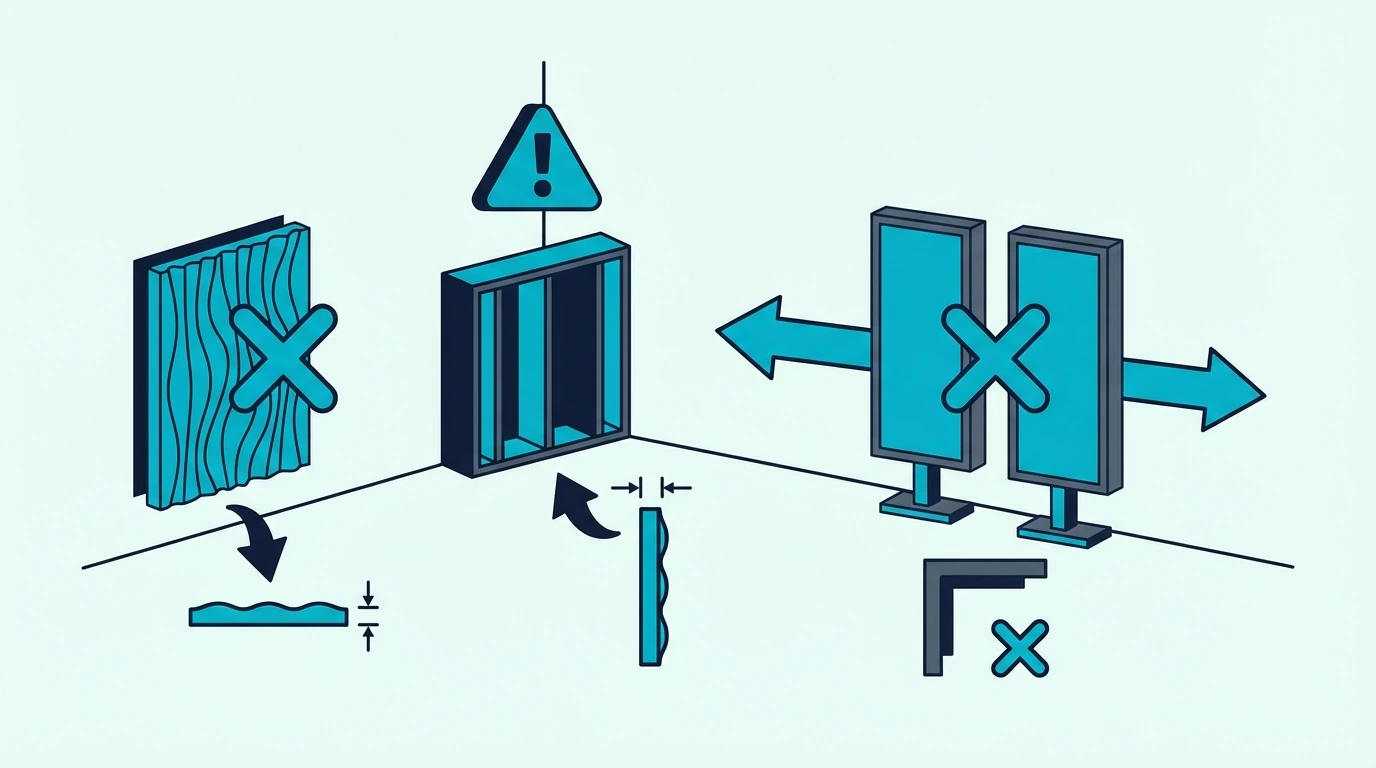
Building ineffective bass traps wastes time and money. These common mistakes reduce performance dramatically — avoid them from the start.
The biggest mistake is using the wrong absorptive material. Acoustic foam, egg crate foam, and moving blankets don’t absorb bass effectively. Their lightweight, porous structure works for high frequencies only. Rigid fiberglass or mineral wool is essential.
Insufficient thickness is another common problem. Two-inch thick traps absorb very little below 250 Hz. Four inches is the minimum for meaningful bass absorption; six inches or more is better.
Using Foam Instead of Rigid Insulation
Foam is lightweight and easy to work with, which makes it tempting for DIY projects. But physics works against foam for bass absorption — low frequencies require dense, thick material to absorb effectively.
A 4-inch foam panel absorbs less bass than a 2-inch rigid fiberglass panel. The density difference makes foam essentially useless for bass control, regardless of thickness.
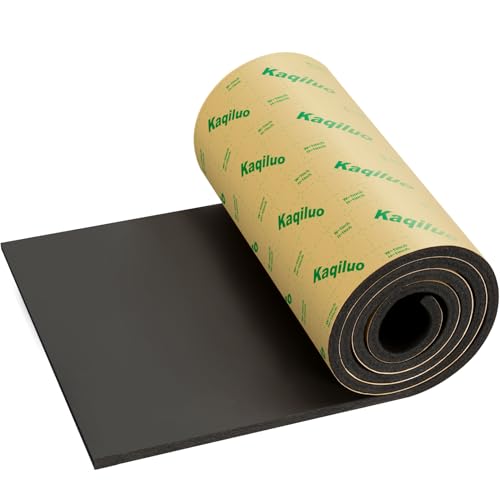
This is where many buyers get misled by thin peel-and-stick products. A self-adhesive sheet like Kaqiluo high-density self-adhesive sound insulation may look convenient, but it targets a different problem than room-mode control.
Save foam for high-frequency reflection control. For bass traps, always use rigid fiberglass or mineral wool products with densities of 3-8 pounds per cubic foot.
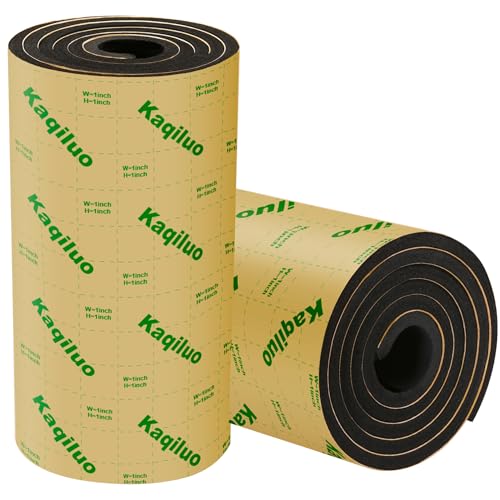
The same warning applies to multi-pack peel-and-stick foam options like Kaqiluo 2 Pack self-adhesive sound insulation foam. It is fine for light utility use, but not for the low-frequency job this article is solving.
Placing Traps Away From Corners
Bass traps work by absorbing energy where it’s concentrated. Moving traps away from corners dramatically reduces their effectiveness because bass energy density drops rapidly with distance from corner junctions.
A bass trap in the middle of a wall absorbs perhaps 20-30% as much bass energy as the same trap in a corner. The corner position is worth more than doubling the trap size.
If corners are inaccessible, place traps as close to corners as possible. Even 6 inches of gap between trap and corner reduces effectiveness noticeably.
Bass Trap Types Comparison
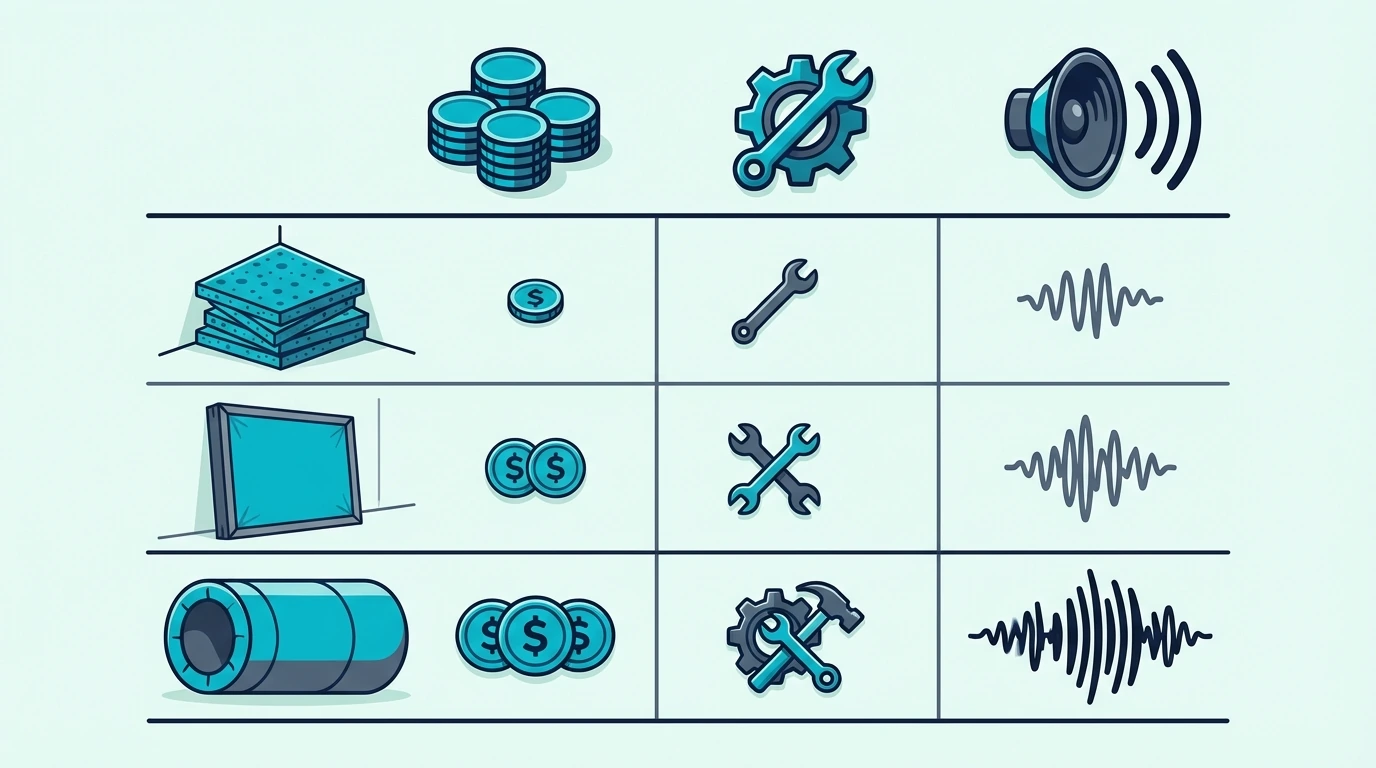
| Trap Type | Best For | Difficulty | Cost Per Trap | Effectiveness |
|---|---|---|---|---|
| Rectangular Panel | Floor-to-ceiling corners | Easy | $40-60 | Good |
| Superchunk (Triangular) | Maximum bass absorption | Medium | $60-80 | Excellent |
| Ceiling Cloud | Wall-ceiling junctions | Medium | $50-70 | Good |
| Freestanding | Flexible placement | Easy | $45-65 | Moderate |
| Commercial (Reference) | Convenience | None | $150-400 | Good to Excellent |
How Should You Build Your DIY Bass Traps?
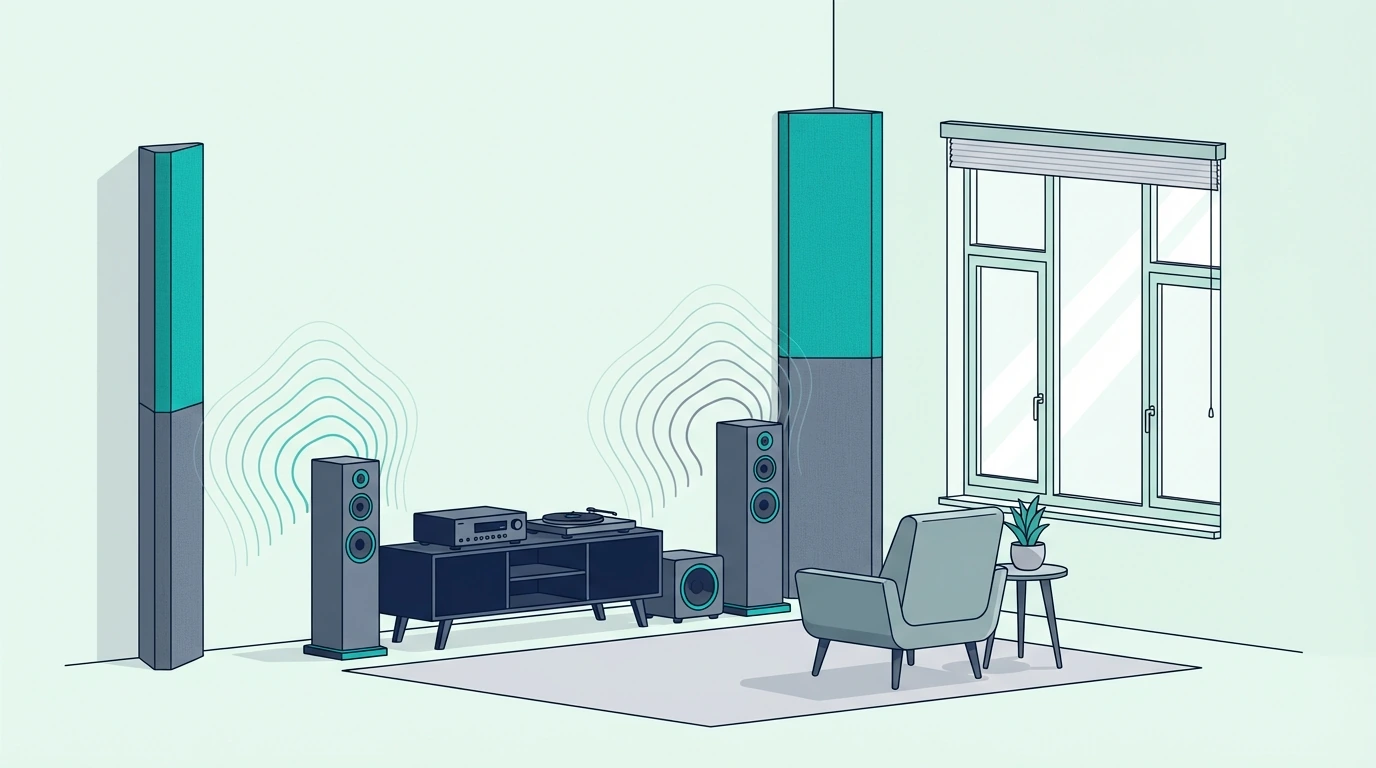
Building effective DIY bass traps requires the right materials, proper construction, and strategic placement. Use rigid fiberglass or mineral wool insulation at least 4 inches thick, build sturdy frames, wrap in acoustically transparent fabric, and mount in room corners.
The cost savings are substantial — $40-60 per DIY trap versus $150-400 for commercial equivalents. Four corner traps for under $250 total can transform a boomy, uneven room into a controlled listening environment.
Start with the corners behind your listening position, then add front corners and ceiling junctions as budget allows. Even partial treatment makes a noticeable difference in bass clarity and overall room sound.
If your goal is a cleaner decorative finish after you handle the low end, a visible-room option like Acoustic Panels 4 Pack Room Kit Large 46 × 23 works better as a complement than a substitute.
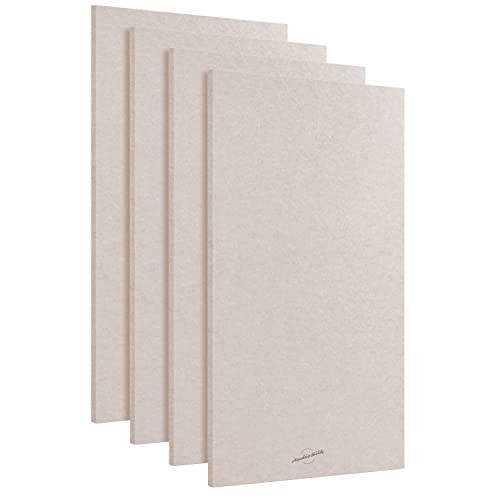
Acoustic Panels 4 Pack Room Kit Large 46 × 23
For more information on acoustic treatment options, visit our bass traps guide or explore how bass traps compare to acoustic panels.
Frequently Asked Questions
How Do You Make DIY Bass Traps?
Build a wood frame sized for 4+ inches of rigid fiberglass or Rockwool insulation. Install the insulation snugly, wrap the assembly in acoustically transparent fabric, and mount in room corners floor-to-ceiling. Total cost runs $40-60 per trap.
The key is using dense, rigid insulation — not foam — and achieving at least 4 inches of thickness for effective low-frequency absorption.
What Is the Best Material for DIY Bass Traps?
Rigid fiberglass (Owens Corning 703) or mineral wool (Rockwool Safe’n’Sound) are the best options. Both offer excellent bass absorption at reasonable cost. Avoid foam, which is ineffective for low frequencies regardless of thickness.
Density matters more than brand — look for insulation rated 3-8 pounds per cubic foot for optimal bass absorption.
How Thick Should Bass Traps Be?
Minimum 4 inches for meaningful bass absorption. Six inches or more provides better low-frequency performance. Two-inch traps absorb very little below 250 Hz and function more like acoustic panels than true bass traps.
Thicker is always better for bass absorption, limited only by available space and budget.
Where Should You Put Bass Traps?
Vertical room corners are the highest priority — bass energy concentrates where walls meet. Treat the four vertical corners first, prioritizing corners behind the listening position. Then add horizontal traps at wall-ceiling junctions for additional control.
Corner placement is critical — the same trap placed mid-wall absorbs far less bass than when positioned in a corner.