How To Hang A Sound Diffuser (Wall + Ceiling Methods That Actually Hold)
How to hang sound diffuser panels comes down to matching your mounting method to the panel’s weight, but most people underestimate how heavy wood diffusers are and end up with panels that sag, shift, or fall off the wall entirely.
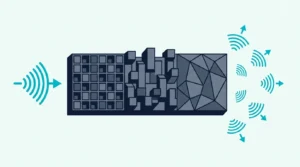
The problem is that diffusers aren’t lightweight foam tiles — a solid wood QRD or skyline panel can weigh 9-15 pounds per square foot, and drywall anchors rated for picture frames won’t hold that kind of load over time.
Choosing the right hardware means your diffuser stays secure for years without damaging the wall or compromising the scattering pattern — so you get reliable acoustic treatment instead of a safety hazard.
Below, you’ll see the exact hardware and step-by-step methods for both wall and ceiling installations.
French cleats are the most secure mounting method for heavy wood diffusers — they distribute weight across studs and allow easy leveling. For lightweight foam or plastic diffusers, construction adhesive or heavy-duty Command Strips work. Ceiling mounting requires toggle bolts into joists or suspended wire systems rated for the panel weight.
How To Hang A Sound Diffuser — What You Need To Know First
Wood diffusers are significantly heavier than foam acoustic panels. A single 24×24-inch QRD panel weighs 9-15 pounds depending on the wood species and depth.
That weight rules out most adhesive-only mounting methods. Foam panels stick to walls with spray adhesive or Command Strips, but a wood diffuser needs mechanical fasteners anchored into studs or masonry.
Before you start, identify your wall material. Drywall over wood studs is the most common scenario — and the easiest to work with.
Concrete, brick, and metal stud walls each require different anchors and techniques. For understanding what a sound diffuser does and why mounting precision matters for the scatter pattern, that guide covers the basics.
For deciding where to place your diffusers before mounting, that guide covers rear wall, ceiling, and first reflection point positioning based on your room layout.
What Hardware Do You Need To Mount A Diffuser?
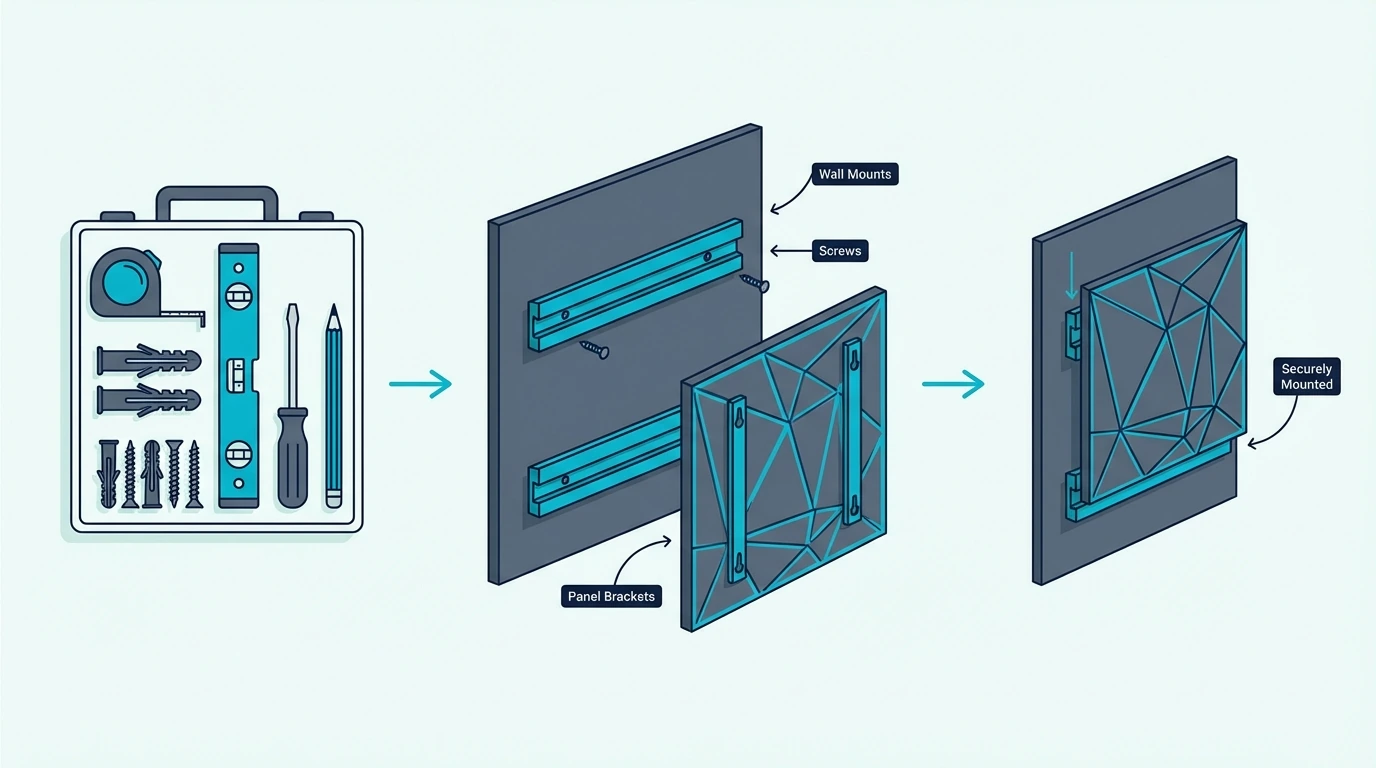
French Cleats And Z-Brackets
French cleats are the gold standard for heavy diffuser mounting. A French cleat is a two-piece system — one angled strip screws to the wall (into studs), the other screws to the back of the diffuser, and the two interlock.
The beauty of French cleats is weight distribution. The load spreads across the entire length of the cleat rather than concentrating at two or four screw points.
A 24-inch French cleat screwed into two studs can support 50+ pounds — far more than any single diffuser panel weighs.
Z-brackets work on the same principle but use a Z-shaped metal profile instead of angled wood strips. They’re lighter and thinner, making them a good option when you want the diffuser to sit as close to the wall as possible.
The BXI Wood Sound Diffuser (1D QRD) weighs 9 pounds — well within French cleat range. Most wood diffusers in this class include pre-drilled mounting holes on the back panel.
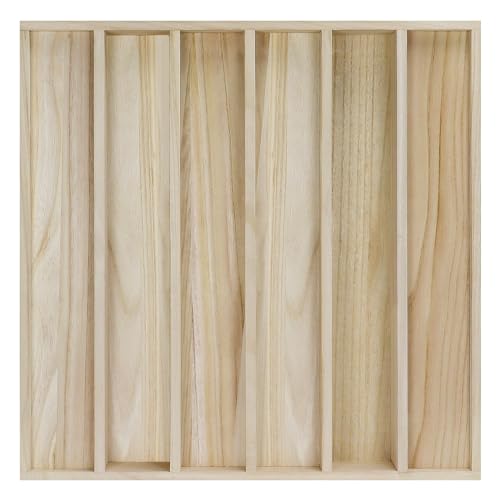
BXI Wood Sound Diffuser (1D QRD)
Adhesive And Glue Methods
Construction adhesive (Liquid Nails or PL Premium) bonds lightweight diffusers directly to the wall surface. This works for foam and thin plastic panels under 3-4 pounds.
Acoustic caulk provides a semi-permanent bond that allows removal without major wall damage. For the EVA Acoustic Diffusers (4-Pack), adhesive strips or construction adhesive are sufficient — each panel weighs under 1 pound.
EVA Acoustic Diffusers (4-Pack)
Heavy-duty Command Strips (the 16-pound rated variety) work for diffusers up to about 5 pounds on smooth, clean surfaces. Textured walls and painted cinder block reduce the bond strength significantly.
Get Studio Tips Weekly
Join 5,000+ creators getting acoustic treatment advice every week.
No spam. Unsubscribe anytime.How Do You Mount A Diffuser On A Wall Step By Step?
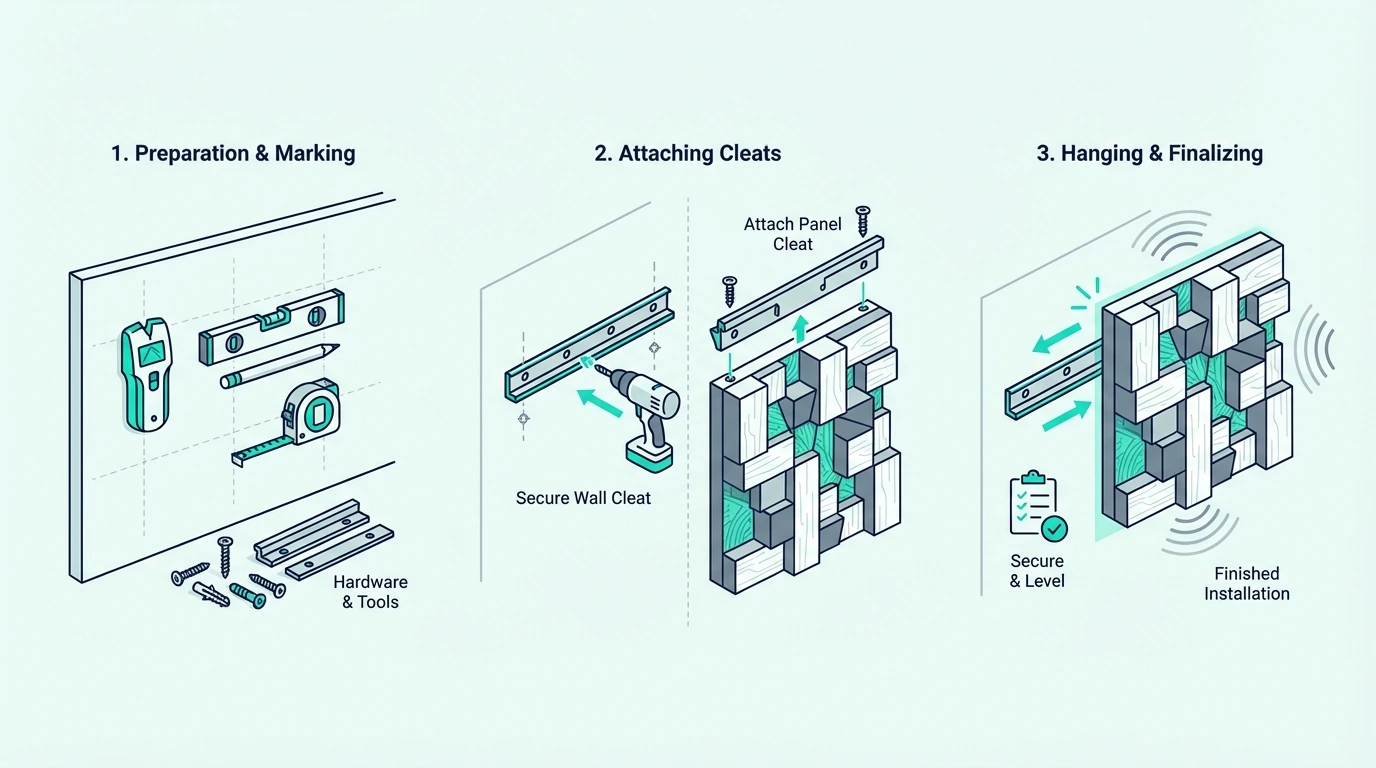
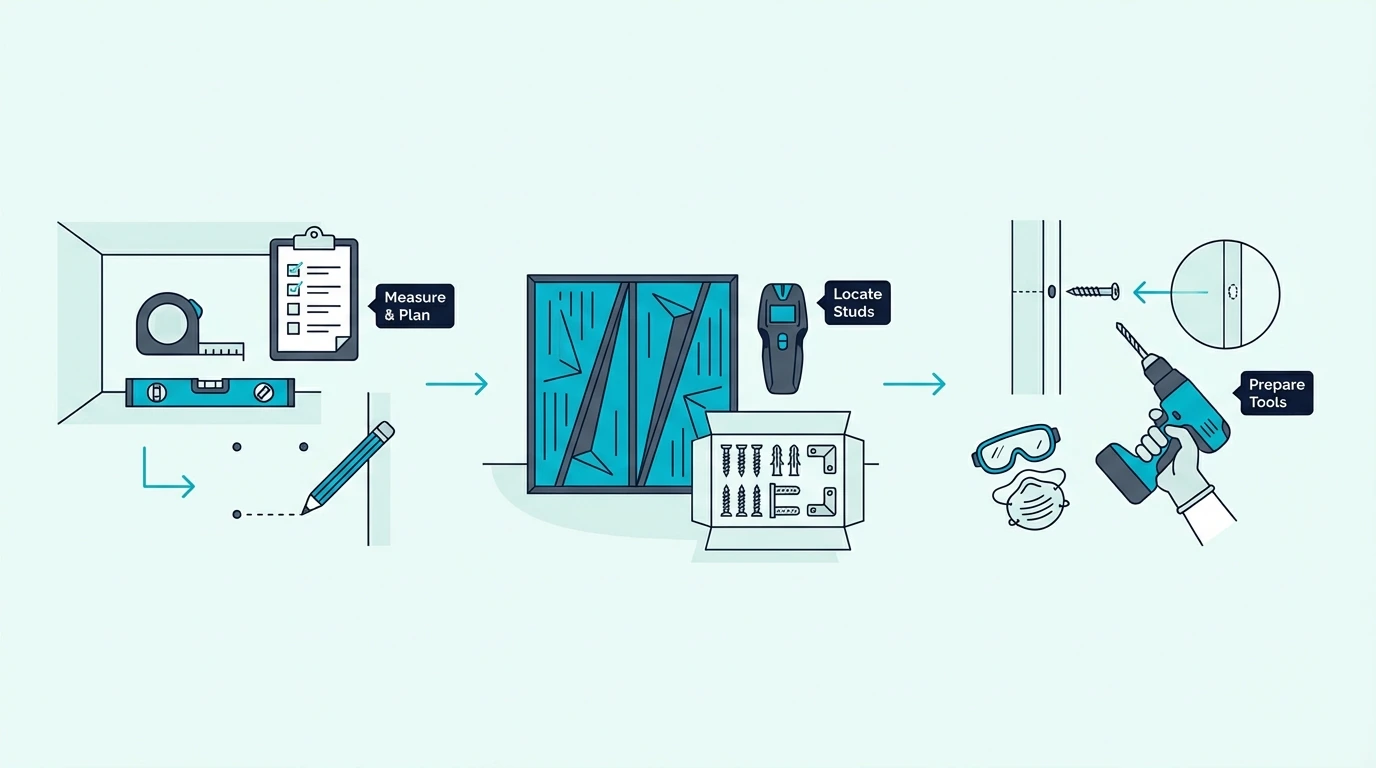
Determine The Position And Mark The Wall
Center the diffuser at seated ear height — roughly 38-42 inches from floor to the center of the panel for most recording studio chairs. Use a tape measure and pencil to mark the center point.
Use a stud finder to locate the nearest studs. Mark both edges of each stud with light pencil lines.
For French cleats, you need the cleat to span at least two studs — studs are typically 16 inches apart.
Hold the diffuser against the wall at the marked position and trace its outline lightly. This confirms the panel will clear any outlets, switches, or other wall features before you drill.
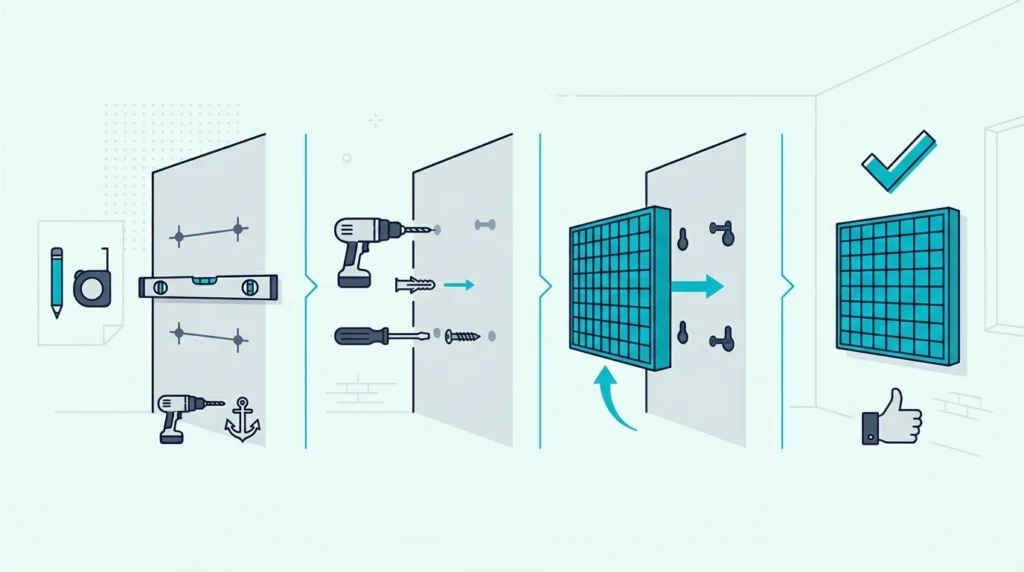
Install Hardware And Attach The Diffuser
Screw the wall-side French cleat into the studs using 2.5-inch wood screws — at least two screws per stud for maximum hold. Use a level across the top edge of the cleat to ensure it’s perfectly horizontal.
Attach the mating cleat to the back of the diffuser, centered and parallel to the wall cleat. Pre-drill to avoid splitting the diffuser’s backboard.
Lift the diffuser onto the wall cleat. The angled profiles lock together under gravity.
Check level and adjust by sliding the panel left or right along the cleat. If you’re building your own panels, our DIY wooden sound diffuser guide includes cleat attachment instructions for both QRD and skyline builds.
For multiple diffusers in a row, install one continuous wall cleat across three or more studs. This ensures perfect alignment between panels and simplifies future rearrangement.
How Do You Hang A Diffuser On The Ceiling?
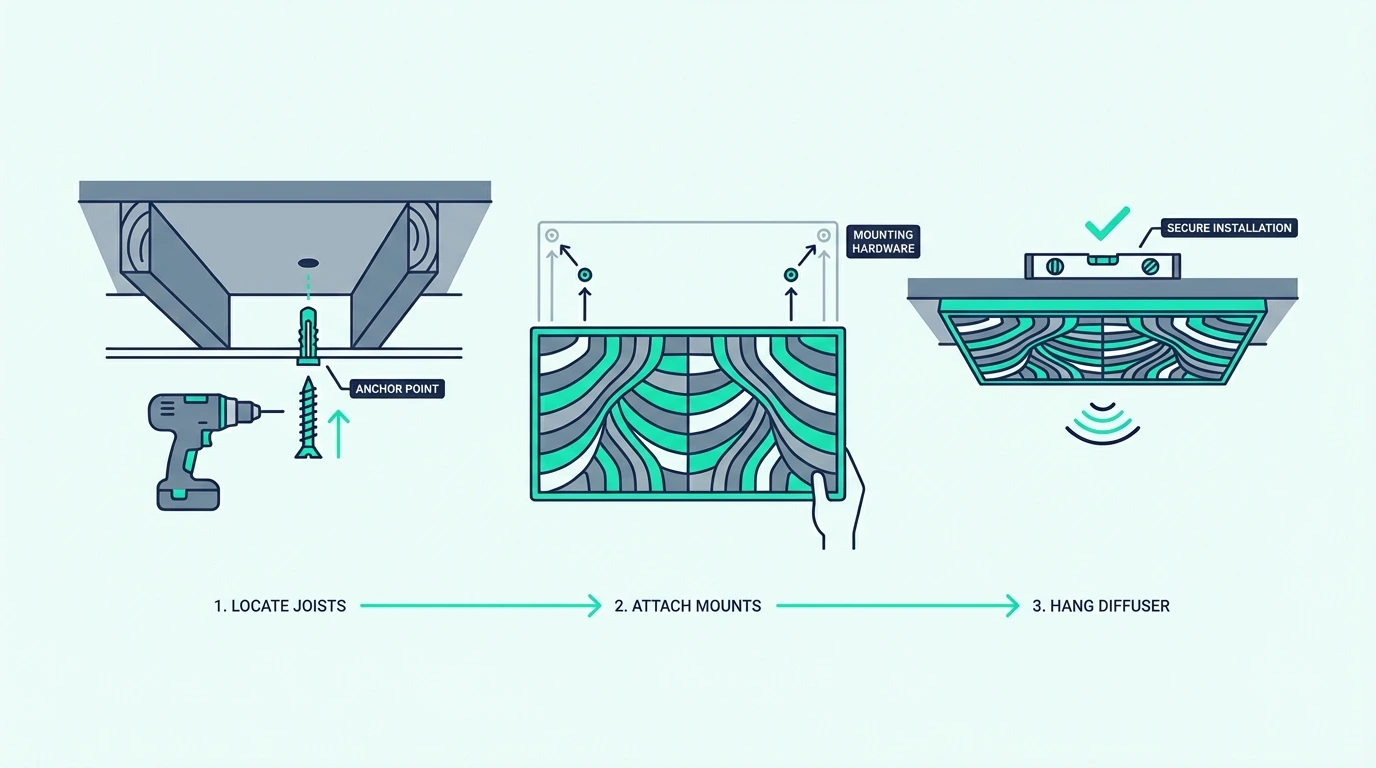
Toggle Bolts Into Joists
Ceiling mounting demands the strongest possible connection — gravity works against you constantly. Toggle bolts screwed directly into ceiling joists provide the highest weight capacity.
Use a stud finder to locate joists (typically 16 or 24 inches apart in residential construction). Drill pilot holes through the drywall into the joist, then drive lag screws or heavy-duty wood screws through a mounting bracket and into the joist.
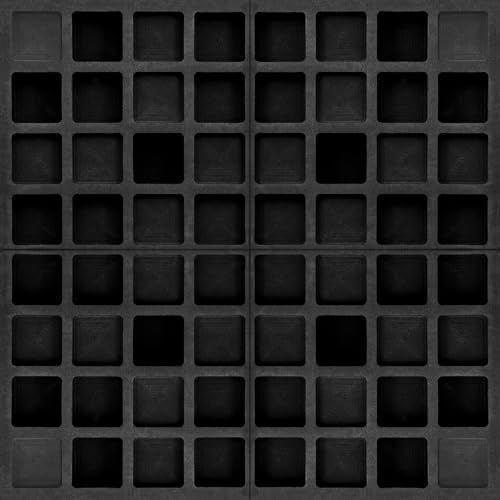
The BXI 2D Skyline Diffuser weighs 9.3 pounds — ceiling-mount it with at least four lag screws into two joists for a secure hold that won’t shift over time.
BXI 2D Skyline Diffuser
Suspended Wire Systems
For drop ceilings or situations where direct mounting isn’t possible, aircraft cable provides a professional-grade solution. Use galvanized steel cable rated for at least 3× the panel weight.
Attach eye hooks to four points on the diffuser’s back panel. Run cables from each eye hook up through the ceiling to anchor points screwed into joists above.
This method allows height adjustment — simply crimp the cables at different lengths to raise or lower the panel. It’s the standard approach in professional recording studios where ceiling treatment needs to be repositioned during room tuning.
For understanding how many diffusers your room needs, that guide helps you plan coverage before installing.
Should A Diffuser Be Placed High Or Low?
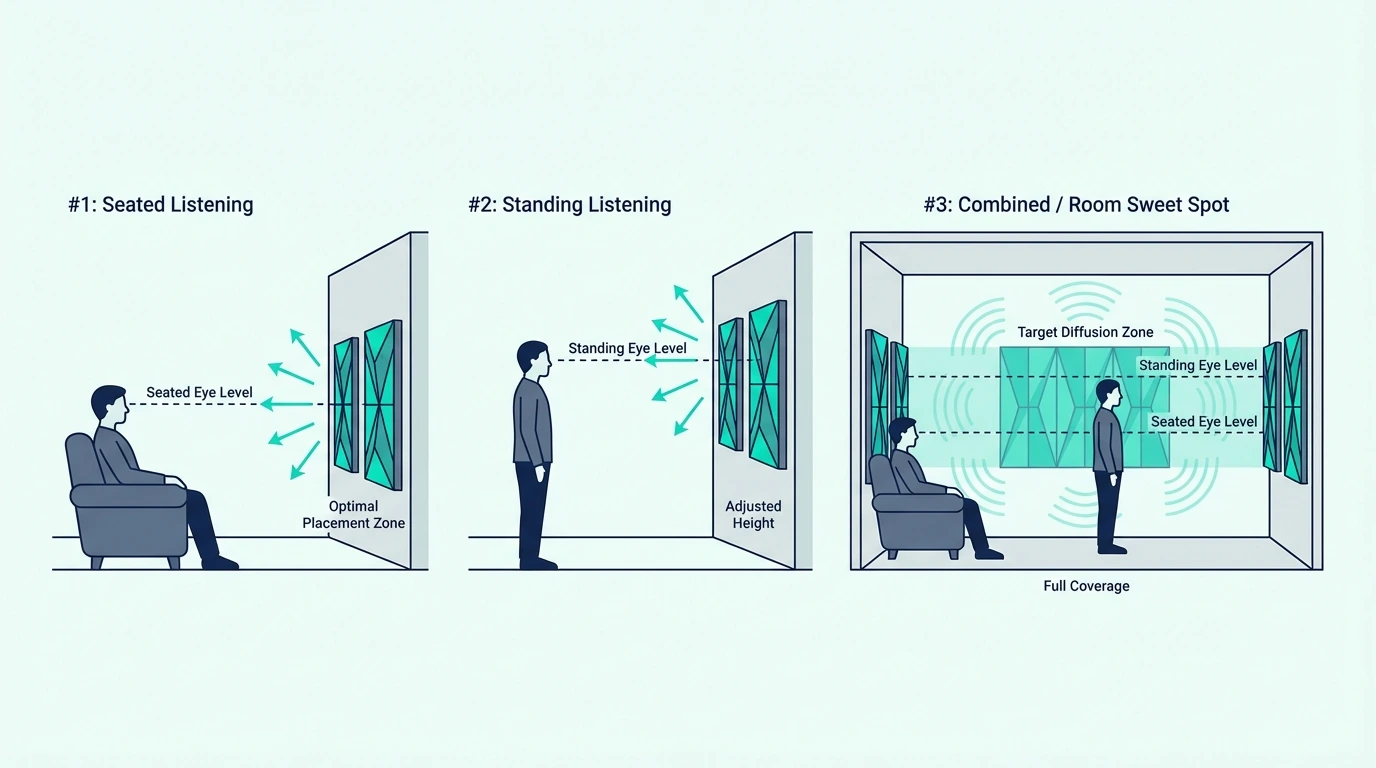
Wall Mounting Height
The center of the diffuser should align with seated ear height at the primary listening position. For most studio chairs, that’s 38-42 inches from the floor to the panel center.
Mounting too high aims the scatter pattern over the listener’s head. Mounting too low scatters energy into furniture and floor reflections instead of the listening zone.
If you’re treating a room where people both sit and stand (like a practice space or home theater), split the difference at roughly 44-48 inches. For how to diffuse sound effectively in different room types, that guide covers setup for studios, home theaters, and live rooms.
Ceiling Mounting Position
Position the diffuser directly above the primary listening position or mixing desk. The scattered reflections need to arrive at the listener from above — offset placement sends the scatter pattern to the wrong part of the room.
For rooms with multiple seating positions, center the ceiling diffuser between them. The scatter pattern from a 24-inch panel covers a roughly 6-foot diameter area at ear height, so one well-placed panel serves a typical two-person listening setup.
The Bottom Line
French cleats into studs for heavy wood diffusers — that’s the method that holds securely for years. Adhesive or Command Strips for lightweight foam and plastic panels.
Ceiling mounting requires lag screws into joists or suspended cable systems rated for the load. Never trust drywall anchors alone for overhead panels — the consequences of a 10-pound panel falling onto equipment or people aren’t worth the shortcut.
For choosing which diffusers to mount, our roundup compares the top options. And if you’re building your own panels first, our DIY wooden diffuser guide includes mounting hardware recommendations.
Frequently Asked Questions
What do you use to hang up sound diffusers?
French cleats for heavy wood diffusers (9+ lbs) — they distribute weight across studs. Construction adhesive or heavy-duty Command Strips for lightweight foam and plastic panels under 5 lbs.
Can you hang diffusers with Command Strips?
Only for very lightweight diffusers under about 5 pounds on smooth, clean wall surfaces. Wood QRD and skyline panels are too heavy — they’ll pull Command Strips off the wall within weeks.
How high should a diffuser be on the wall?
Center the panel at seated ear height — roughly 38-42 inches from the floor in a recording studio or listening room. This positions the scatter pattern directly in the listening zone where it has the most acoustic impact.