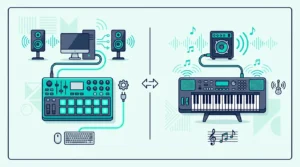
How to Connect MIDI Keyboard to MacBook — The Simplest Setup in Music Production
How to connect MIDI keyboard to MacBook is genuinely the easiest hardware connection in music production, but one detail trips up every new MacBook owner because modern MacBooks only have USB-C ports, and most MIDI keyboards ship with USB-A connectors.
That mismatch is not a dealbreaker — it just means you need a five-dollar adapter or a USB-C hub that you probably already own for other peripherals. Once the physical connection is made, macOS recognizes class-compliant MIDI keyboards instantly without drivers, configuration, or restarts.
This guide covers both the USB-C adapter solution and the direct connection for controllers with USB-C output. You will also learn how to verify the connection in Audio MIDI Setup, configure GarageBand and Logic Pro for first use, and troubleshoot the rare cases where plug-and-play fails on Mac.
Below you will find the step-by-step process for connecting any MIDI keyboard to any MacBook model, followed by DAW-specific setup instructions and troubleshooting for edge cases.
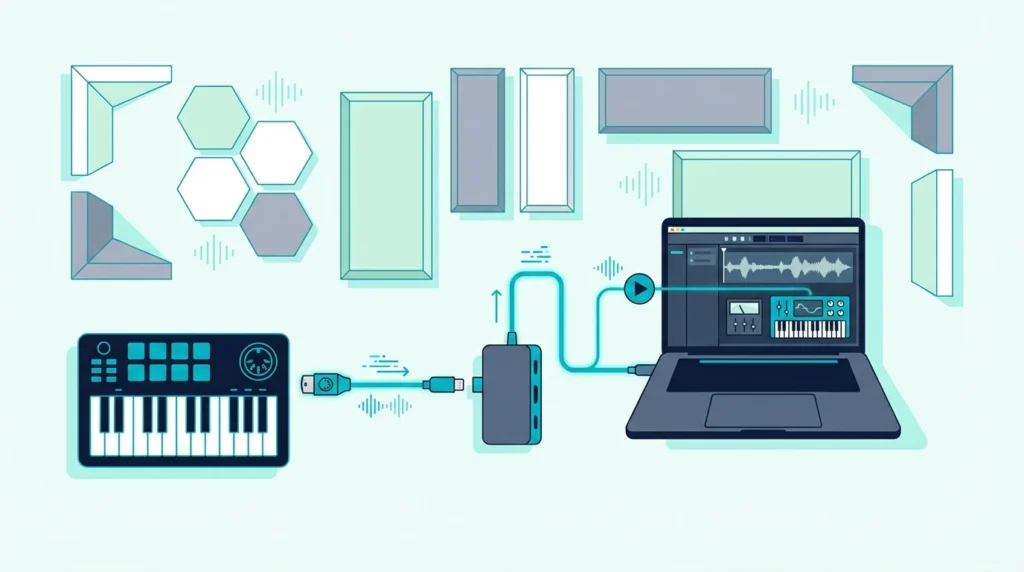
To connect a MIDI keyboard to a MacBook: plug in via USB (using a USB-C to USB-A adapter if needed), open GarageBand or Logic Pro, create a software instrument track, and play. macOS recognizes class-compliant MIDI keyboards automatically — no drivers, no configuration, no MIDI settings to enable. If nothing happens, check Audio MIDI Setup in Utilities to verify the device is detected.
How Do You Connect a USB MIDI Keyboard to a MacBook
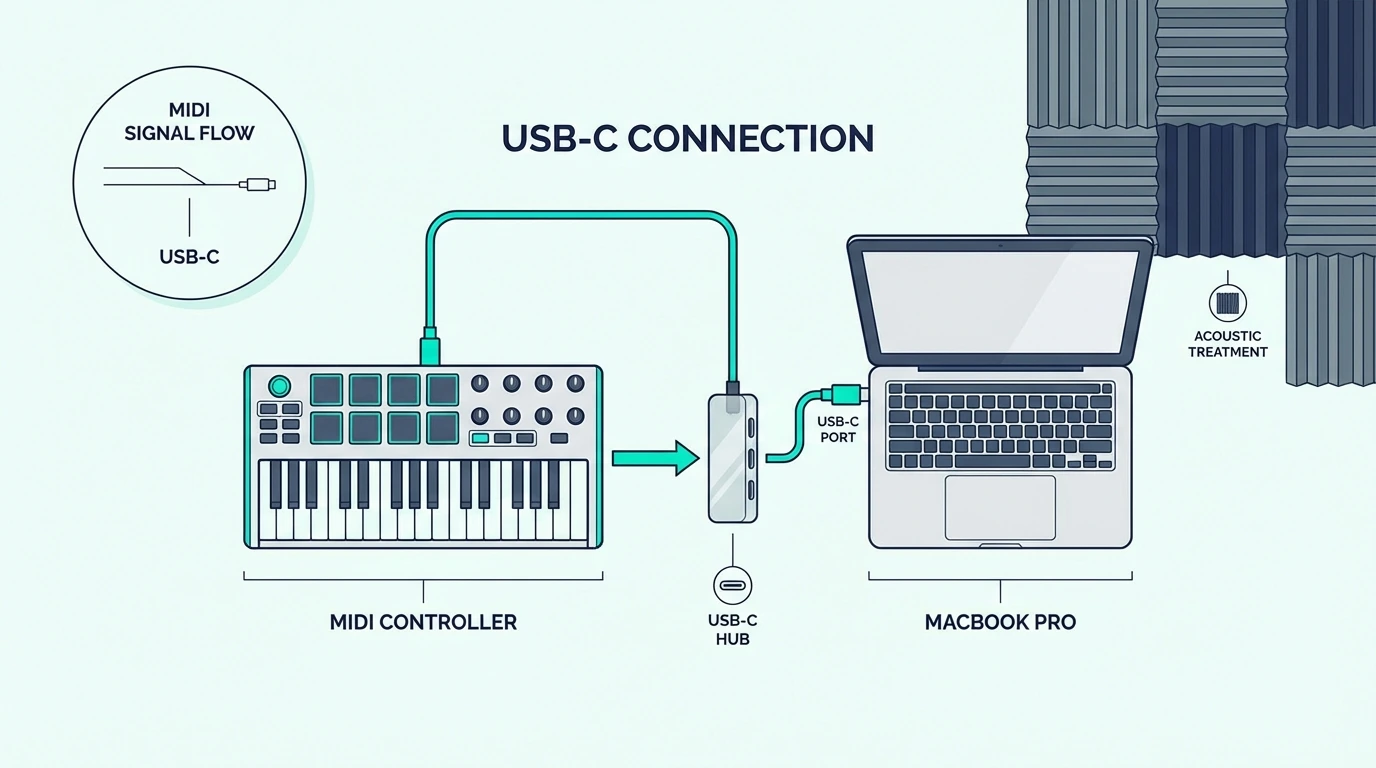
Every MacBook sold since 2016 uses USB-C ports exclusively. Most MIDI keyboards still ship with USB-A (the rectangular) connectors or USB-B (the square) connectors with a USB-A-to-USB-B cable. Bridging that gap requires one of three approaches.
USB-C to USB-A Adapter
The simplest solution is a USB-C to USB-A adapter — a small dongle that converts one of your MacBook’s USB-C ports to accept USB-A devices. Apple sells one, but generic adapters from any electronics store work identically for under five dollars.
Plug the adapter into the MacBook, plug the MIDI keyboard’s USB-A cable into the adapter, and macOS handles the rest. The Akai Professional MPK Mini MK3 and most controllers connect through this adapter without any compatibility issues.
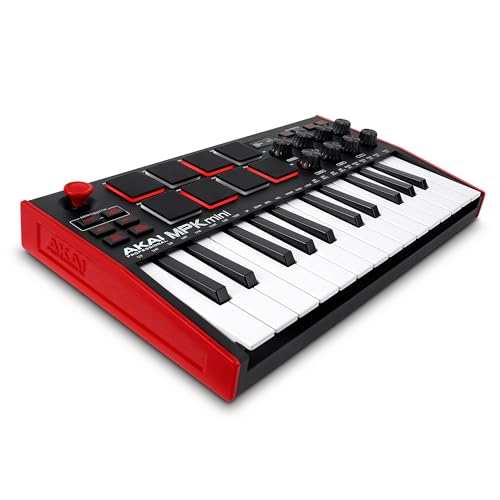
Akai Professional MPK Mini MK3
USB-C Hub (Recommended)
A USB-C hub provides multiple ports — typically USB-A, HDMI, SD card, and sometimes Ethernet — through a single USB-C connection to your MacBook. If you already own a hub for connecting external displays or hard drives, your MIDI keyboard plugs into one of the hub’s USB-A ports.
This approach keeps the adapter permanently connected to your MacBook and eliminates the loose dongle that inevitably gets lost. Most MacBook producers already own a USB-C hub, making this the zero-additional-cost solution.
Controllers With Native USB-C
A growing number of MIDI controllers ship with USB-C connectors or include USB-C cables. The Novation Launchkey MK4 series connects via USB-C natively — no adapter needed on any modern MacBook. As the industry transitions, USB-C native controllers will become the standard.
If you have not purchased a controller yet and own a USB-C MacBook, check whether the controller includes a USB-C cable or port before buying. That detail saves you the adapter hassle entirely.
How Does macOS Handle MIDI Keyboard Connections

macOS handles MIDI devices more smoothly than any other operating system. Understanding what happens behind the scenes helps you troubleshoot the rare cases where automatic detection fails.
Automatic Device Recognition
When you plug a class-compliant USB MIDI keyboard into a MacBook, macOS loads its built-in Core MIDI driver automatically. No manufacturer driver download, no installation wizard, no restart required. The process takes 2-3 seconds and happens silently in the background.
Every modern MIDI keyboard (manufactured after 2010) is class-compliant. The only controllers that require manufacturer drivers are vintage hardware or units with proprietary features that extend beyond standard MIDI.
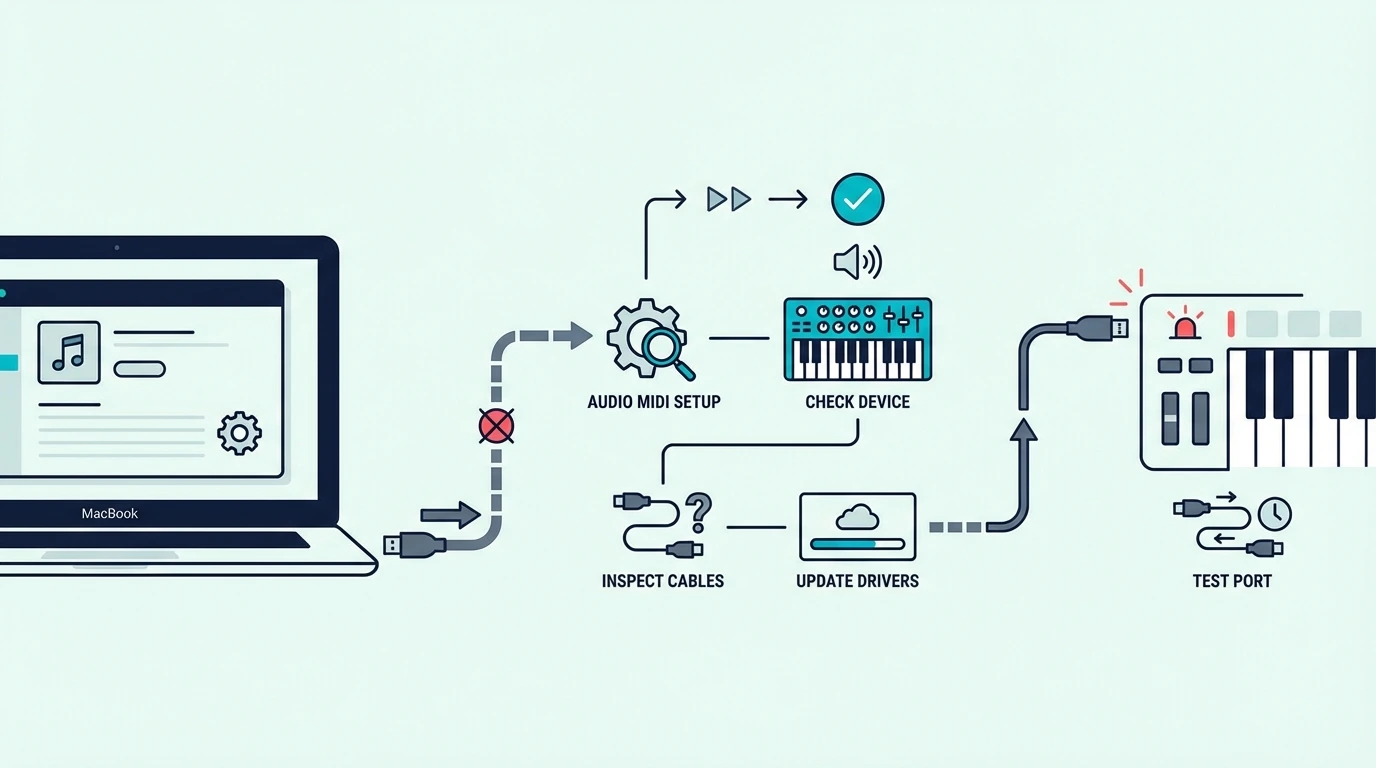
Audio MIDI Setup Verification
If you want to confirm macOS detected your controller, open Audio MIDI Setup (Applications, Utilities, Audio MIDI Setup). Click “Show MIDI Studio” in the Window menu. Your MIDI keyboard appears as a device icon in the MIDI Studio window.
If the device icon is grayed out, macOS detected the hardware but cannot communicate with it — usually caused by a faulty USB cable or adapter. Try a different cable first.
GarageBand Instant Recognition
GarageBand is the fastest path from connection to sound on a MacBook. Open GarageBand, select “Empty Project,” choose “Software Instrument,” and press a key on your MIDI keyboard. GarageBand loads a default piano patch and routes your keyboard’s MIDI data to it automatically.
No MIDI settings panel. No device selection. No port configuration. GarageBand uses every connected MIDI device as input by default — the most beginner-friendly approach of any DAW.
Logic Pro Setup
Logic Pro inherits the same automatic MIDI detection from GarageBand. Create a software instrument track, load any patch from the library, and play. Logic routes MIDI from your keyboard to whichever track is selected.
For controllers with transport buttons (play, stop, record), Logic Pro recognizes standard transport MIDI messages automatically. The M-AUDIO Keystation 49 MK3 transport controls work in Logic Pro the moment you plug in.
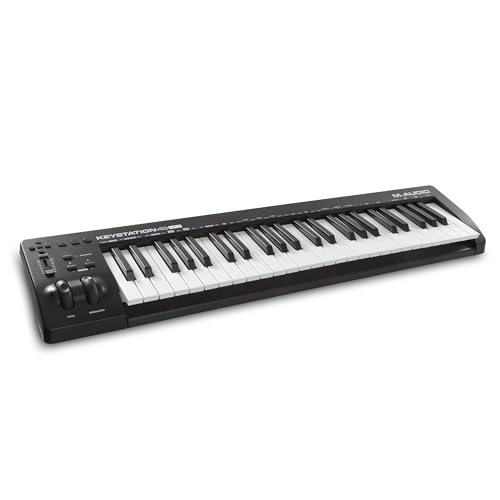
M-AUDIO Keystation 49 MK3
Ableton Live On MacBook
Ableton Live requires one manual step: open Preferences (Cmd+Comma), navigate to Link/Tempo/MIDI, and enable Track and Remote for your controller’s input port. Unlike GarageBand and Logic, Ableton does not auto-enable MIDI inputs — you must activate them in Preferences.
After enabling, Ableton routes MIDI to whichever track is selected. The configuration saves automatically so you only need to do this once per controller.
Get Studio Tips Weekly
Join 5,000+ creators getting acoustic treatment advice every week.
No spam. Unsubscribe anytime.How Do You Fix MIDI Connection Issues on MacBook
MacBook MIDI connections rarely fail, but when they do, these fixes resolve the issue in order of likelihood.
Controller Not Detected After Plugging In
Unplug the USB cable, wait five seconds, and plug it back in. If using an adapter or hub, try connecting directly to a different USB-C port on the MacBook. Some USB-C hubs do not provide enough power for controllers with LED-backlit pads.
If the controller works on a different computer but not your MacBook, reset the Core MIDI configuration: open Audio MIDI Setup, click “Configuration” in the MIDI Studio window, and select “Reset MIDI Configuration.” This clears cached device data that occasionally corrupts after macOS updates or when switching between multiple controllers.
Sound Plays But With Wrong Instrument
If pressing keys produces sound but the wrong instrument plays, you have the wrong track selected in your DAW. Click the track with the instrument you want to hear, and the MIDI keyboard switches to controlling that track.
In GarageBand and Logic Pro, MIDI always routes to the selected track. Clicking a different track instantly changes which instrument responds to your keyboard.
Controller Works In GarageBand But Not Another DAW
Each DAW handles MIDI device activation differently. GarageBand auto-enables everything. FL Studio, Ableton, and other DAWs require manual activation in their MIDI settings. Check your DAW’s preferences panel and enable the controller’s input port.
The midiplus AKM320 and any other class-compliant controller works identically across all DAWs once the input port is enabled.
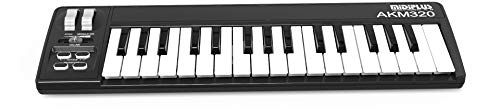
midiplus AKM320
MacBook Not Providing Enough USB Power
MacBook Air models occasionally struggle to power controllers with multiple LEDs and motorized faders through a USB-C adapter. If your controller connects intermittently or disconnects during use, try a powered USB-C hub that provides its own electricity to connected devices.
Budget controllers like the midiplus AKM320 draw minimal power and never hit this limit. Larger controllers with LED-backlit pads and motorized controls are more susceptible on MacBook Air than MacBook Pro.
The Bottom Line
Connecting a MIDI keyboard to a MacBook is the simplest hardware setup in music production. Plug in via USB (with a USB-C adapter if needed), open GarageBand or Logic Pro, and play. macOS handles device recognition, driver loading, and MIDI routing automatically — no manual configuration required.
The only potential friction is the USB-C adapter on modern MacBooks. A five-dollar adapter or the USB-C hub you already own for other peripherals solves that permanently. Every class-compliant MIDI keyboard works on every MacBook without manufacturer drivers.
Frequently Asked Questions
Do I need drivers for a MIDI keyboard on MacBook?
No — macOS includes built-in Core MIDI drivers that support every class-compliant USB MIDI keyboard. Plug in and your MacBook recognizes the controller automatically. Only vintage or proprietary hardware requires manufacturer drivers.
Which USB adapter do I need for MIDI keyboard on MacBook?
A simple USB-C to USB-A adapter connects any standard MIDI keyboard to a USB-C MacBook. Apple and generic adapters both work identically. A USB-C hub with USB-A ports is the more practical solution if you connect multiple USB devices.
Does GarageBand work with any MIDI keyboard on MacBook?
Yes — GarageBand auto-detects every class-compliant USB MIDI keyboard without any settings configuration. Plug in, open GarageBand, create a software instrument track, and play.
Can I connect a MIDI keyboard to MacBook via Bluetooth?
Yes — Bluetooth MIDI controllers pair with MacBook through System Settings, Bluetooth. The controller appears as a Bluetooth device and connects like AirPods. Bluetooth MIDI adds 5-15ms of latency compared to USB, which is imperceptible for casual playing but noticeable during precision recording.