What Glue to Use for Acoustic Panels: Complete Guide [2026]
What glue to use for acoustic panels depends on what you’re gluing — and using the wrong type won’t just produce a weak bond. It’ll peel fabric you can’t reposition, crack frame joints you’ve clamped overnight, or lock panels permanently to drywall you’ll eventually need to remove.
Most failures happen because people reach for whatever adhesive is nearby. Each substrate behaves completely differently — fabric, wood frames, and painted drywall all need a specific approach.
You’ll avoid all of those mistakes by matching the right product to each job. Below you’ll find exactly which adhesive to use for each stage, and what goes wrong when you skip that match.
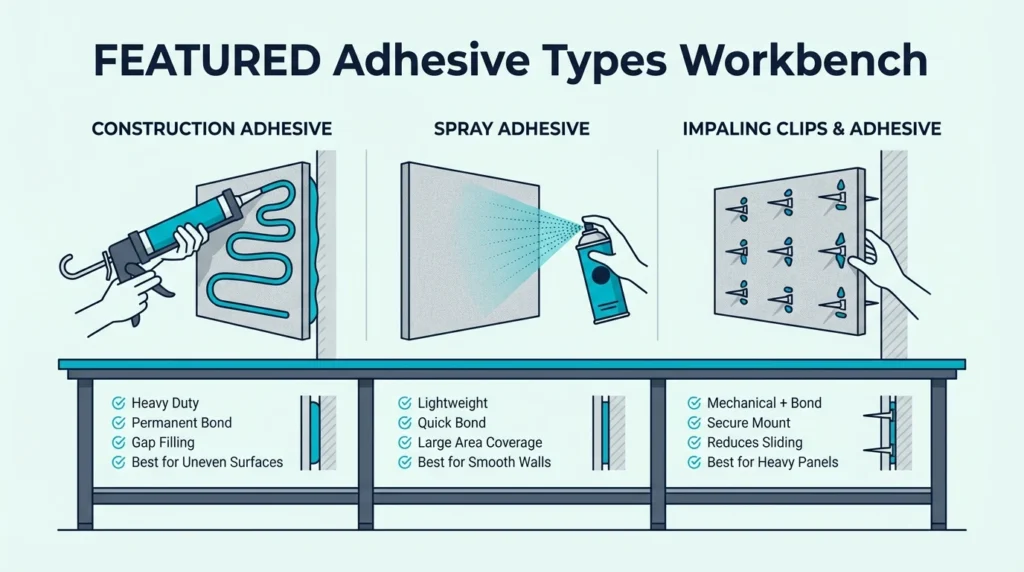
For fabric wrapping, use 3M Super 77 spray adhesive — it bonds instantly without soaking through fabric. For frame construction, use Loctite PL Premium — it creates permanent structural bonds. For wall mounting, skip the glue entirely and use Command Strips or hardware unless you never plan to move the panels.
What Glue Works Best for Acoustic Panels?

The right adhesive depends on which part of the panel you’re working on. Fabric wrapping, frame construction, and wall mounting each demand a different product — and using the wrong type wastes both time and materials.
Fabric Wrapping
Spray adhesive is the only real option for attaching fabric to acoustic panels. It applies evenly, bonds on contact, and doesn’t soak through fabric to create visible wet spots on the front side.
The key is choosing an adhesive rated for fabric and porous materials. Regular spray glues create weak bonds that peel within months — if you’re also deciding which fabric to use, the fabric wrap guide covers the best options.
Frame Construction
When you’re building wooden frames, you need something that creates a permanent structural bond. PL Premium and similar polyurethane adhesives expand slightly as they cure, filling gaps and forming rigid joints.
These adhesives work on wood, MDF, and rigid insulation. They’re waterproof once cured, which matters if your panels ever get exposed to humidity.
The acoustic panel density guide covers material selection tips.
Wall Mounting
Adhesive wall mounting is permanent — you’ll damage drywall, paint, and sometimes the panel itself when you eventually try to remove it.
For renters or anyone who might relocate panels, hardware mounting or removable strips are the smarter choice. The acoustic panel installation guide walks through each method.
What Are the Best Adhesives for DIY Panel Construction?
Three products cover every stage of panel construction — spray adhesive for fabric, polyurethane for frames, and a budget backup for either.
3M Super 77 Spray Adhesive
The 3M Super 77 Spray Adhesive is the go-to choice for fabric wrapping. It creates an instant tack that lets you position fabric without it sliding around.
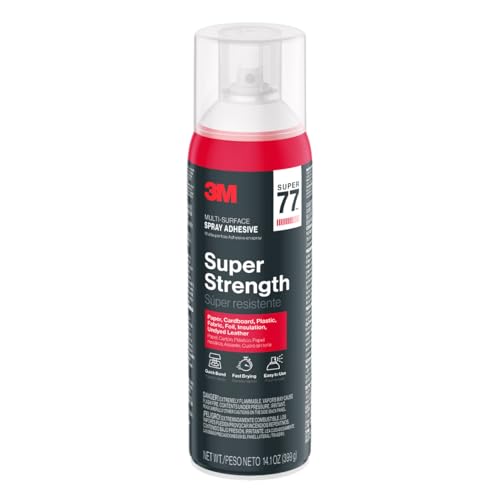
3M Super 77 Spray Adhesive
What makes Super 77 special is how it handles porous materials. Unlike cheaper spray adhesives, it doesn’t saturate through fabric to create visible wet spots on the front side.
One can covers approximately 140 square feet — enough for 4–6 standard panels. Apply it in sweeping motions about 6–8 inches from the surface for even coverage.
The bond is permanent within minutes, so get your positioning right the first time. The only downside is the fumes — work outdoors or in a well-ventilated garage.
Loctite PL Premium
For frame construction, standard wood glue like Titebond III works fine for lightweight panels — it’s cheaper and easier to clean up. But for heavier panels or frames that need gap-filling, polyurethane is the better choice.
Loctite PL Premium is the go-to when joints don’t fit perfectly or when using MDF instead of solid wood.
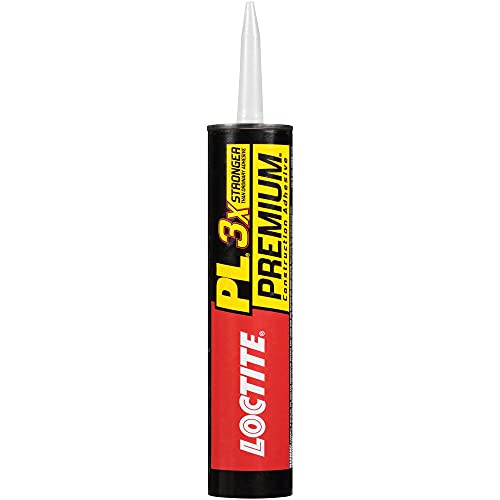
Loctite PL Premium
The polyurethane formula expands as it cures, filling small gaps between frame pieces. This creates joints stronger than the wood itself — the wood will break before the glue joint fails.
It also bonds rigid fiberglass and rockwool directly to wooden frames if needed. Apply a zigzag bead along joints, then clamp for at least 4 hours — full cure takes 24 hours.
Liquid Nails (Budget Backup)
If PL Premium isn’t available locally, standard Liquid Nails construction adhesive works as a backup. It’s weaker and takes longer to cure, but still creates serviceable joints for lightweight panels.
The main limitation is gap-filling ability. Liquid Nails shrinks slightly as it cures, so joints need to fit tightly — PL Premium remains the better choice when available.
Get Studio Tips Weekly
Join 5,000+ creators getting acoustic treatment advice every week.
No spam. Unsubscribe anytime.What Glue for Fabric Wrapping?
Fabric wrapping is the step where most DIY panels go wrong — choosing the right spray adhesive is only half the job, and applying it without soaking through the fabric is the other half.
Why Spray Adhesive Works for Fabric
Liquid adhesives soak into fabric and create visible wet spots that never fully disappear. Spray adhesive deposits a thin, even layer that bonds without saturating.
The “tack” quality matters too. Good spray adhesive becomes sticky within seconds, letting you press fabric into place immediately — poor adhesives stay wet and allow fabric to shift.
The NRC rating of your panel won’t change based on adhesive choice — but visible glue stains make otherwise professional panels look amateur. The acoustic panel material guide covers the decisions that actually affect absorption.
How to Apply Without Soaking Through
Getting that even tack without bleed-through depends on distance and speed. Hold the can 6–8 inches from the surface and spray in smooth, overlapping passes. Two light coats beat one heavy coat every time.
Wait 30–60 seconds after spraying before pressing fabric. This lets solvents flash off and increases initial tack strength.
Work from the center outward when applying fabric. This pushes air bubbles toward the edges instead of trapping them in the middle.
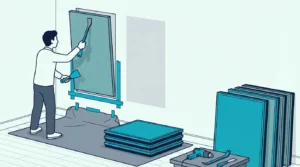
What Glue for Mounting Panels to Walls?
Wall mounting is where the adhesive decision has the biggest consequences — permanent bonds versus removable options, and what happens to your drywall either way.
Permanent vs Removable Mounting
Adhesive mounting creates a permanent bond between your panel and the wall. “Permanent” means you’ll tear drywall paper, pull off paint, or damage the panel backing when you eventually remove it.
For permanent installations in owned spaces, construction adhesive works. Apply it in a zigzag pattern on the panel back and press firmly against the wall.
For renters or anyone who values flexibility, Command Picture Hanging Strips offer damage-free mounting that actually works.
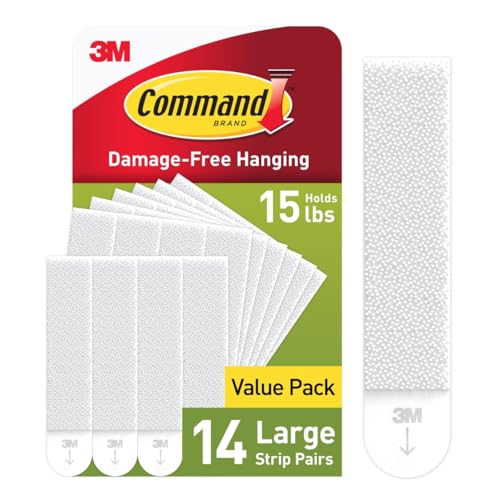
Command Picture Hanging Strips
Will Adhesive Damage Your Walls?
Construction adhesive bonds so strongly that removal pulls off drywall facing paper, leaving rough patches that require patching and repainting.
Foam panels are especially problematic — the foam tears before the adhesive releases, leaving residue that’s nearly impossible to remove cleanly.
If you’re determined to use adhesive, test it first on a hidden wall area. Wait 48 hours, then try removal to see how your specific paint and drywall respond.
The smarter approach for most installations is hardware mounting. French cleats, Z-clips, or simple picture hangers let you hang and remove panels without wall damage — the acoustic panel spacing guide covers positioning strategy once you’ve chosen your mounting method.
How to Apply Adhesive Correctly
Application technique separates professional results from DIY disasters — a clean surface and the right spray distance handle most of the work, and a few common mistakes account for most failures.
Application Tips
Surface prep does most of the work before you ever open the can. Clean surfaces before applying any adhesive. Dust, oil, or debris prevents a solid bond and causes failures weeks or months later.
Temperature matters more than most people realize. Most adhesives perform best between 50–90°F — cold temperatures slow curing and weaken bonds.
For spray adhesives, shake the can vigorously for at least 30 seconds before use. The propellant and adhesive separate when sitting — incomplete mixing causes sputtering and uneven coverage.
Common Mistakes to Avoid
Even with good prep, a few recurring errors account for most failures. Applying too much adhesive wastes product and creates mess without improving bond strength. Thin, even coverage outperforms thick globs every time — and once your panels are built, the acoustic panels placement guide covers where to hang them.
Rushing the cure time causes failures. If the label says 24 hours, wait 24 hours — stressing joints before full cure stretches and weakens the bond.
Using indoor adhesives outdoors (or vice versa) leads to premature failure. UV exposure, temperature swings, and moisture affect different formulations differently — and ignoring ventilation requirements is both a health risk and a fire hazard.
Conclusion
Match the adhesive to the task and you won’t have problems. That’s the whole story in one sentence.
Spray adhesive for fabric. Polyurethane for frames.
And the most important decision of the three: don’t use adhesive for wall mounting unless you’re certain those panels will never move. Removable mounting options protect both your walls and your investment.
The acoustic panel build guide covers the complete construction process, and the hanging guide covers mounting options beyond adhesive.
Frequently Asked Questions
Can you remove glued acoustic panels without damaging walls?
Panels mounted with construction adhesive rarely come off cleanly. The adhesive typically bonds stronger to drywall paper than the paper bonds to the gypsum core.
Expect drywall repair and repainting. For damage-free removal, use Command Strips or hardware mounting instead of adhesive.
Will glue affect the acoustic performance of panels?
No — adhesive used for fabric wrapping or frame construction doesn’t change NRC ratings. Acoustics depend on the insulation core material and thickness, not the adhesive holding everything together.
Can I use hot glue for acoustic panels?
Hot glue works for temporary or lightweight applications but fails under heat and stress over time. For permanent fabric attachment, spray adhesive creates stronger, more even bonds.
For frame construction, polyurethane adhesive far outperforms hot glue in strength and durability.
How long should I wait before handling glued panels?
Spray adhesive bonds instantly but reaches full strength in 24 hours. Construction adhesive needs 4–8 hours of clamping and 24 hours for full cure.