How to Cut Acoustic Panels: Every Material Covered [2026]
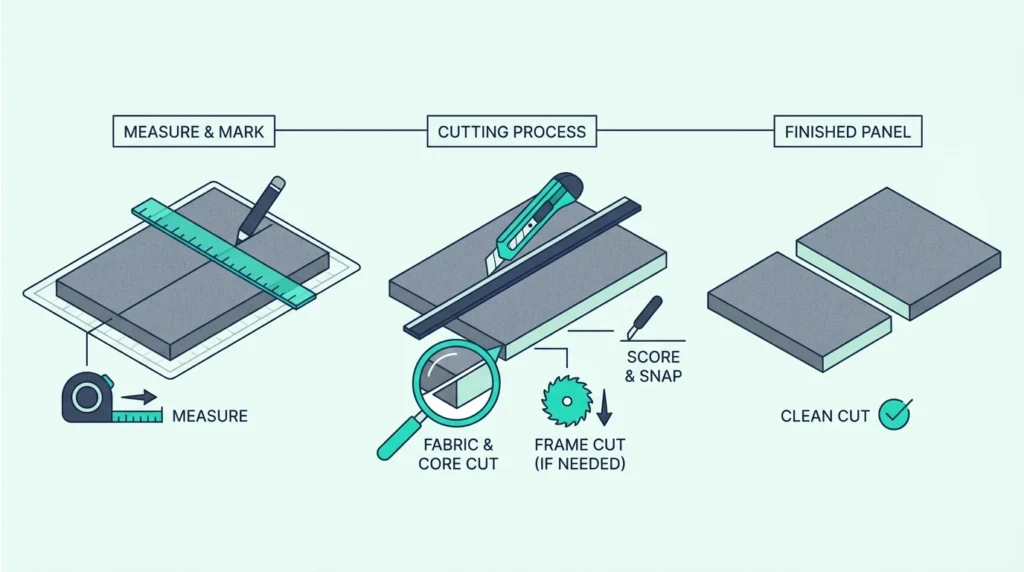
How to cut acoustic panels cleanly — but the method depends on the material, because the wrong tool leaves frayed edges, compressed cores, or fiberglass fibers airborne.
Most people grab a utility knife and start cutting without checking panel type first. The frustration comes when foam tears instead of cuts, or when fiberglass releases particles without correct PPE.
It happens because each material has a different fiber density and requires a different cutting approach.
The right tool for ythe panel type produces clean straight edges that look professional and don’t compromise the acoustic core.
We’ll cover every panel material with the right tool and technique, so you can cut with confidence below.
Most Amazon acoustic panels (PET felt, polyester fiber) cut easily with a sharp utility knife and metal straightedge. Work on a cutting mat, use fresh blades, and make multiple light passes rather than forcing through.
Measure twice, cut once.
Can you Cut Acoustic Panels?
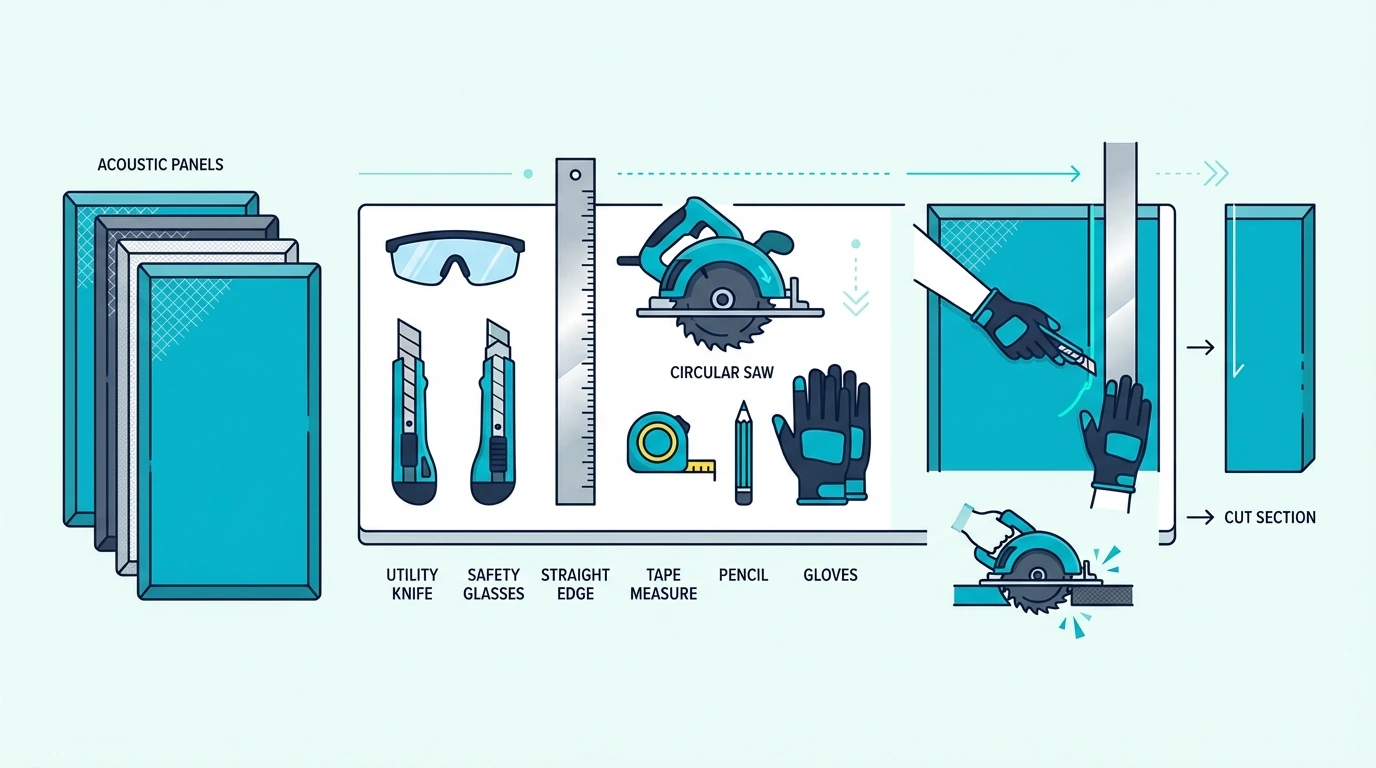
Yes—and it’s easier than you think. The PET felt and polyester fiber panels sold on Amazon are designed to be cut with basic tools.
Why Would you Need to Cut Acoustic Panels?
Standard panel sizes rarely match every wall perfectly. you might need to fit around outlets, light switches, or architectural features. Corner placements often require angled cuts, and odd-shaped rooms demand custom sizing.
Maybe you bought a multi-pack and need smaller pieces for a specific area. Or the panels are slightly too large for the space between your desk and ceiling. Cutting to fit gives you exactly what you need.
The placement matters more than perfect sizing. A slightly smaller panel at the right reflection point outperforms a larger panel in the wrong location.
Which Types Can Be Cut at Home?
Easy to cut (this guide’s focus):- PET felt panels (most common on Amazon)
- Polyester fiber panels
- Fabric-wrapped polyester panels
- Acoustic foam panels
- Fiberglass panels with wooden frames
- Mineral wool panels with frames
- Any panel requiring frame disassembly
The key difference: ready-made PET panels are solid pieces you can cut directly. DIY-style panels have separate components (frame, insulation, fabric) that need individual handling.
What Tools Do you Need?
With panel types identified, the right tools make the difference between clean cuts and ragged edges.
What About Essential Cutting Tools?
A sharp utility knife handles most PET panel cutting. The DIYSELF Craft Knife Kit comes with 11 replacement blades—essential since blade sharpness determines cut quality.
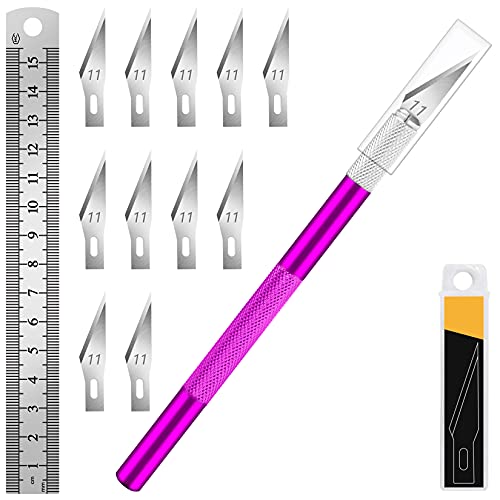
DIYSELF Craft Knife Kit
For heavier panels or extended cutting sessions, the Fiskars Detail Craft Knife offers superior ergonomics with its soft-grip handle.
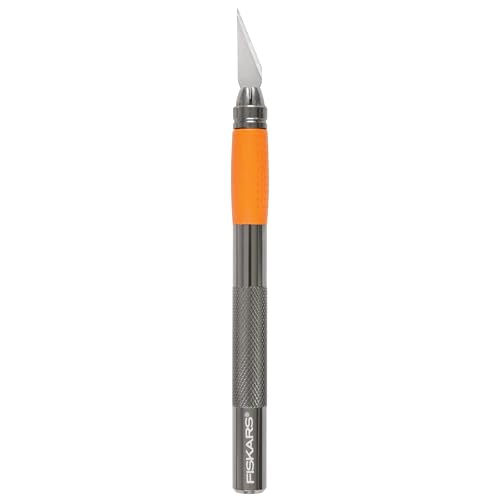
Fiskars Detail Craft Knife
A metal straightedge is non-negotiable. Plastic rulers flex and produce wavy cuts. A 24-inch or 36-inch aluminum ruler provides the rigidity needed for straight lines.
What About Protecting Your Work Surface?
Never cut panels directly on floors or tables—you’ll damage both the surface and your blade. A self-healing cutting mat protects your workspace and extends blade life.
The ArtAt Self-Healing Cutting Mat at 24×36 inches handles full-size panels. The printed grid lines help with measuring and ensure perpendicular cuts.
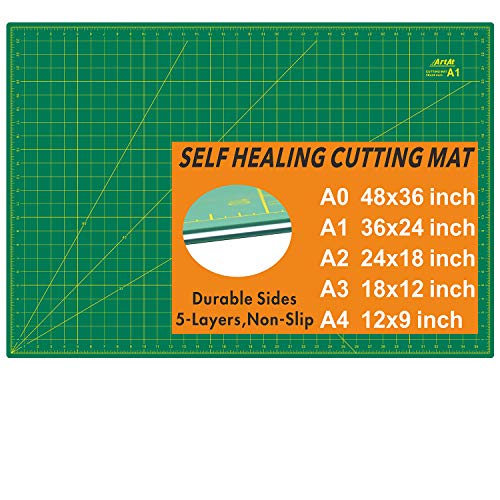
ArtAt Self-Healing Cutting Mat
For frequent cutting or professional use, the Fiskars Self-Healing Cutting Mat offers premium durability that outlasts budget options.
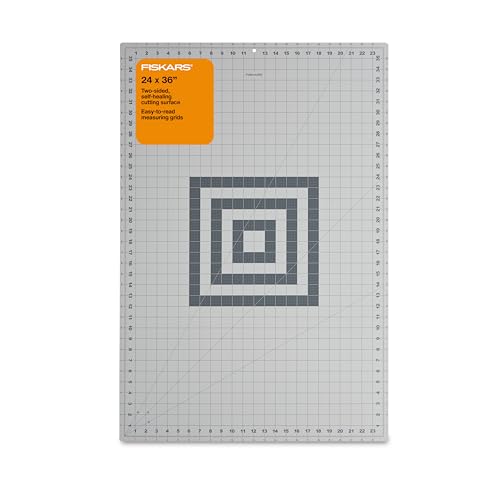
Fiskars Self-Healing Cutting Mat
What About Additional Helpful Items?
- Pencil or chalk for marking cut lines (easily removed)
- Measuring tape for precise dimensions
- Masking tape to hold straightedge in place
- Vacuum or brush for cleaning fiber debris
Get Studio Tips Weekly
Join 5,000+ creators getting acoustic treatment advice every week.
No spam. Unsubscribe anytime.How Do you Measure and Mark Acoustic Panels?
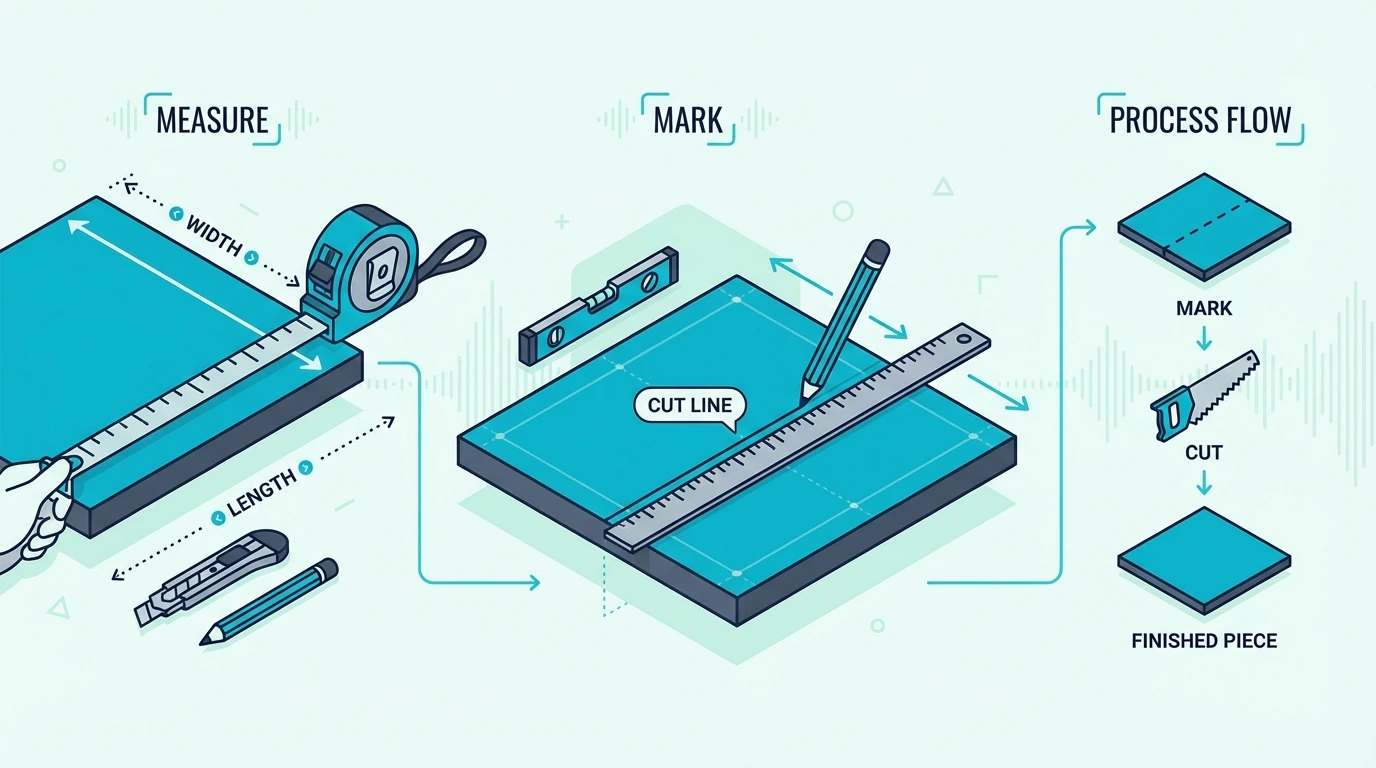
With your cutting tools assembled, accurate measurement prevents wasted panels. The old carpenter’s rule applies here: measure twice, cut once.
What About Getting Accurate Measurements?
Measure your target space at multiple points. Walls aren’t always perfectly straight, so check dimensions at top, middle, and bottom. Use the smallest measurement to ensure ythe panel fits.
Account for any gap you want around edges. Most installation methods work best with 1/4 to 1/2 inch clearance from adjacent surfaces.
Transfer measurements to ythe panel using a pencil or tailor’s chalk. Light marks are easier to clean than heavy ones. For dark panels, chalk shows up better than pencil.
What About Marking Straight Lines?
Use your metal straightedge to connect measurement points. Hold the straightedge firmly or tape it in place—any movement during marking creates crooked lines.
For angled cuts, measure the angle carefully or create a paper template first. Fitting the template to your space before cutting the actual panel saves expensive mistakes.
Double-check your marks against the target space before cutting. Walking back and forth between panel and installation spot catches errors while they’re still fixable.
How Do you Cut PET Acoustic Panels?
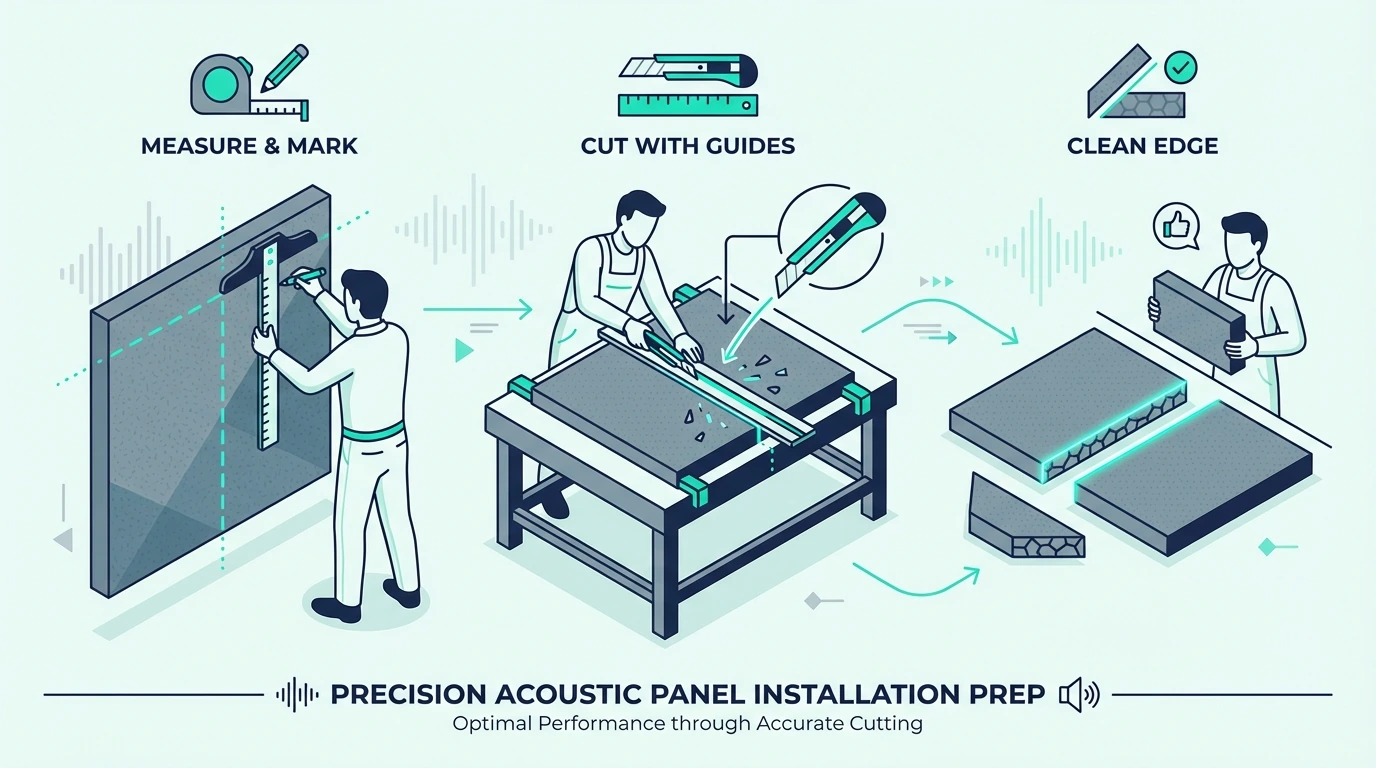
With accurate marks in place, the core cutting technique is simple. Sharp blades matter most here—PET felt and polyester fiber panels respond well to sharp blades and patient technique.
What About Step-by-Step Cutting Process?
Position ythe panel on the cutting mat with the marked line accessible. Place your metal straightedge along the cut line, leaving the marked portion on the waste side.
Hold the straightedge firmly with your non-cutting hand. Apply steady downward pressure—the straightedge must not move during cutting.
Using your utility knife, score the panel surface with a light first pass. Don’t try to cut through completely—this initial score creates a guide channel for subsequent passes.
Make additional passes, each slightly deeper than the last. Three to five passes typically cuts through a standard 1-inch PET panel. Let the blade do the work; forcing creates jagged edges.
What About Getting Clean Edges?
Blade sharpness is everything. A dull blade tears fibers instead of slicing them cleanly. Replace blades frequently—they’re cheap compared to ruined panels.
Maintain consistent blade angle throughout each pass. Tilting the blade mid-cut creates beveled edges that don’t sit flush against walls.
Cut from the visible side when possible. Any minor imperfections will be on the back, hidden against the wall after mounting.
For fabric-wrapped panels, score the fabric separately before cutting the core. This prevents the fabric from bunching or pulling during the deeper cuts.
How Do You Cut Acoustic Foam Panels?
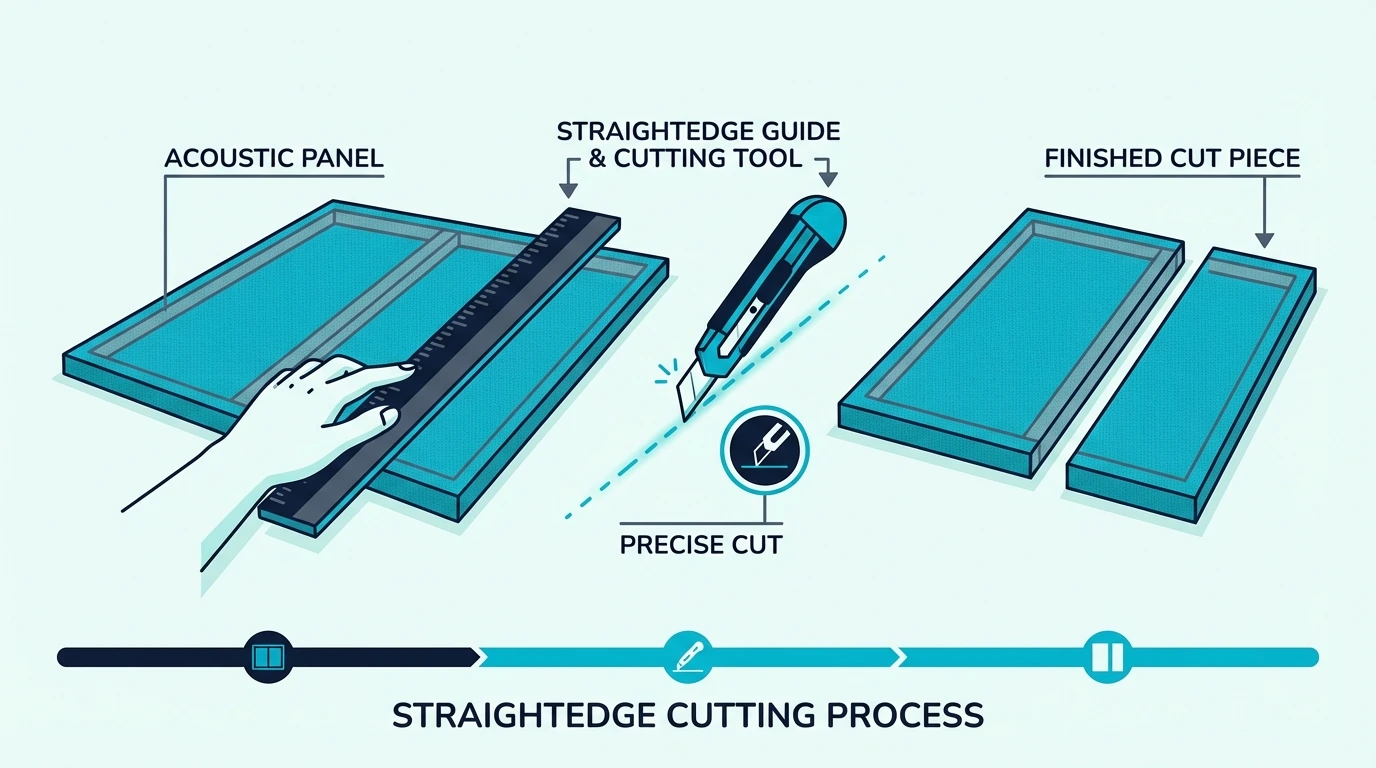
If you’re working with foam instead of PET felt, the same multiple-pass technique from the PET section works here too—but foam cuts even easier. The soft material yields to sharp blades with minimal resistance.
What About Foam Cutting Technique?
Standard wedge and pyramid foam panels cut cleanly with a sharp utility knife. The same technique applies—multiple light passes rather than forcing through.
For thick foam (3+ inches), an electric carving knife works better than manual cutting. The reciprocating blade slices through without compressing the foam.
Cut from the flat back side, not the textured front. This protects the decorative surface and gives you a stable cutting base.
What About Handling Different Foam Types?
Egg crate foam requires careful blade placement between the peaks. Cut through the valleys for cleanest results.
Dense acoustic foam may need more passes than lightweight options. Panel density directly affects cutting difficulty — denser material requires more patience.
Bass trap foam (the thick corner pieces) benefits from electric knife cutting. Manual cutting through 4+ inches of dense foam exhausts your arm and produces uneven results.
What About Fiberglass or Mineral Wool Panels?
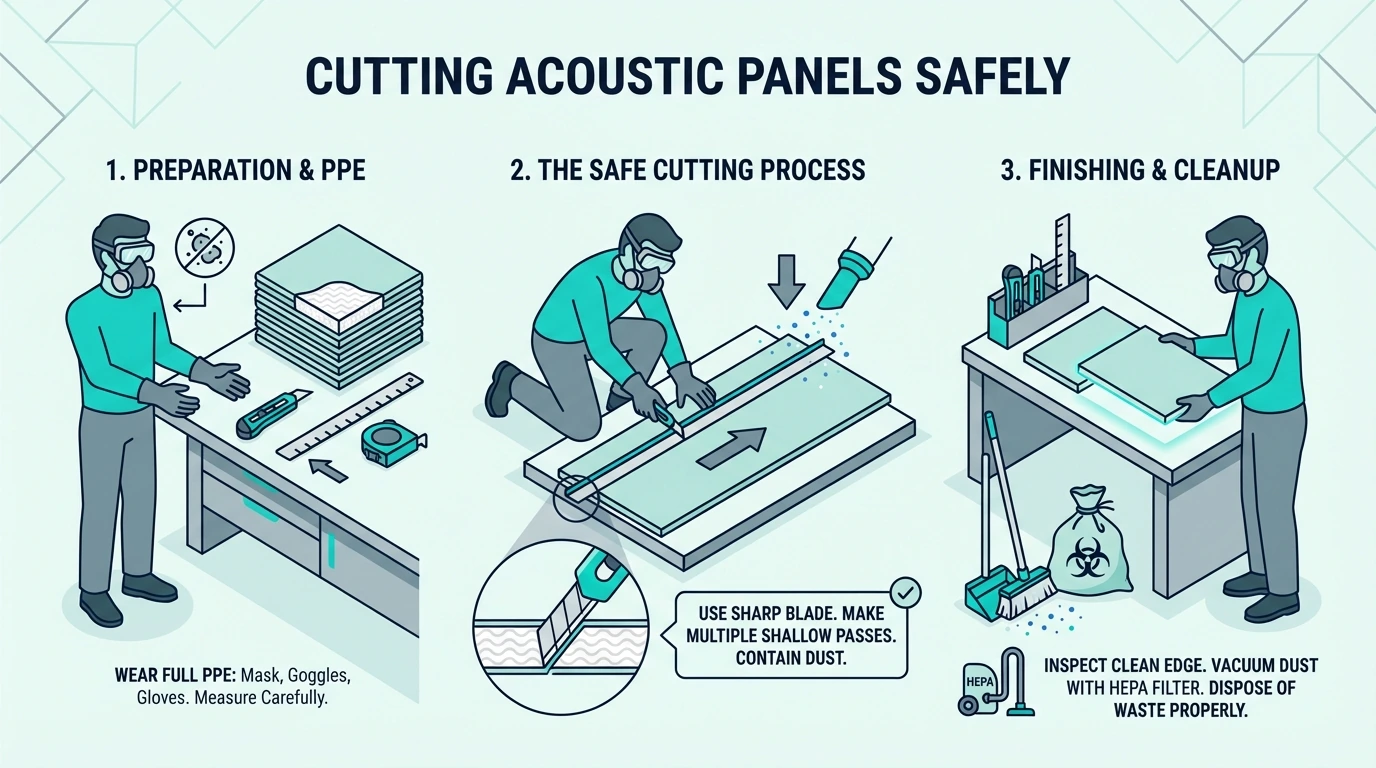
DIY-style panels with wooden frames and mineral fiber insulation require a different approach entirely—the process differs much from cutting solid PET panels.
When to Use the DIY Guide Instead?
Panels with wooden frames can’t simply be cut through. you need to: 1. Remove the fabric wrapping 2. Disassemble or cut the frame 3. Cut the insulation to new size 4. Rebuild the frame 5. Re-wrap with fabric
This is essentially building a new panel. the DIY acoustic panels guide covers this complete process with correct safety equipment for handling fiberglass and mineral wool.
What About Cutting Bare Insulation (Safety Required)?
If you’re cutting raw fiberglass or rockwool for a DIY project, wear correct protection: N95 respirator, safety glasses, long sleeves, and gloves. These materials release irritating fibers during cutting.
The ALLEX Insulation Knife with its 8-inch serrated blade handles fiberglass and rockwool efficiently.
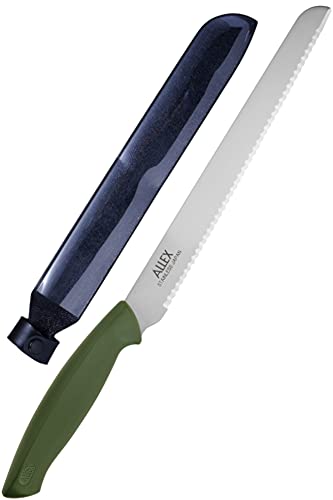
ALLEX Insulation Knife
Work outdoors or in well-ventilated areas. Shower and change clothes after handling—fibers that reach bedding cause miserable nights.
How Do you Finish Cut Edges?
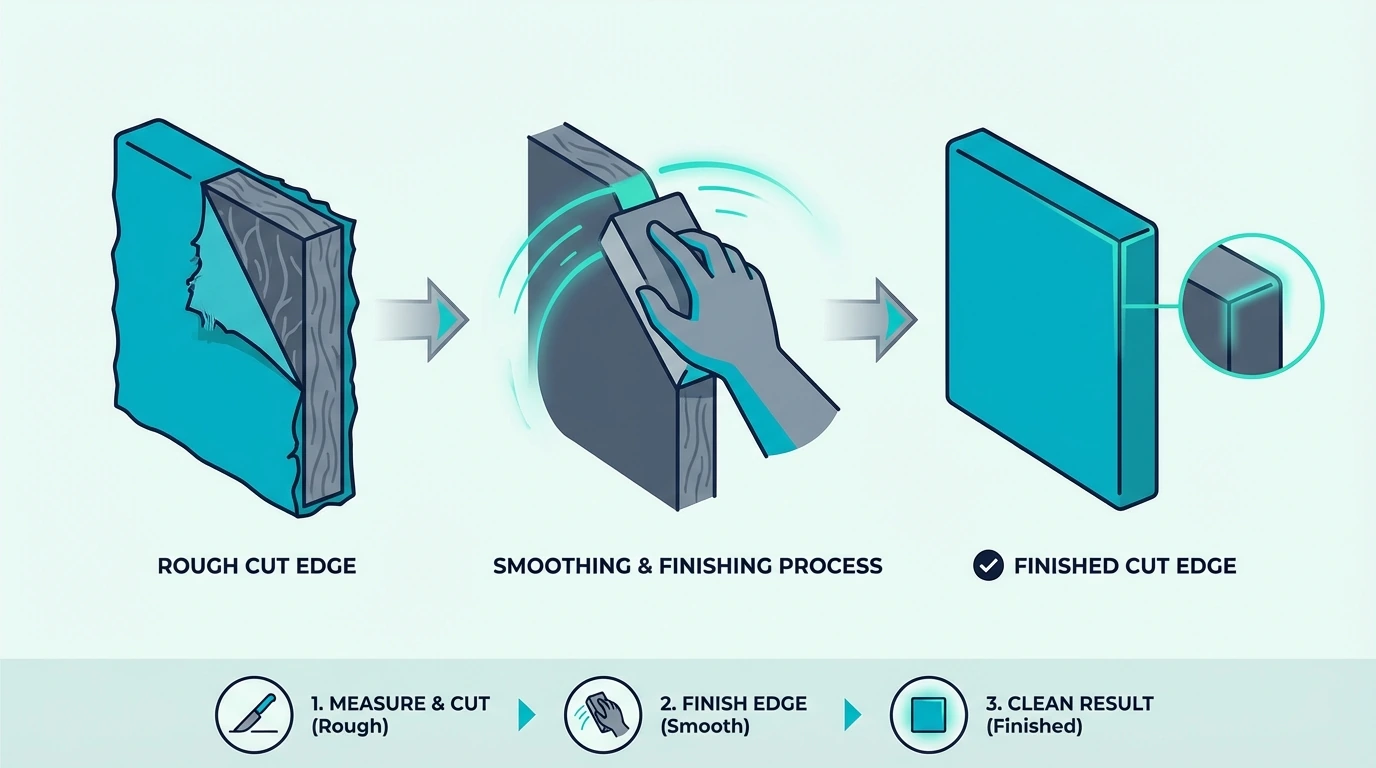
Clean cuts still need finishing. These steps ensure cut edges look professional and don’t unravel over time.
What About PET Panel Edge Finishing?
Most PET panels have clean enough cut edges to leave as-is. The compressed fiber doesn’t fray like woven fabric.
For panels that will be highly visible, a quick pass with fine sandpaper (220 grit) smooths any roughness. Sand in one direction only to avoid creating fuzz.
Dark-colored panels may show lighter cut edges. A matching fabric marker or paint pen disguises the exposed core.
What About Fabric-Wrapped Panel Edges?
If you cut through fabric-wrapped panels, the exposed edge may need treatment. Options include:
Fabric tape in matching color wraps exposed edges quickly. Not as refined as correct fabric wrapping but works for less visible locations.
For important panels, remove the fabric before cutting and re-wrap after. the guide on making acoustic panels covers fabric wrapping technique.
Conclusion
How to cut acoustic panels depends on matching your approach to ythe panel type. For PET and polyester panels from Amazon—the most common type—a sharp utility knife and metal straightedge deliver clean, professional cuts.
The key principles: use fresh blades, make multiple light passes, and protect your work surface with a cutting mat. Measure twice before cutting once, and always cut from the visible side when possible.
For DIY panels with wooden frames and mineral fiber insulation, the process is more involved. See the complete DIY guide for handling those materials safely.
Ready to install your newly-cut panels? the installation guide for mounting options that won’t damage your walls. And if cutting seems like too much hassle, the best acoustic panels guide features options in various sizes that might fit your space without modification.
Frequently Asked Questions
Does Cutting Reduce Acoustic Performance?
Minimally. you’re reducing total absorption area, but the remaining material performs identically per square inch. A 24×48 panel cut to 24×36 loses 25% of absorption capacity but works just as effectively in its coverage area.
For correct room treatment, having correctly-sized panels at reflection points matters more than maximum panel size.
What’s the Minimum Useful Panel Size?
THere is no hard minimum, but very small pieces become impractical. Below about 8×8 inches, panels are difficult to mount and provide minimal acoustic impact individually.
For bass frequencies, size matters more. But standard panels primarily address mid and high frequencies where smaller sizes remain effective.
Can I Cut Acoustic Panels into Custom Shapes?
Yes, with patience. Curved cuts require freehand knife work—go slowly and make many light passes. Create paper templates first to test your shapes.
For complex shapes, score the outline completely before making deeper cuts. The scored line guides subsequent passes and prevents wandering.