How to Remove Acoustic Panels Without Damaging Your Walls [2026]
How to remove acoustic panels without damaging your walls — but the method that works depends entirely on how they were originally mounted.
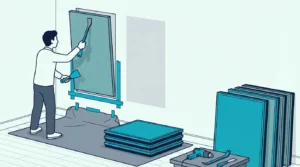
Most people peel command strips too fast or pour solvent on spray adhesive without testing first. The frustration is real: torn drywall paper, paint pulled off in chunks, or panels that crumble because the core got saturated. It happens because each mounting method has a specific removal technique, and skipping steps causes the damage.
With the right approach for your mounting type, panels come off cleanly and walls stay intact — so you can move, reposition, or replace treatment without a repair bill.
We’ll walk you through removal by mounting method, wall repair, and whether panels can be reused below.
Z-clip and French cleat panels lift straight off — no tools needed. Command strips require slow, downward pulling on the stretch tab.
Spray adhesive panels need heat application and careful prying. For adhesive residue, Goo Gone or rubbing alcohol removes most residue without damaging paint.
Always test removal technique on one panel first before tackling an entire room.
Before removing panels, it helps to know how many you originally needed — that guides whether you’re replacing or simply relocating them. Panel NRC ratings also degrade if cores are damaged during removal, so preserve them carefully.
How Do you Remove Different Types of Mounted Panels?
Before grabbing tools and yanking panels off your wall, identify your mounting method. Each type requires a specific approach to avoid damage.
The mounting hardware you chose during panel installation determines your removal experience. Removable methods like Command strips and Z-clips were designed for easy takedown.
Permanent methods like spray adhesive fight back.
How to Remove Z-Clip Mounted Panels
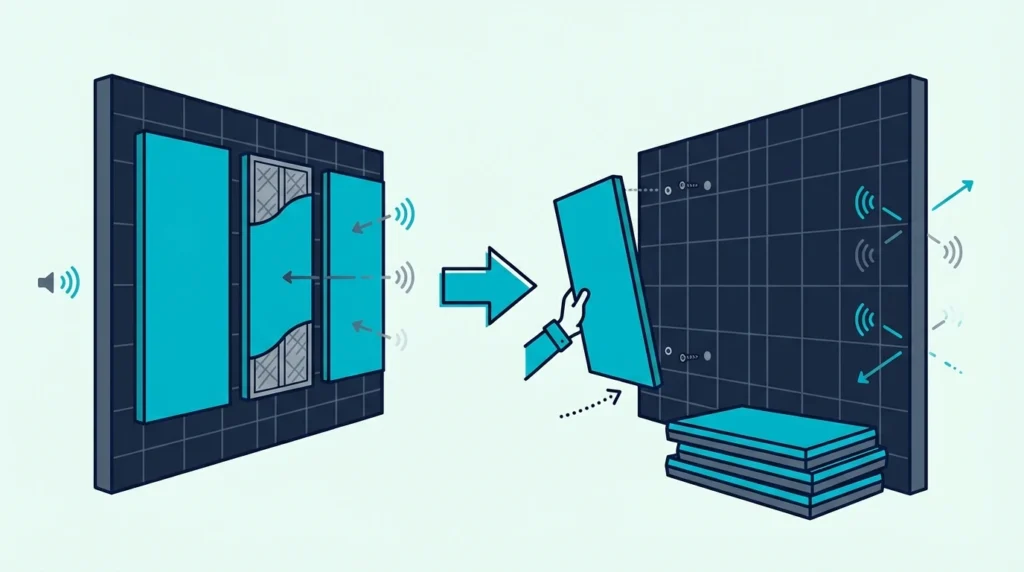
Z-clips are the easiest mounting method to reverse. The interlocking brackets simply disengage when you lift the panel upward.
Grip the panel at both bottom corners. Lift straight up about an inch — you’ll feel the panel-side bracket clear the wall-side bracket.
Then pull the panel away from the wall.
That’s it. No tools, no damage, no residue.
The wall-side clips remain mounted with their screws, leaving only small screw holes if you remove those too.
For best placement after removal, you can reposition the wall clips anywhere. The panels themselves are completely unaffected by the removal process.
How to Remove Command Strip Panels
Command strips remove cleanly when you follow the stretch-release technique. Skip this step and you risk pulling paint off your wall.
Locate the pull tab on each strip — it should hang below the panel edge. If panels were mounted correctly, these tabs are accessible without removing the panel first.
Products like 3M Command Picture Hanging Strips are designed specifically for this clean removal process.
Grip the tab and pull slowly straight down, parallel to the wall. The strip stretches and releases from the wall surface.
Don’t pull outward — that’s how paint comes off.
For strips without accessible tabs, gently slide a putty knife behind the panel to separate it from the wall. Then access the tabs from behind.
How to Remove Adhesive-Mounted Panels
Spray adhesive and construction adhesive create the most challenging removal situations. These bonds were designed to be permanent.
Start with heat. A hair dryer or heat gun softens adhesive bonds, making separation easier.
Hold heat 6-8 inches from the panel surface and move continuously to avoid scorching.
After 2-3 minutes of heat application, slide a wide putty knife between the panel and wall. A plastic putty knife set works better than metal for this — less likely to gouge drywall.
Work slowly from one edge, applying more heat as needed. Rushing tears panel material or pulls chunks of drywall.
Accept that some damage is likely. Spray adhesive removal typically leaves residue on both the wall and panel back.
The panel may be unusable for remounting depending on material type.
Will Removing Panels Damage your Walls?
Understanding potential damage helps you plan repairs before removal begins. Some methods leave walls pristine; others require real touch-up work.
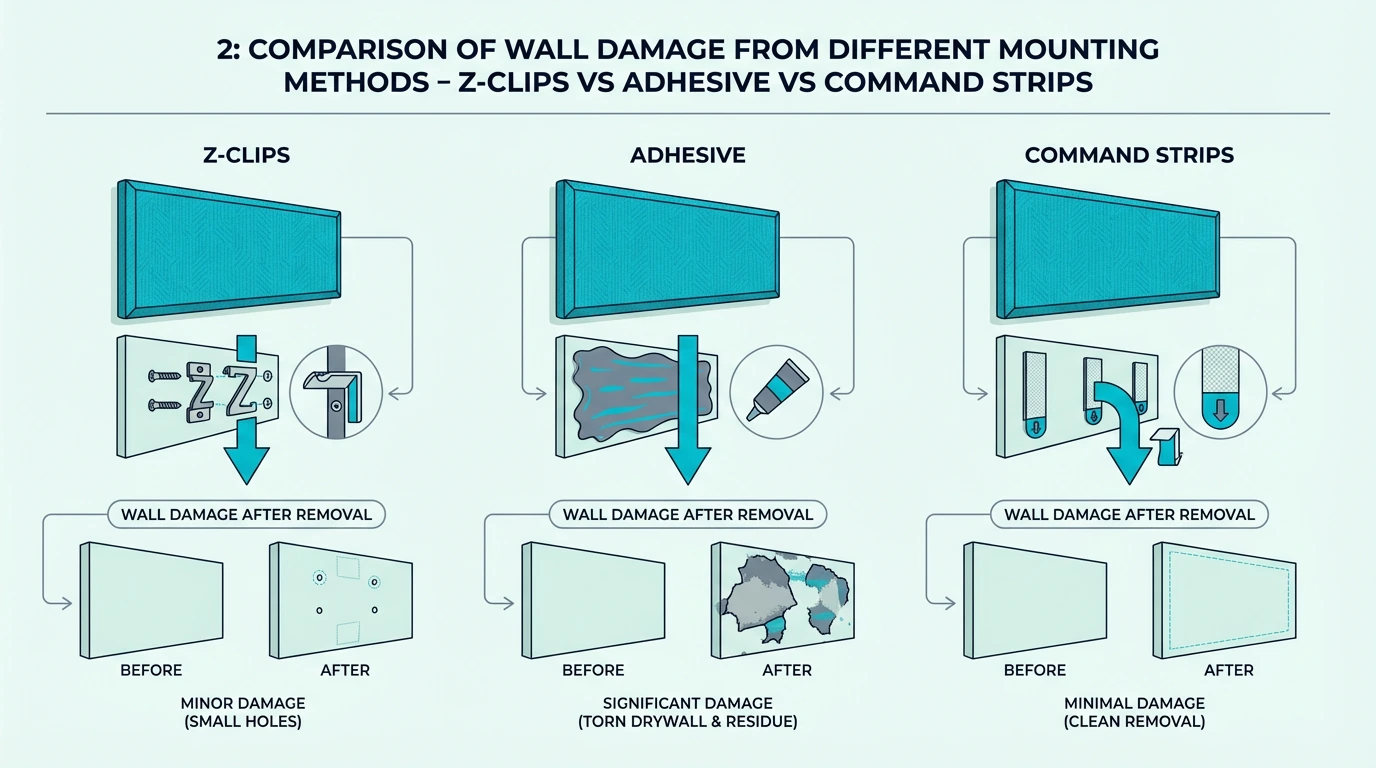
Which Mounting Methods Damage Walls?
Z-clips and French cleats leave only small screw holes — the same as hanging a picture frame. These fill easily with spackle and disappear with touch-up paint.
Command strips leave no damage when removed correctly using the stretch-release method. Incorrect removal (pulling outward) can peel paint.
Velcro strips often leave adhesive residue even when the strips themselves release cleanly. The residue requires solvent removal but usually doesn’t damage underlying paint.
Spray adhesive causes the most damage. Expect to remove some paint or drywall paper with the panels.
Budget for wall repair and repainting if you used this mounting method.
How Do You Minimize Damage?
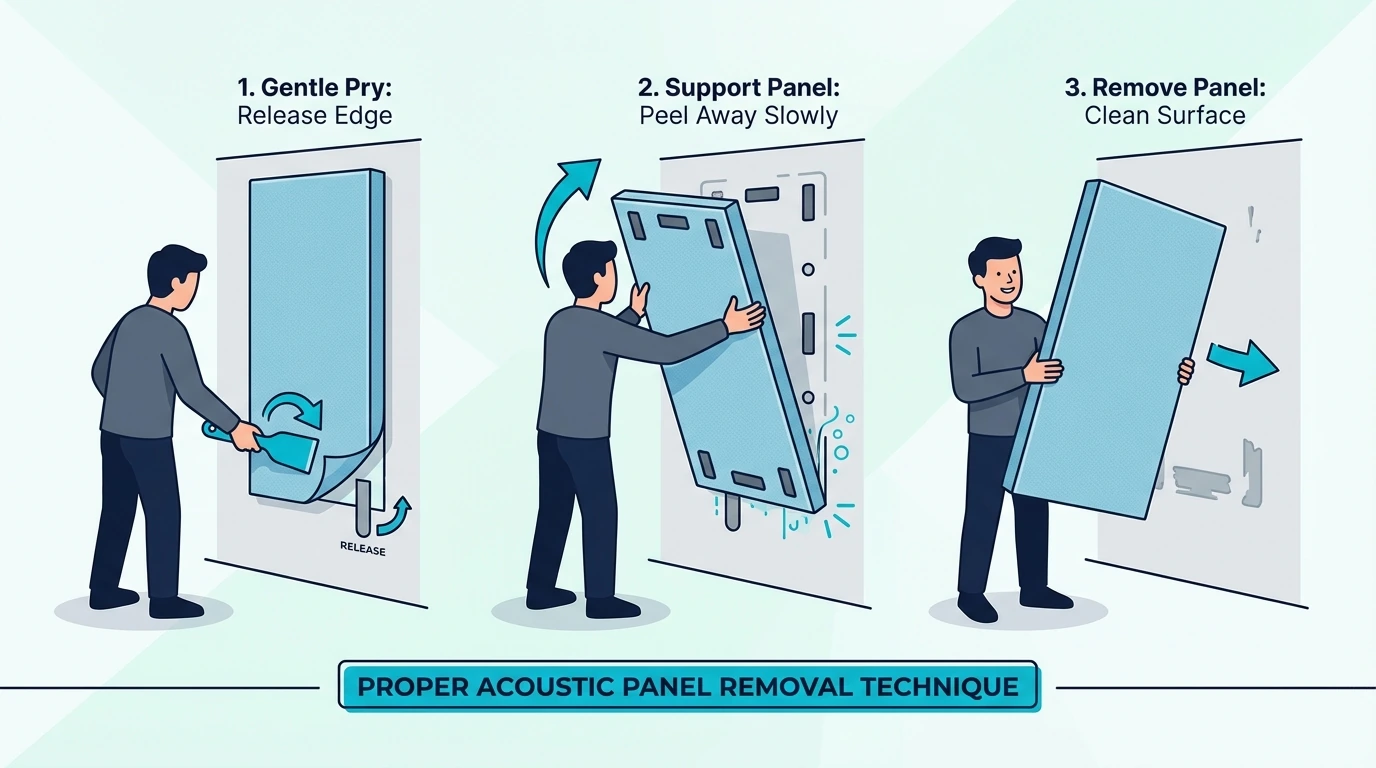
Work slowly — rushing causes most removal damage. Heat softens adhesive bonds and prevents sudden releases that tear wall surfaces.
Test your technique on one panel in an inconspicuous location before removing visible panels. If damage occurs, you’ll know what repairs to prepare for.
Keep a putty knife angled low against the wall during prying. Steep angles dig into drywall.
Shallow angles slide along the surface.
Get Studio Tips Weekly
Join 5,000+ creators getting acoustic treatment advice every week.
No spam. Unsubscribe anytime.How Do you Remove Adhesive Residue?
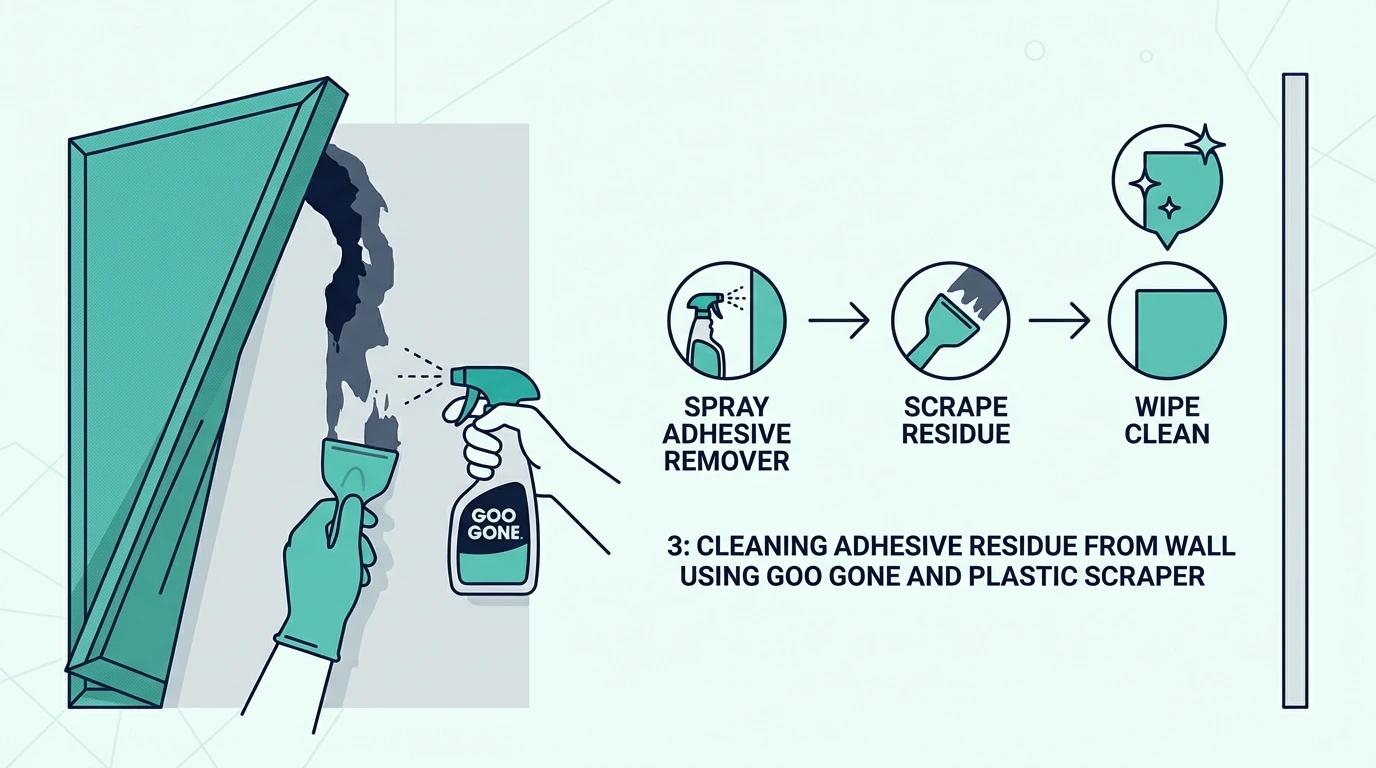
Even careful removal often leaves sticky residue behind. Several products safely remove adhesive without damaging painted surfaces.
What Products Remove Adhesive?
Goo Gone Original works on most adhesive types and won’t damage paint when used as directed. Apply, wait 5 minutes, wipe with a cloth.
Goo Gone Original
Rubbing alcohol (isopropyl 70%+) dissolves many adhesives and evaporates without residue. It’s safe for most painted surfaces but test on a hidden area first.
WD-40 removes stubborn adhesive but leaves an oily film requiring additional cleaning. Use it as a last resort for persistent residue.
Avoid acetone and paint thinner — these dissolve paint along with adhesive.
How Do You Clean Walls After Removal?
After removing adhesive, wash the area with warm water and mild dish soap. This removes solvent residue and prepares the surface for any needed repairs.
For walls that will be repainted, light sanding with fine-grit sandpaper (220 grit) creates a smooth surface. Wipe with a tack cloth before priming.
If the wall has texture, you may need to reapply texture compound before painting. This is common after spray adhesive removal where wall paper tears.
Can You Reuse Acoustic Panels After Removal?
Panel reusability depends on mounting method and material type. Some panels survive removal perfectly; others are single-use only.
Which Panels Can Be Reused?
Fabric-wrapped fiberglass panels with Z-clip or Command strip mounting typically survive removal without damage. The mounting hardware attaches to wooden frames, leaving the acoustic material untouched.
PET felt panels with removable mounting also reuse well. Their rigid construction resists the handling involved in removal.
Foam panels mounted with spray adhesive rarely survive intact. The adhesive bonds to foam material, tearing chunks during removal.
Consider foam panels mounted this way as disposable.
If you’re wondering whether panels are worth the investment, reusability is one factor that makes professional panels more cost-effective than cheap foam over time.
the acoustic panels guide covers panel material differences that affect durability and reusability.
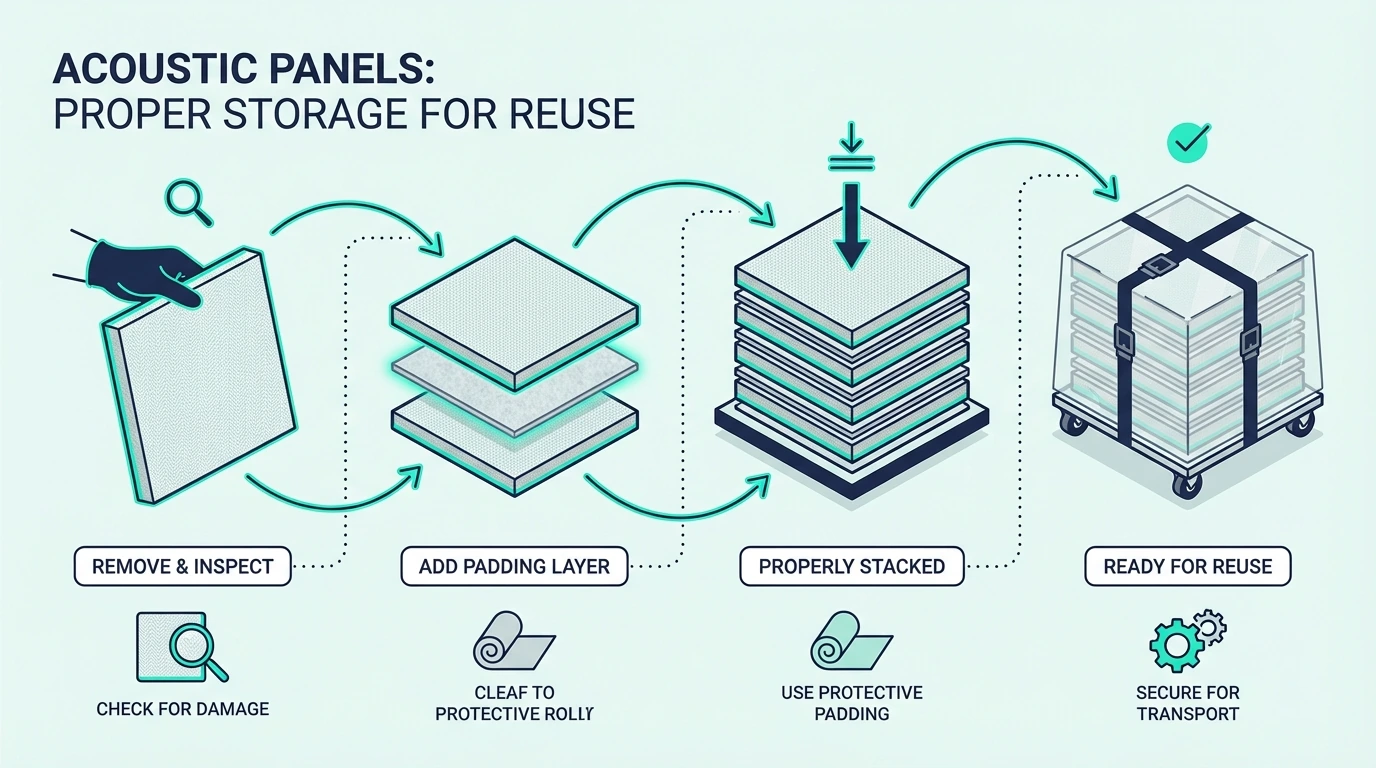
How Do You Store Removed Panels?
Stand panels upright against a wall rather than stacking flat. This prevents compression damage to absorptive material.
If stacking is necessary, place cardboard or foam sheets between panels to prevent friction damage to fabric faces.
Store in climate-controlled spaces. Temperature and humidity swings can warp panel frames and grow mold in fiberglass cores.
What Should you Know Before Removing Panels?
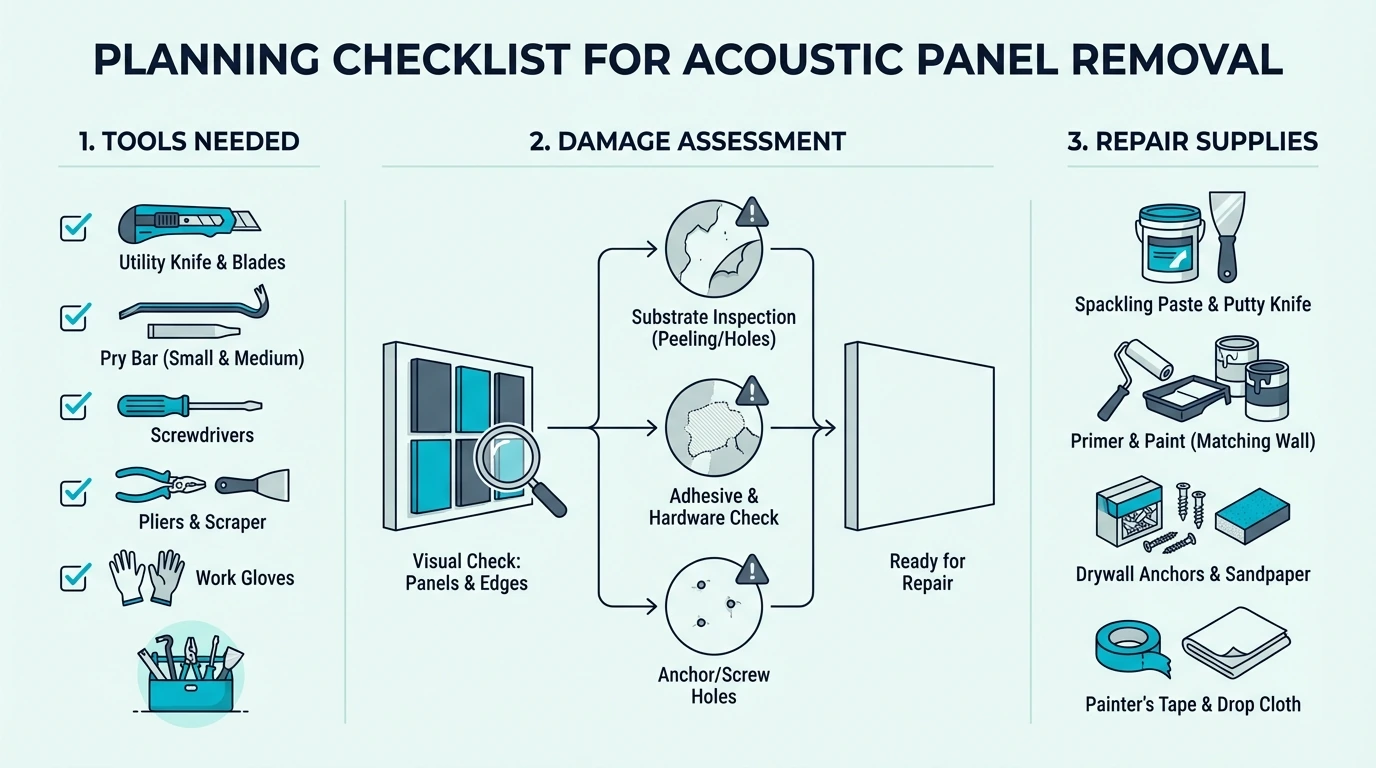
Planning removal before you start prevents surprises and ensures you have necessary supplies ready.
Gather tools based on your mounting type: putty knife for adhesive panels, step stool for high panels, heat gun if dealing with spray adhesive. Have a drop cloth ready to catch falling debris.
Photograph your current panel arrangement if you plan to reinstall elsewhere. Recreating effective panel placement is easier with reference images.
Check your lease if renting. Some damage from removal may affect security deposits — know what repairs are expected before move-out.
Panel Removal Methods Comparison
| Mounting Type | Removal Difficulty | Wall Damage | Panel Reusable? | Residue? |
|---|---|---|---|---|
| Z-Clips | Very Easy | Screw holes only | Yes | None |
| French Cleats | Very Easy | Screw holes only | Yes | None |
| Command Strips | Easy | None (if correct) | Yes | Minimal |
| Velcro Strips | Easy | Minimal | Yes | Moderate |
| Double-Sided Tape | Moderate | Possible paint damage | Usually | Moderate |
| Spray Adhesive | Difficult | Likely paint/drywall damage | Rarely | Heavy |
| Construction Adhesive | Very Difficult | Real damage | No | Heavy |
The table breaks down into three tiers. Mechanical mounts (Z-clips, French cleats) come off with zero wall damage and no residue — the panels lift straight up and the only trace left behind is small screw holes from the wall bracket. Command strips and Velcro sit in the middle: easy removal with little to no damage, though Velcro leaves more residue than Command strips.
Adhesive-based methods are where removal gets expensive. Double-sided tape can pull paint, spray adhesive almost always damages drywall paper, and construction adhesive creates the worst scenario — expect real wall repair. The reusability column tells the same story: panels survive mechanical and strip removal intact, but adhesive bonds tear foam and can warp even rigid panels during separation.
If you’re choosing a mounting method for a new installation, this table is the strongest argument for spending slightly more on Z-clips or Command strips upfront. The removal experience is night-and-day compared to adhesive options.
What to Know Before Removing Acoustic Panels
Removal difficulty is largely determined at installation time. If you chose removable mounting methods, takedown is simple.
Permanent adhesives create permanent challenges.
For future installations, consider Z-clips or Command strips if you might ever need to remove panels. The slight reduction in bond strength is worth the clean removal experience.
If you’re upgrading panels after removal, the best acoustic panels guide for current recommendations. Panel technology improves regularly, and replacement may outperform your original choices.
Whatever mounting method you choose next time, the lessons from this removal experience will inform better decisions. Removable mounting saves headaches — and walls.
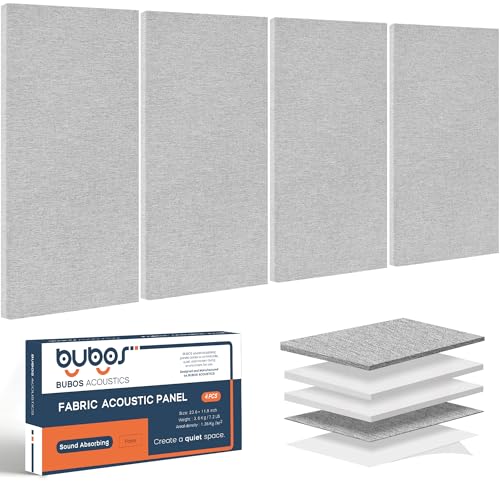
UMIACOUSTICS 4-Pack Fiberglass Acoustic Panels
UMIACOUSTICS 4-Pack Fiberglass Acoustic Panels
Art3d 6-Pack Self-Adhesive Acoustic Panels
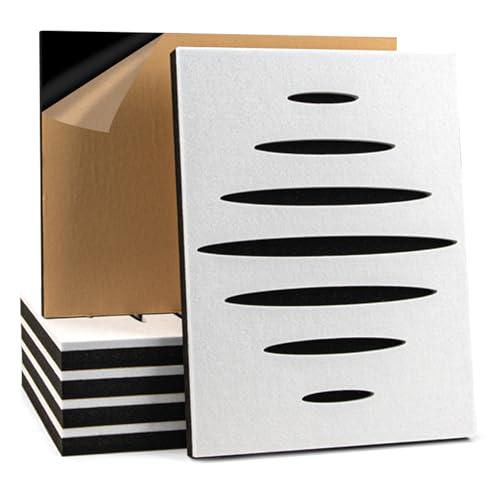
Art3d 6-Pack Self-Adhesive Acoustic Panels
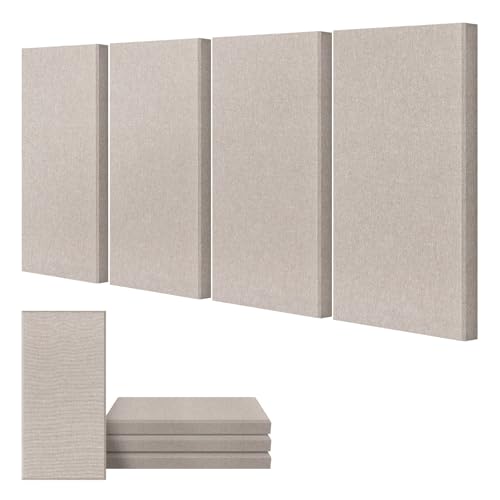
BUBOS 4-Pack Fabric Acoustic Panels
BUBOS 4-Pack Fabric Acoustic Panels
Conclusion
Removing acoustic panels without wall damage comes down to matching your removal technique to the original mounting method. Command strips need slow, straight-down pulls. Z-clips and French cleats lift off cleanly. Spray adhesive requires patience with heat and solvents.
The key takeaway: your next installation should factor in removal from the start. Removable mounting methods like Z-clips or Command strips cost slightly more upfront but save hours of repair work later. If you’re replacing panels after removal, check the best acoustic panels guide for current options that pair strong performance with clean mounting solutions.
Frequently Asked Questions
Can you Remove Acoustic Panels Without Damaging Walls?
Yes — if you used removable mounting methods. Z-clips, French cleats, and Command strips all remove without wall damage when done correctly.
Spray adhesive and construction adhesive cause wall damage in most cases. The bond is designed to be permanent, and breaking it damages either the wall or panel (usually both).
How Do you Remove Old Adhesive?
Apply Goo Gone or rubbing alcohol to the residue. Wait 5 minutes for the solvent to soften the adhesive.
Wipe with a clean cloth, repeating as needed.
For stubborn residue, use a plastic scraper at a low angle to avoid gouging drywall. Metal scrapers can damage wall surfaces.
Can Acoustic Panels Be Moved and Reused?
Most professionally-made panels with removable mounting can be reused multiple times. Remove carefully, store properly, and they’ll perform identically in their new location.
Foam panels mounted with spray adhesive typically cannot be reused — the adhesive tears the foam during removal.
What’s the Easiest Mounting Method to Remove?
Z-clips are the absolute easiest — simply lift the panel straight up and pull away. No tools, no residue, no damage.
Command strips are second easiest when the stretch tabs remain accessible. The stretch-release mechanism provides clean removal on most painted surfaces.