Okay, picture this: It’s a lazy Sunday afternoon, and you’ve just scored a sweet deal on a Crosley turntable at a garage sale.
You’re itching to spin some vinyl, but there’s one tiny problem – you have no clue how to work this thing!
Don’t worry, I’ve been there too. When I got my first Crosley, I was so excited that I nearly broke the tonearm trying to figure it out. Yikes!
But fear not, my fellow vinyl enthusiast. I’m here to share all the tips and tricks I’ve learned along the way.
Whether you’re a total newbie or just need a refresher, this guide will have you groovin’ to your favorite tunes in no time. So, let’s drop the needle on this tutorial and get your Crosley turntable up and running!
How to Work a Crosley Turntable
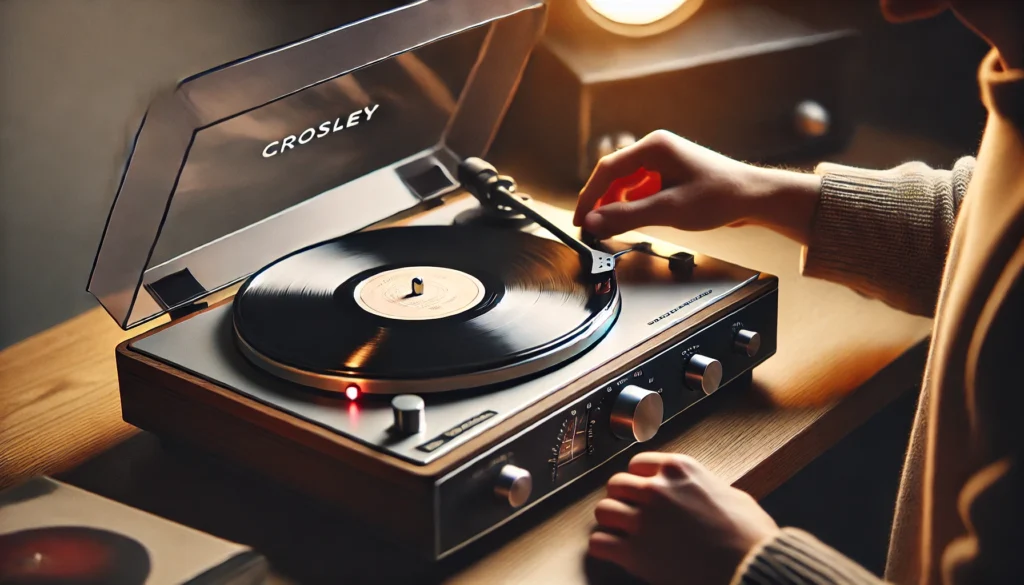
To work a Crosley turntable, follow these steps:
1) Place the record on the platter.
2) Select the correct speed (33, 45, or 78 RPM) using the speed switch.
3) Lift the tonearm using the cueing lever.
4) Position the tonearm over the record’s edge.
5) Lower the tonearm gently onto the record using the cueing lever.
6) Adjust the volume on your turntable or connected speakers.
When finished, lift the tonearm and return it to its rest. Always handle records by their edges and clean the stylus regularly for optimal sound quality.
Now that we’ve covered the basics, let’s dive deeper into each step of operating your Crosley turntable and explore some pro tips to enhance your vinyl listening experience.
Setting Up Your Crosley Turntable
Alright, let’s kick things off with setting up your Crosley turntable. Trust me, I know the excitement of getting a new record player – it’s like Christmas morning for music lovers!
But before you start jamming, we’ve gotta make sure everything’s in its right place.
First things first, let’s unbox that bad boy. I remember when I got my Crosley Cruiser, I was so eager that I nearly tossed the styrofoam packing right out the window!
Don’t be like me – take your time and check that all the components are there and undamaged. You should have the turntable itself, a dust cover (if it’s not a suitcase model), and maybe some cables.
Now, where are you gonna put this beauty? I learned the hard way that placing it next to my mini-fridge was a big no-no – all those vibrations messed with the sound something fierce!
Find a spot that’s stable, level, and away from any sources of vibration. A solid shelf or table works great.
Oh, and make sure there’s enough clearance to lift the dust cover – I can’t tell you how many times I’ve bonked my head trying to change a record!
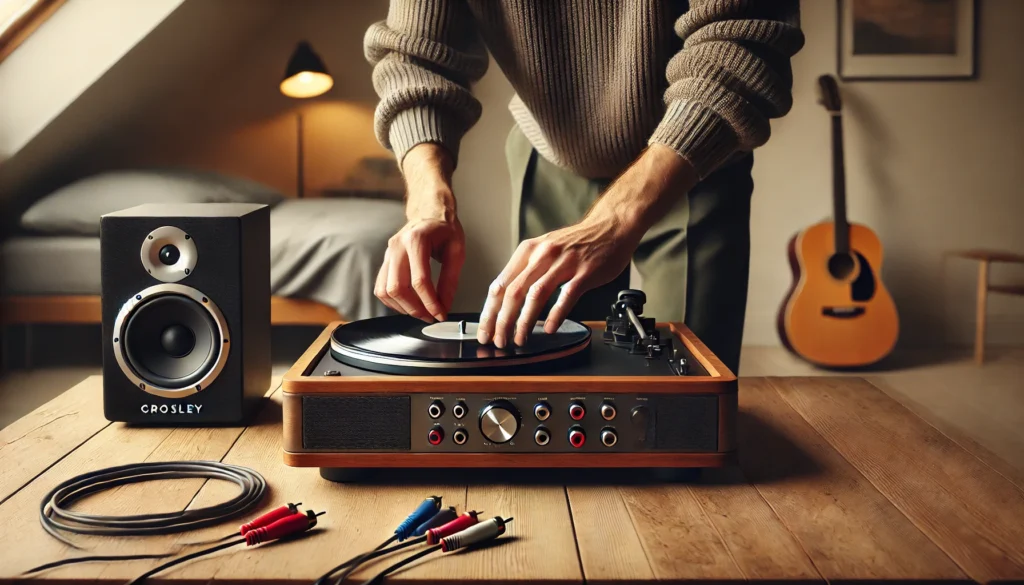
Okay, now for the fun part – hooking it up! If your Crosley has built-in speakers, you’re golden.
Just plug that power cord into the nearest outlet, and you’re halfway to vinyl heaven. But if you’re using external speakers (which I totally recommend for better sound), you’ll need to connect the RCA cables.
They’re those red and white plugs – just match the colors to the inputs on your speakers or receiver. Easy peasy!
One last tip – if your turntable has a ground wire (it looks like a thin cable with a forked end), make sure to connect it to the grounding post on your receiver. I once forgot this step and ended up with a hum louder than my neighbor’s lawnmower!
Trust me, proper grounding makes a world of difference.
And there you have it! Your Crosley turntable is set up and ready to rock.
But hold your horses – we’re not done yet. There’s still plenty more to learn about working this vinyl magic machine.
Stick around, and I’ll spill all the secrets I’ve picked up along the way!
Understanding the Components of Your Crosley Turntable
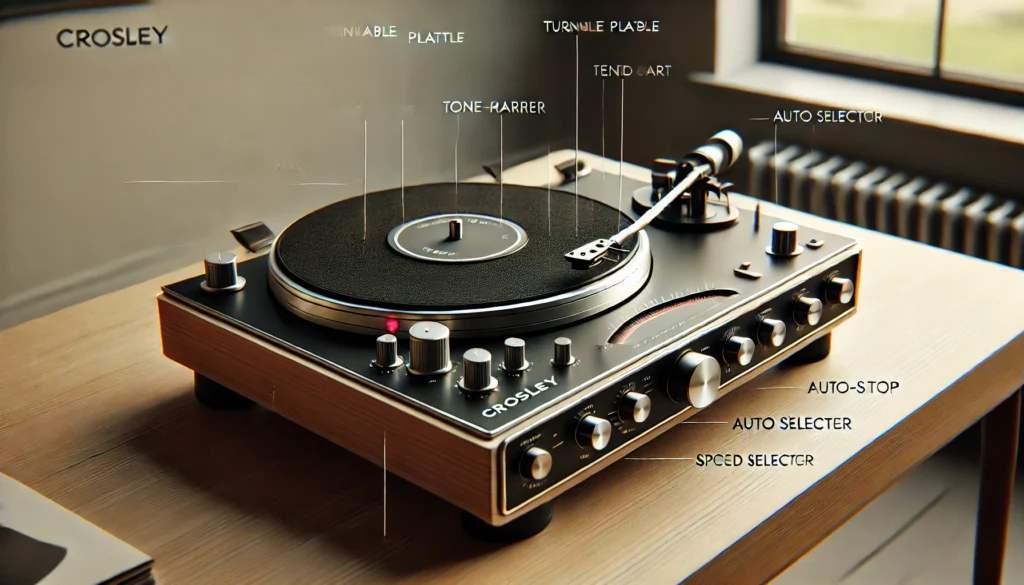
Alright, folks, now that we’ve got your Crosley all set up, let’s break down the anatomy of this vinyl-spinning beast. Don’t worry if it looks like a spaceship control panel at first – I promise it’s not rocket science!
Let’s start with the star of the show: the turntable platter. This is the circular platform where your records sit.
Most Crosley models come with a felt mat that goes on top of the platter. I learned the hard way that this mat isn’t just for looks – it helps reduce vibrations and protects your precious vinyl.
One time, I played a record without the mat and ended up with more scratches than a cat lady’s furniture!
Next up, we’ve got the tonearm. This is that skinny arm thingy that swings over your record.
At the end of it, you’ll find the cartridge and stylus (aka the needle). This little duo is responsible for reading those grooves and turning them into sweet, sweet music.
Word to the wise: treat this part like it’s made of glass. I once knocked my tonearm while reaching for my coffee, and let’s just say my speakers made a noise that sounded like a dying whale!
Now, let’s talk about the speed selector. This little switch is usually marked with numbers like 33, 45, and sometimes 78.
These numbers refer to the RPM (rotations per minute) of different types of records. Most full-size albums play at 33 RPM, while singles usually spin at 45 RPM.
If you’re feeling adventurous and find some really old records, they might need that 78 RPM setting. Just make sure you’ve got the right speed, or your favorite song might sound like chipmunks on helium!
Last but not least, many Crosley turntables have an auto-stop function. This nifty feature automatically stops the platter from spinning when the record ends.
It’s a real lifesaver if you’re prone to falling asleep while listening to records (guilty as charged). But here’s a pro tip: some audiophiles swear that turning off the auto-stop can improve sound quality.
I tried it once and couldn’t tell the difference, but hey, maybe you’ve got golden ears!
Understanding these components is key to getting the most out of your Crosley turntable. It might seem like a lot to take in, but trust me, it’ll become second nature before you know it.
And once you’ve got it down, you’ll be impressing your friends with your vinyl wizardry in no time!
Operating Your Crosley Turntable
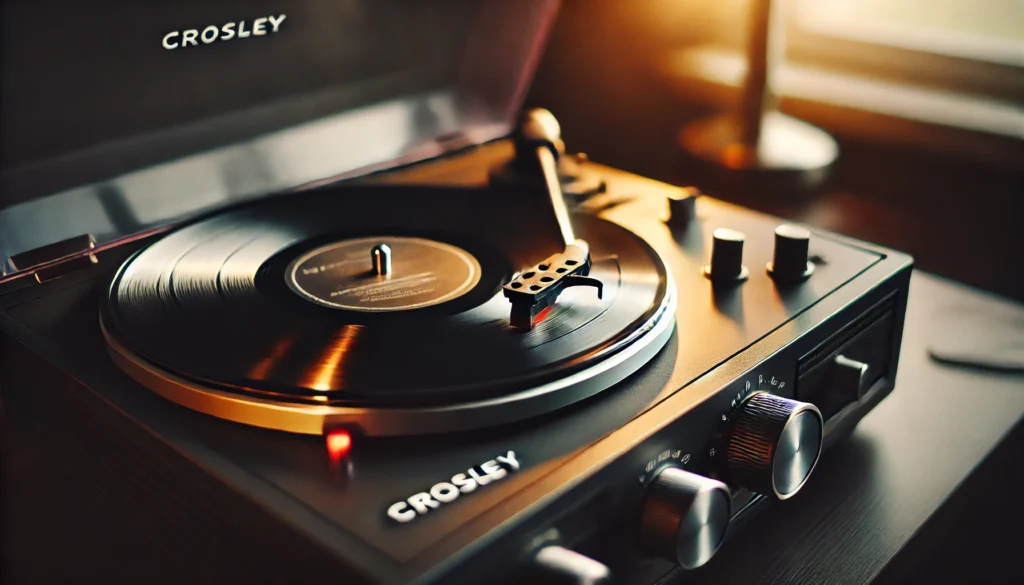
Alright, my vinyl-loving friends, it’s time for the main event – actually playing a record on your Crosley turntable! I know you’re itching to get that needle droppin’, so let’s dive right in.
First up, let’s talk about placing the record on the platter. Seems simple enough, right?
Well, let me tell you about the time I tried to impress a date by smoothly sliding the record out of its sleeve and onto the turntable. Long story short, my fingers were all over the record, and the only thing that got impressed were my fingerprints on the vinyl!
Learn from my mistake – always handle records by the edges and the label. Treat ’em like they’re covered in wet paint!
Now, for the moment of truth – lowering the tonearm. This is where that cueing lever comes in handy.
It’s usually a little arm near the base of the tonearm. Lift it up, and the tonearm will rise.
Move the tonearm over to the edge of the record, then gently lower the lever. Voila!
The needle should gracefully descend onto your vinyl. I used to try lowering the tonearm by hand, but after a few heart-stopping scratches, I learned to trust the lever!
Once the needle hits the groove, you should start hearing music. If not, don’t panic!
Check your volume settings. I can’t tell you how many times I’ve had a mini heart attack thinking my turntable was broken, only to realize I’d muted my speakers.
Doh!
Speaking of settings, let’s talk about speed. Remember that speed selector we discussed earlier?
Make sure it matches your record – 33 RPM for most full-size albums, 45 RPM for singles. If your music sounds like Barry White on caffeine or the Chipmunks after a night out, you’ve probably got the wrong speed selected.
Don’t worry, we’ve all been there!
As the record plays, you might notice the tonearm slowly moving towards the center. That’s normal!
It’s following the spiral groove of the record. Just sit back, relax, and enjoy the warm, rich sound of vinyl.
And if your Crosley has that auto-stop function, it’ll take care of business when the record ends. If not, keep an ear out for that distinctive end-of-record static so you can lift the tonearm manually.
And there you have it! You’re officially spinning vinyl like a pro.
Remember, practice makes perfect. Before you know it, you’ll be changing records and adjusting settings like a seasoned DJ.
Now, if you’ll excuse me, I’ve got a date with my vinyl collection and a comfy chair. Happy listening!
Maintaining Your Crosley Turntable
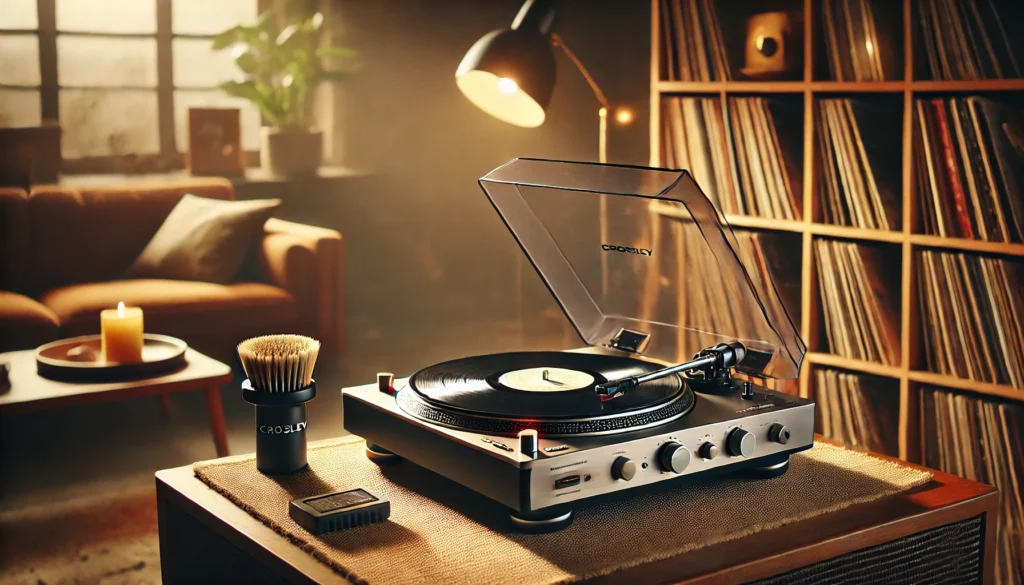
Alright, vinyl aficionados, let’s talk about keeping your Crosley turntable in tip-top shape. Trust me, a little TLC goes a long way in preserving both your turntable and your precious record collection.
I learned this the hard way when I neglected my first turntable and ended up with more dust than a desert storm!
First things first, let’s tackle cleaning. Your stylus (that’s the needle, for you newbies) is like the unsung hero of your turntable.
It’s doing all the hard work, reading those tiny grooves, so show it some love! I use a stylus brush to gently clean it from back to front.
Whatever you do, don’t use your fingers – I made that mistake once and ended up with a bent stylus and a very sad bank account.
Now, onto the records themselves. Oh boy, do I have a story about this!
I once found a crate of vintage records at a flea market and was so excited that I started playing them right away. Big mistake!
They were so dusty that my speakers sounded like they were coughing. Lesson learned: always clean your records before playing them.
I use a carbon fiber brush before each play, and for deeper cleaning, I invested in a record cleaning solution. Just be gentle – treat your vinyl like it’s made of butterfly wings!
Let’s talk about replacing the needle. If your music starts sounding like it’s coming through a sock, it might be time for a new stylus.
Don’t panic! It’s not as scary as it sounds.
Most Crosley needles just pull right out and push right back in. But word to the wise: make sure you get the right replacement.
I once bought a generic needle online and let’s just say my records sounded about as good as a cat screeching at 3 AM.
Lastly, let’s discuss storage. Your turntable and records need a good home.
Keep them away from heat, humidity, and direct sunlight. I learned this the hard way when I left a record on my windowsill – came back to find it warped into a nice vinyl bowl!
Not exactly the kind of bowl I wanted to eat my cereal out of.
For your records, store them vertically – stacking them horizontally is a one-way ticket to Warpville. And please, for the love of all things groovy, use those inner sleeves!
They’re not just fancy record lingerie – they protect against dust and scratches.
As for your turntable, keep that dust cover closed when you’re not using it. It’s not just there to look pretty (although my Crosley does look mighty fine).
It’s your first line of defense against dust, cat hair, and whatever else might be floating around your room.
Remember, folks, a well-maintained turntable is a happy turntable. And a happy turntable means years of awesome vinyl listening ahead of you.
Now, if you’ll excuse me, I’ve got a date with my record cleaning brush and a stack of dusty albums. Rock on!
Troubleshooting Common Crosley Turntable Issues
Okay, fellow vinyl enthusiasts, let’s talk troubleshooting. Even the best turntables can sometimes act up, and Crosleys are no exception.
But don’t worry – I’ve been through it all, and I’m here to help you navigate these rocky waters.
First up, let’s address the dreaded skip. You’re grooving to your favorite tune when suddenly – bam!
– the needle jumps and you’re in a different part of the song. Talk about a mood killer!
This happened to me during a romantic dinner once, and let’s just say it wasn’t exactly smooth sailing after that.
If you’re experiencing skips, first check if your turntable is on a level surface. I once had my Crosley on a wobbly table, and it skipped more than a kid playing hopscotch!
Also, make sure your record is clean – even tiny specks of dust can cause skips. If the problem persists, your stylus might be worn out or your tracking force might be off.
Don’t be afraid to consult your manual or reach out to Crosley support – they’re usually pretty helpful.
Next, let’s talk about speed issues. If your records sound like they’re on fast-forward or slow-mo, you might have a speed problem.
I remember playing a Beatles record for my dad, and he asked why John Lennon suddenly sounded like a chipmunk!
First, double-check that you’ve selected the right speed for your record. If that’s not the issue, your belt might be loose or worn out.
Some Crosley models let you adjust the belt yourself, but if you’re not comfortable doing that, it’s best to contact support.
Now, onto the auto-stop function. This feature is supposed to stop the platter when the record ends, but sometimes it can be a bit…overzealous.
I once had a turntable that thought every record was over after the first song!
If your auto-stop is triggering too early or not at all, there might be an issue with the mechanism. Some Crosley models let you adjust this, but again, consult your manual first.
If you’re not comfortable tinkering with it, reach out to Crosley. They’ve probably heard every auto-stop horror story in the book!
Lastly, let’s address sound quality issues. If your audio is distorted or just doesn’t sound right, there could be a few culprits.
Check your connections first – a loose cable can cause all sorts of audio weirdness. Also, make sure your stylus is clean and in good condition.
A dirty or worn-out stylus can make your records sound about as good as a cat walking across a piano.
Remember, troubleshooting is all part of the vinyl experience. Don’t get discouraged if you run into issues – we’ve all been there!
With a little patience and some trial and error, you’ll be back to enjoying your records in no time.
And hey, if all else fails, there’s always the nuclear option – turn it off and on again. You’d be surprised how often that works, even for turntables!
Now, if you’ll excuse me, I’ve got a date with my soldering iron and a temperamental auto-stop mechanism. Wish me luck!
Conclusion
Wow, what a journey we’ve been on! From unboxing your Crosley to troubleshooting those pesky issues, we’ve covered it all.
And you know what? I bet you’re feeling pretty darn confident about your turntable skills right now.
Give yourself a pat on the back – you’ve earned it!
Remember when we started, and that Crosley looked more complicated than a spaceship control panel? Now look at you, dropping needles and adjusting speeds like a pro!
It just goes to show that with a little patience and practice, anyone can become a vinyl virtuoso.
But here’s the thing – every setup is unique, just like every music lover. So don’t be afraid to experiment and find what works best for you.
Maybe you’ll discover that your Crosley sounds better with the dust cover off, or perhaps you’ll find the perfect cleaning routine that makes your records shine like new. The joy of vinyl is in the journey, not just the destination.
Now, I can’t stress this enough – always handle your records and equipment with care. I know it’s tempting to treat your turntable like it’s indestructible (trust me, I’ve been there), but a little TLC goes a long way.
Your future self will thank you when you’re still spinning the same records years down the line.
And hey, if you run into any issues that we didn’t cover here, don’t panic! The vinyl community is one of the most supportive out there.
Join some online forums, chat with fellow Crosley owners, or reach out to Crosley’s customer support. There’s always someone willing to lend a helping hand or share their own turntable tales.
Lastly, remember why we’re doing this in the first place – for the love of music! There’s something magical about the ritual of selecting a record, carefully placing it on the platter, and hearing those first crackles as the needle hits the groove.
It’s an experience that digital just can’t replicate, and your Crosley is your ticket to this wonderful world of analog sound.
So go on, put on your favorite album, sit back, and let the music wash over you. And as you’re tapping your foot to the beat, take a moment to appreciate how far you’ve come.
From newbie to vinyl virtuoso – not bad, my friend, not bad at all!
Now, if you’ll excuse me, I’ve got a date with my record collection and a comfy chair. Happy listening, and may your grooves always be dusty!
Oh, and before I go – why not share your own Crosley experiences in the comments? I’d love to hear about your favorite records, your troubleshooting triumphs, or even your epic turntable fails.
After all, we’re all in this vinyl adventure together!
