Hey there, fellow vinyl enthusiasts! You know, there’s something magical about dropping the needle on a pristine record and hearing that warm, rich sound fill the room.
But let me tell you, maintaining that audio bliss isn’t just about collecting great albums – it’s about keeping your turntable in tip-top shape. I learned this the hard way when I first started my vinyl journey, and boy, do I wish someone had given me a crash course in turntable cleaning back then!
I remember the day I realized how important a clean turntable really is. I’d just scored a rare pressing of my favorite album at a flea market, and I couldn’t wait to give it a spin.
But when I dropped the needle, instead of crystal-clear tunes, I heard more pops and crackles than a bowl of Rice Krispies! That’s when it hit me – I’d been neglecting my poor turntable, and it was time to clean up my act (pun totally intended).
In this guide, I’m gonna walk you through everything I’ve learned about how to clean a turntable. We’ll cover all the nooks and crannies, from the platter to the stylus, and I’ll even throw in some of my personal tips and tricks that I’ve picked up along the way.
Trust me, your ears (and your records) will thank you for it!
So, grab your anti-static brush and let’s dive into the world of turntable cleaning. It might not be the most glamorous part of being a vinyl junkie, but it’s definitely one of the most important.
And hey, who knows? You might even start to enjoy it as much as I do (okay, maybe that’s a stretch, but a guy can dream, right?).
How To Clean A Turntable
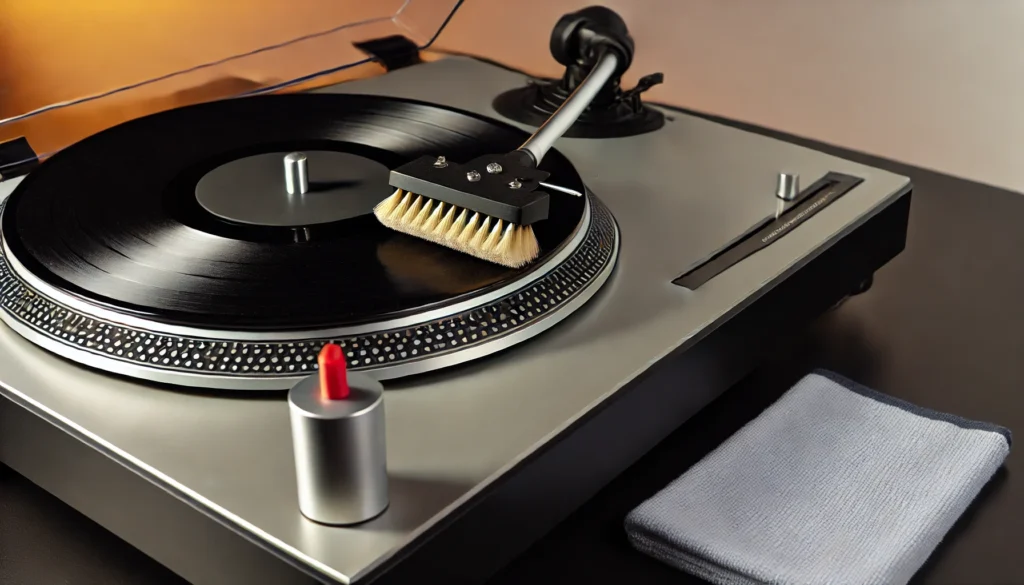
Cleaning a turntable involves several steps to ensure optimal performance and longevity of your equipment. First, unplug the turntable and remove the dust cover.
Use an anti-static brush to gently remove dust from the platter and tonearm. Clean the stylus (needle) with a specialized stylus cleaner, moving from back to front.
Wipe down the turntable’s body with a microfiber cloth. For deeper cleaning, remove the platter and clean it separately.
Don’t forget to clean your vinyl records too! We’ll explore these steps and more advanced techniques in detail below.
Understanding the Importance of a Clean Turntable
Alright, let’s get real for a second. When I first got into vinyl, I thought all I needed was a cool record collection and a decent turntable.
Boy, was I wrong! It turns out that keeping your turntable clean is just as crucial as picking the right records. Let me break it down for you.
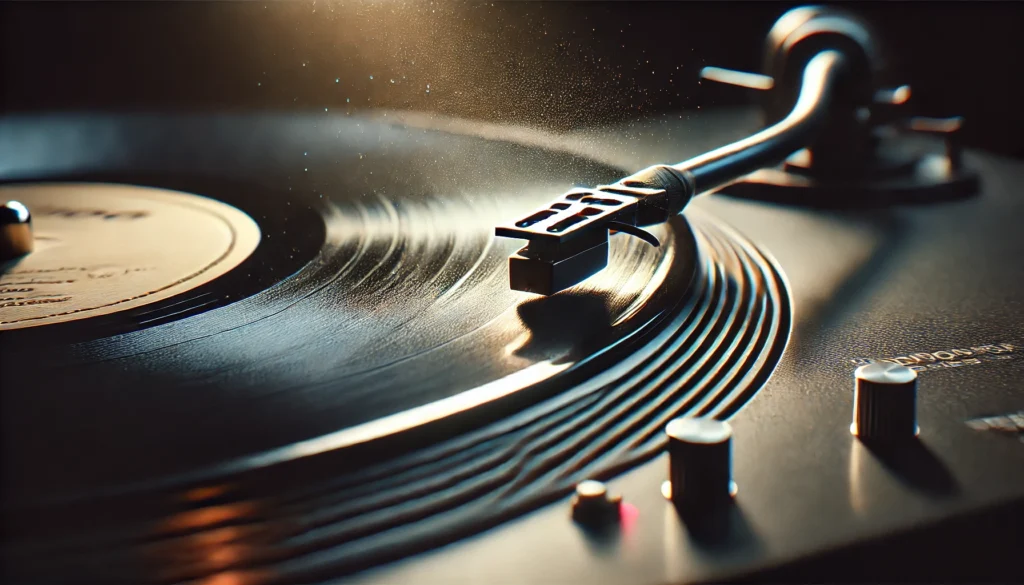
First off, a clean turntable is all about sound quality. Think about it – your stylus is literally riding in tiny grooves on your record, picking up every little vibration.
Now, imagine if those grooves are full of dust, grime, or worse, little bits of crud from the last time you had a dance party with your favorite LP. Yuck! All that gunk interferes with the stylus’s ability to read the grooves accurately, and suddenly your pristine recording sounds like it’s being played underwater.
Trust me, I’ve been there, and it’s not pretty.
But it’s not just about sound quality. Keeping your turntable clean actually helps prolong the life of your records and equipment.
I learned this the hard way when I let my turntable get a bit… let’s say “lived in.” The built-up dirt on the stylus started acting like sandpaper on my records! I cringe thinking about the damage I did to some of my favorite albums.
And don’t even get me started on what a dirty turntable can do to your stylus and cartridge. These are delicate pieces of equipment, folks, and they deserve some TLC.
So, how often should you be cleaning your turntable? Well, it depends on how much of a neat freak you are (and how often you’re spinning those records).
As a general rule, I give my turntable a quick once-over before each listening session. It only takes a minute, and it’s become part of my ritual.
For a deeper clean, I set aside some time every couple of weeks. It’s like a spa day for my turntable!
Now, I know what you’re thinking – “Do I really need to clean it that often?” And hey, I get it. When I first started, I was pretty lazy about maintenance.
But let me tell you, the difference in sound quality and the peace of mind knowing you’re taking care of your equipment is totally worth it. Plus, once you get into the habit, it becomes second nature.
One last thing – don’t forget that a clean turntable isn’t just about the platter and stylus. You’ve got to think about the whole package – the tonearm, the cartridge, even the dust cover.
It’s all part of the ecosystem that keeps your vinyl sounding sweet. But don’t worry, we’ll get into all that juicy details later on.
So, there you have it – the lowdown on why keeping your turntable clean is so dang important. Trust me, your future self (and your records) will thank you for taking the time to do it right.
Now, let’s move on to the fun part – the cleaning supplies!
Essential Cleaning Supplies for Your Turntable
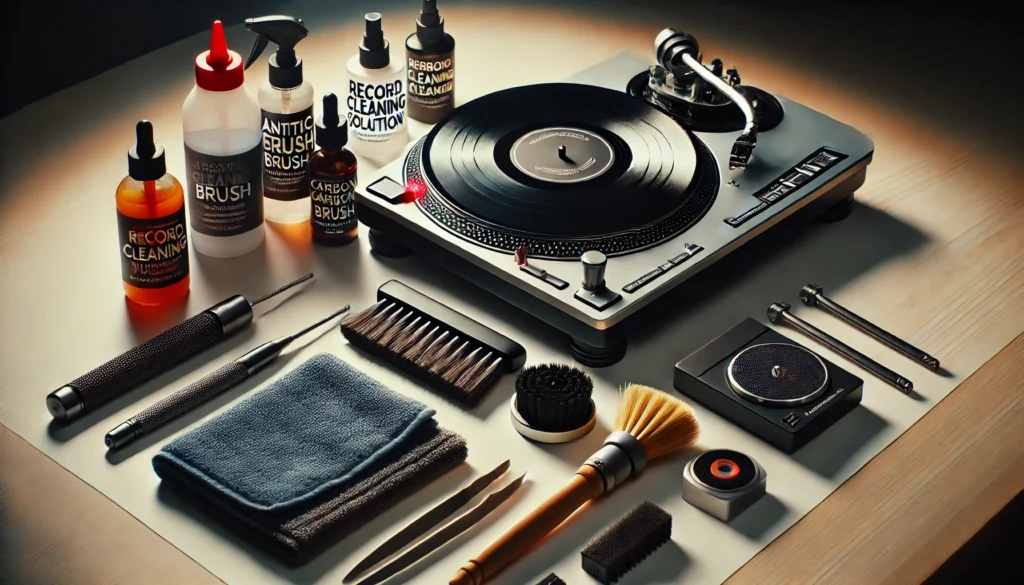
Alright, vinyl lovers, it’s time to talk shop – cleaning shop, that is! When I first started out, I thought I could get by with just a old t-shirt and some Windex.
Oh boy, was I wrong! Learning about the right cleaning supplies was a game-changer for me, and I’m gonna save you the trouble of making the same mistakes I did.
Let’s dive into the essential arsenal for keeping your turntable in tip-top shape!
First up, we’ve got the anti-static brush. This little beauty is your first line of defense against the evil forces of dust and static.
I remember the first time I used one – it was like magic! All those little dust particles just disappeared. Pro tip: give your records a quick brush before and after each play.
It takes seconds and makes a world of difference.
Next on the list is the carbon fiber brush. Now, this might sound like something out of a sci-fi movie, but trust me, it’s a vinyl enthusiast’s best friend.
The super-fine carbon fibers can get into those tiny record grooves and lift out dust that you can’t even see. I use mine religiously, and it’s helped keep my records sounding crisp and clear.
Now, let’s talk liquids – specifically, record cleaning solution. This stuff is like a spa treatment for your vinyl.
But here’s the thing – not all cleaning solutions are created equal. I learned this the hard way when I used a homemade concoction that left a weird residue on my records.
Stick with a reputable brand, or if you’re feeling adventurous, there are some great DIY recipes out there (but that’s a whole other conversation).
Don’t forget about microfiber cloths! These babies are perfect for wiping down your turntable’s body and platter.
They’re soft enough not to scratch anything, but effective at picking up dust and grime. I’ve got a drawer full of ’em, and I’m not ashamed to admit it!
Last but definitely not least, we’ve got the stylus cleaner. This is the unsung hero of turntable maintenance.
Your stylus (that’s the needle, for you newbies out there) is where the rubber meets the road – or in this case, where the diamond meets the vinyl. Keeping it clean is crucial for good sound and for protecting your records.
There are a few different types out there, from gels to brushes, but whatever you choose, make sure it’s designed specifically for stylus cleaning.
Now, I know what you’re thinking – “Do I really need all this stuff?” And I get it, I was skeptical too at first.
But let me tell you, once you’ve got your cleaning kit set up, you’ll wonder how you ever lived without it. It’s like having a little spa for your turntable right at your fingertips!
One last piece of advice – invest in quality supplies. I tried to cheap out when I first started, and I ended up having to replace things more often (not to mention the subpar cleaning results).
Good quality supplies will last longer and do a better job, saving you money and hassle in the long run.
So there you have it, folks – your essential turntable cleaning supply list. With these tools in your arsenal, you’ll be well on your way to keeping your setup clean and your tunes sounding sweet.
Now, who’s ready to get their hands dirty? (Or should I say clean?)
Cleaning the Turntable Platter and Mat
Alright, vinyl aficionados, it’s time to roll up our sleeves and get down to the nitty-gritty – cleaning that turntable platter and mat! This is where the rubber meets the road in turntable maintenance, and let me tell you, it can be a bit intimidating at first.
I remember the first time I tried to remove my platter – I was sweating bullets, convinced I was going to break something!
First things first, let’s talk about removing the platter. Now, every turntable is a little different, so it’s a good idea to consult your manual if you’re not sure.
But generally, it’s a pretty straightforward process. Most platters just lift right off, but some might have a small clip or screw holding them in place.
Just be gentle, and remember – if it feels like you’re forcing it, stop and double-check!
Once you’ve got the platter off, take a moment to marvel at all the dust and gunk that’s accumulated underneath. It’s like archeology, but grosser!
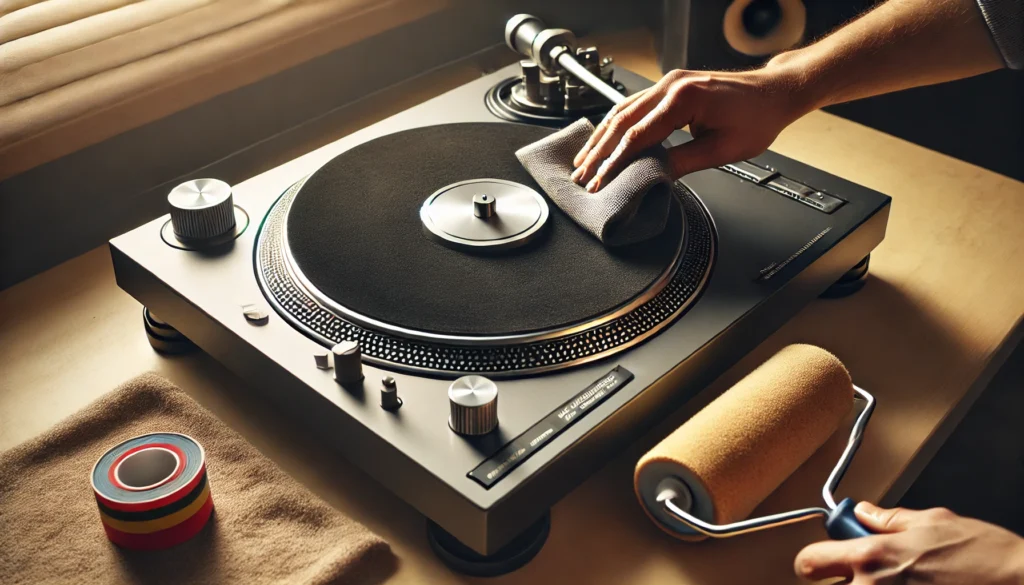
Now, depending on what your platter is made of (aluminum, acrylic, etc.), you’ll want to clean it differently. For most platters, a microfiber cloth slightly dampened with distilled water will do the trick.
Just be sure to dry it thoroughly before putting it back on.
Now, let’s talk about that mat. If you’ve got a felt mat, you’re in for a treat (and by treat, I mean a bit of a challenge).
Felt mats are like magnets for dust and static. I learned this the hard way when I tried to clean mine by shaking it out – big mistake!
All I did was send dust flying everywhere. The best way to clean a felt mat is with a lint roller or tape.
Just roll or dab it gently over the surface, and you’ll be amazed at how much gunk comes off.
For rubber or cork mats, you’ve got it a bit easier. These can usually be wiped down with a damp cloth.
Just be sure to let them dry completely before putting them back on your turntable. Nobody likes a soggy mat!
Here’s a pro tip I picked up along the way: while you’ve got everything apart, take a moment to clean the spindle (that’s the little post in the center that the record sits on). A q-tip with a tiny bit of rubbing alcohol works wonders here.
Just be careful not to get any alcohol on the platter itself.
Now, when it comes to reassembling everything, take your time. Make sure everything is bone dry before you put it back together.
Align the platter carefully – you don’t want it to be off-center or wobbly. Once it’s back in place, give it a gentle spin.
If it rotates smoothly without any weird noises, you’re golden!
One last thing – don’t forget to level your turntable after you’ve put everything back together. Even slight shifts can affect the sound quality.
I use a little bubble level for this, but there are fancy digital levels out there if you want to get really precise.
I gotta say, there’s something really satisfying about seeing your platter and mat all clean and fresh. It’s like giving your turntable a spa day!
And trust me, your records will thank you for it. The difference in sound quality is like night and day.
So there you have it – the ins and outs of cleaning your turntable platter and mat. It might seem like a lot of work, but once you get into the habit, it becomes second nature.
And hey, it’s a small price to pay for keeping your vinyl sounding sweet, right? Now, who’s ready to tackle that stylus?
Proper Stylus (Needle) Cleaning Methods
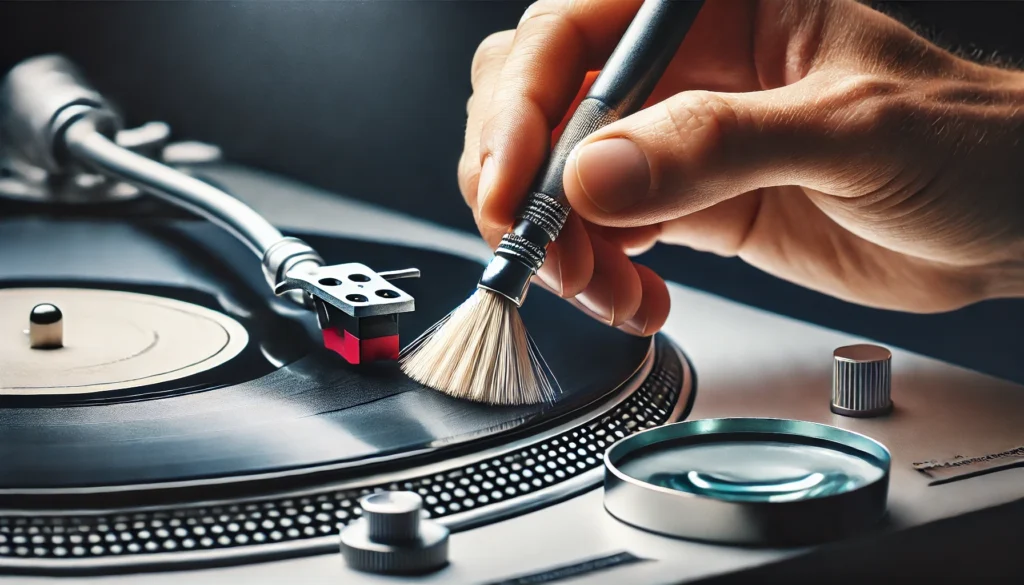
Alright, folks, it’s time to talk about one of the most crucial – and let’s face it, nerve-wracking – parts of turntable maintenance: cleaning the stylus, or as some of you might know it, the needle. This tiny piece of equipment is where the magic happens, and keeping it clean is absolutely essential for good sound quality and the longevity of your records.
Now, I’ll be honest with you – the first time I cleaned my stylus, I was sweating bullets. It’s such a delicate part, and the thought of damaging it was terrifying.
But let me tell you, once you get the hang of it, it’s not so bad. In fact, it’s become one of my favorite parts of turntable maintenance.
There’s something oddly satisfying about seeing that tiny diamond tip sparkle!
So, why is a clean stylus so important? Well, think about it – this little guy is running through the grooves of your records, picking up every minute vibration to create sound.
If it’s clogged up with dust, dirt, or (heaven forbid) bits of vinyl, it’s not going to be able to do its job properly. Not only will this affect your sound quality, but it can actually damage your records over time.
Trust me, I learned this the hard way when I neglected my stylus cleaning for too long and ended up with some nasty sounding records.
Now, let’s get into the nitty-gritty of how to clean this delicate piece of equipment. First things first – always, and I mean always, make sure your turntable is off and the tonearm is secured before you start cleaning.
I once forgot this step and… well, let’s just say it didn’t end well for my favorite record.
There are a few different methods for cleaning your stylus, but my go-to is using a specialized stylus cleaning brush. These brushes are designed to be super soft and gentle, so they won’t damage the delicate stylus tip.
The key is to brush from back to front – never side to side or front to back. Think of it like petting a very tiny, very expensive cat – always in one direction!
If you’re dealing with some stubborn gunk (it happens to the best of us), you might need to break out the big guns – stylus cleaning fluid. This stuff is like magic, but you’ve got to be careful with it.
A little goes a long way! I usually put a drop or two on the brush, never directly on the stylus.
Then, gently brush from back to front, just like before.
Now, here’s a pro tip I wish someone had told me earlier – invest in a good magnifying glass or loupe. Being able to actually see what you’re doing makes a world of difference.
Plus, it’s pretty cool to see your stylus up close. It’s like a tiny work of art!
So, how often should you be cleaning your stylus? Well, that depends on how often you’re using your turntable.
As a general rule, I give mine a quick brush before each listening session. For a deeper clean with fluid, I do that about once a week.
But hey, use your ears – if you start to notice a decline in sound quality, it might be time for a clean.
One last thing – pay attention to how your stylus looks over time. If you notice any bending, chipping, or excessive wear, it might be time for a replacement.
A worn-out stylus can do some serious damage to your records, so don’t try to squeeze too much life out of it.
There you have it! The ins and outs of stylus cleaning. I know it might seem like a lot of fuss for such a tiny part, but trust me, your ears (and your records) will thank you for it.
Now, who’s ready to move on to the next part of our turntable cleaning adventure?
Maintaining the Tonearm and Cartridge
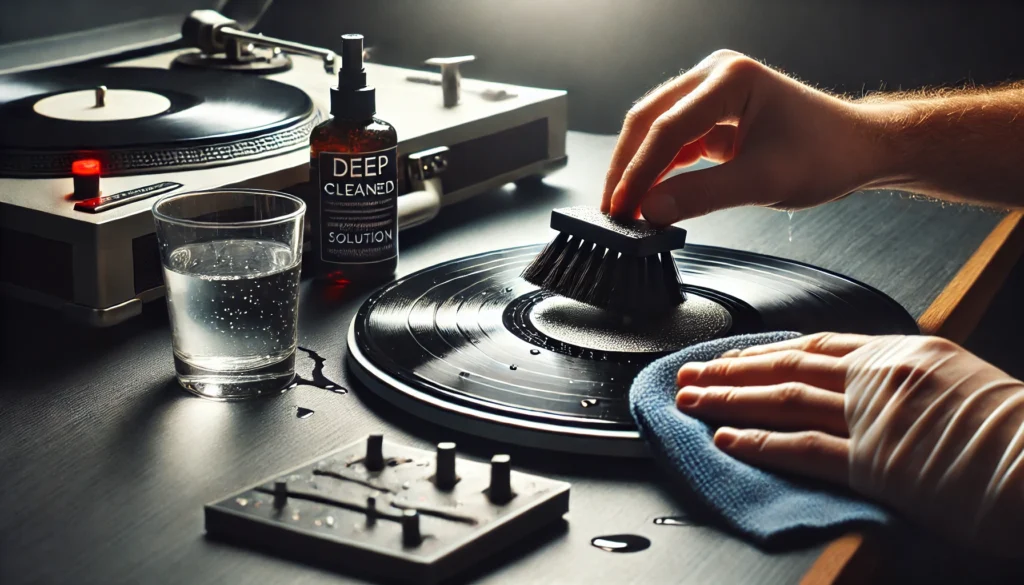
Alright, vinyl lovers, let’s dive into a topic that often gets overlooked but is crucial for maintaining your turntable’s performance: the tonearm and cartridge. When I first started out, I was so focused on cleaning the platter and stylus that I completely neglected these parts.
Boy, was that a mistake!
Let’s start with the tonearm. This sleek piece of engineering is responsible for holding your cartridge and stylus in place as it glides across your records.
Keeping it clean and well-maintained is key to ensuring smooth operation and accurate tracking.
First things first, dust removal. I can’t tell you how many times I’ve looked at my tonearm and thought, “How the heck did it get so dusty?” It’s like the darn thing is a dust magnet!
The best way to tackle this is with a soft, anti-static brush. Gently brush away any visible dust, paying special attention to the bearings and pivot points.
Be careful around the wires connecting the cartridge – they’re delicate little buggers.
Now, here’s where things get a bit technical (and where I made a bunch of mistakes when I was starting out). Adjusting the tracking force and anti-skate settings is crucial for optimal performance. Tracking force is the downward pressure your stylus exerts on the record, while anti-skate counteracts the natural tendency of the tonearm to move inward.
I remember the first time I tried to adjust these settings – I was sweating bullets! But with a little practice (and a lot of patience), it becomes second nature.
Most turntables come with a gauge to help you set the correct tracking force. If yours didn’t, I highly recommend investing in one.
Trust me, it’s worth it.
For anti-skate, start by setting it to the same number as your tracking force. Then, put on a record and listen closely.
If you hear distortion in the right channel, increase the anti-skate. If it’s in the left channel, decrease it.
It’s a bit of a trial and error process, but once you get it right, the improvement in sound quality is mind-blowing!
Now, let’s talk about the cartridge. This little powerhouse is responsible for converting the physical movements of the stylus into an electrical signal.
Keeping it clean is pretty straightforward – a gentle brush with an anti-static brush should do the trick. Just be extremely careful around the stylus!
One thing I learned the hard way – pay attention to signs of wear on your cartridge. If you start noticing a drop in sound quality, increased surface noise, or difficulty keeping your tonearm balanced, it might be time for a replacement.
I once tried to squeeze a few extra months out of a worn-out cartridge, and let’s just say my records weren’t too happy about it.
Here’s a pro tip: keep track of your stylus hours. Most cartridges have a lifespan of about 1000 hours of play time.
I use a little notebook to jot down my listening sessions – it’s like a diary for my turntable!
Now, I know all this might sound a bit overwhelming, especially if you’re new to the world of vinyl. But trust me, once you get into the habit of regular maintenance, it becomes second nature.
And the payoff in terms of sound quality and the longevity of your equipment is totally worth it.
One last thing – don’t be afraid to consult your turntable’s manual or reach out to fellow vinyl enthusiasts for advice. We’ve all been there, and most of us are more than happy to share our hard-earned knowledge.
Heck, I once spent an entire afternoon at a record store, picking the owner’s brain about tonearm alignment!
So there you have it, folks – the nitty-gritty of maintaining your tonearm and cartridge. It might not be the most glamorous part of owning a turntable, but it’s definitely one of the most important.
Now, who’s ready to give their tonearm some TLC?
Deep Cleaning Your Vinyl Records
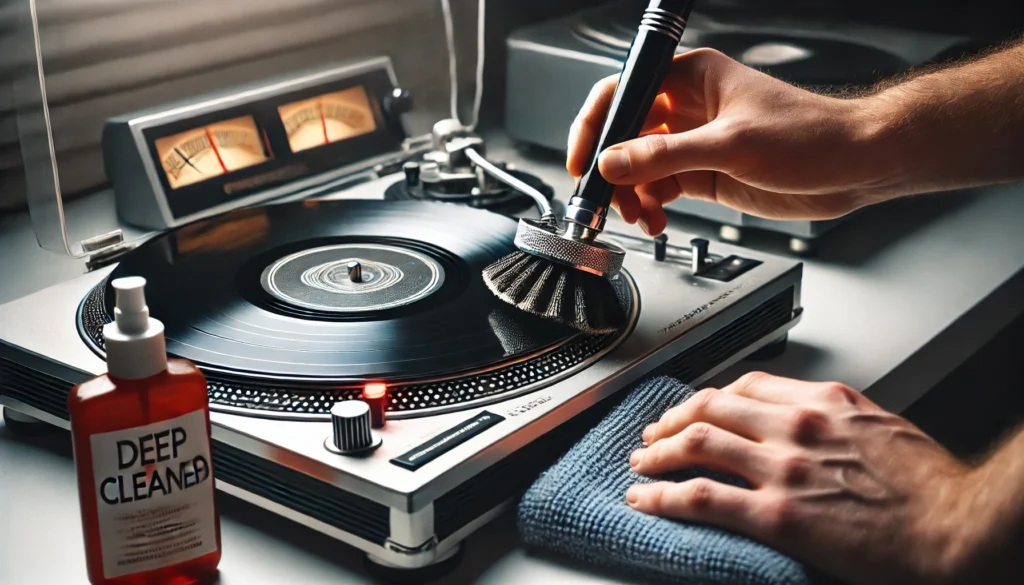
Alright, vinyl enthusiasts, it’s time to talk about a topic that’s near and dear to my heart: deep cleaning your precious records. Now, I know what some of you might be thinking – “Isn’t a quick brush before playing enough?” Well, let me tell you a little story that might change your mind.
Back when I first started collecting vinyl, I thought I was doing a great job keeping my records clean. A quick once-over with a carbon fiber brush before each spin, and I was good to go, right?
Wrong! It wasn’t until I borrowed a friend’s record cleaning machine that I realized what I’d been missing.
The difference in sound quality was like night and day. I could hear details in my favorite albums that I’d never noticed before.
It was like rediscovering my entire collection!
So, let’s dive into the world of deep cleaning your vinyl. There are two main approaches: wet cleaning and dry cleaning.
Both have their pros and cons, and I’ve tried just about every method under the sun.
Let’s start with wet cleaning. This method involves using a cleaning solution to really get into those grooves and lift out all the gunk that’s been hiding in there.
Now, there are tons of commercial solutions out there, but I’ve had great success with a simple DIY mix of distilled water and a tiny drop of dish soap. Just be sure to use distilled water – tap water can leave mineral deposits on your records.
The process is pretty straightforward: apply the solution to your record (being careful to avoid the label), gently scrub with a carbon fiber brush or a specialized record cleaning brush, then rinse with distilled water and dry with a microfiber cloth. It can be a bit time-consuming, especially if you’re doing a whole stack of records, but the results are worth it.
Now, if you’re really serious about your vinyl (and let’s face it, if you’re reading this, you probably are), you might want to consider investing in a record cleaning machine. These bad boys use vacuum suction to remove the cleaning solution along with all the dirt and grime.
I remember the first time I used one – it was like watching magic happen!
On the other hand, we’ve got dry cleaning methods. These are great for maintenance cleaning between deep cleans.
The most common tool here is the trusty carbon fiber brush, which can remove surface dust and static. But for a more thorough dry clean, you might want to check out products like cleaning pads or rollers designed specifically for vinyl.
One thing I’ve learned the hard way – be careful with those all-in-one cleaning systems that claim to clean and protect your vinyl in one step. Some of them can leave a residue that actually attracts more dust in the long run.
Stick to simple, proven methods and you can’t go wrong.
Now, I know all this cleaning talk might sound like a lot of work. And I’ll be honest, it can be.
But here’s the thing – there’s something incredibly satisfying about the process. It’s like giving your records a spa day!
Plus, the improvement in sound quality is truly remarkable. You’ll hear details in your favorite albums that you never knew were there.
One last piece of advice – make deep cleaning your records a regular part of your vinyl routine. I try to give each of my records a thorough clean at least once a year, more often for the ones I play frequently.
It might seem like overkill, but trust me, your future self (and your turntable) will thank you for it.
So there you have it, folks – the ins and outs of deep cleaning your vinyl records. It’s a labor of love, but one that pays off in spades.
Now, who’s ready to roll up their sleeves and give their collection some TLC?
Preventive Measures for a Cleaner Turntable
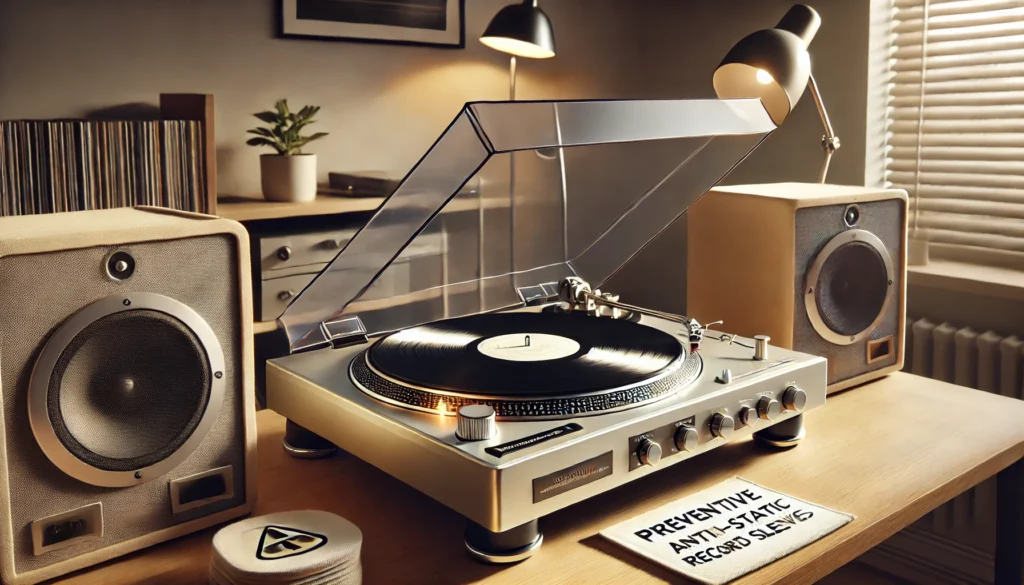
Alright, vinyl lovers, we’ve covered a lot of ground when it comes to cleaning your turntable and records. But you know what they say – an ounce of prevention is worth a pound of cure.
So let’s talk about some preventive measures you can take to keep your turntable cleaner for longer. Trust me, future you will be grateful!
First up, let’s talk about the unsung hero of turntable maintenance: the dust cover. I’ll admit, when I first got into vinyl, I thought dust covers were just there to make turntables look prettier when they weren’t in use.
Boy, was I wrong! A good dust cover is your first line of defense against, well, dust.
It’s like a shield for your turntable, protecting it from all the nasty particles floating around in the air.
Now, here’s a mistake I made early on – I’d leave my dust cover open while playing records because I thought it looked cooler. Don’t be like me!
Unless you’re changing records, keep that cover closed. It’s especially important if you live in a dusty area or have pets.
I learned this the hard way when I found cat hair all over my platter one day. Not cool, kitty.
Not cool.
Speaking of storage, let’s talk about where you keep your turntable. Ideally, you want a spot that’s away from direct sunlight (which can warp your records), heat sources, and high traffic areas.
I once had my turntable set up near a window, and let me tell you, dusting became a daily chore. Now it’s in a nice, cozy corner where it’s protected from the elements and curious pets.
Here’s a pro tip: consider investing in a turntable isolation platform. These nifty devices help reduce vibrations from your surroundings, which not only improves sound quality but also helps keep dust from settling on your turntable.
I was skeptical at first, but after trying one, I was sold. It’s like giving your turntable its own little fortress of solitude!
Now, let’s talk about a regular maintenance schedule. I know, I know – it sounds boring.
But trust me, a little routine goes a long way. Here’s what works for me:
- Daily: Quick dust with a carbon fiber brush before and after playing records.
- Weekly: Wipe down the platter and tonearm with a microfiber cloth. Clean the stylus.
- Monthly: Deep clean a batch of records. Check tracking force and anti-skate settings.
- Yearly: Full turntable inspection and deep clean, including under the platter.
Of course, you can adjust this based on how often you use your turntable. The key is consistency.
It’s much easier to keep up with small, regular cleanings than to do a massive overhaul once in a blue moon.
Here’s something I wish I’d known earlier – pay attention to the air quality in your listening room. If you live in a particularly humid area, consider using a dehumidifier.
Excess moisture can lead to mold growth on your records (yuck!) and can even affect the performance of your turntable’s electronics.
On the flip side, if your air is too dry, static electricity becomes your enemy. I once lived in a really dry climate, and the static was so bad, I could practically see sparks flying off my records!
A humidifier can help with this, or you can try using anti-static sleeves for your records.
Lastly, don’t forget about your record sleeves. Inner sleeves can deteriorate over time, shedding fibers that end up on your records and stylus.
I make it a point to replace my inner sleeves every few years with high-quality, anti-static ones. It’s a small investment that pays off big time in the long run.
Remember, folks – taking care of your turntable isn’t just about cleaning up messes. It’s about creating an environment where those messes are less likely to happen in the first place.
It might seem like a lot of work, but once you get into the habit, it becomes second nature. And the payoff – in terms of sound quality and the longevity of your equipment – is totally worth it.
So there you have it – my top tips for keeping your turntable clean and happy. Now, who’s ready to set up their maintenance schedule?
Conclusion
Whew! We’ve covered a lot of ground, haven’t we? From the nitty-gritty of cleaning your stylus to the big-picture stuff like creating a maintenance schedule, we’ve explored every nook and cranny of turntable cleaning.
And you know what? I hope you’re as excited about it as I am!
I remember when I first started this vinyl journey, feeling overwhelmed by all the care and maintenance involved. But let me tell you, it’s all worth it.
There’s nothing quite like dropping the needle on a perfectly clean record, hearing those first notes come through crystal clear, and knowing that you’re taking the best possible care of your music.
Now, I’m not gonna lie – keeping your turntable clean is an ongoing process. It’s not something you can do once and forget about.
But that’s part of the beauty of vinyl, isn’t it? It’s a hands-on, engaging way to experience music.
Every time you clean your stylus or flip through your freshly cleaned records, you’re connecting with your music in a way that just doesn’t happen with digital formats.
Remember, the methods and schedules we’ve discussed are just guidelines. Feel free to adapt them to your own situation and preferences.
Maybe you live in a super dusty area and need to clean more often. Or maybe you only spin records on weekends and can get away with a less frequent schedule.
The key is to find what works for you and stick with it.
And hey, don’t be afraid to experiment! Try different cleaning solutions, test out various brushes, maybe even dive into the world of record cleaning machines.
The vinyl community is full of passionate people with great ideas – join in the conversation!
Lastly, I want to encourage you to share your own experiences and tips. What cleaning methods have worked best for you?
Have you discovered any clever hacks for keeping your turntable dust-free? Drop a comment and let us know!
We’re all in this together, working to keep our vinyl sounding sweet for years to come.
So, my fellow vinyl enthusiasts, armed with this knowledge, go forth and clean! Your turntable (and your ears) will thank you.
Now, if you’ll excuse me, I’ve got a date with my record cleaning brush. Happy listening, everyone!
