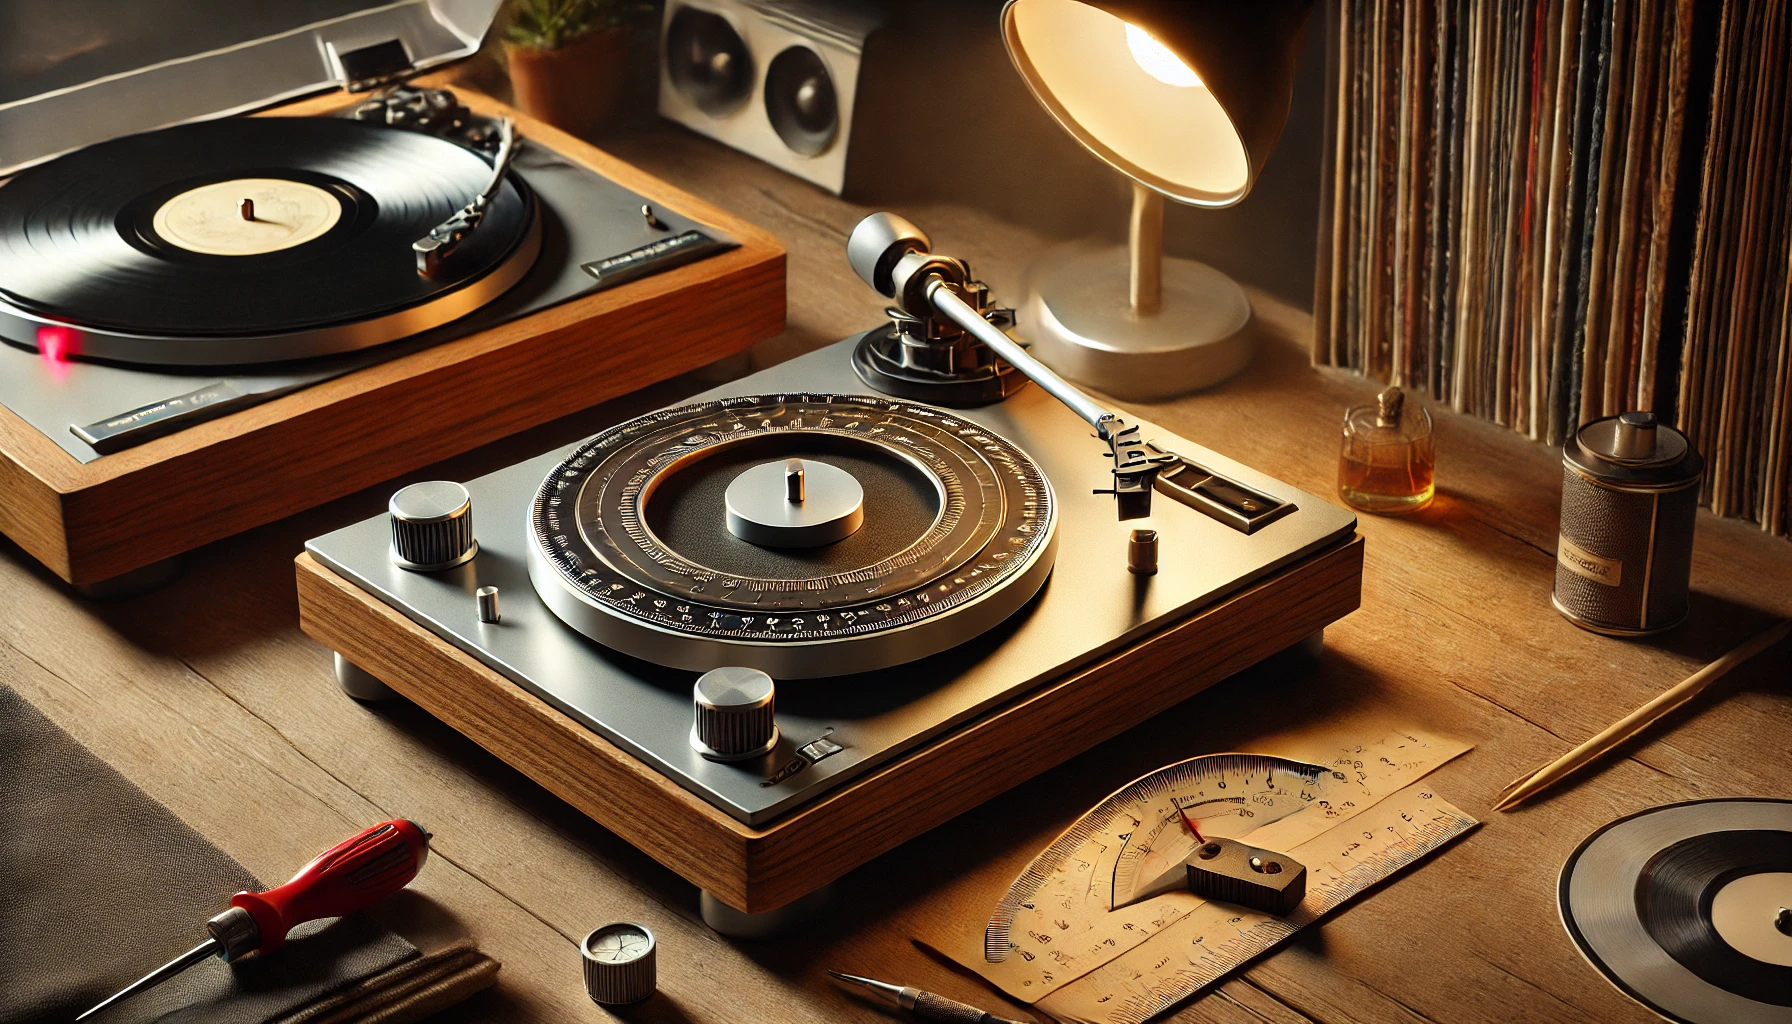
Hey there, vinyl enthusiasts! Ever put on your favorite record only to hear something just a bit… off?
Chances are, your turntable cartridge might be out of whack. Don’t worry, though – I’ve been there, and I’m here to help you get your tunes sounding crisp and clear again.
In this guide, I’ll walk you through the ins and outs of aligning and realigning your turntable cartridge.
Trust me, it’s not as daunting as it sounds, and the improvement in sound quality will blow your mind!
How To Align And Realign Your Turntable Cartridge
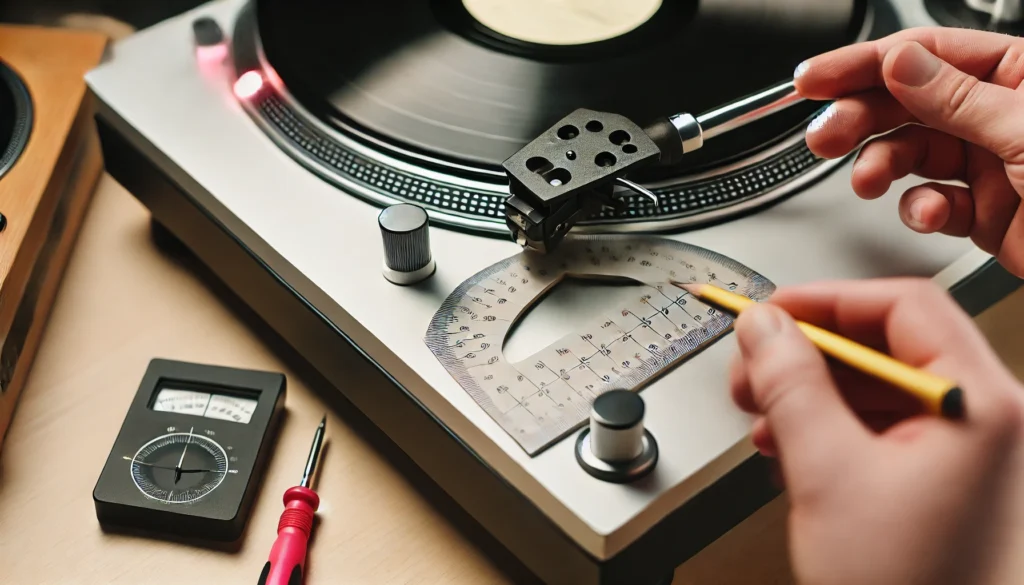
Aligning and realigning your turntable cartridge involves carefully adjusting its position on the tonearm to ensure optimal tracking of the record grooves. You’ll need a few tools, like an alignment protractor and a stylus force gauge.
Start by setting the cartridge in the headshell, then use the protractor to adjust the overhang and angle. Fine-tune the tracking force and azimuth for the best sound quality.
It’s a bit fiddly, but with patience, you’ll get it right! We’ll dive deeper into the process below, but that’s the gist of it.
Understanding Turntable Cartridge Alignment

Alright, let’s get down to brass tacks. You know that little gizmo at the end of your turntable’s tonearm?
That’s your cartridge, and it’s the unsung hero of your vinyl setup. I remember when I first started collecting records – I had no clue how important this tiny component was!
The cartridge houses the stylus (aka the needle) that rides in your record’s grooves, translating those microscopic bumps and dips into sweet, sweet music. But here’s the kicker: if that cartridge isn’t aligned just right, it’s like trying to drive a car with misaligned wheels.
Sure, it’ll work, but it ain’t gonna be pretty.
Proper alignment is crucial for a few reasons. First off, it ensures that your stylus is hitting the groove at the correct angle.
This means you’re getting the most accurate sound reproduction possible. Secondly, it helps prevent excessive wear on both your records and your stylus.
Trust me, replacing a worn-out stylus or, worse, a damaged record, is no fun – been there, done that, got the t-shirt!
So, how do you know if your cartridge is misaligned? Well, there are a few telltale signs.
If you’re hearing distortion, especially in the high frequencies, that’s a red flag. Uneven wear on your stylus is another giveaway.
And if you’re noticing that your records are wearing out faster than they should, yep, you guessed it – misalignment could be the culprit.
I’ll never forget the time I realized my cartridge was out of whack. I was spinning my favorite jazz album, and suddenly, Miles Davis’s trumpet sounded more like a dying cat than the smooth, mellow tones I was used to.
That was my wake-up call, and it might be yours too!
Essential Tools for Cartridge Alignment
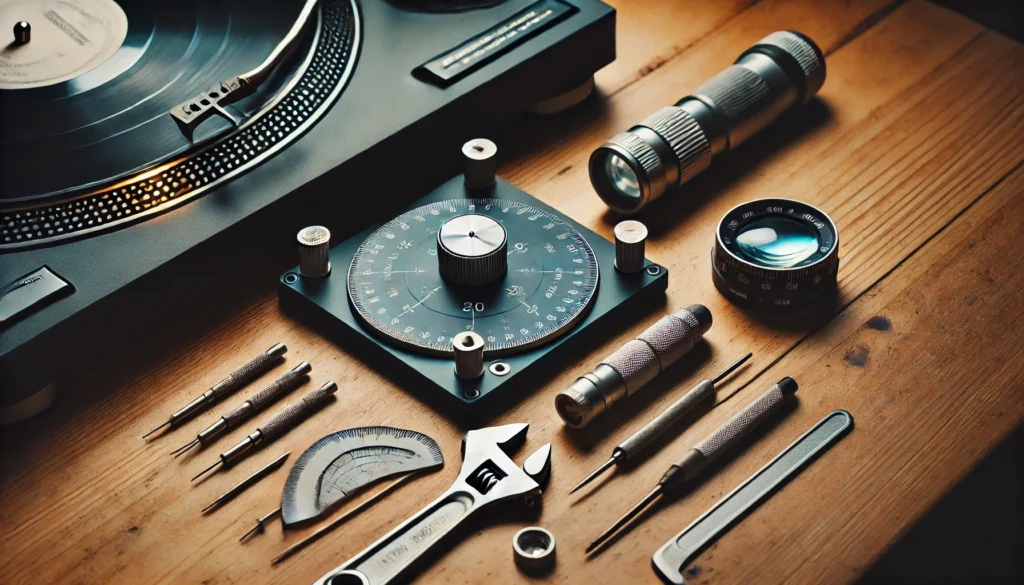
Alright, before we dive into the nitty-gritty of alignment, let’s talk tools. You wouldn’t try to change a tire without a jack, right?
Same principle applies here. Having the right tools will make this process a whole lot easier, trust me.
First up, you’re gonna need an alignment protractor. This little piece of paper (or plastic, if you’re fancy) is your new best friend.
It’s got some funky-looking lines and curves on it, but don’t let that intimidate you. We’ll get into how to use it later.
Next on the list is a stylus force gauge. This gadget helps you set the correct tracking force for your cartridge.
Too much force, and you’ll wear out your records faster than you can say “vinyl revival.” Too little, and you’ll be dealing with skips and poor sound quality.
Been there, done that – not fun!
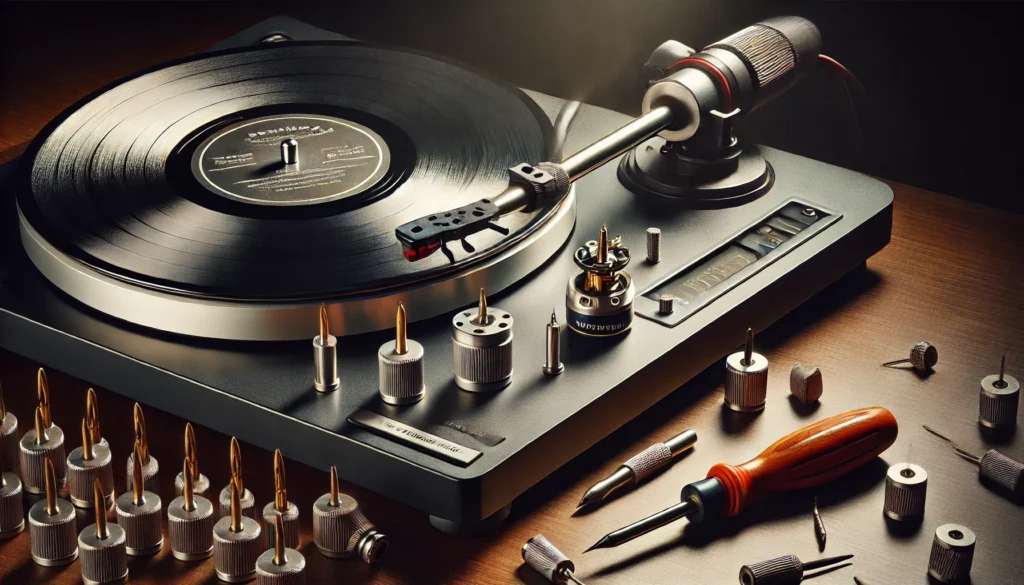
You’ll also need a small screwdriver and possibly some Allen wrenches. These are for making those tiny adjustments to your cartridge’s position.
Word to the wise: be gentle! I once got a bit overzealous with the screwdriver and… well, let’s just say I had to buy a new cartridge.
Last but not least, grab a magnifying glass or a loupe if you’ve got one. Aligning a cartridge involves some seriously small-scale work, and unless you’ve got superhuman eyesight, you’ll appreciate the extra help.
Oh, and here’s a pro tip: a flashlight can be super helpful too. I can’t tell you how many times I’ve been squinting in the shadows, trying to see if my stylus is lined up right.
A little extra light goes a long way!
Now, I know what you’re thinking – “Do I really need all this stuff?” And hey, I get it. When I first started out, I tried to wing it with just a screwdriver and my naked eye.
Let’s just say the results were… less than stellar. Trust me, investing in these tools will save you a lot of headaches (and potentially some damaged records) down the line.
Step-by-Step Guide to Aligning Your Cartridge
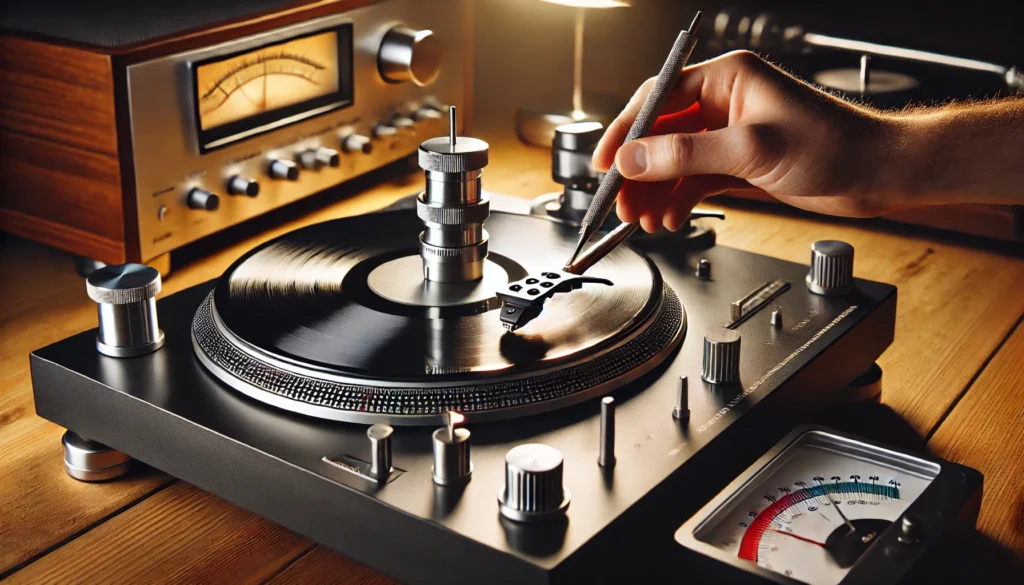
Alright, folks, this is where the rubber meets the road – or in our case, where the stylus meets the groove. Let’s dive into the actual alignment process.
Don’t worry if it seems a bit daunting at first; we’ll take it nice and slow.
First things first, let’s prep your turntable. Make sure it’s on a level surface – I learned this the hard way when I tried aligning my cartridge on a wobbly coffee table.
Not my brightest moment! Remove the platter mat and any records.
We want a clean workspace here.
Now, grab that alignment protractor we talked about earlier. Place it on your turntable’s spindle.
This is where things get a bit tricky, so take a deep breath and channel your inner zen master.
You’re gonna want to adjust the overhang of your cartridge. This is the distance the stylus extends past the center of the tonearm pivot.
Sounds complicated, right? It kinda is, but here’s a trick I use: imagine you’re trying to get the stylus to touch two specific points on the protractor.
These are called null points, and they’re where the stylus’s angle is perfect for tracing the record groove.
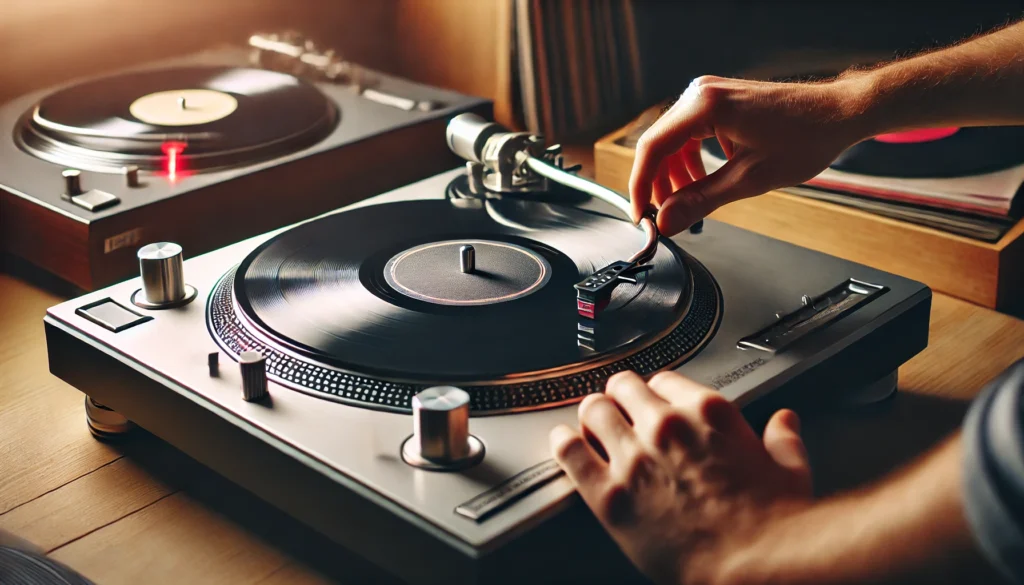
Loosen the screws on your headshell (gently!) and slide the cartridge back and forth until the stylus lines up with both null points. It might take a few tries, but don’t get frustrated.
I remember spending a good hour on this step my first time – it’s all part of the process!
Once you’ve got the overhang sorted, it’s time to set the tracking force. This is where that stylus force gauge comes in handy.
Check your cartridge’s manual for the recommended tracking force – usually somewhere between 1.5 and 2.5 grams. Adjust your tonearm’s counterweight until you hit that sweet spot.
Last but not least, let’s tackle the azimuth. This is the angle of the stylus relative to the record surface.
Ideally, it should be perfectly perpendicular. A good way to check this is to lower the stylus onto a mirror (carefully!) and see if it’s straight.
If not, you might need to rotate the cartridge slightly in the headshell.
Phew! That was a lot, huh? But trust me, once you get the hang of it, you’ll be aligning cartridges like a pro.
Just remember – patience is key. Rome wasn’t built in a day, and perfect cartridge alignment doesn’t happen in five minutes!
Common Mistakes to Avoid During Alignment
Alright, now that we’ve covered the basics, let’s talk about some pitfalls to watch out for. I’ve made pretty much all of these mistakes at some point, so consider this my “do as I say, not as I did” section!
First up: overtightening the headshell screws. I know, I know – you want to make sure that cartridge is secure.
But trust me, cranking those screws down like you’re changing a tire is a recipe for disaster. You can actually warp the cartridge body or damage the internal components.
Just tighten them until they’re snug, then stop. Your cartridge (and your wallet) will thank you.
Another common mistake is ignoring the tonearm height. This affects what’s called the Vertical Tracking Angle (VTA), and it can have a big impact on sound quality.
I remember when I first upgraded my cartridge – I was so focused on the alignment that I completely forgot about adjusting the tonearm height. The result?
Let’s just say it wasn’t the sonic upgrade I was hoping for.
But perhaps the biggest mistake I see people make (and I’ve been guilty of this too) is rushing the process. Aligning a cartridge is a bit like meditation – it requires patience and a steady hand.
I once tried to do a quick alignment job before a party, and let’s just say my guests were not impressed with the sound quality. Take your time, double-check your work, and don’t be afraid to start over if something doesn’t seem right.
Oh, and here’s a bonus tip: don’t forget to re-check your alignment after you’ve finished. Sometimes, tightening those final screws can shift things ever so slightly.
A quick double-check can save you a lot of frustration down the line.
Maintaining Proper Alignment Over Time
So, you’ve successfully aligned your cartridge. Congrats! But don’t think you can just set it and forget it.
Maintaining that perfect alignment is an ongoing process. Don’t worry, though – it’s not as bad as it sounds.
First off, make it a habit to do regular check-ups. I like to give my cartridge a once-over every month or so.
It doesn’t have to be a full realignment – just a quick visual inspection to make sure nothing’s shifted. Trust me, catching a misalignment early can save you from some serious sound quality issues down the line.
Speaking of which, handle your turntable with care! I learned this lesson the hard way when I decided to move my setup to a different room… by picking up the whole turntable while it was still assembled.
Bad idea. The jostling knocked my carefully aligned cartridge out of whack.
Now, I always remove the platter and secure the tonearm before moving my turntable.
But here’s the thing – even with the best care, your cartridge alignment might drift over time. It’s just a fact of life in the vinyl world.
So don’t beat yourself up if you find things a bit off-kilter after a while. It happens to the best of us!
Now, I know what some of you might be thinking: “Can’t I just take it to a pro?” And hey, sometimes that’s not a bad idea. If you’re really struggling or if you’ve got a high-end system, a professional alignment might be worth considering.
But for most of us, with a little patience and practice, we can keep our cartridges singing sweetly at home.
Conclusion
Whew! We’ve covered a lot of ground, haven’t we? From understanding why cartridge alignment matters to the nitty-gritty of actually doing it, we’ve been on quite a journey.
But hey, that’s part of the fun of being a vinyl enthusiast, right?
Remember, aligning your turntable cartridge isn’t just about getting better sound (although that’s a pretty awesome benefit). It’s about taking care of your records, extending the life of your equipment, and really diving deep into the hobby we all love.
Now, I’m not gonna lie – getting your cartridge alignment perfect can be a bit of a challenge. But don’t let that discourage you!
Every time you do it, you’ll get a little better, a little faster, and a little more confident. And trust me, the first time you drop the needle on a perfectly aligned system and hear the music come through clearer than ever before… well, it’s pretty darn satisfying.
So, what are you waiting for? Grab your protractor, put on your favorite record, and start tweaking!
And hey, if you’ve got any tips or tricks of your own for cartridge alignment, why not share them in the comments? We’re all in this vinyl-loving community together, after all.
Now, if you’ll excuse me, I’ve got a date with my turntable and a stack of records. Happy listening, everyone!
