Ah, the thrill of unboxing a new turntable! There’s something magical about setting up your very own record player, knowing that soon you’ll be dropping the needle on your favorite vinyl.
The warm, rich sound of analog music is unparalleled, and it’s no wonder vinyl has made such a comeback in recent years.
But I’ll let you in on a little secret – the setup process can make or break your listening experience. It’s not just about plugging in a few cables and hitting play.
Trust me, I’ve been there, fumbling with tonearms and cartridges, wondering why my records sounded more like a cat scratching a chalkboard than music!
The difference between a poorly set up turntable and one that’s dialed in perfectly is like night and day.
But don’t worry, friend. I’ve made all the mistakes so you don’t have to. Over the years, I’ve set up dozens of turntables, from vintage Technics to modern audiophile models.
In this guide, we’ll walk through every step of setting up your turntable, from unboxing to fine-tuning. We’ll cover everything you need to know to get your vinyl singing sweetly.
Whether you’re a vinyl newbie who just scored their first turntable at a garage sale, or an audiophile looking to perfect your setup, I’ve got you covered.
By the end of this guide, you’ll be able to set up your turntable like a pro.
So, grab a cup of coffee, put on your favorite record (in your mind, for now), and let’s dive into the world of turntable setup!
Trust me, the effort you put in now will pay off in spades when you’re lost in the music later.
How To Setup A Turntable
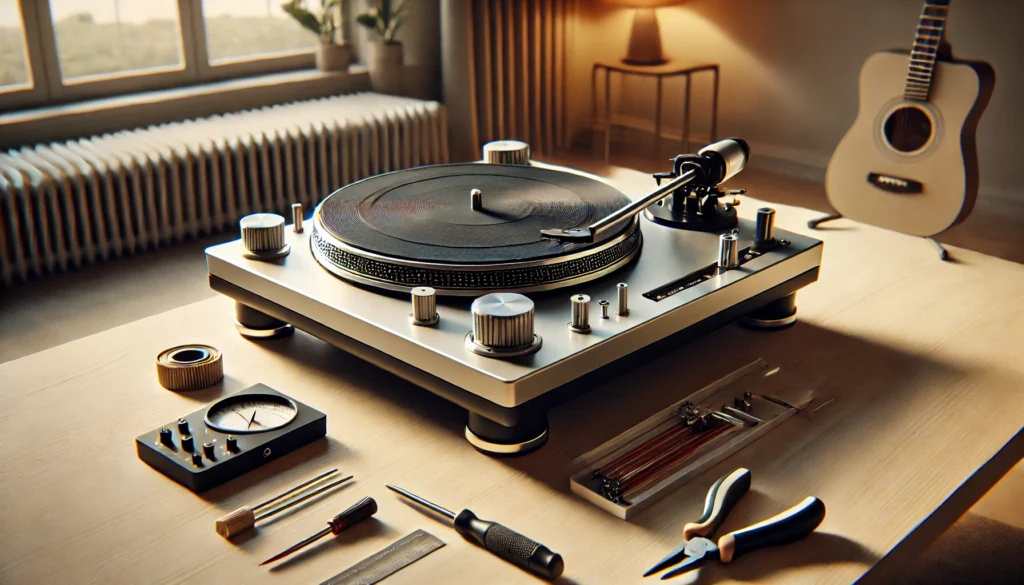
Setting up a turntable involves several key steps, each crucial for achieving the best possible sound quality. First, choose a stable, level surface for your turntable – this is more important than you might think.
Next, assemble the components, including the platter, belt (if applicable), and cartridge. This step requires a gentle touch and careful attention to detail.
Then comes one of the most critical steps: balancing the tonearm. This involves adjusting the counterweight, setting the tracking force, and calibrating the anti-skate mechanism.
Get this right, and you’re well on your way to audio bliss. Connect your turntable to your audio system, ensuring proper grounding to avoid any unwanted hum or buzz.
Finally, fine-tune the setup by adjusting the vertical tracking angle (VTA) and aligning the cartridge. These last steps can really take your sound from good to great.
The process requires patience and attention to detail, but don’t let that intimidate you. With this guide, you’ll be enjoying pristine vinyl sound in no time.
Remember, every step is important, from the initial unboxing to the final fine-tuning. Rushing through any part of the process could result in subpar sound or even damage to your precious vinyl.
Let’s dive into each step to ensure you get the most out of your turntable setup! By the end of this guide, you’ll be ready to experience your record collection like never before.
Unboxing and Initial Inspection
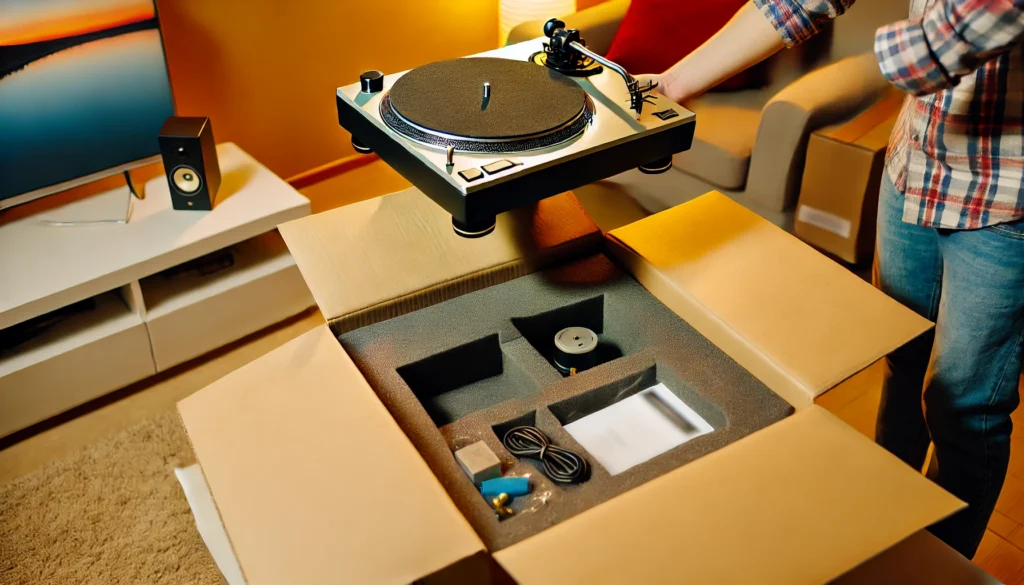
Alright, let’s start at the very beginning – unboxing your turntable. I know you’re excited (I always am when new audio gear arrives), but resist the urge to rip into that package like a kid on Christmas morning!
Turntables are delicate instruments, and rough handling during unboxing can throw things out of alignment before you even start. Take a deep breath and approach this methodically.
First things first, carefully remove the turntable from its box. Most come with foam or cardboard inserts to protect delicate parts during shipping.
Pay attention to how everything is packed – you might need to repack it someday. Remove these gently – you don’t want to accidentally yank out any important bits!
I once got a bit too eager and pulled out the tonearm along with the packing material. Not a great start!
Once it’s out, give your new baby a thorough once-over. Check for any obvious shipping damage. Look for cracks, dents, or loose parts.
I once received a turntable with a cracked dust cover – not fun, let me tell you. It took weeks to get a replacement, and I was paranoid about dust the whole time.
Make sure all the parts are there: platter, tonearm, cartridge (if not pre-installed), dust cover, and any accessories like a mat or alignment tools. Some higher-end turntables come with their own spirit level or even a specialized screwdriver – don’t throw these out by mistake!
If your turntable came with a manual (and I hope it did), now’s the time to familiarize yourself with it. Different models can have unique quirks or setup procedures.
I once spent hours trying to figure out why I couldn’t get any sound, only to realize I’d missed a tiny switch mentioned in the manual. Don’t be like me – read the manual!
Pro tip: Keep the box and packing materials, at least until you’re sure everything’s working perfectly. You never know when you might need to return or ship your turntable!
I learned this lesson the hard way when I had to send a turntable in for repair and had nothing but a flimsy Amazon box to pack it in. Needless to say, it arrived with a few extra “features” it didn’t have when I sent it.
Choosing the Right Location

Now that your turntable is out of the box, it’s time to find it a home. This step is crucial, folks. The right location can make the difference between mediocre and magnificent sound.
I once had my turntable set up on a wobbly IKEA side table – let’s just say the sound was less than ideal. Every time someone walked heavily across the room, the needle would jump. Not exactly conducive to losing yourself in the music!
You want a surface that’s stable, level, and free from vibrations. A sturdy shelf or dedicated audio rack is perfect. If you’re really serious, consider a wall-mounted shelf – it’s one of the best ways to isolate your turntable from floor vibrations.
Use a spirit level to ensure the surface is perfectly flat. Even a slight tilt can affect the tracking of your stylus.
Avoid putting your turntable directly on top of other audio components, especially amplifiers which can generate heat and vibrations. I made this mistake once and ended up with a warped record. Trust me, you don’t want to learn this lesson the hard way.
Consider room acoustics too. Corners can amplify bass, while placing your turntable too close to walls can create reflections. These reflections can muddy the sound and reduce the clarity you’re aiming for.
I find that placing the turntable along the short wall of a rectangular room often gives the best sound. It allows the sound to disperse more evenly throughout the room.
Think about practical considerations too. Is there enough space to access the turntable comfortably? Can you easily change records without contorting yourself into a pretzel?
Oh, and make sure you’ve got enough clearance to open that dust cover! I learned that lesson the hard way when I set up my first turntable under a low shelf. Oops!
Every time I wanted to play a record, I had to pull the whole unit forward. Not ideal, and definitely not good for maintaining a stable setup.
Lastly, consider the aesthetics. Your turntable is likely to become a centerpiece of your room. Choose a location where you can admire it, and where it complements your decor.
After all, vinyl isn’t just about the sound – it’s a whole experience, from the visual appeal of the turntable to the ritual of placing the needle on the record.
Assembling the Turntable

Okay, time to put this bad boy together! Don’t worry, it’s not as daunting as it might seem. Just take it step by step, and you’ll be fine.
First up, the platter. This is the heavy disc that your records will sit on. It’s usually the largest loose part in the box.
Handle it carefully – if it’s made of metal, it can be quite heavy, and you don’t want to drop it on your foot (trust me on this one). Place it gently onto the spindle in the center of your turntable.
If you’ve got a belt-drive turntable, you’ll need to install the belt too. This can be a bit fiddly – I once spent a good 10 minutes chasing a belt around the platter before I got it seated properly!
The belt usually loops around a motor pulley hidden under the platter. Some turntables come with a little tool to help you install the belt, but if not, clean hands and patience will do the trick.
Next, if your cartridge isn’t pre-installed, you’ll need to attach it to the headshell. This is where things get a bit delicate. The cartridge contains the stylus (needle), which is super fragile.
Handle with care! If you’re not confident, don’t be afraid to ask for help or even have a professional do this part.
Align the cartridge as best you can for now – we’ll fine-tune it later. Most cartridges attach with tiny screws, so you might need to break out your reading glasses for this part.
If your turntable came with a slipmat (usually a thin, felt-like disc), place this on top of the platter. If not, you might want to consider getting one – they can improve sound quality and protect your records.
Finally, pop on that dust cover. It might seem trivial, but trust me, keeping dust off your vinyl and stylus is crucial for good sound (and longevity of both).
Plus, it just looks nicer with the cover on when you’re not using it. Just remember to take it off when playing records – the vibrations from the music can transfer through the cover and back into the turntable if you leave it down while playing.
Balancing the Tonearm
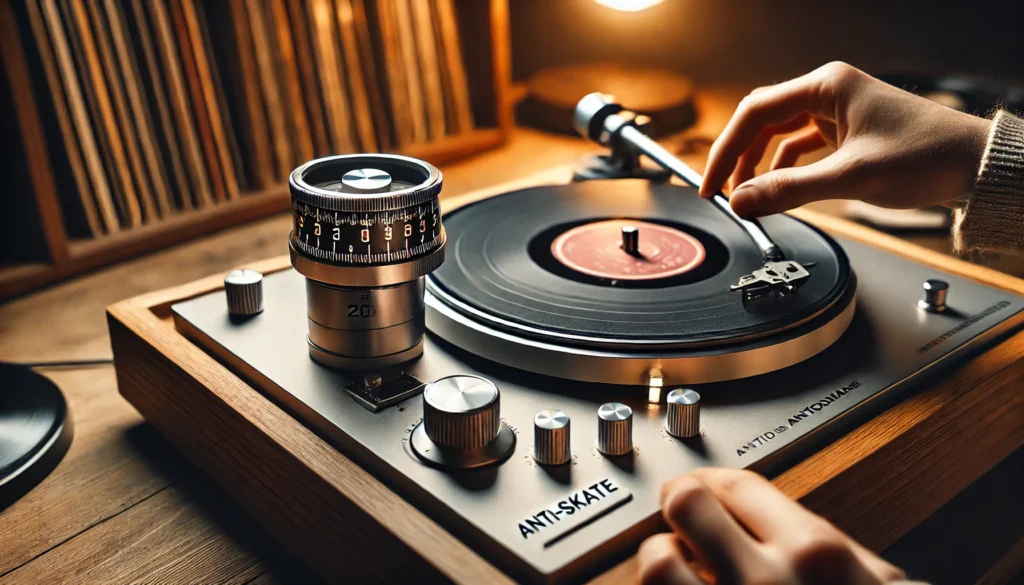
Now we’re getting to the nitty-gritty. Proper tonearm balance is crucial for good sound and to avoid damaging your records. This is probably the most technical part of the setup, but don’t worry – we’ll take it step by step.
Start by setting the anti-skate to zero and removing any tonearm locks. These locks keep the arm in place during transport, but they need to be disengaged for setup and play.
Next, we’ll set the initial balance. Adjust the counterweight (that’s the round weight at the back of the tonearm) until the tonearm floats parallel to the platter.
This is your zero point. It might take a few tries to get it just right – be patient. When it’s balanced, the arm should stay level when you let go, not rising or falling to either side.
Now, without moving the counterweight, rotate just the numbered dial on the front of it to zero. This dial is usually separate from the main body of the counterweight.
Next, we’ll set the tracking force. Your cartridge manual will recommend a range – start in the middle. To set this, rotate the entire counterweight (not just the dial) until the dial shows the desired tracking force.
For example, if you need 2 grams of tracking force, rotate the whole assembly until the dial reads 2. Too little force and you’ll get skipping; too much and you’ll wear out your records faster than you can say “limited edition pressing.”
Finally, set the anti-skate to match your tracking force. This prevents the arm from being pulled towards the center of the record. Usually, you’ll set it to the same number as your tracking force.
I remember the first time I tried to balance a tonearm. I was so nervous, my hands were shaking like I’d had ten espressos! I was terrified of damaging the stylus or scratching a record.
But take it slow, be patient, and you’ll get it. If you’re really unsure, there are plenty of YouTube videos that can give you a visual guide to this process.
Remember, this balance can be affected by temperature and humidity, so you might need to check and adjust it periodically. It’s a good habit to verify your tonearm balance every few months or if you move your turntable.
Connecting to Your Audio System
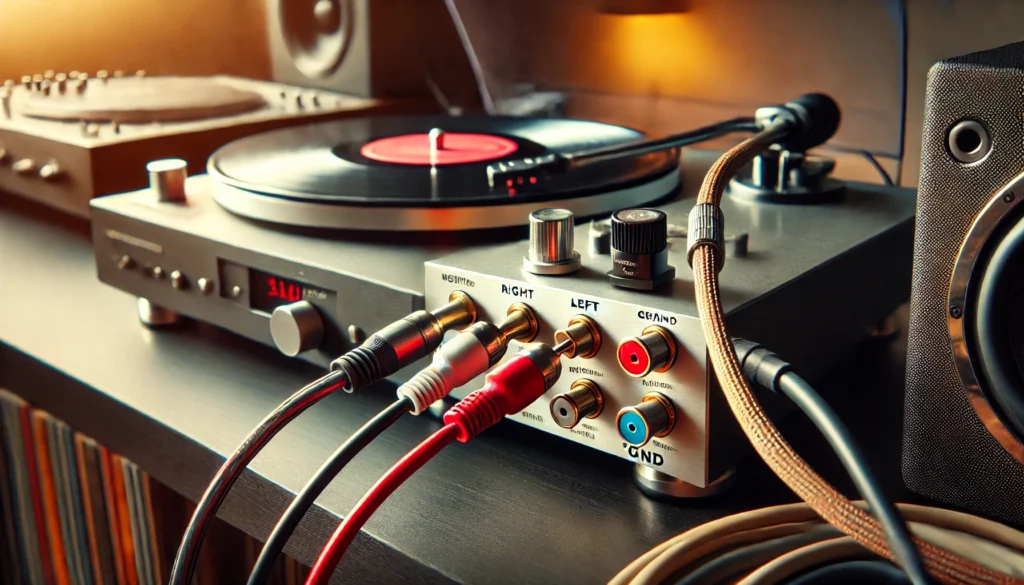
Alright, we’re in the home stretch! Time to connect your turntable to your audio system. This is where we bring all the pieces together to make the magic happen.
First, identify your turntable’s output. There are two main types: phono and line. If it’s a phono output, you’ll need a phono preamp (either standalone or built into your receiver).
This is because the signal direct from a turntable is much weaker than other audio sources and needs amplification. If it’s a line output, you can plug it directly into any line input on your receiver or amplifier.
Use good quality cables – they really do make a difference. I learned this the hard way when I used some cheap cables and ended up with more hum than music!
Good cables don’t have to break the bank, but they should be well-shielded to prevent interference. Look for cables with solid connectors and good strain relief where the cable meets the plug.
When connecting the cables, make sure you match the channels correctly. Red is usually right, and white or black is usually left. Getting this wrong won’t damage anything, but your stereo image will be reversed.
Don’t forget the ground wire! There should be a ground terminal on your preamp or receiver. It usually looks like a small screw or post labeled ‘GND’.
Connect it there. This is crucial for reducing hum and noise in your system. I once forgot to connect the ground wire and spent hours troubleshooting a mysterious buzz, only to face-palm when I realized my silly mistake.
If you hear a hum when you turn everything on, try lifting the ground (disconnecting it). Sometimes, counterintuitively, this fixes the problem.
It’s due to something called a ground loop, which can occur when your system is grounded at multiple points. Audio can be quirky like that!
Once everything’s connected, double-check all your connections before powering on. Make sure everything’s snug and in the right place.
I once spent hours troubleshooting why I wasn’t getting any sound, only to realize I’d plugged the right channel into the left input. Don’t be like me – a little extra care now can save a lot of headache later!
Fine-tuning for Optimal Performance
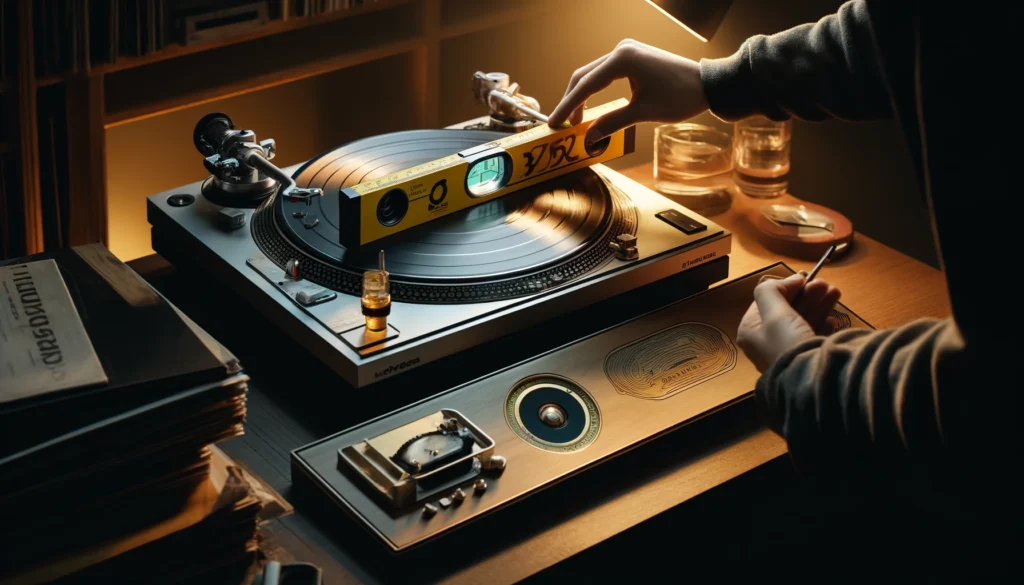
We’re almost there, but these final adjustments can take your sound from good to great. This is where we really dial everything in for optimal performance.
First, check the Vertical Tracking Angle (VTA). Your tonearm should be parallel to the record when the stylus is in the groove. If it’s not, you may need to adjust the tonearm height.
This can usually be done at the base of the tonearm, but consult your manual for the specifics of your model. Getting the VTA right can dramatically improve the clarity and accuracy of your sound.
Next, set the azimuth. This ensures the cartridge is perfectly perpendicular to the record when viewed from the front. A mirror can help here – the reflection of the cartridge should line up perfectly with the cartridge itself.
Proper azimuth ensures that both channels of your stereo signal are picked up equally, giving you the best stereo imaging and frequency balance.
Finally, use an alignment protractor to perfectly position your cartridge. This step alone can dramatically improve your sound. The protractor will help you set the overhang and angle of your cartridge for the most accurate tracking across the entire record.
I once spent a whole afternoon perfecting my cartridge alignment – and the improvement in sound quality was like night and day! Suddenly, vocals were clearer, instruments were more distinct, and the whole soundstage opened up.
If your turntable has adjustable feet, now’s the time to make sure it’s perfectly level. Use a bubble level for this – even a slight tilt can affect the tracking of your stylus and the speed consistency of your platter.
Lastly, if your turntable has a speed adjustment, use a strobe disc to ensure it’s spinning at exactly the right speed. Even small speed discrepancies can change the pitch of your music.
Remember, these adjustments are about fine margins. Take your time, be patient, and trust your ears. The goal is to reach a point where you’re not just hearing your records, but experiencing them in all their analog glory.
Performing a Test Run

The moment of truth! All your careful setup is about to pay off. Choose a record you know well – preferably one that’s in good condition and has a wide dynamic range. A well-recorded classical or jazz album can be great for this.
Start it up and listen carefully. Pay attention to the overall balance of the sound. Is the stereo image centered? Close your eyes – can you “place” each instrument in space?
Are high frequencies clear without being harsh? Cymbals and strings are good indicators here. Is the bass full without being boomy? Listen for clear, articulate bass notes, not just a muddy rumble.
Pay attention to any distortion, especially in louder passages or toward the center of the record. If you hear any, you might need to check your tracking force or cartridge alignment.
Listen for any speed fluctuations. Does the pitch waver at all? If so, you might need to check your belt tension or platter bearing.
If something sounds off, don’t panic. Go back and double-check your setup. It might take a few tries to get everything dialed in perfectly.
Remember, every turntable is unique, and finding its sweet spot can take some patience. But trust me, when you hit that sweet spot, you’ll know it.
The music will have a presence and vitality that you might never have heard before, even from familiar records. It’s like rediscovering your entire music collection!
Try a variety of music during your test run. Different genres can reveal different aspects of your setup.
Classical music is great for checking soundstage and imaging, rock can test how well your system handles dynamic shifts, and electronic music can reveal any speed inconsistencies.
Don’t forget to test the entire surface of a record. Sometimes issues only show up on the inner or outer grooves. If you notice any significant changes in sound quality as the stylus moves across the record, you might need to revisit your cartridge alignment.
Maintenance and Care

Congratulations! Your turntable is set up and sounding great. But the work doesn’t stop here – proper maintenance is key to keeping it that way.
Think of your turntable as a precision instrument, like a fine watch. With regular care, it’ll keep performing beautifully for years to come.
Clean your records before and after each play with a carbon fiber brush. This simple step can dramatically extend the life of both your records and your stylus.
Dust and debris in the grooves don’t just affect sound quality – they can actually damage your stylus over time. A quick brush before each play only takes a few seconds and can save you a lot of trouble down the line.
For deeper cleaning, invest in a good record cleaning solution and soft cloths. There are many methods out there, from simple hand-cleaning to elaborate vacuum systems.
Find a method that works for you and make it a regular part of your vinyl ritual. Your ears (and your records) will thank you.
Keep your stylus clean too. A stylus brush is a good investment – just be gentle! I once pressed too hard and bent my stylus.
Not a mistake you want to make, believe me. A clean stylus not only sounds better but also reduces wear on your records.
There are also stylus cleaning solutions available, but be very careful with these. Always brush from back to front (the direction the record moves), never side to side.
And don’t forget about your turntable itself. A soft, dry cloth is usually all you need to keep it dust-free.
Pay special attention to the platter bearing and tonearm pivot – these can accumulate dust over time, affecting performance. Some people swear by fancy cleaning solutions, but in my experience, a simple microfiber cloth does the job just fine.
Check your belt (if you have a belt-drive turntable) every few months. Look for signs of stretching or wear, and replace it if necessary.
A worn belt can cause speed inconsistencies that can be subtle but very annoying once you notice them.
Every few months, go through the setup process again. Verify the tonearm balance, tracking force, and alignment.
Environmental changes can throw things off over time, and a quick check can prevent issues before they become noticeable.
Store your records properly too. Vertical is best, and avoid stacking them horizontally. I learned this the hard way when I found my prized first pressing of “Dark Side of the Moon” warped after leaving it stacked under a pile of other records. Heartbreaking!
Invest in good quality inner sleeves to protect against dust and static. And speaking of static, a carbon fiber brush or anti-static gun can be a game-changer, especially in dry climates.
Troubleshooting Common Setup Issues

Even with the best setup, sometimes things go wrong. But don’t worry, I’ve probably encountered (and eventually fixed) every issue under the sun.
Let’s go through some common problems and their solutions. With a bit of troubleshooting, you’ll be back to sonic bliss in no time.
If you’re experiencing speed inconsistencies – where the pitch of the music wavers up and down – it could be a problem with your belt (if you have a belt-drive turntable) or the motor might need cleaning or lubrication.
Try cleaning the belt with a lint-free cloth slightly dampened with isopropyl alcohol. If that doesn’t help, you might need a replacement belt.
For direct-drive turntables, speed issues are often related to the motor or control circuits. These usually require professional servicing.
Hum and feedback are often grounding issues. Double-check your ground wire connection. Also, make sure your turntable is on a stable surface, away from vibrations.
Sometimes, hum can be caused by electrical interference. Try moving any nearby electronic devices, especially those with transformers, further away from your turntable.
If you’re getting distortion or skipping, check your tracking force and anti-skate settings. Also, make sure your stylus is clean and in good condition.
Skipping can also be caused by vibrations, so check your turntable’s isolation. Sometimes, simply moving your speakers further away from the turntable can solve this issue.
If you’re hearing a buzzing or motorboating sound, especially when you touch the tonearm, you might have a cartridge wiring issue. Check that all four wires from the headshell to the cartridge are securely connected.
For any noise that seems to get louder as you turn up the volume, start by checking all your cable connections. Loose or corroded connections can introduce all sorts of unwanted noise.
If you’re not getting any sound at all, work methodically through your system. Is the amp on and set to the correct input? Is the tonearm lowered onto the record?
If you have a switchable phono/line output on your turntable, make sure it’s set correctly for your setup.
Remember, troubleshooting is all part of the fun… or at least that’s what I tell myself when I’m on my hands and knees at 2 AM, trying to figure out why my favorite record sounds like it’s being played underwater!
Don’t be afraid to reach out to the vinyl community for help. Forums and local audio shops can be great resources when you’re stumped by a persistent issue.
Conclusion
Whew! We’ve covered a lot of ground, haven’t we? From unboxing your turntable to fine-tuning its performance, you’re now armed with everything you need to know about setting up a turntable.
We’ve journeyed through the critical steps: choosing the perfect location, carefully assembling the components, precisely balancing the tonearm, making the right connections, and fine-tuning for optimal performance.
Remember, the key to a great setup is patience and attention to detail. Don’t rush it – take your time, and you’ll be rewarded with fantastic sound quality that’ll make your vinyl collection shine.
Each step we’ve covered plays a crucial role in achieving that warm, rich analog sound that makes vinyl so special.
And here’s the best part – once you’ve got everything set up just right, you can sit back, drop the needle, and lose yourself in the warm, rich sound of your favorite records. There’s nothing quite like it!
The depth, the presence, the sheer musicality of a well-set-up turntable is something that digital audio, for all its convenience, struggles to match.
But remember, setting up a turntable isn’t a one-and-done deal. Regular maintenance and occasional adjustments will keep your system singing sweetly for years to come.
Don’t be afraid to revisit this guide as needed, whether you’re troubleshooting an issue or just giving your setup a periodic check-up.
So, what are you waiting for? Get out there and start setting up your turntable! Whether you’re rescuing a vintage deck from a thrift store or unboxing a brand new audiophile dream machine, the process is the same – and the rewards are immense.
And hey, if you’ve got any great setup tips of your own, why not share them in the comments? After all, the vinyl community is all about sharing the love of great music and great sound.
We’re all on this analog journey together, each of us chasing that perfect sound. Your experiences and insights could be just what another vinyl enthusiast needs to take their setup to the next level.
Happy listening, folks! May your records always spin true, your stylus track clean, and your music fill your home with joy. Here’s to the wonderful world of vinyl – enjoy every crackle, pop, and glorious note!
