In an age where digital streaming dominates the music landscape, there’s something magical about the warm, rich sound of vinyl records.
But what happens when your beloved turntable starts acting up?
Don’t worry, I’ve got you covered! As a long-time vinyl enthusiast and self-taught turntable tinkerer, I’ve faced my fair share of record player woes.
In this guide, I’ll walk you through the ins and outs of turntable repair, sharing some hard-earned wisdom along the way.
Turntable Repair Guide: How To Fix a Broken Record Player

Alright, let’s cut to the chase. If you’re reading this, chances are your record player is giving you grief, and you’re itching to get it spinning again.
The good news is that many turntable issues can be fixed with a bit of patience and some elbow grease. From my experience, the key to successful turntable repair lies in proper diagnosis, having the right tools, and a willingness to learn.
In a nutshell, fixing a broken record player involves identifying the problem, gathering the necessary tools, and then following step-by-step repair techniques. Sometimes it’s as simple as a good cleaning, while other times you might need to replace a belt or realign the cartridge.
Don’t worry if that sounds Greek to you right now – we’ll dive deeper into all of this below. But first, let me assure you: with the right guidance, you can bring most turntables back to life!
Now, let’s roll up our sleeves and explore the wonderful world of turntable repair in more detail. Trust me, by the end of this guide, you’ll be well-equipped to tackle most common record player issues!
Identifying the Problem

Man, I remember the first time my trusty Technics SL-1200 started acting up. I was in the middle of a killer jazz session when suddenly, the music sounded like it was underwater.
Talk about a mood killer! But before I could fix it, I had to figure out what was wrong.
When it comes to turntable troubles, you’ve got to play detective. Is there no sound at all, or is it just weak?
Maybe the audio is distorted or skipping? Or perhaps the speed is all over the place?
Each symptom points to a different underlying issue.
Here are some common problems you might encounter:
- No power or weak sound: This could be anything from a loose connection to a faulty amplifier.
- Skipping or distorted audio: Often, this is related to the stylus (needle) or cartridge alignment.
- Speed inconsistencies: Usually a sign of belt or motor issues.
- Tonearm problems: This might involve the tonearm bearings or anti-skate mechanism.
Proper diagnosis is crucial – you don’t want to be replacing belts when the real problem is a dirty stylus! Trust me, I’ve made that mistake before, and it’s a waste of time and money.
Essential Tools for Turntable Repair
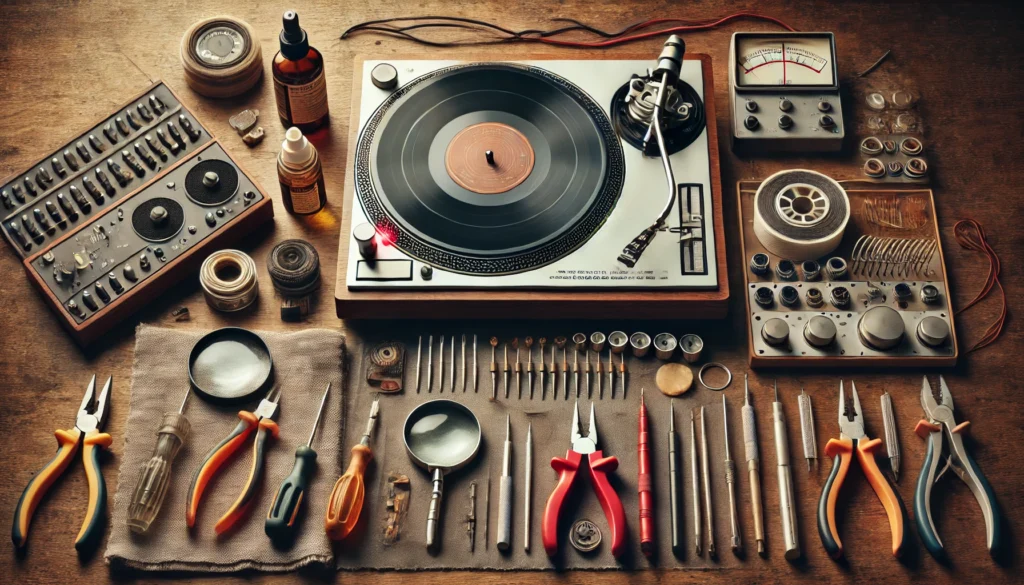
Before we dive into the nitty-gritty of repairs, let’s talk tools. You don’t need a fully stocked electronics lab, but a few key items will make your life a whole lot easier.
Here’s what I keep in my turntable repair kit:
- Screwdrivers (both flathead and Phillips)
- Needle-nose pliers
- Cleaning solutions (isopropyl alcohol works wonders)
- Soft, lint-free cloths
- A magnifying glass (trust me, those tiny parts can be a pain to see!)
- A multimeter for electrical troubleshooting
- Turntable-specific tools like a cartridge alignment protractor and a stylus pressure gauge
Oh, and don’t forget about safety! Always unplug your turntable before poking around inside.
I learned that lesson the hard way – let’s just say it involved a small spark and some singed eyebrows. Not my finest moment!
Troubleshooting Common Turntable Issues

Alright, now we’re getting to the good stuff! Let’s break down some common issues and how to tackle them.
No Power or Weak Sound
This one’s a real bummer. You’re all set for a vinyl session, and…
nothing. Check the obvious stuff first – is it plugged in?
Is the amp on? I can’t tell you how many times I’ve had a mini heart attack, only to realize I forgot to flip the power switch!
If that’s not it, check your connections. Loose RCA cables are often the culprit.
If you’re still getting zilch, it might be time to bust out that multimeter and check for continuity in the power supply.
Skipping or Distorted Audio
Ugh, there’s nothing worse than your favorite track skipping like a broken record (pun intended). First things first, check your stylus.
Is it gunked up with dust and debris? A gentle cleaning might do the trick.
If that doesn’t help, your cartridge might be misaligned. This is where that alignment protractor comes in handy.
It takes some patience, but proper cartridge alignment can work wonders for your sound quality.
Speed Inconsistencies
Ever feel like your records are drunk? Speed issues can turn your music into a warped mess.
For belt-drive turntables, a stretched or slipping belt is often the culprit. Replacing the belt is usually a quick and easy fix.
For direct-drive turntables, speed problems might indicate motor issues. This can be trickier to fix, but don’t lose hope!
Sometimes, a good cleaning and lubrication of the motor bearings can get things back on track.
Tonearm Problems
A wonky tonearm can cause all sorts of issues. If your tonearm isn’t moving smoothly, the bearings might need cleaning or lubrication.
And don’t forget about the anti-skate – if it’s not set correctly, your needle might be taking a joyride across your precious vinyl!
Step-by-Step Repair Techniques
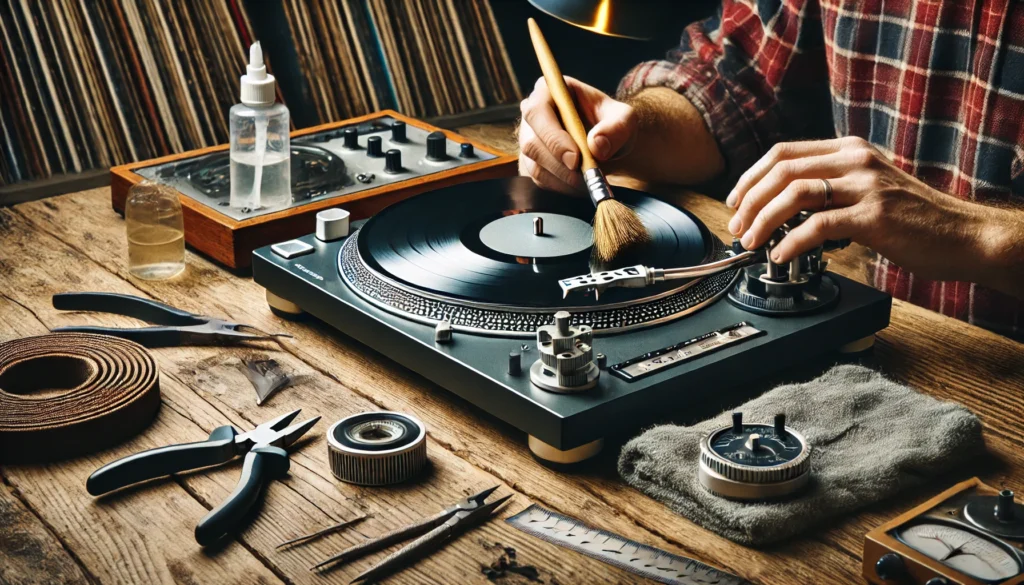
Now that we’ve covered the basics, let’s get our hands dirty with some specific repair techniques.
Cleaning and Maintenance
I can’t stress this enough – regular cleaning is your turntable’s best friend! Use a carbon fiber brush to gently clean your records before each play.
For deeper cleaning, a good record cleaning solution can work wonders.
Don’t forget about the stylus! A stylus brush and some cleaning solution can remove built-up gunk and improve your sound quality dramatically.
Belt Replacement
Replacing a turntable belt is like changing a guitar string – it seems daunting at first, but it’s actually pretty simple. First, remove the platter (that’s the big disc your record sits on).
You should see the old belt underneath. Carefully remove it, then loop the new belt around the motor pulley and the inner rim of the platter.
Voila! You’re back in business.
Cartridge Alignment and Replacement
This one’s a bit trickier, but don’t let that scare you off. Start by removing the headshell (the bit at the end of the tonearm that holds the cartridge).
Carefully disconnect the tiny wires – I like to use tweezers for this.
To align the new cartridge, use your alignment protractor. It takes some fiddling, but once you get it right, the improvement in sound quality is mind-blowing!
Motor Repair or Replacement
Okay, I’ll be honest – motor issues can be a real pain. If you’re dealing with a seized motor, sometimes a good cleaning and lubrication can bring it back to life.
But if that doesn’t work, you might be looking at a replacement job.
This is one area where I’d recommend seeking professional help if you’re not confident in your skills. There’s no shame in knowing your limits – better that than accidentally turning your turntable into a very expensive paperweight!
When to Seek Professional Help

Speaking of professional help, let’s talk about when it’s time to wave the white flag. If you’re dealing with complex electrical issues, or if your turntable is a high-end or vintage model, it might be best to leave it to the experts.
When I was starting out, I once tried to “fix” a rare vintage Garrard turntable. Long story short, I ended up with a pile of parts and a very expensive lesson learned.
Sometimes, it’s worth paying for professional repairs to avoid costly mistakes.
Look for repair shops that specialize in turntables. Check reviews and ask fellow vinyl enthusiasts for recommendations.
A good technician can work wonders on even the most stubborn turntable issues.
Preventing Future Turntable Problems

An ounce of prevention is worth a pound of cure, right? Here are some tips to keep your turntable humming along smoothly:
- Keep it clean! Regular dusting and cleaning can prevent a host of issues.
- Store your turntable properly. Keep it away from heat sources and direct sunlight.
- Use a dust cover when not in use.
- Replace your stylus regularly – a worn stylus can damage your records.
- Be gentle! Turntables are precision instruments, so handle them with care.
Conclusion
Whew! We’ve covered a lot of ground, haven’t we? From diagnosing common issues to rolling up our sleeves for some hands-on repairs, we’ve explored the ins and outs of turntable maintenance and repair.
Remember, every repair is a learning experience. Don’t get discouraged if things don’t go perfectly the first time – I’ve certainly had my share of facepalm moments!
The key is to approach each problem methodically, armed with knowledge and the right tools.
By keeping your turntable in top shape, you’re not just maintaining a piece of equipment – you’re preserving a unique way of experiencing music. There’s something special about dropping the needle on a vinyl record, hearing that initial crackle, and being transported by the warm, rich sound.
So go forth and tinker, my fellow vinyl enthusiasts! And hey, if you’ve got any turntable repair stories or tips of your own, drop them in the comments below.
After all, the vinyl community is all about sharing the love of music – and the occasional repair horror story!
Now, if you’ll excuse me, I’ve got a date with my recently repaired turntable and a stack of jazz records. Happy listening, folks!
