How To Make A Wooden Sound Diffuser? (QRD + Skyline Build Guide)

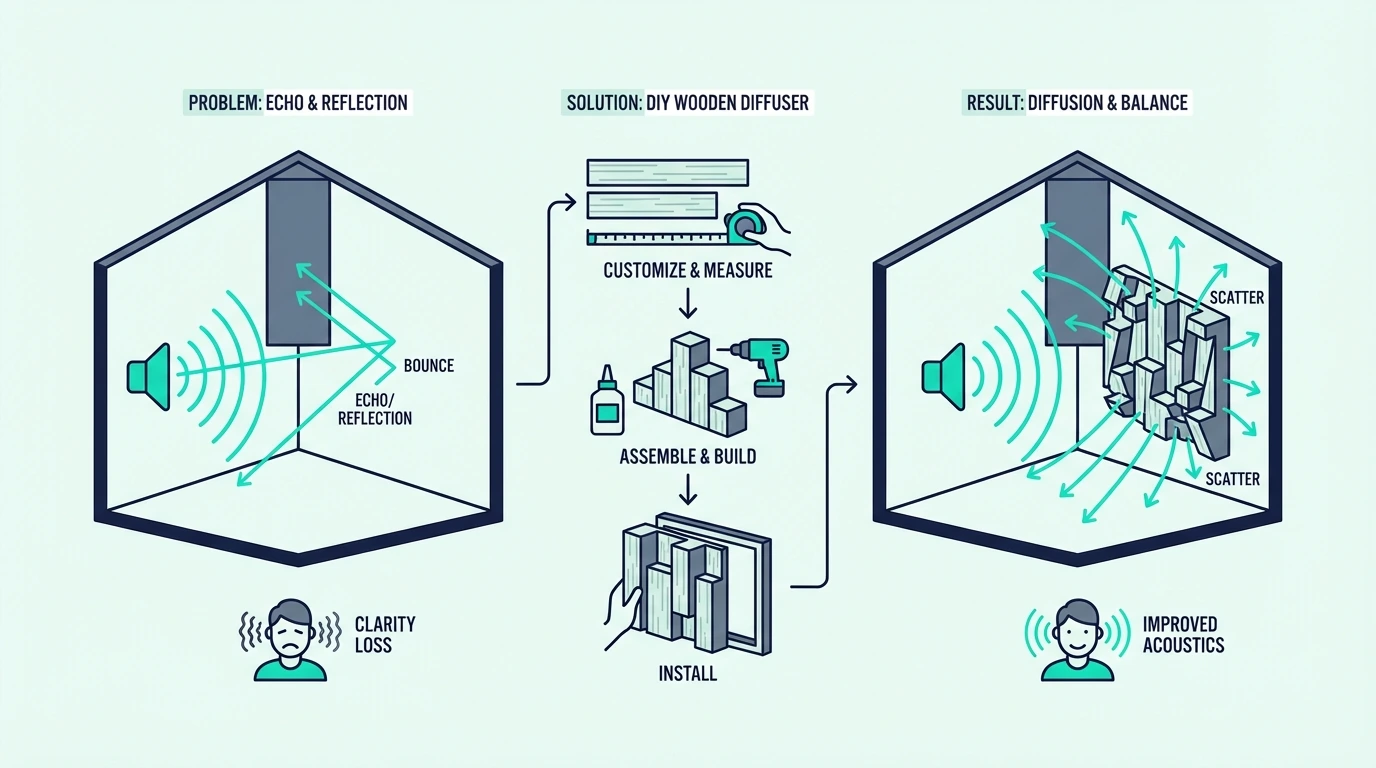
How to make a wooden sound diffuser is simpler than most people think, but the precision of your well depths determines whether the panel actually scatters sound or just looks like it should.
Your room still has flutter echo and harsh reflections bouncing off the rear wall — and commercial diffusers cost $70-110 per panel, which adds up fast when you need three or four to cover the wall behind your listening position.
Building your own means a diffuser that fits your room’s exact dimensions, targets the specific frequencies causing problems, and costs a fraction of retail — with identical acoustic performance.
You’ll start with the tools and math, then walk through both QRD and skyline builds step by step.
Build a QRD diffuser by calculating well depths with an online calculator, cutting wood strips to those depths, and gluing them into a frame. Use 3/4-inch Baltic birch plywood or hardwood, seal with polyurethane, and mount on the rear wall at least 2 meters from your listening position. A skyline diffuser is easier — blocks of varying heights glued to a backboard, no precision wells required.
How To Make A Wooden Sound Diffuser — And Why Build One?
A pre-built QRD diffuser like the BXI Wood Sound Diffuser (1D QRD) costs $73 for a single 24×24-inch panel. Cover a rear wall and you’re looking at three or four panels — $220-290 before shipping.
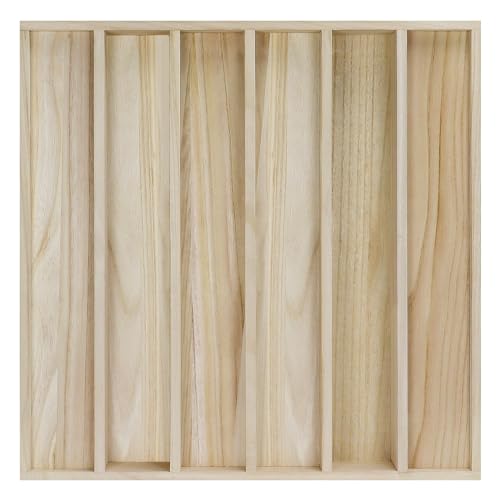
BXI Wood Sound Diffuser (1D QRD)
The same coverage in Baltic birch plywood runs $60-80 total in materials. The tradeoff is your time and a table saw, but the acoustic result is identical because diffusion depends on geometry, not brand name.
DIY also unlocks custom sizing. Commercial panels come in fixed dimensions, but your room might need a 30-inch wide panel or a specific depth to target frequencies below 1 kHz.
Building your own means the panel fits the room instead of the other way around.
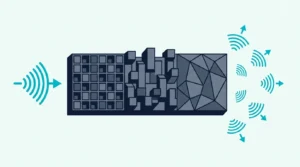
The two most common DIY designs are QRD (Quadratic Residue Diffuser) and skyline. QRD uses wells of calculated depths — more precise, more complex to build.
Skyline uses blocks of varying heights — easier to cut, more forgiving of small errors. For a primer on how diffusers work at the physics level, that guide covers the scattering principles behind both designs.
What Tools And Materials Do You Need?
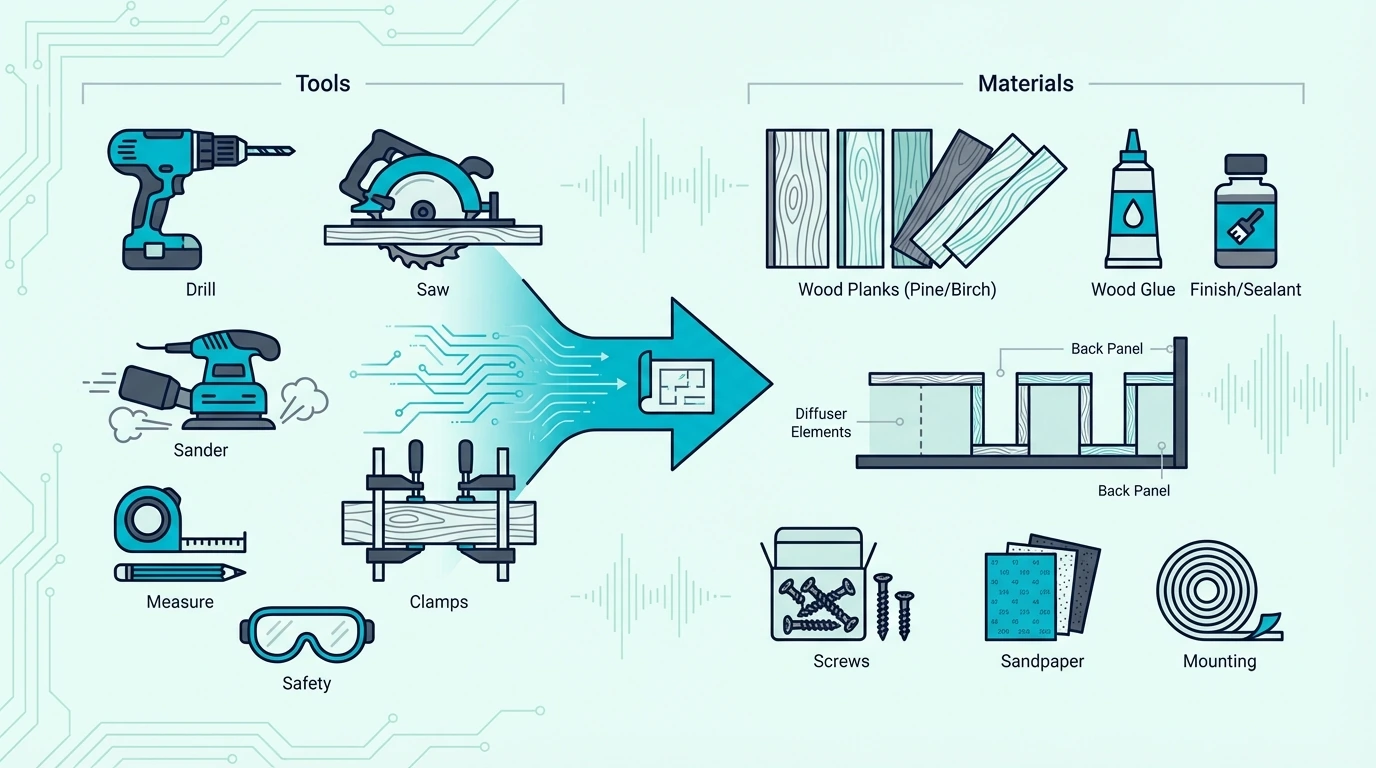
The build requires basic woodworking tools. Nothing exotic — if you own a table saw, you already have the most important piece.
Tools
A table saw is essential for cutting strips to consistent widths. Inconsistent widths create gaps between wells that leak sound through instead of reflecting it — defeating the entire design.
Beyond the saw, you need a measuring tape, carpenter’s square, wood glue, clamps (at least 4 bar clamps), 120-grit sandpaper, and a brush for applying finish. A miter saw helps for crosscutting blocks to height if you’re building a skyline design.
Nice-to-have additions: a digital caliper for checking well depths against the calculator output, and a brad nailer for reinforcing glue joints while they dry. Neither is strictly necessary, but both speed up the build.
What Frequencies Do I Diffuse?
The frequency range your diffuser scatters depends entirely on well depth. An online QRD calculator takes two inputs — the prime number (which determines the number of wells) and the design frequency (the lowest frequency you want to scatter) — and outputs the exact depth for each well.
For most home studios and listening rooms, a design frequency of 800-1,200 Hz covers the range where flutter echo and comb filtering cause the most problems. That translates to maximum well depths of roughly 2-3 inches.
Targeting lower frequencies means deeper wells — a 500 Hz design frequency needs wells up to 6 inches deep, which makes the panel heavy and harder to mount. For treating a full room, that guide covers how diffuser frequency range fits into the bigger treatment picture.
Get Studio Tips Weekly
Join 5,000+ creators getting acoustic treatment advice every week.
No spam. Unsubscribe anytime.How Do You Build A QRD Diffuser Step By Step?
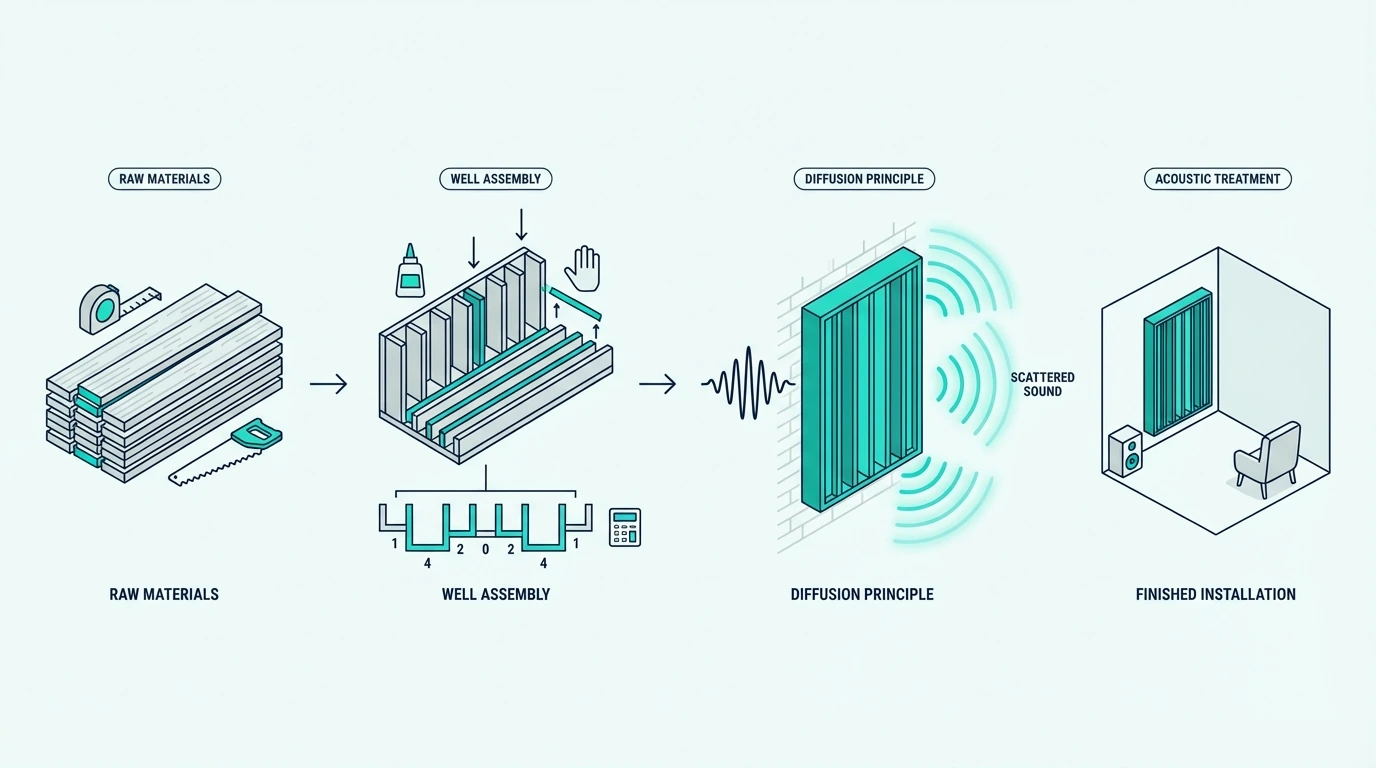
A QRD is the gold standard of diffuser designs — mathematically precise scattering backed by decades of acoustic research. The build is straightforward once you have your depth sequence.
Calculating Well Depths
Search for “QRD diffuser calculator” online — several free tools exist. Input a prime number (7 is the most common for home builds, giving 7 wells per period) and your design frequency.
The calculator outputs a sequence of depths — for example, a prime-7 QRD at 1,000 Hz might produce: 0”, 1.35”, 2.70”, 0.68”, 0.68”, 2.70”, 1.35”. Each number is the depth of one well, and the sequence repeats across the panel.
Write down every depth and double-check before cutting. A 1/8-inch error in well depth shifts the scattering frequency by 50-100 Hz — noticeable in a critical listening environment.
For the best wood species to use in your build, that guide compares hardwoods, softwoods, and plywood options.
Building The Diffuser Frame And Wells
Cut your stock into strips of equal width — 1.5 to 2 inches is standard. Each strip becomes a well divider, and the spaces between dividers are the wells.
Cut well bottoms to the calculated depths. Glue each bottom piece to the base of its well, then glue the divider strips on either side.
Work in sections: assemble 3-4 wells at a time, clamp until the glue sets (at least 30 minutes for wood glue), then add the next section. Rushing this step creates gaps that leak sound and weaken the structure.
Finish with a frame around the perimeter — it adds rigidity and hides any edge imperfections. The frame should be the same height as the tallest well divider so the front face is flush.
How Do You Build A Skyline Diffuser?
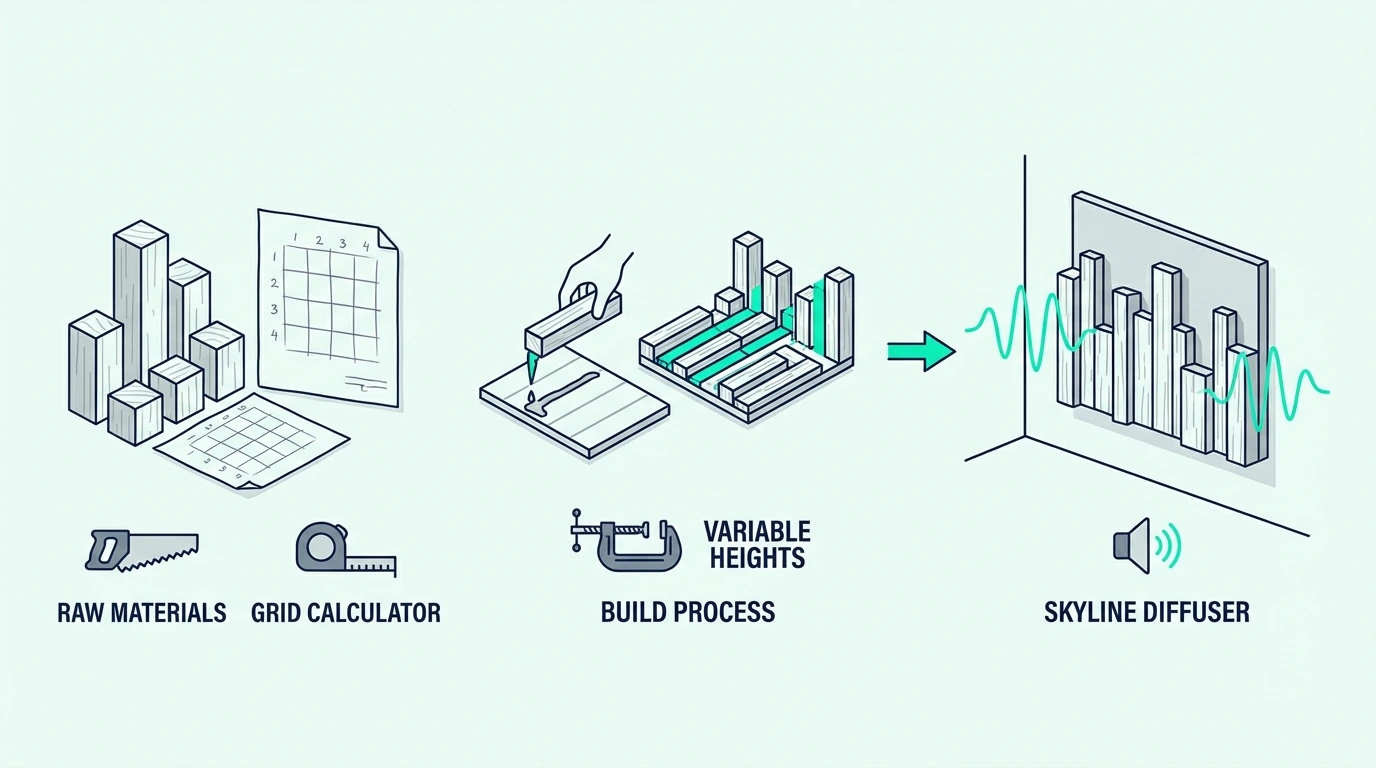
A skyline diffuser scatters sound using blocks of varying heights instead of wells — making it the more forgiving DIY option. Small cutting errors matter less because each block is independent.
Cutting And Arranging The Blocks
Cut square blocks (typically 2×2 inches) to varying heights using the same QRD calculator output — but interpret the depths as heights instead. The tallest blocks scatter the lowest frequencies.
Glue each block to a 3/4-inch plywood backboard using wood glue, pressing firmly and wiping excess from the edges. Let the full panel cure overnight before handling — blocks that shift during mounting will create uneven scatter.
Arrange the blocks on a flat backboard in a pattern that avoids clustering similar heights together. A randomized-looking arrangement scatters more evenly than organized rows.
The BXI Wood Sound Diffuser (2D Skyline) is a commercial example of this design — studying its block arrangement gives you a template for how varying heights should be distributed across the panel face.
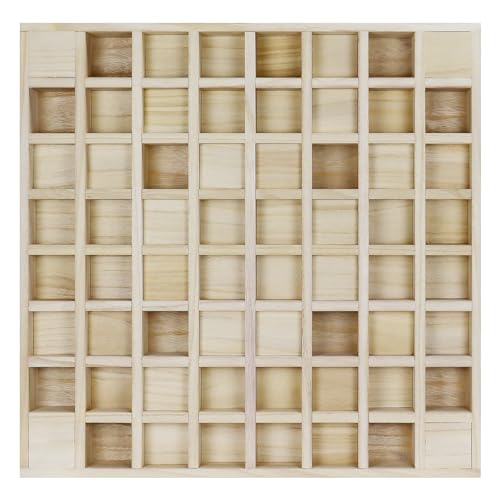
BXI Wood Sound Diffuser (2D Skyline)
Finishing And Mounting
Sand all surfaces with 120-grit, then 220-grit for a smooth finish. Two coats of satin polyurethane seals the wood and hardens the surface for maximum reflectivity.
Avoid thick paint or heavy stain — anything that fills the gaps between blocks reduces the effective height differences and degrades the scatter pattern. A clear coat preserves the wood grain while maximizing acoustic performance.
If you want a wood-slat aesthetic without the build complexity, the Art3d Wood Slat Acoustic Panels deliver mid-high frequency scatter as a ready-made alternative.
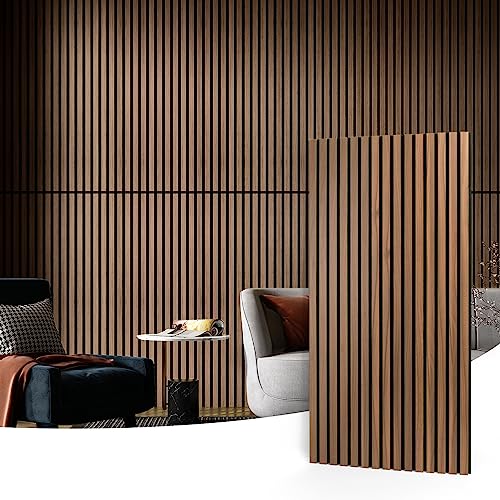
Art3d Wood Slat Acoustic Panels
Mount the finished panel on the rear wall using French cleats or Z-brackets — both distribute the weight evenly and allow easy removal for repositioning. For detailed mounting methods on different wall types, our diffuser hanging guide covers drywall, concrete, and ceiling installation.
The Bottom Line
A QRD build requires more precision but delivers mathematically optimal scattering. A skyline build is faster and more forgiving — ideal for first-time builders.
Either way, the material cost is a fraction of commercial options. Use 3/4-inch Baltic birch for budget builds, oak or maple for premium results, and always seal the surface with polyurethane.
For how diffusion fits alongside absorption in a full room treatment plan, that guide covers the balance between the two approaches.
For where to place your finished panel, that guide covers the rear wall, ceiling, and first reflection point options. And if you decide building isn’t for you, our best sound diffusers roundup compares the top pre-built alternatives.
Frequently Asked Questions
What is the best wood for a sound diffuser?
Hard maple and white oak for maximum reflection quality — both score above 1,300 on the Janka hardness scale. For budget builds, 3/4-inch Baltic birch plywood delivers excellent results at roughly a third of the cost.
How much does it cost to build a DIY diffuser?
A single 24×24-inch QRD panel in Baltic birch plywood costs roughly a third of a commercial equivalent. The same panel in hardwood runs about half the retail price.
The savings multiply fast when you need three or four panels to cover a rear wall.
How to make a QRD sound diffuser?
Use an online QRD calculator to generate well depths, cut wood strips to those depths, and glue them into a frame with consistent-width dividers. The step-by-step process is covered in the build section above — the critical detail is cutting wells to the exact calculated depth.