1 Inch vs 2 Inch Acoustic Panels: Which Thickness Do You Need? [2026]
1 inch vs 2 inch acoustic panels sounds like a small upgrade on paper—yes, 1-inch panels can tame harsh reflections, but they often leave the low-mid “box” untouched.
If your vocals still sound like they’re trapped in cardboard, that’s usually 250–500Hz energy ping-ponging between hard surfaces. Thin panels can darken the room while that smear stays put.
Choose the right thickness and the room gets clearer without sounding dead. You’ll hear tighter speech, more readable guitars, and fewer EQ band-aids in post.
Start by treating the wall behind your mic (or the first-reflection points at your listening seat). From there, the quarter-wavelength rule makes the 2-inch case obvious—and shows when you should skip straight to 4-inch panels or bass traps.
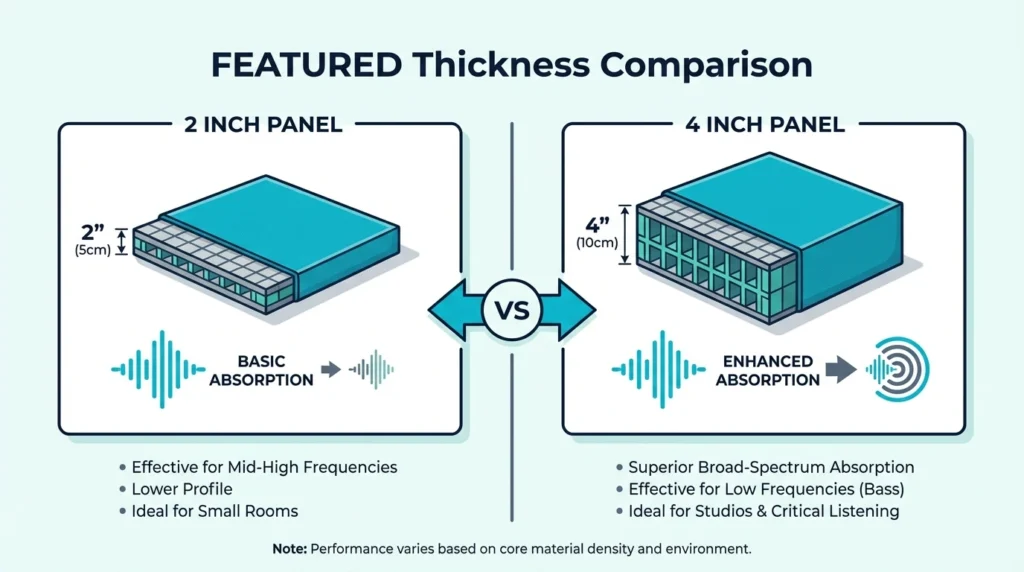
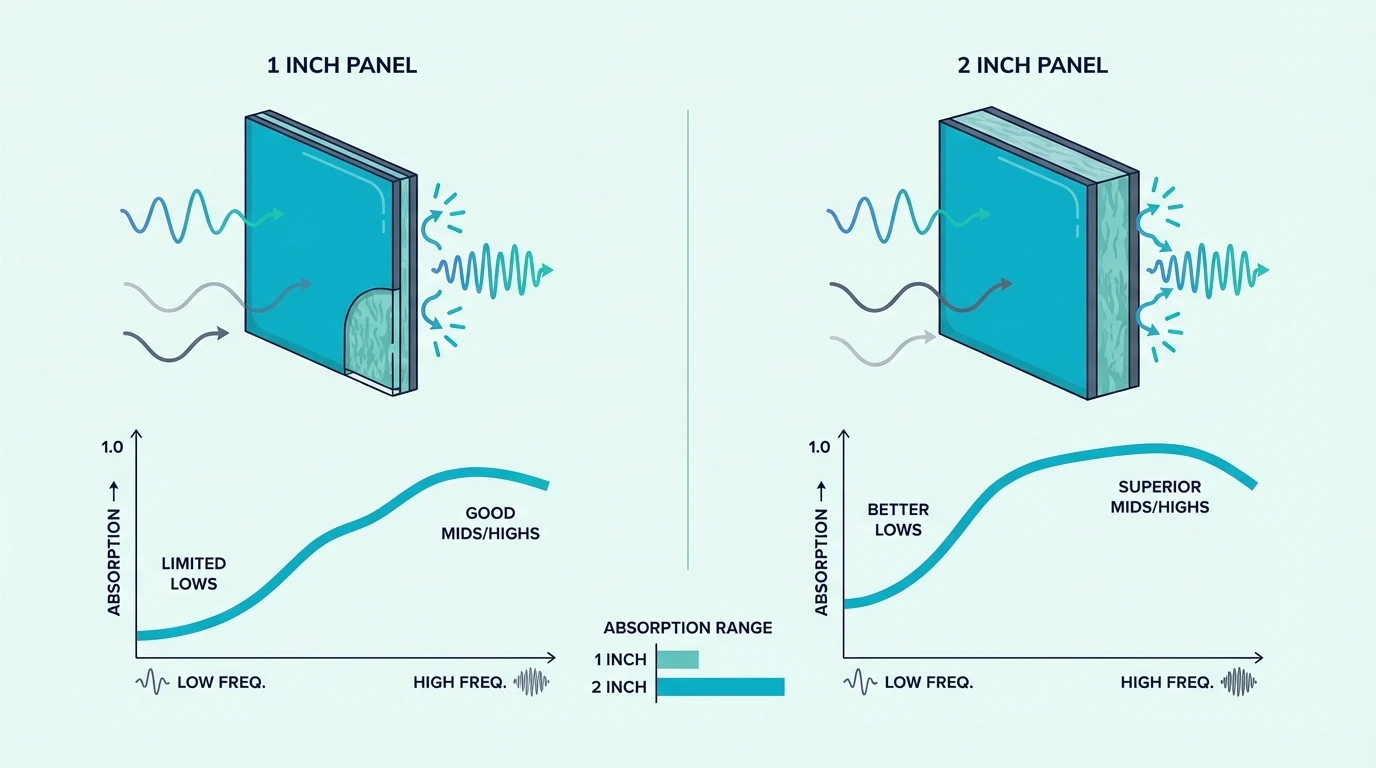
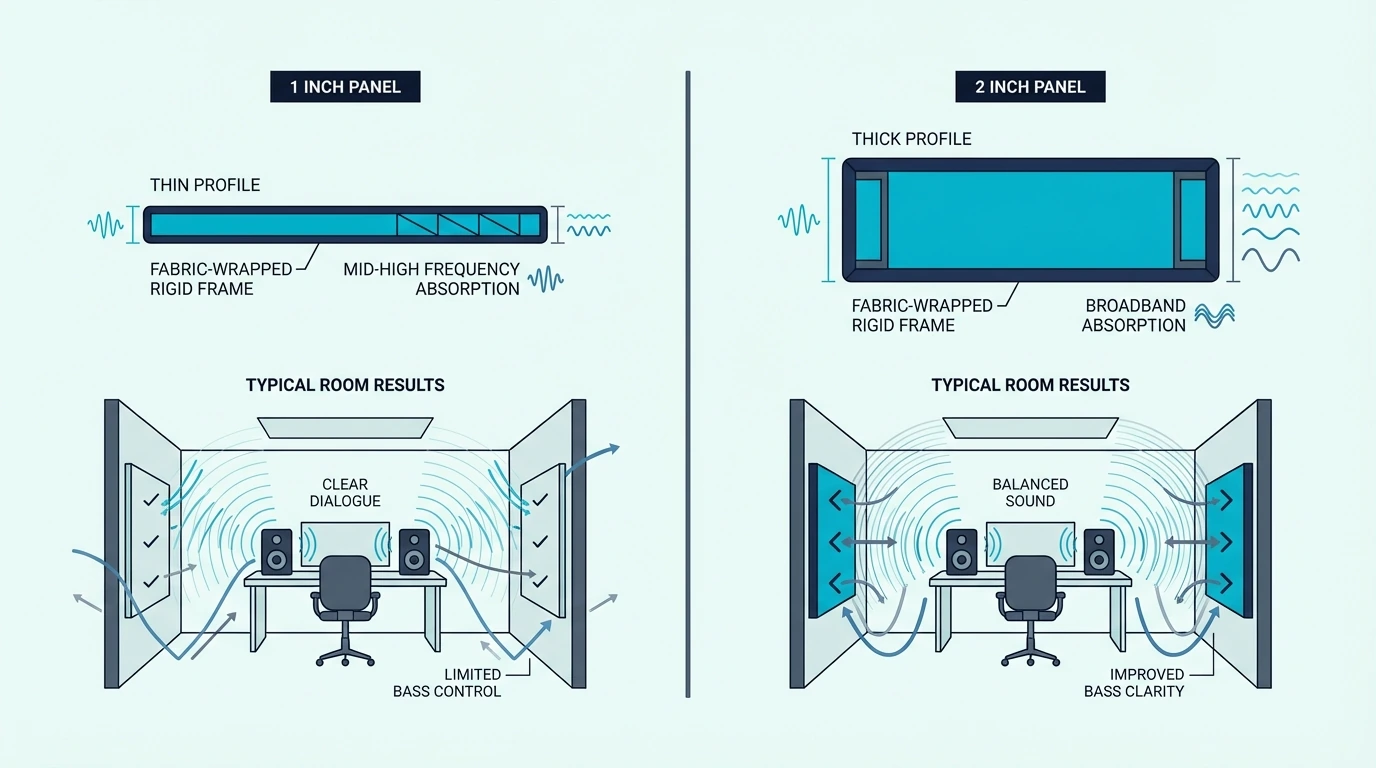
2-inch panels absorb frequencies down to approximately 250Hz, while 1-inch panels only work effectively above 500Hz. For most rooms, 2-inch is the sweet spot—it costs slightly more but delivers noticeably better treatment.
Neither thickness handles bass frequencies well; you need 4+ inches for low-end absorption.
How Does Panel Thickness Affect Sound Absorption?
Thickness is really a “how low can it go” question. Once you understand the quarter-wavelength rule, the 1-inch vs 2-inch decision stops being guesswork and starts being predictable.
The Quarter-Wavelength Principle
Sound absorption happens when moving air rubs through fibers and converts a little motion into heat. Mounted on a wall, that air motion peaks roughly one-quarter wavelength away from the surface.
At lower frequencies, that distance is big, so a 1-inch panel never reaches the high-velocity zone. A lot of that energy passes through the shallow material, hits the wall behind it, and comes right back into the room.
A 2-inch panel puts more material in play where midrange energy is actually moving, which is why the upgrade is so audible on voice and instruments. You’re not just absorbing “more” sound—you’re absorbing lower.
Thickness isn’t the only factor, though. The core material inside the panel affects how efficiently each inch absorbs, especially once you start chasing lower frequencies.
Cost Difference
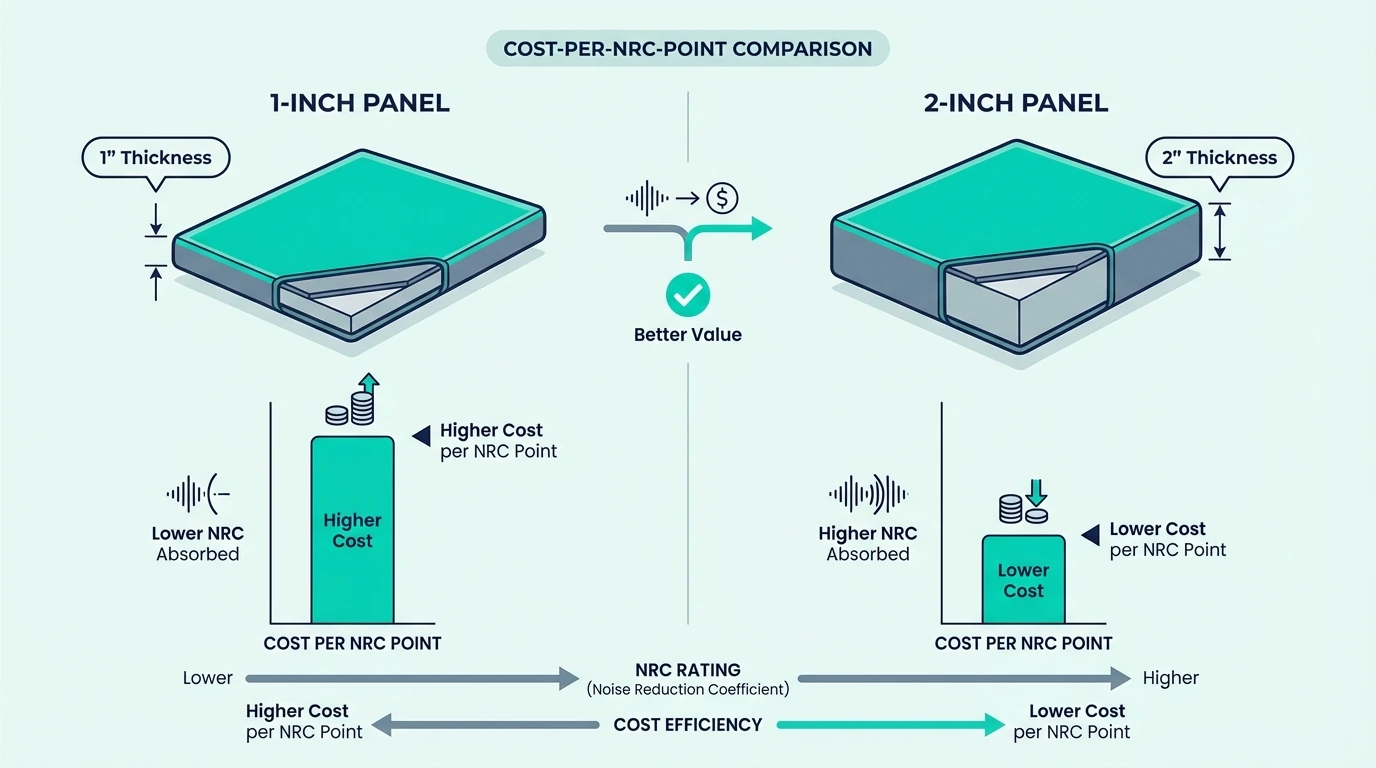
That extra material depth also changes the math on your budget. Expect 2-inch versions of the same panel to cost about 20-40% more.
The price jump feels bigger than it is because the result jump is bigger too.
On paper, a 1-inch panel might sit around 0.65 NRC and a 2-inch version around 0.85 or higher. The important part isn’t the NRC bump—it’s the extra reach into the low-mids.
For a low-cost proof-of-concept, the 2-Pack Fabric Acoustic Panels are a reasonable starting point. Most rooms still feel noticeably more “finished” once you move to a true 2-inch panel.
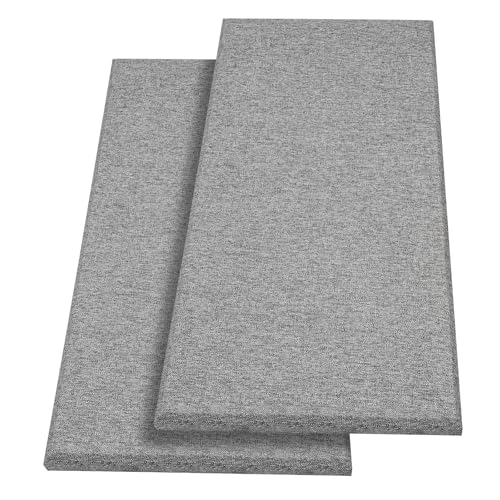
2-Pack Fabric Acoustic Panels
What Frequencies Can 1-Inch and 2-Inch Panels Handle?
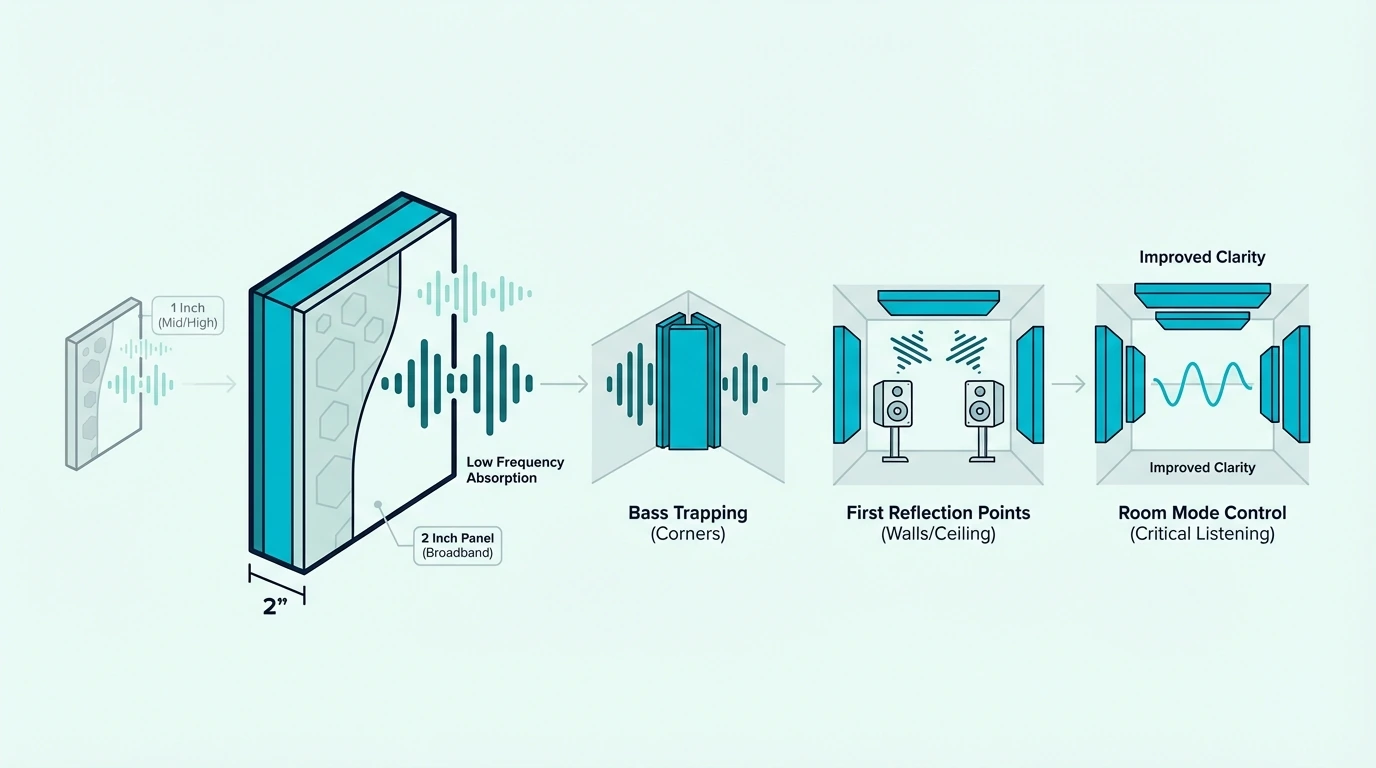
A practical way to choose is to look at the lowest frequency each thickness can realistically touch. Here’s what 1-inch, 2-inch, and bass treatment each cover in plain numbers.
1 Inch: High Frequencies Only
One-inch panels absorb effectively above roughly 500Hz. That’s the treble and upper-mid content that makes rooms sound “splashy” or harsh.
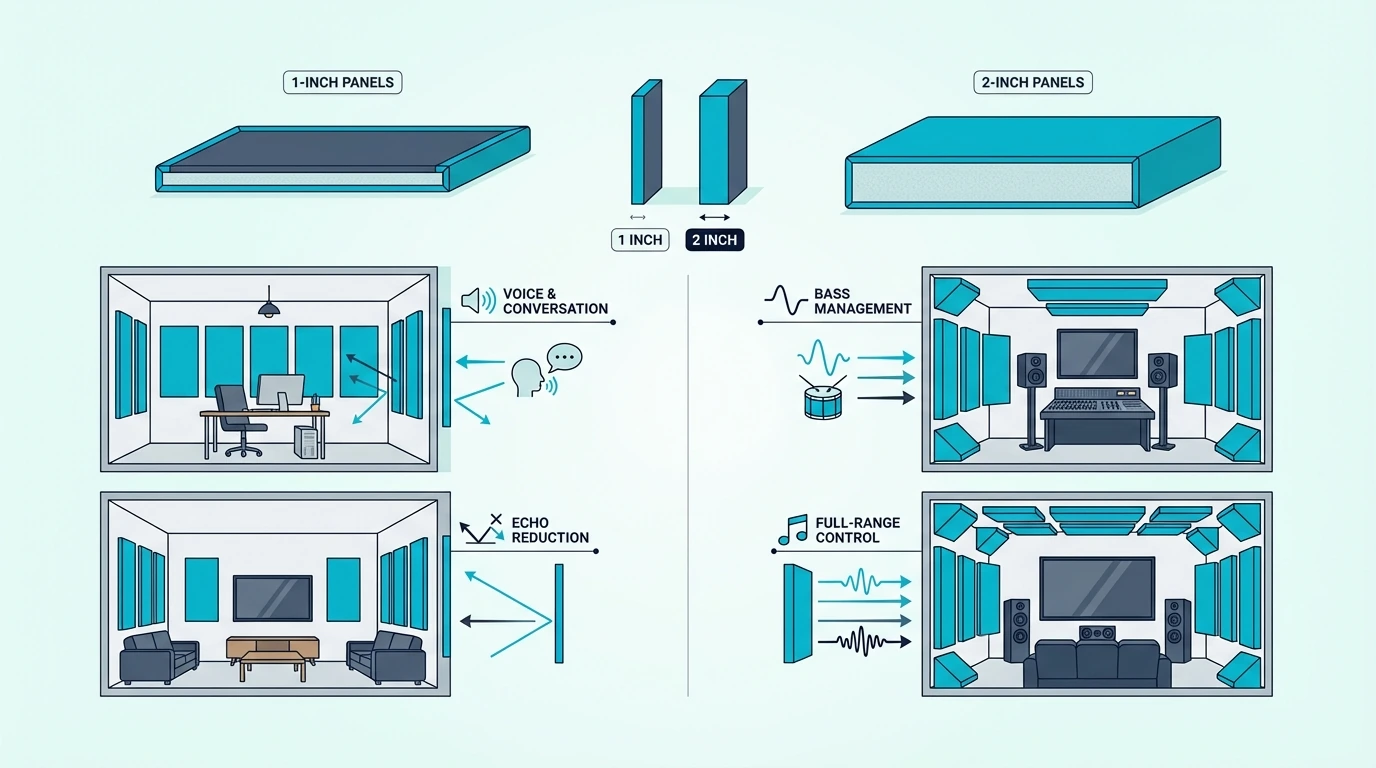
For speech clarity in conference rooms, 1-inch panels can do a lot of good because intelligibility lives up high. For music, though, you can end up dulling the sparkle while leaving the low-mid “box” untouched.
2 Inch: Mid + High Frequencies
That 500Hz floor is exactly where 2-inch panels pick up the slack. Doubling the thickness pushes absorption down to about 250Hz—catching voice fundamentals, guitar body, piano midrange, and the punch of drums that 1-inch panels let walk right past.
The audible difference is bigger than the numbers suggest, because those low-mids are the frequencies that cause muddiness. Rooms treated with 2-inch panels tend to sound controlled instead of just quieter.
The UMIACOUSTICS 2-Inch Acoustic Panels (4-Pack) hit that sweet spot for most home studios and listening rooms.
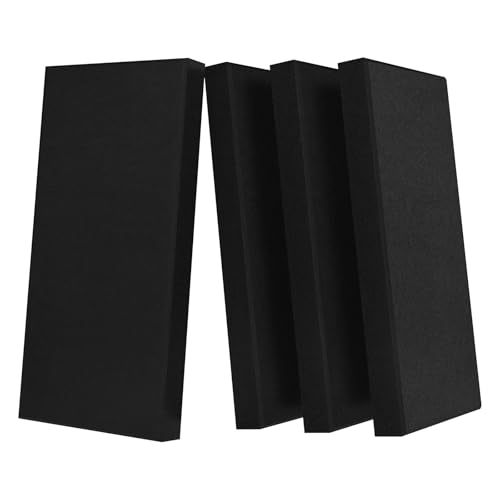
UMIACOUSTICS 2-Inch Acoustic Panels (4-Pack)
Neither: Bass (Need 4”+)
So 1-inch handles highs, 2-inch reaches the mids—but neither one touches bass. Anything below roughly 200Hz passes through both thicknesses like they aren’t there, and you’ll need 4-inch panels, bass traps, or both to catch it.
If bass buildup is your main problem, adding more 1-inch or 2-inch panels won’t solve it. The 2-inch vs 4-inch acoustic panels comparison covers what happens when you step up to real bass-range thickness.
Many rooms hide bass problems under the obvious flutter echo. That “boom” that makes speech sound chesty and mixes feel cloudy often lives in the low end that standard panels can’t reach.
Get Studio Tips Weekly
Join 5,000+ creators getting acoustic treatment advice every week.
No spam. Unsubscribe anytime.When Does 1-Inch Acoustic Panel Treatment Make Sense?
One-inch panels aren’t “bad”—they’re just narrow-purpose. The budget case is real, but so are the limits you’ll hit once you move beyond basic flutter-echo control.
Budget Treatment
When budget is the primary constraint, 1-inch panels offer a cheaper way to get a before-and-after baseline. You can cover more wall area for the same money and learn quickly what’s actually bothering you in the room.
In bedrooms where the visual vibe matters, the thinner profile can be a bonus — several bedroom-friendly acoustic panels are designed to stay slim while still taming flutter echo.
Limitations to Consider
But there’s a catch to that budget approach: you’ll usually need more panels to get the same audible change you’d get from fewer 2-inch panels. And if the room still feels muddy, you can’t “upgrade” the inches—you have to replace or supplement.
For critical listening spaces like studios and home theaters, 1-inch panels rarely go far enough. Those rooms are sensitive to the same low-mid mess that 2-inch panels are designed to tame.
Is the 2-Inch Upgrade Worth the Investment?
Once you know what 1-inch can’t do, the upgrade question gets easier. The price difference is often just a few dollars per panel, and the improvement lands right where most rooms sound worst.
For the Budget-Minded Creator
In a typical 10×12 room, swapping 1-inch for 2-inch panels can reduce mid-range decay time (RT60) by an additional 25-30% for roughly the same installation effort. If your recordings still sound “boxy” after hanging 1-inch panels, it’s usually because the low-mids are untouched.
In that situation, four well-placed 2-inch panels at first reflection points beat twelve 1-inch panels scattered everywhere. Strategic depth beats random coverage when you’re fighting mid-range mud.
Why Are 2-Inch Acoustic Panels the Professional Standard?
In studios, 2 inches is the default because it’s the first thickness that consistently sounds like “treatment,” not just “less brightness.” It’s also the point where your total project cost can drop because you need fewer panels to get a real change.
Better Performance
That “treated” sound happens because 2-inch panels finally reach the midrange where most room problems live. Flutter echo and harshness are obvious, but the low-mid buildup is what makes audio feel amateur.
For recording studios and music rooms, the UMIACOUSTICS Large 2-Inch Panels (2-Pack) deliver the depth and coverage you want at first reflection points.
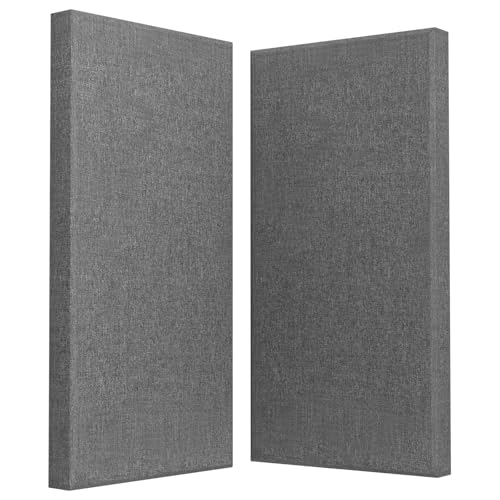
UMIACOUSTICS Large 2-Inch Panels (2-Pack)
Worth the Extra Cost?
That midrange coverage is why the price premium almost always pays for itself. The 20-40% bump buys absorption down to about 250Hz, a higher NRC (often 0.85+ vs ~0.65), and fewer panels to reach the same audible change.
Four 2-inch panels at first reflection points can outperform eight scattered 1-inch panels — so even when the per-panel cost is higher, total project cost often lands in the same range.
Can an Air Gap Make Thin Panels Perform Like Thick Ones?
Here’s the practical twist on the quarter-wavelength rule: distance from the wall matters. If you already own thin panels, adding an air gap is the fastest way to make them behave “thicker” without rebuying everything.
Mounting panels with space behind them shifts the absorption curve lower—and the method is simpler than it sounds.
Why Air Gaps Mimic Thickness
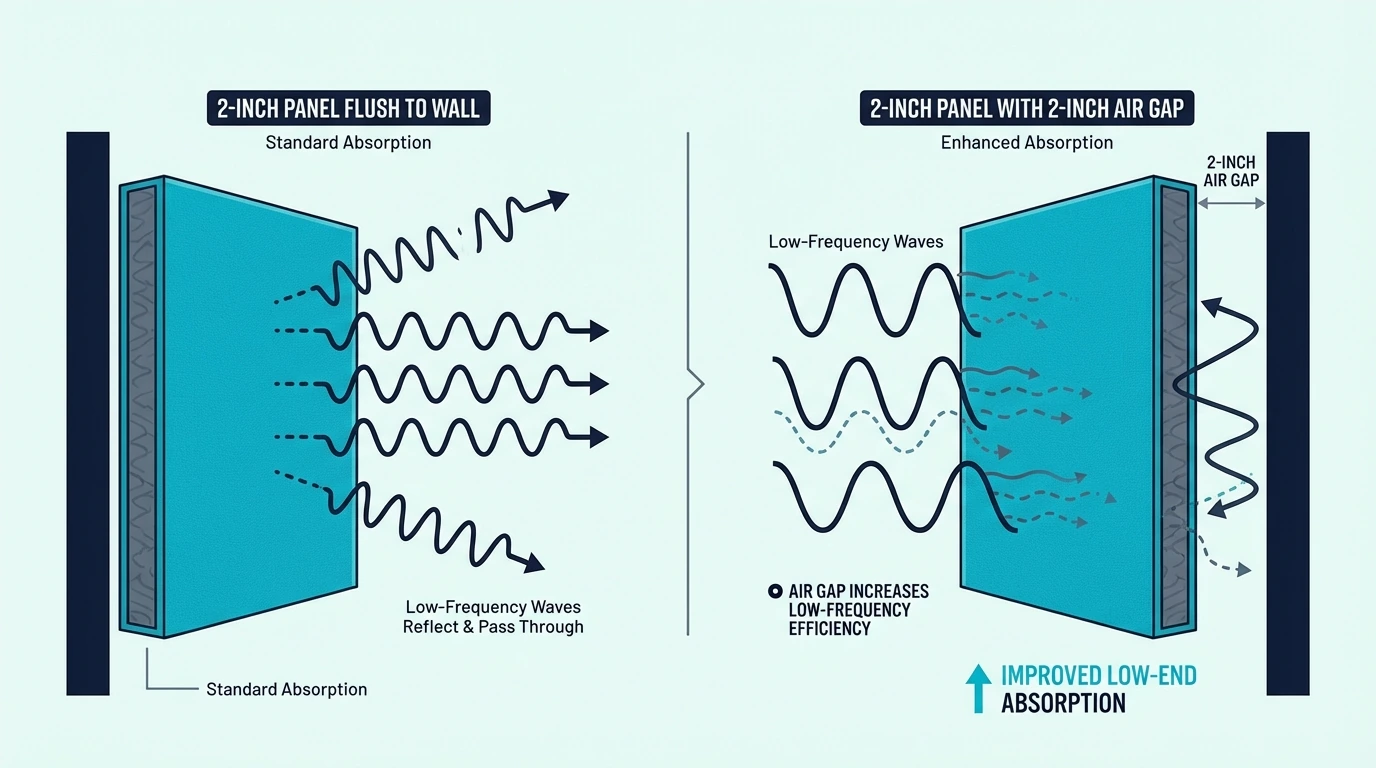
Sound waves behave differently near boundaries depending on distance. When a panel is flush against drywall, it sits in a pressure zone where air isn’t moving much.
Pull the panel off the wall and you move it closer to the velocity zone where absorption actually happens.
A 2-inch panel with a 2-inch air gap can often behave closer to a thicker panel in the 250Hz–500Hz range. That’s the same low-mid zone this whole article keeps circling back to.
Practical Spacing Methods
And practically speaking, you don’t need special hardware to create that gap. Wooden standoffs or simple corner spacers can hold the panel off the wall without making the install complicated.
Air gaps matter most at first reflection points, where small improvements are obvious. If you’re treating side walls in a small room, prioritize air gaps for thicker panels first.
How Do You Choose the Right Thickness for Your Room?
The answer changes depending on how much the room’s acoustics matter to the end result. A recording studio punishes sloppy treatment harder than a home office does, so the thickness bar moves with the stakes.
Recording and Mixing Studios
Studios sit at the top of the sensitivity scale — every low-mid reflection that sneaks past your panels ends up baked into the recording or fooling your monitor mix. Two-inch panels are the minimum here.
The BXI High-Density Acoustic Panels (4-Pack) use self-adhesive backing, which makes first-reflection-point installs fast — especially in rental studios where drilling isn’t an option. The recording studio acoustic panels roundup has more options for small and mid-size rooms.
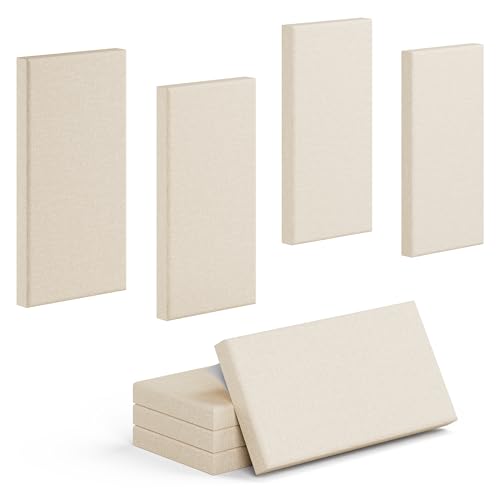
BXI High-Density Acoustic Panels (4-Pack)
Home Theaters
The same low-mid smear that ruins a studio mix also makes movie dialogue sound chesty and muddy — so home theaters land in the same 2-inch camp, just with a different placement priority. First reflections and the rear wall matter most for dialog clarity and surround imaging.
Six to eight 2-inch panels at those key spots usually deliver the biggest audible jump. Action scenes and music expose the weakness fastest: bass-heavy moments smear into the midrange when untreated walls bounce reflections back.
A dedicated home theater acoustic panel setup can keep the room lively while still taming those problem reflections.
Home Offices and Casual Spaces
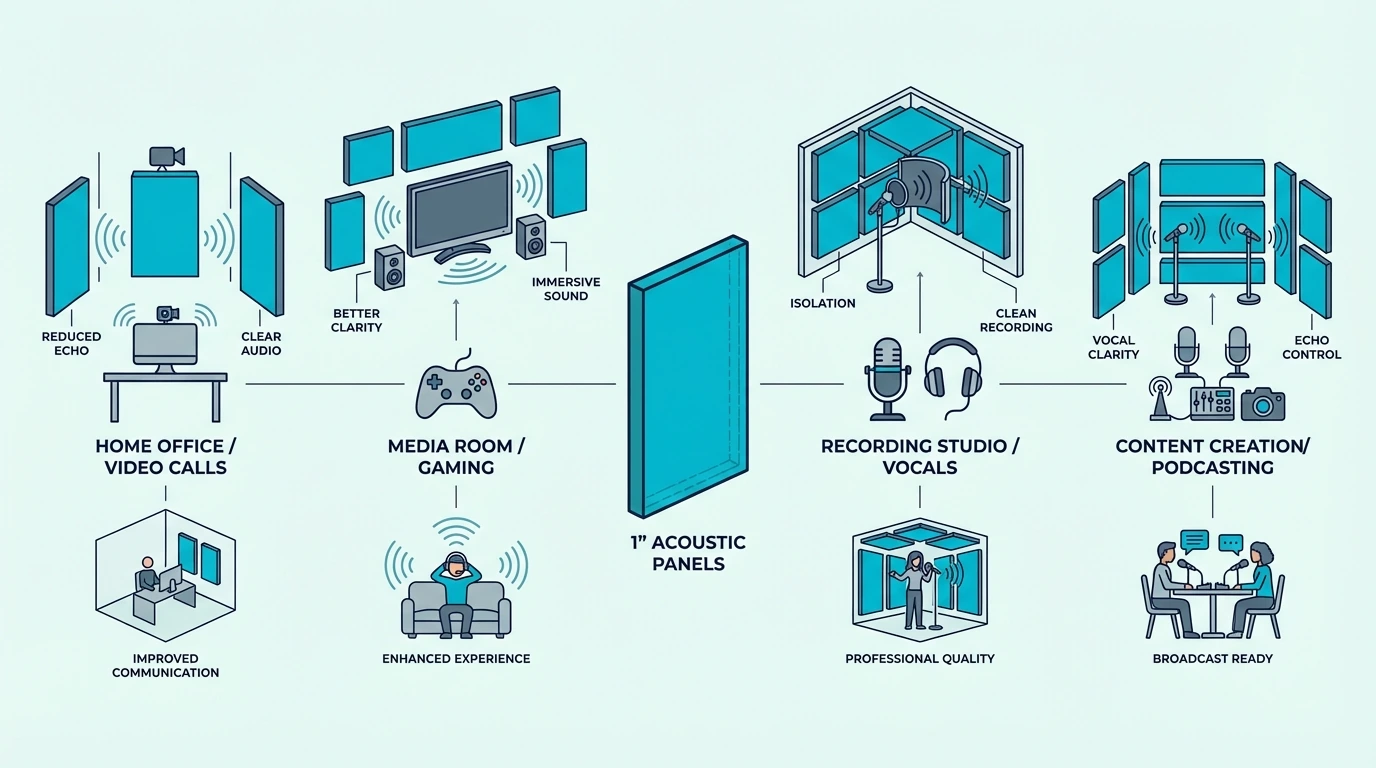
Unlike studios and theaters, casual rooms don’t punish you for missing the low-mids — most of the annoyance on Zoom calls is high-frequency “zing” bouncing off bare walls, and 1-inch panels handle that fine. Step up to 2 inches if the room is large, tall, or mostly hard surfaces.
One or two panels behind your monitor and one on the nearest side wall is usually enough to take the fatigue out of long calls. The TONOR 2.36-Inch Acoustic Panels (4-Pack) split the difference at 2.36 inches — enough extra depth to catch some low-mids without the bulk of a full 2-inch fiberglass panel.

TONOR 2.36-Inch Acoustic Panels (4-Pack)
How Do 1-Inch and 2-Inch Panels Compare at a Glance?
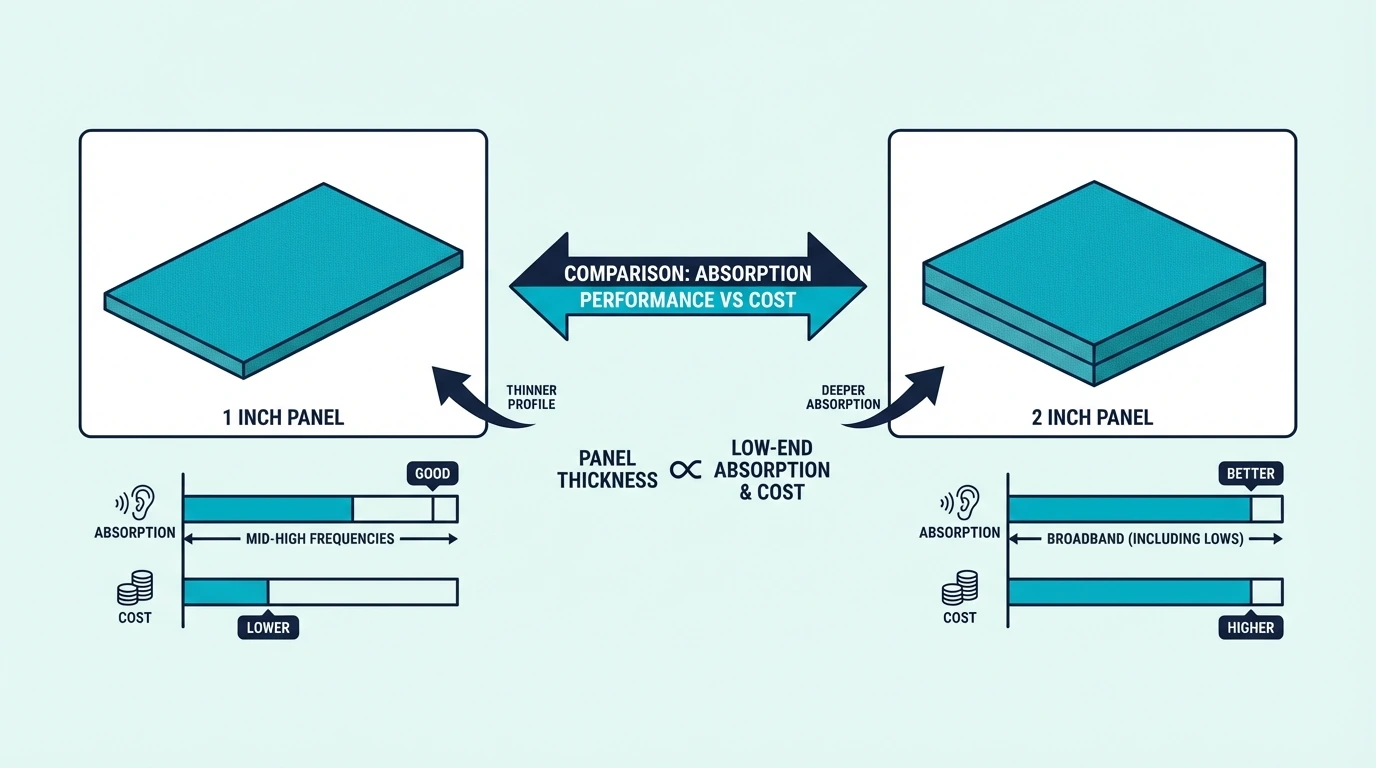
Here’s the cheat sheet. It’s the same story as the sections above, condensed into the decision points you’ll actually use.
| Factor | 1 Inch | 2 Inch |
|---|---|---|
| Effective Range | 500Hz+ | 250Hz+ |
| Typical NRC | 0.60-0.70 | 0.80-0.95 |
| Wall Projection | Minimal | Moderate |
| Cost | Lower | 20-40% more |
| Best For | Offices, decoration | Studios, theaters, serious treatment |
| Bass Absorption | None | None (need 4”+) |
The biggest jump in the table is the NRC row—going from 0.65 to 0.85+ means the panel absorbs roughly 30% more energy per square foot. That gap is what separates “slightly less echo” from “the room actually sounds treated.”
Both columns show “None” for bass absorption, which is the one thing no amount of 1-vs-2 comparison can fix. If low-end rumble is your main complaint, skip this debate and look at 4-inch panels or corner bass traps instead.
The Bottom Line
For most real rooms, 2-inch panels are the safer bet. They reach into the low-mids where “roomy” recordings and hollow dialog live, so the space sounds controlled instead of just darker.
Choose 1-inch panels when you need a slim profile, you’re prioritizing speech clarity, or the treatment is mostly décor-driven. Just go in knowing you may need more coverage—or a later upgrade—if the room still feels muddy.
When you’re comparing products, don’t just chase marketing claims. Look at NRC ratings and think about panel spacing, because placement can matter as much as thickness.
The best acoustic panels roundup covers more options if you’re still narrowing down. And if you want absorption without the studio look, acoustic slat panels and art-style acoustic panels blend treatment into the room’s décor.
Frequently Asked Questions
Can You Stack Panels for More Thickness?
Technically yes, but it’s usually not the best use of money or space. Stacking layers can create weird gaps between panels that behave unpredictably.
If you need more absorption than your current panels provide, buying dedicated 2-inch panels is usually more effective than doubling up 1-inch panels. The cost difference rarely justifies the compromise.
The one exception is an air gap behind the panel (not between layers), and the panel installation guide has several mounting options that keep the gap clean and consistent.
What About 3 or 4 Inch Panels?
Thicker panels follow the same pattern: more thickness means lower frequency absorption. Four-inch panels can reach down to roughly 125Hz, so they start doing real work in the bass.
The downside is wall projection and cost, which is why 4-inch panels are often used selectively. For most people, 2-inch panels at first reflections plus dedicated corner bass traps beats covering the whole room in 4-inch material.