Where To Put Sound Diffusers? (The Spots That Actually Matter)
Where to put sound diffusers matters more than which diffuser you buy — but only if you understand the one variable most people overlook: distance. A diffuser needs enough space between the panel and your ears for the scattered reflections to separate, and putting one in the wrong spot can make your room sound worse than leaving the wall bare.
The most common mistake is treating diffusers like absorption panels and sticking them at the nearest problem spot. Absorption works up close because it removes energy on contact, but diffusion needs room to breathe.
Mount a diffuser too close to your listening position and the scattered reflections pile up into a blurred mess instead of smooth ambience. Get the placement right, and the same panel transforms your room from echoey and harsh to open and natural.
Below, you’ll see the four key positions — rear wall, first reflection points, ceiling, and how to find them in your specific room — so you know exactly where each panel goes and why.
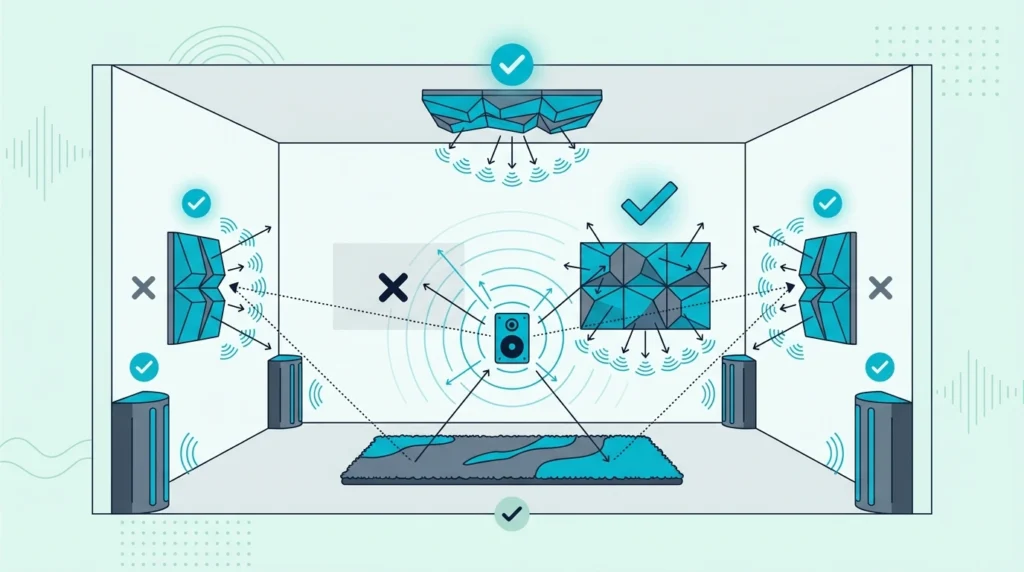
To place sound diffusers effectively, start with the rear wall (at least 2-3 meters from your listening position), consider the ceiling above your mix position for flutter echo, and leave first reflection points for absorption unless you prioritize spaciousness over pinpoint imaging. Use the mirror trick to find reflection points and the clap test to confirm flutter echo before mounting anything.
Where To Put Sound Diffusers — And Why Does Placement Matter?
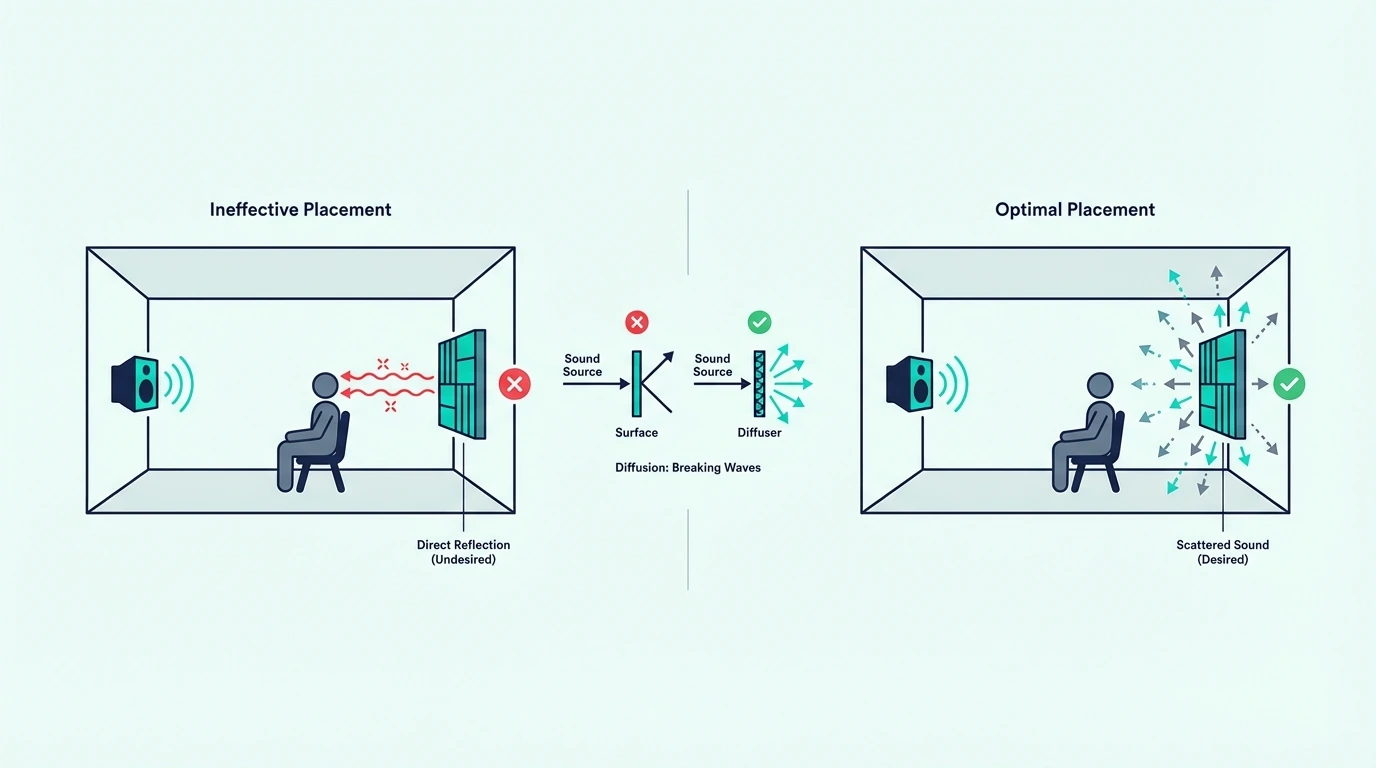
You could buy the most precisely engineered QRD diffuser on the market — but if it’s 3 feet from your head on the rear wall, the scattering pattern collapses before it reaches your ears. Placement isn’t a bonus step; it’s the difference between a panel that works and expensive wall art.
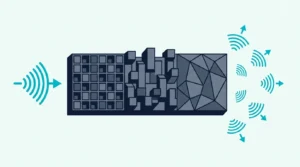
When sound hits a diffuser, the wells or blocks redirect reflections at different angles and different times. Your brain needs those scattered reflections to arrive with enough time separation (roughly 15-20 milliseconds apart) to perceive them as ambience rather than a distinct echo.
Distance creates that separation. Too close, and the reflections arrive almost simultaneously — your ears hear a smeared version of the original reflection, not smooth diffusion.
Too far isn’t usually a problem in home-sized rooms. Too close is the number one reason people think their diffuser “doesn’t work.”
If you’re still building your understanding of what a sound diffuser actually does, start there — placement only matters once you understand the mechanics.
Where Do Diffusers Go On The Rear Wall?
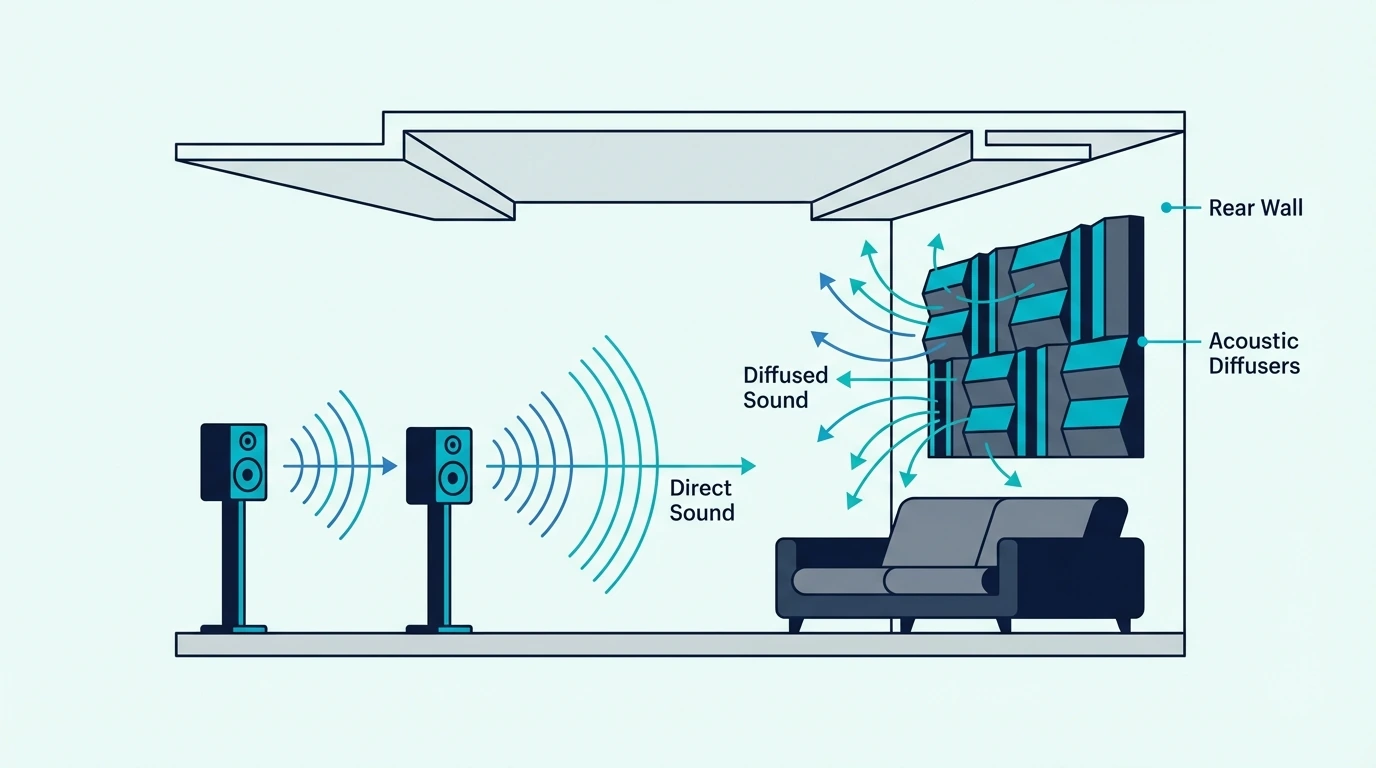
The rear wall is where most diffusers belong — and where most studios install them first. Sound travels from your speakers to the back wall and returns as a delayed reflection that muddies your direct sound.
A diffuser on that wall scatters the bounce so it arrives as ambience instead of a focused echo.
The Live-End/Dead-End Layout
Professional studios have used the live-end/dead-end (LEDE) approach since the 1980s, and it remains the gold standard for control room acoustics. The front wall — behind the speakers — gets heavy absorption to kill early reflections that would smear the stereo image.
The rear wall gets diffusion instead. Scattered reflections from behind you add a natural sense of space without creating discrete echoes that interfere with what you’re hearing from the speakers.
The BXI Wood Sound Diffuser (2D Skyline) is purpose-built for rear-wall placement — the varying block heights scatter reflections across both horizontal and vertical planes instead of bouncing them straight back at the listener.
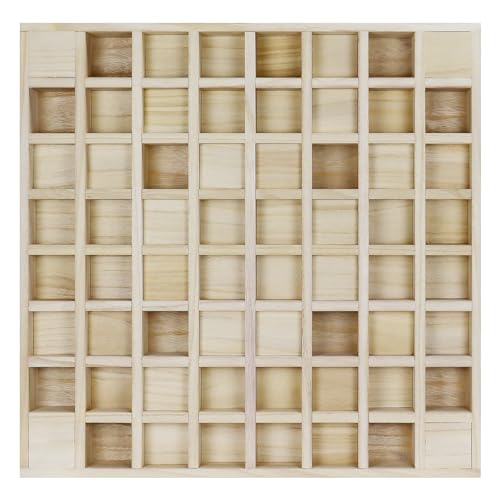
BXI Wood Sound Diffuser (2D Skyline)
This layout works because it gives your brain two distinct signals: clean, direct sound from the front (where absorption prevents interference) and diffuse, scattered energy from behind (where the room stays lively). The contrast between dead and live ends is what makes a well-treated room feel both precise and natural at the same time.
Minimum Distance From The Listening Position
The critical number is 2-3 meters (roughly 7-10 feet) between your listening position and the diffuser on the rear wall. Below that distance, the scattered reflections don’t have enough travel time to separate properly.
A diffuser’s lowest effective frequency determines the longest wavelength it scatters. At 1 kHz, that wavelength is about 13.5 inches — the scattered reflections need at least 3 wavelengths of travel distance to fully separate.
At 2 meters, the math works for most mid-frequency diffusers. At 1 meter, even a well-designed panel produces reflections that arrive too close together — your ears hear a colored, comb-filtered version of the original sound instead of clean diffusion.
If your rear wall is less than 2 meters from your listening position, small-room diffusion strategies apply. In that case, absorption on the rear wall with diffusion on the ceiling may be a better layout.
Get Studio Tips Weekly
Join 5,000+ creators getting acoustic treatment advice every week.
No spam. Unsubscribe anytime.Should You Put Diffusers At First Reflection Points?
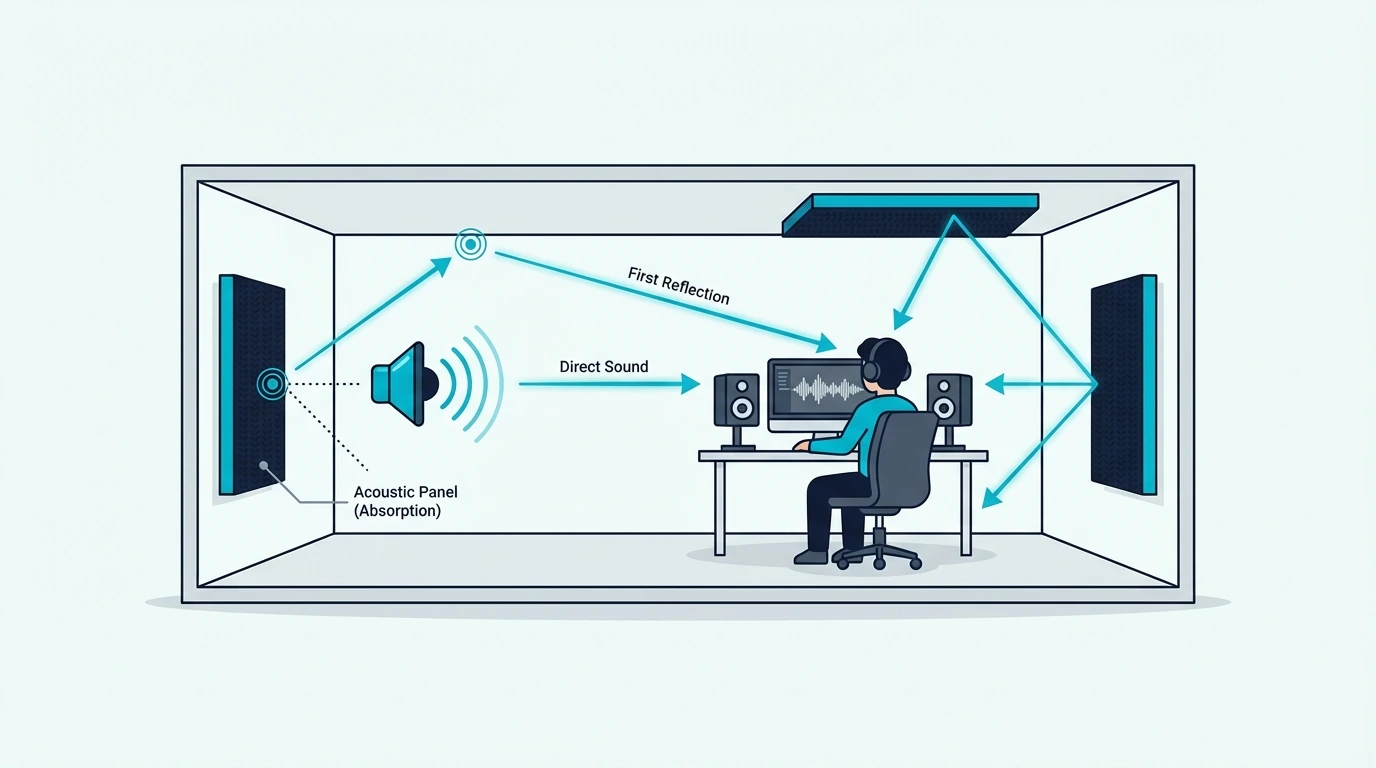
First reflection points — the spots on your side walls where sound bounces once between the speakers and your ears — are the most debated placement in room acoustics. The short answer: it depends on whether you prioritize imaging precision or spatial openness.
The Case For Absorption At First Reflections
Most mixing engineers absorb at first reflection points, and the reasoning is straightforward. A strong early reflection from the side wall arrives within 5-15 milliseconds of the direct sound and creates comb filtering — certain frequencies cancel, others reinforce, and your stereo image shifts depending on where your head is.
Absorption kills that reflection entirely. The result is tighter stereo imaging, more accurate panning, and a direct sound that reaches your ears without interference.
For critical mixing work where precision matters more than vibe, absorption at the first reflection points is the standard recommendation.
When Diffusion Works At First Reflections
Home theaters and dedicated listening rooms play by different rules. Surround sound systems are designed to create an immersive field, and absorbing every early reflection can make the space feel artificially narrow — like wearing headphones instead of sitting in a room.
Diffusing the first reflection scatters it across time and angle. You still get spatial information — the sense that sound is coming from around you — but without the harsh comb-filtering that a bare wall produces.
Some mastering engineers prefer this approach because it preserves the room’s natural character. It helps them evaluate how a mix will sound in real-world listening environments rather than in an artificially controlled bubble.
The practical rule: if you mix music, absorb at first reflections. If you master, listen critically, or watch movies, try diffusion at those spots first.
The diffuser vs absorber comparison breaks down the tradeoffs in detail.
Where Do Diffusers Go On The Ceiling?
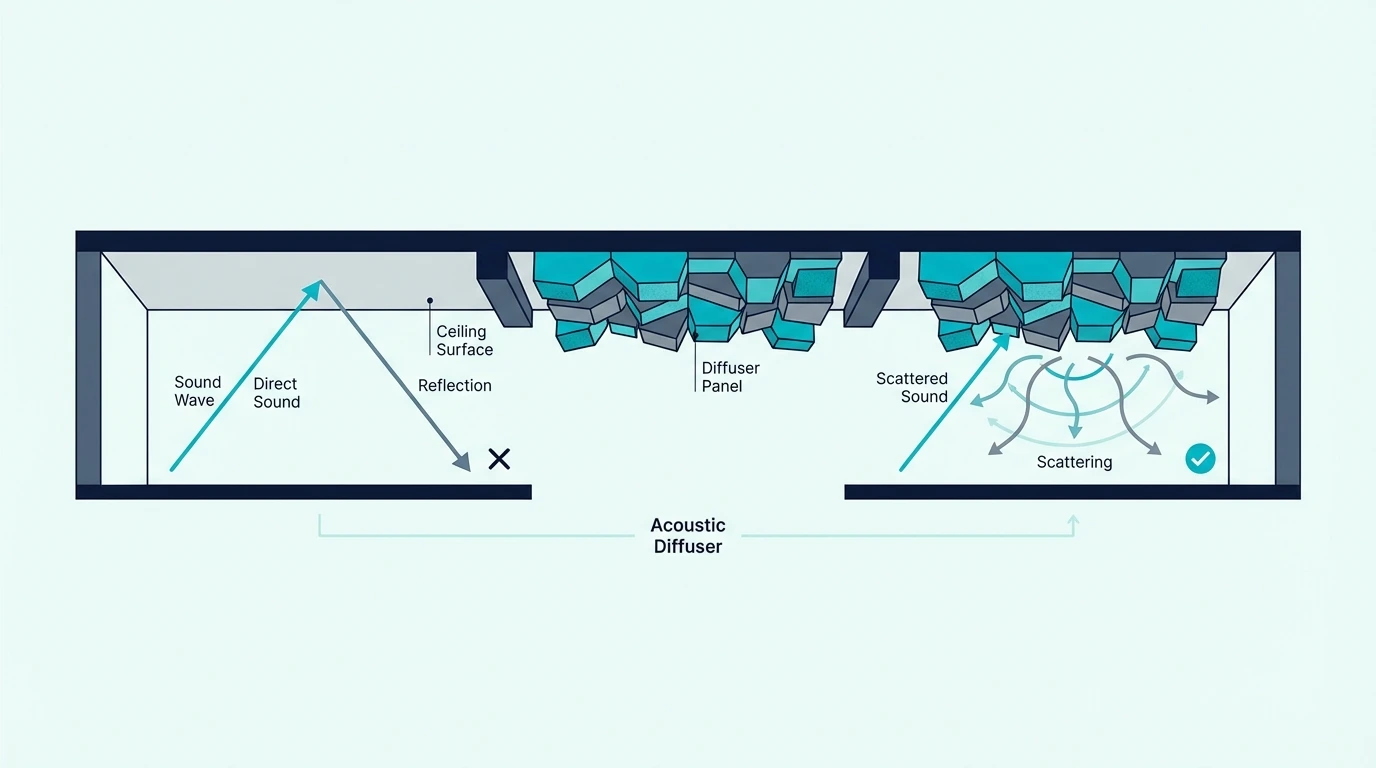
Ceiling reflections are the most overlooked problem in room acoustics. Sound bouncing between a hard ceiling and a hard floor creates vertical flutter echo — a metallic ringing that’s easy to miss because you’re focused on the walls.
When Ceiling Diffusion Helps
Flutter echo between the floor and ceiling is the clearest sign you need ceiling treatment. Clap your hands in the center of the room and listen for a high-pitched “zing” that sustains for a second or more — that’s the vertical bounce you’re hearing.
Rooms with ceilings below 9 feet are especially prone to this because the short distance means the reflections cycle rapidly. Absorption on the ceiling works, but it can make a low-ceilinged room feel oppressively dead.
Diffusion scatters the vertical bounce without removing energy, keeping the room open.
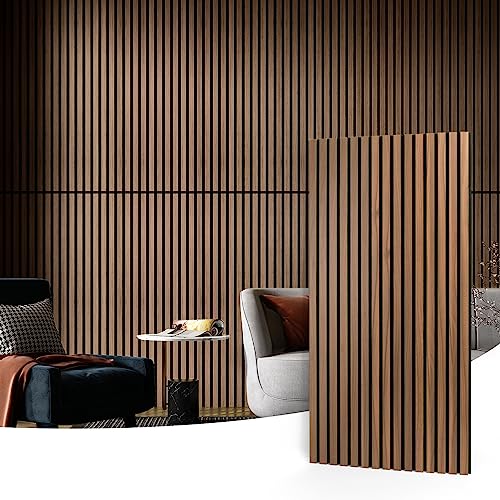
The Art3d Wood Slat Acoustic Panels work well for ceiling mounting because the slat pattern scatters sound across multiple angles — effective for breaking up the vertical flutter echo between floor and ceiling.
Art3d Wood Slat Acoustic Panels
Mounting Weight And Safety
Wood diffusers are heavy — a 2×2 foot panel can weigh 9-15 pounds, and you need multiple panels to cover an effective area. Ceiling mounting demands proper hardware anchored into joists or structural members, not just drywall anchors.
If your ceiling is drywall over standard 16-inch-on-center joists, use lag bolts or heavy-duty toggle bolts rated for the panel’s weight plus a safety margin. A panel falling from the ceiling during a session is a safety hazard and an expensive mistake.
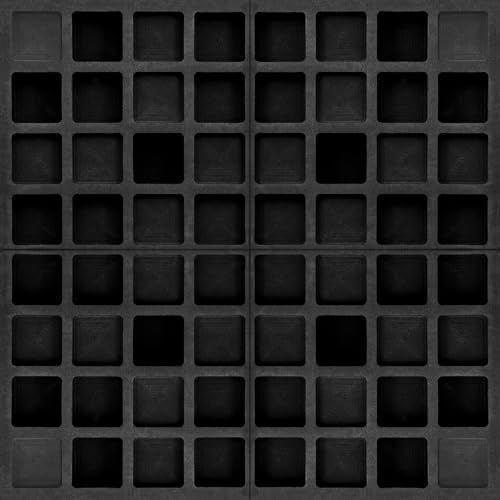
For lighter ceiling treatment, the EVA Acoustic Diffusers (4-Pack) weigh under a pound each and can be mounted with adhesive strips — a safer option for renters or rooms where drilling into joists isn’t practical.
EVA Acoustic Diffusers (4-Pack)
How Do You Find The Right Spots In Your Room?
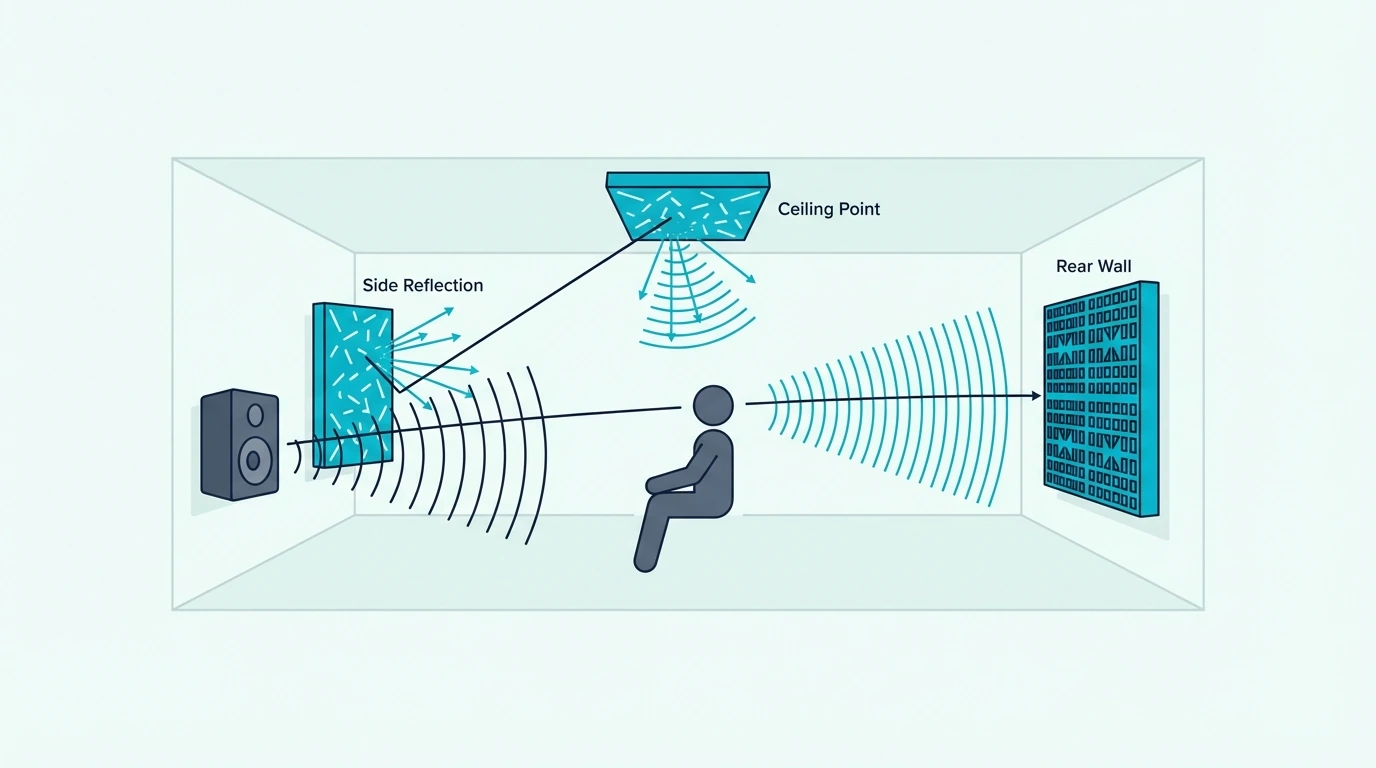
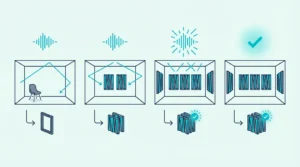
Knowing the theory is one thing — finding the actual spots on your walls and ceiling is what gets the panels mounted in the right place. Two simple tests locate every reflection point without any measurement equipment.
The Mirror Trick And Clap Test
The mirror trick finds first reflection points on your side walls. Sit in your listening position and have someone slide a flat mirror along the wall at ear height.
The exact point where you can see the speaker cone reflected in the mirror is your first reflection point — that’s where sound bounces from the speaker to your ear via the wall.
Mark both side walls (left and right speakers each create their own reflection point). Do the same for the ceiling by lying the mirror flat against it and looking up from your listening position.
The clap test finds flutter echo. Stand in the center of the room and clap your hands sharply once.
If you hear a metallic ringing or rapid “zing” that sustains, you have flutter echo between parallel surfaces — usually the front/rear walls or the floor/ceiling.
The wall pair that produces the flutter echo is where treatment is needed most. If the rear wall rings, that’s your first diffuser position.
If the ceiling rings, ceiling-mounted diffusion will solve it.
Recording Studio Example
A typical home studio setup follows a predictable pattern. The mixing desk faces the short wall, with speakers placed symmetrically and the listener sitting roughly one-third of the way into the room.
In this layout, the front wall (behind the speakers) gets 2-4 inch thick absorption panels covering the area between and around the monitors. Absorption at the first reflection points — one panel per side, centered at ear height — cleans up the early reflections.
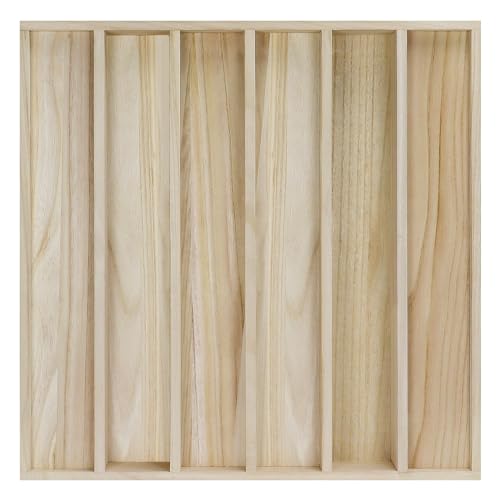
The rear wall gets 2-4 diffuser panels covering the area directly behind the listening position. The BXI Wood Sound Diffuser (1D QRD) panels work well here — mount two or three across the rear wall to scatter the delayed reflection into ambience. The goal is to scatter the rear reflection without absorbing it, so the room stays lively behind you while the front stays controlled.
BXI Wood Sound Diffuser (1D QRD)
If the ceiling produces flutter echo (common in rooms under 9 feet), a diffuser panel centered above the listening position handles it. For rooms that serve double duty — recording and mixing — understanding when to absorb vs diffuse keeps you from overtreating.
If you’re planning a DIY wooden diffuser build, knowing these positions first ensures you size and shape the panel for where it’s actually going.
The Bottom Line
Rear wall first, ceiling second, first reflection points only if your room and use case call for diffusion over absorption. That priority order covers 90% of rooms.
The distance rule is non-negotiable — keep at least 2 meters between your listening position and any diffuser. If your room is too small for that, move the diffuser to the ceiling or check our small-room guide for alternatives.
Start with the clap test and mirror trick before buying anything. They cost nothing and tell you exactly where your room’s problems live — which means every panel you mount goes in a spot that actually matters.
Frequently Asked Questions
Where to place diffusers in a recording studio?
The rear wall behind the listening position is the standard starting point — it’s the strongest delayed reflection in most control rooms. Center the diffuser panels at ear height, covering at least the width of your listening position.
If flutter echo persists after treating the rear wall, add a ceiling-mounted diffuser above the mix position.
Where to put a diffuser in a living room?
Mount diffusers on the wall behind the main seating area, facing the speakers or TV. This scatters the rear-wall reflection that causes the “echoey room” effect during conversation and music playback.
Avoid placing diffusers on the wall behind the speakers — that position benefits more from absorption.
How far should a diffuser be from the listening position?
At least 2-3 meters (7-10 feet) for the scattering pattern to develop fully. Below that distance, the scattered reflections arrive too close together and your ears perceive them as a colored, smeared reflection instead of smooth ambience.
If your room doesn’t allow that distance on the rear wall, try ceiling placement or side-wall diffusion where the geometry gives more space.