How to Write Music With a MIDI Keyboard – From First Note to Finished Song [2026]

How to write music with a MIDI keyboard is a question that sounds intimidating until you realize the process is simpler than most tutorials make it seem, but the real challenge is not technical setup — it is developing a workflow that turns random key presses into actual songs.
The mistake most beginners make is treating a MIDI keyboard like a piano they need to master before writing anything. You do not need piano skills to write music with a MIDI controller.
Beat makers write hit records with three-finger chords. Electronic producers write entire albums using single-note melodies and pad-triggered samples.
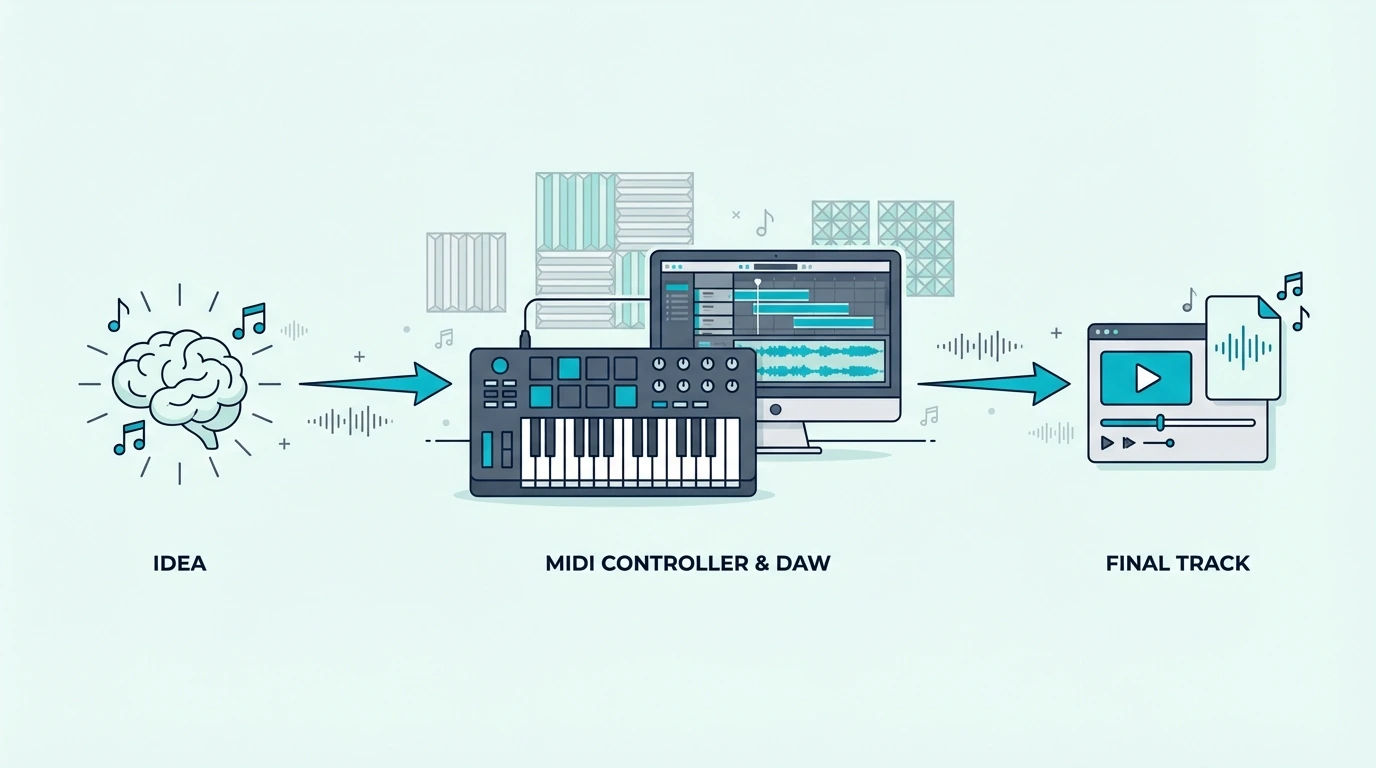
This guide walks through the complete music writing process using a MIDI keyboard — from connecting hardware and choosing sounds through recording your first ideas, building arrangements, and turning rough sketches into finished compositions. Every step assumes zero piano experience because the keyboard is just one part of the creative chain.
Below you will find the practical workflow for writing music with a MIDI keyboard, sorted from initial setup through arrangement techniques that transform simple ideas into complete songs.
To write music with a MIDI keyboard: connect to your DAW, load a virtual instrument, and start playing — even single notes count. Record short phrases (4-8 bars), layer them into sections (verse, chorus, bridge), and arrange sections into a complete song structure. You do not need piano skills. Velocity sensitivity captures musical expression automatically, and your DAW handles editing, quantization, and arrangement after recording.
How Do You Set Up a MIDI Keyboard for Songwriting
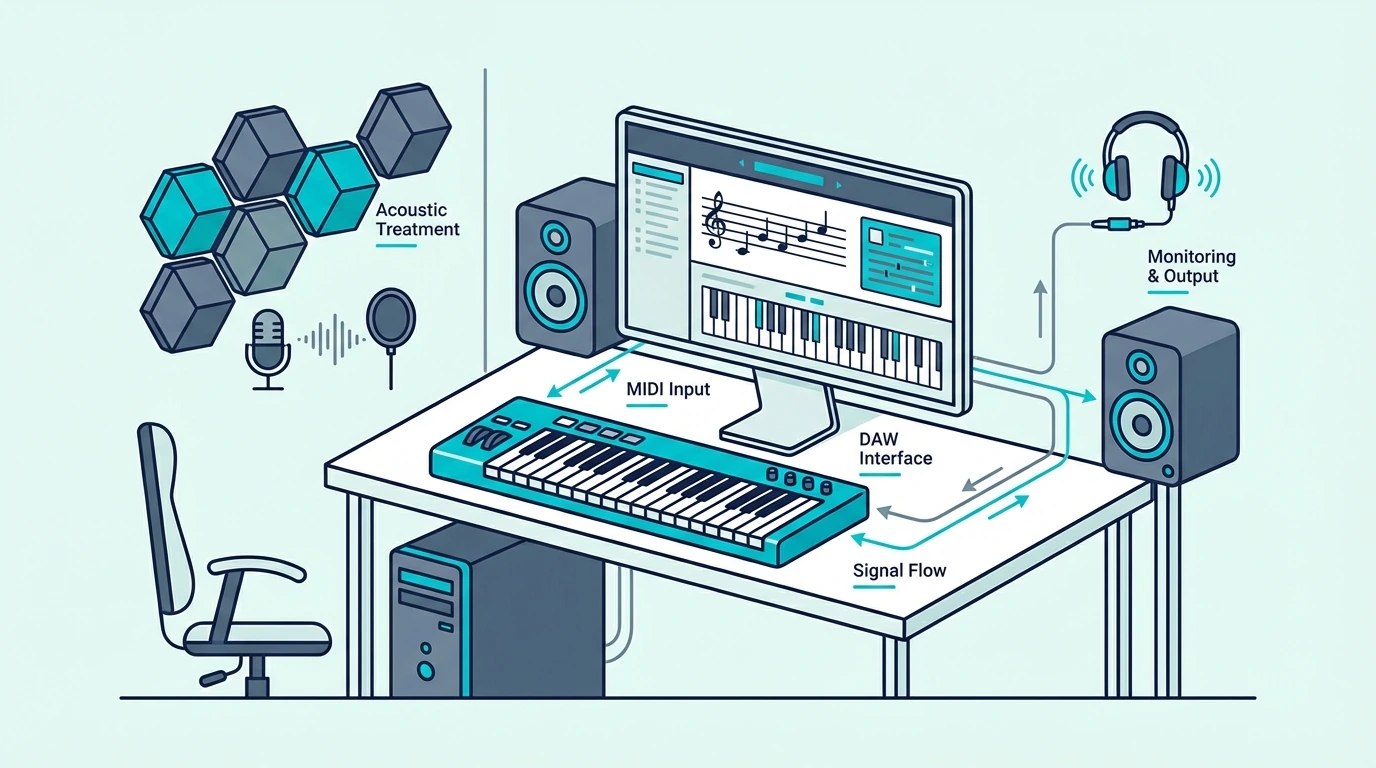
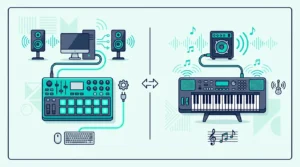
The writing environment determines how quickly ideas flow from your head through your fingers into the DAW. A well-configured setup eliminates friction so you can focus on creating rather than troubleshooting.
Connect Your MIDI Keyboard
Plug your MIDI keyboard into your computer via USB. If you use a Mac, the keyboard works immediately with GarageBand or Logic Pro.
On Windows, ensure you have an ASIO driver installed for low-latency response — follow our Windows connection guide if you experience delay.
The Akai Professional MPK Mini MK3 connects via USB and includes MPC Beats software — a complete writing environment out of the box. The built-in arpeggiator generates melodic patterns from single key presses, which is especially useful for writers who are still developing keyboard skills.
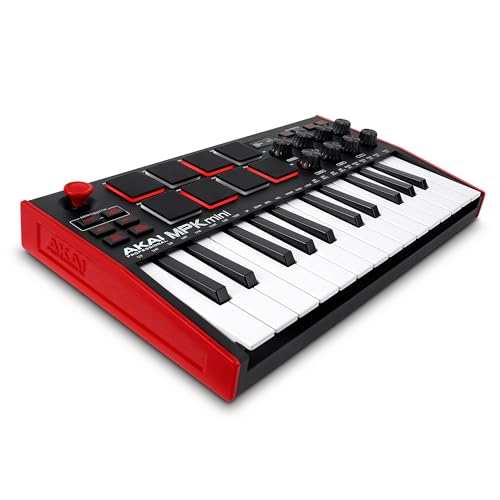
Akai Professional MPK Mini MK3
Choose Your Starting Sound
The instrument sound you write with shapes the music you create. A piano patch encourages chord-based writing, a synth pad encourages atmospheric textures, and a bass sound encourages groove-focused compositions.
Start with a sound that matches the genre you want to write. Pop and R&B writers typically start with piano, electronic producers start with synth pads, and hip-hop producers start with drum kits.
Do not spend more than two minutes choosing a starting sound. The sound can change later — the important thing is to start playing immediately while the creative impulse is fresh.
Create A Template With Pre-Loaded Tracks
Set up a DAW template with four to six tracks pre-loaded with instruments: a piano or keys track, a bass track, a pad or strings track, a drum track, and an empty track for experimentation. Save this template so every new session starts with sounds ready to play.
That template eliminates the five-minute plugin-loading ritual that kills creative momentum. Open the template, press a key, and start writing.
The M-AUDIO Keystation 49 MK3 transport controls let you start recording from the keyboard without reaching for the mouse — keeping your hands in playing position throughout the writing session.
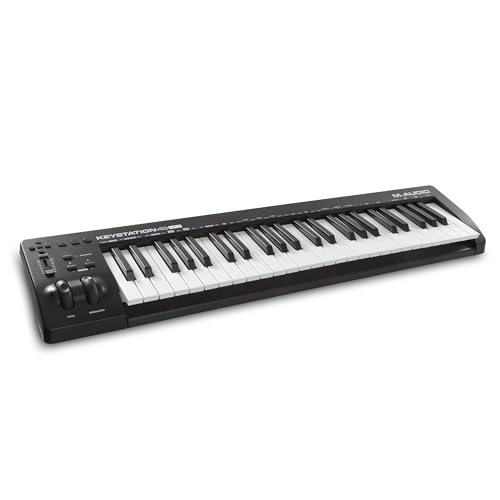
M-AUDIO Keystation 49 MK3
How Do You Write Your First Musical Ideas With a MIDI Keyboard

The hardest part of writing music is not the technical process — it is overcoming the blank-canvas paralysis that stops most beginners from recording anything. These techniques bypass that paralysis by giving you a starting point.
Start With A Chord Progression (Even Simple Ones)
Three chords create a complete song — thousands of hit records use only three or four chords throughout. Press any three notes together on your MIDI keyboard and that is a chord.
Move your hand to a different position and press three notes — that is another chord. Alternate between two or three of these positions and you have a progression.
Your DAW records the exact notes, timing, and velocity of everything you play. If the chords sound wrong, move one note up or down and try again.
Start With A Melody (Even One Note At A Time)
If chords feel overwhelming, start with a single-note melody. Hum or sing a phrase, then find those notes on your keyboard one at a time.
Record yourself playing the melody into your DAW. Listen back, adjust notes that sound off, and re-record until the melody matches what you hear in your head.
Start With A Beat (If You Have Pads)
Beat-first writing works naturally for hip-hop, electronic, and dance music. Tap out a kick-snare pattern on your MIDI keyboard’s pads, record a four-bar loop, and build everything else on top of that rhythmic foundation.
The pads on controllers like the MPK Mini MK3 respond to velocity — tap softly for ghost notes, hit hard for accented beats. That dynamic range creates groove that quantized, mouse-programmed drums lack.
Use The Arpeggiator As A Writing Tool
Controllers with built-in arpeggiators (like the MPK Mini MK3) generate repeating melodic patterns from any key or chord you hold. Press one key and the arpeggiator plays ascending or descending note sequences automatically.
Arpeggiator patterns often spark song ideas that you would never discover through deliberate playing. Record the arpeggiator output, keep the patterns that inspire you, and build songs around them.
Get Studio Tips Weekly
Join 5,000+ creators getting acoustic treatment advice every week.
No spam. Unsubscribe anytime.How Do You Record and Build Song Sections With MIDI
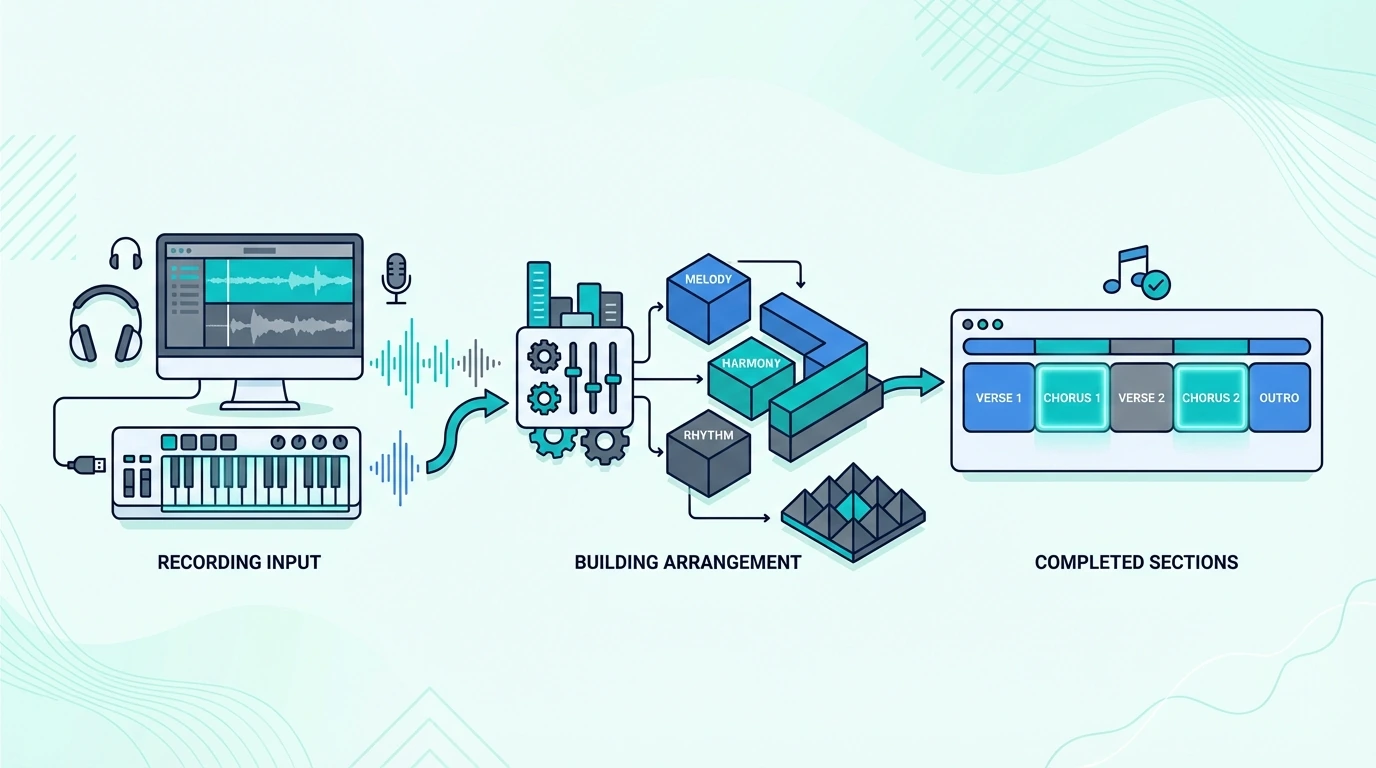
Once you have a musical idea — a chord progression, a melody, a beat, or an arpeggiator pattern — the next step is recording it and building it into song sections.
Record In Loops
Set your DAW to loop a 4 or 8-bar section and press record. Play your idea repeatedly as the loop cycles.
Each pass lets you refine the performance — adjusting timing, adding notes, or changing dynamics. When you capture a take you like, stop recording.
Loop recording removes the pressure of nailing a perfect take on the first try. The repetition naturally improves your performance because each pass through the loop gives you another chance to get it right.
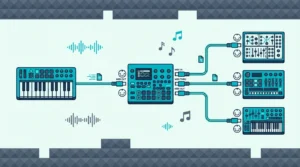
Layer Parts To Build Sections
A verse section might contain bass, chords, and a melody. Record each part on a separate track, one at a time.
Play the bass line first, then add chords on top, then add the melody. Each new layer builds the arrangement without requiring you to play everything simultaneously.
This layer-by-layer approach is how most professional producers work — even those with advanced piano skills rarely record all parts at once. The DAW lets you build complexity gradually.
Use Quantization To Fix Timing
After recording, select the MIDI region and apply quantization — your DAW snaps each note to the nearest beat subdivision. If your timing was slightly off during recording, quantization corrects it without you re-recording.
Set quantization strength to 50-75 percent rather than 100 percent. Full quantization removes all timing variation and sounds robotic.
Partial quantization tightens the timing while preserving the human feel that makes your performance sound alive.
Copy And Modify For New Sections
Once you have a verse section, duplicate it and modify the copy to create a chorus. Change a chord, add a higher melody note, or increase the energy with louder velocity.
Small changes between sections create the contrast that keeps listeners engaged.
The verse-chorus-verse-chorus-bridge-chorus structure works for most genres. Build each section from the same core elements (chords, bass, melody) with variations that distinguish one section from another.
How Do You Turn MIDI Ideas Into Finished Songs
The gap between a musical idea and a finished song is arrangement — deciding which elements play when, for how long, and in what order. Your MIDI keyboard handles the input while your DAW handles the arrangement.
Arrange In Your DAW Timeline
Drag your recorded sections (verse, chorus, bridge) onto the DAW timeline in song order. Most songs follow intro-verse-chorus-verse-chorus-bridge-chorus-outro.
Arrange your sections in this order and you have a complete song structure.
The intro usually features one or two elements from the verse (bass alone, or chords alone) to ease the listener in. The outro typically strips elements away gradually, reversing the intro process.
Add Variation Within Sections
Identical repeating sections bore listeners. Add small MIDI variations each time a section repeats: a different fill going into the chorus, an extra note in the melody the second time through, a velocity change that makes the third chorus hit harder than the first.
Your MIDI keyboard makes these variations easy to record. Play the same part slightly differently each time, and the velocity sensitivity captures those natural performance differences that keep the arrangement interesting.
Export And Share
When the arrangement feels complete, export the song as an audio file (WAV or MP3) from your DAW’s file menu. Share the export with collaborators, upload to streaming platforms, or save it as a reference for mixing and mastering later.
The entire process — from first note to exported song — happens through your MIDI keyboard and DAW working together. The keyboard captures your musical ideas with velocity and timing while the DAW records, edits, arranges, and exports those ideas into finished music.
The Bottom Line
Writing music with a MIDI keyboard requires zero piano skills and minimal technical knowledge. Connect your controller, load a sound, press record, and start playing — even single notes and simple chords count as songwriting.
The best approach for beginners is to write imperfectly and fix later rather than waiting until you can play perfectly before recording anything. Every professional songwriter started with rough ideas that became great songs through iteration, not through perfect first takes.
Frequently Asked Questions
Do I need to know piano to write music with a MIDI keyboard?
No. Many successful producers write entire albums using single-note melodies, three-finger chords, and pad-triggered samples. Your DAW handles quantization, transposition, and editing that compensates for limited keyboard skills.
What is the fastest way to start writing songs with a MIDI keyboard?
Create a DAW template with pre-loaded instruments, set a 4-bar loop, and record whatever comes out of your fingers. Do not judge the first take — record multiple passes and keep the best one.
Which DAW is best for writing music with a MIDI keyboard?
GarageBand (free on Mac) is the simplest starting point. FL Studio has the best piano roll, Ableton Live excels at loop-based writing, and Logic Pro offers the deepest instrument library.
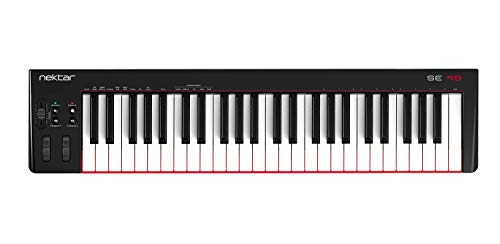
How do I make MIDI keyboard recordings sound professional?
Record with velocity sensitivity enabled (all modern controllers have this), apply light quantization (50-75 percent) to tighten timing without removing human feel, and use high-quality virtual instrument plugins rather than basic preset sounds. A controller with full-size keys like the Nektar SE49 also helps because full-size keys capture more natural velocity variation than mini keys. The combination of expressive performance capture and quality sounds produces professional-sounding recordings from any MIDI keyboard.