Best MIDI Pad Controller — Finger Drumming and Sample Triggering Done Right
Best MIDI pad controller is what beat makers and live performers search for when they want hands-on triggering that a keyboard cannot replicate, but the market splits between MPC-style drum pads and large clip-launch grids — and choosing the wrong format leaves you with hardware that fights your workflow.
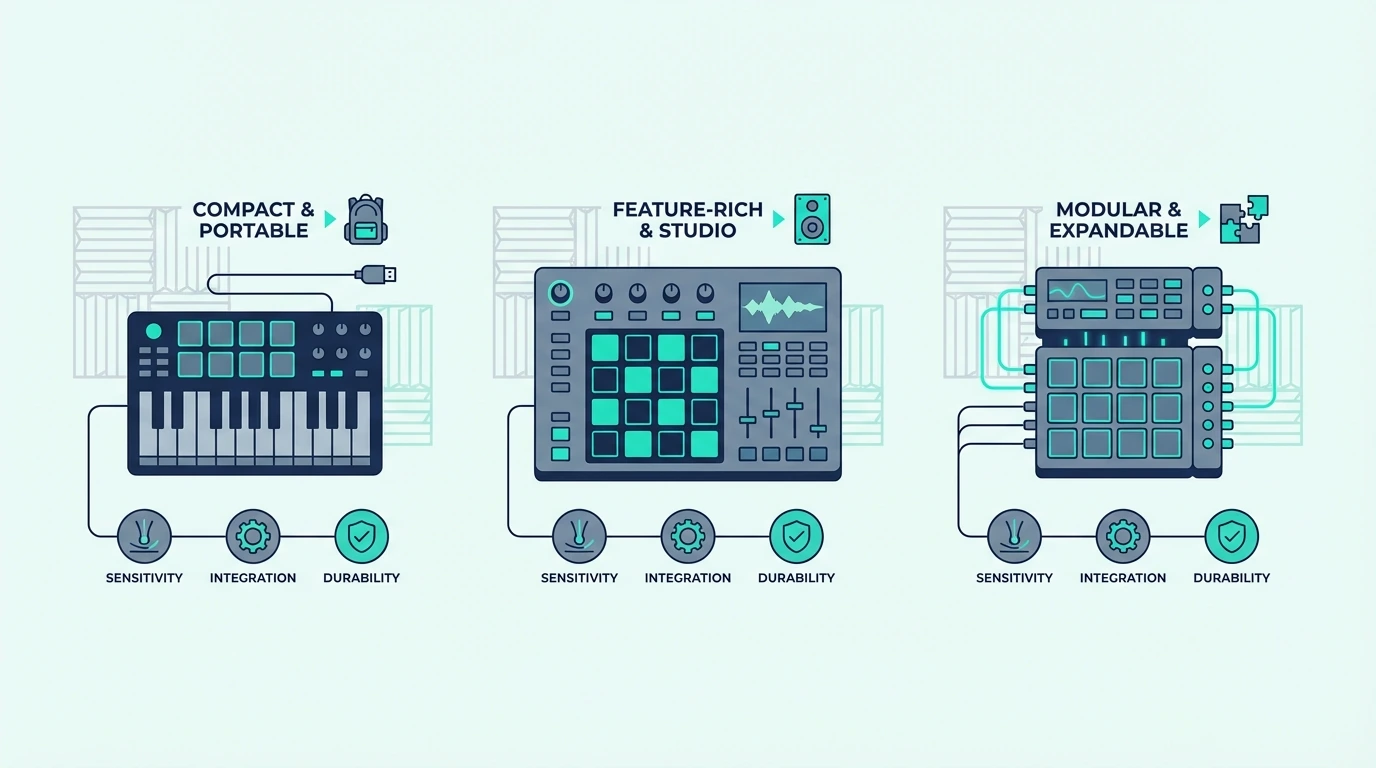
The problem is caused by “pad controller” covering two fundamentally different product types. MPC-style pad controllers like the Akai MPD series and Maschine Mikro focus on finger drumming, sample chops, and per-hit dynamics. Grid controllers like the Novation Launchpad series focus on clip launching, performance layouts, and visual feedback inside session-based DAWs. Most roundups mash them together without explaining which job each one is built to do.
We sorted the dedicated pad controllers by format and use case so you can match the hardware to how you actually make beats or launch clips. Every pick below was evaluated on pad feel, response, control layout, and whether the design genuinely improves your speed inside a DAW.
Below you will find our top picks sorted by pad layout and workflow, followed by a guide on when MPC-style pads beat grid controllers and vice versa.
The best MIDI pad controller for most producers is the Akai MPD218 because its 16 MPC-style pads feel great for finger drumming and it stays focused on the job. If you work in Ableton and want a larger performance grid, the Novation Launchpad X is the strongest dedicated option in this lineup. Budget and travel-focused producers should look at the Akai LPD8, which keeps real pads and knobs in the smallest footprint here.
Why Pads Change How You Make Beats
Tapping a velocity-sensitive rubber pad with your fingertip produces a fundamentally different performance than pressing a piano key or clicking a mouse. That physical difference translates directly into how your drums sound in the final mix.
Finger Drumming Captures Natural Groove
When you tap a pad with your finger, the strike naturally varies in timing and velocity from hit to hit. A kick lands slightly ahead of the beat. A snare hits a fraction of a millisecond late. Those micro-variations create groove — the quality that separates a track that makes people nod their heads from one that sounds like a metronome.
Mouse-programmed drums hit at mathematically perfect intervals with identical velocity. Quantized perfection sounds robotic because human rhythm is inherently imperfect. Pads capture that imperfection without you thinking about it.
Sample Triggering In Real Time
Pads let you chop audio samples and trigger slices in real time. Load a vocal sample into your DAW’s sampler, slice it across 8 or 16 pads, and play the slices like an instrument. That real-time manipulation creates rhythmic patterns and arrangements you would never discover by dragging audio regions on a timeline.
The MPC workflow — pioneered by Akai’s hardware samplers — built an entire genre of production around pad-based sample manipulation. Modern MIDI pad controllers bring that same workflow into any DAW through software like MPC Beats, Ableton’s Simpler, and FL Studio’s FPC.
Clip Launching For Live Performance
Pad controllers double as clip launchers in DAWs that support session-based workflows. In Ableton Live, each pad triggers a clip — a drum loop, a bass riff, a vocal chop — and you build arrangements in real time by combining clips on the fly.
The Novation Launchpad series is designed specifically for this workflow. The RGB pad colors mirror Ableton’s Session View, giving you visual feedback on which clips are playing, queued, or stopped.
What Are the Best MIDI Pad Controllers
Here are 6 dedicated pad controllers sorted by how they handle finger drumming, sampling, and clip launching.
The Akai Professional MPD218 wins Best Overall because it gives you the classic 4×4 pad layout most beat makers actually want, plus enough knobs for basic sound shaping, without bloating the controller with features that slow down the workflow. It is the most balanced pick here for producers who primarily care about finger drumming and sample triggering.
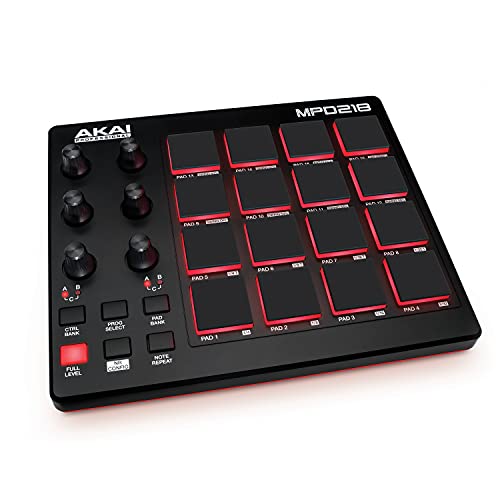
Akai Professional MPD218
The Akai Professional MPD226 is the best pick if you want your pad controller to do more than just send drum hits. The faders and knobs make it more useful for sample shaping, mixer moves, and hardware control, while the RGB pads keep the classic MPC feel intact.
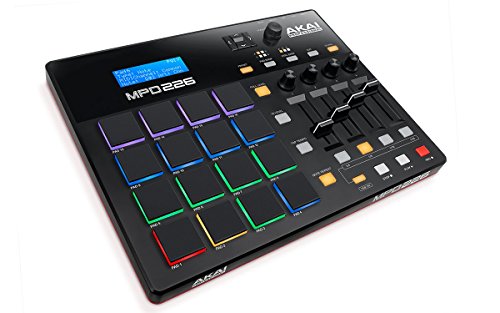
Akai Professional MPD226
The Akai Professional LPD8 is the best budget choice because it gives you real pads and real knobs in a footprint small enough to throw in a laptop bag. You sacrifice the full 16-pad layout, but for mobile beat making and quick sample triggering, the tradeoff is worth it.
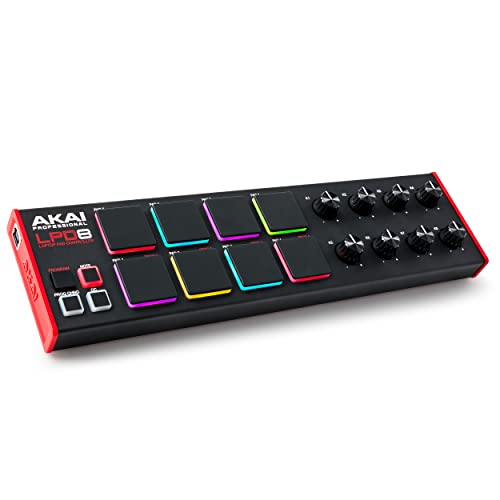
Akai Professional LPD8
The Native Instruments Maschine Mikro Mk3 is the best option for producers who want a deeper beat-production environment instead of a generic MIDI pad surface. The hardware makes the most sense if you want sampling, chopping, sequencing, and performance controls tied directly into the Maschine ecosystem.
Native Instruments Maschine Mikro Mk3
The Novation Launchpad Mini MK3 is the best portable grid controller for performers who live in Ableton and want maximum clip-launching real estate in minimum space. It is brilliant for triggering clips, scenes, and one-shots on the go, but it is not the pad controller to buy for nuanced finger drumming.
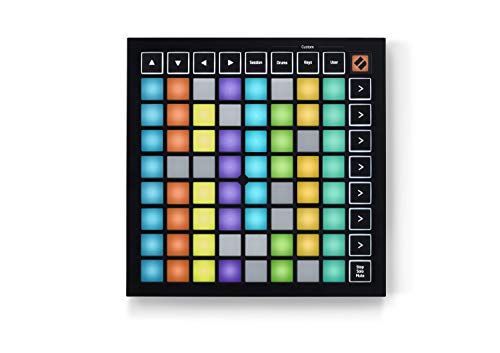
Novation Launchpad Mini MK3
And the Novation Launchpad X is the best dedicated pad controller for Ableton users who want expressive pads rather than simple on/off buttons. It is the controller here that most cleanly bridges clip launching and playable pad performance.
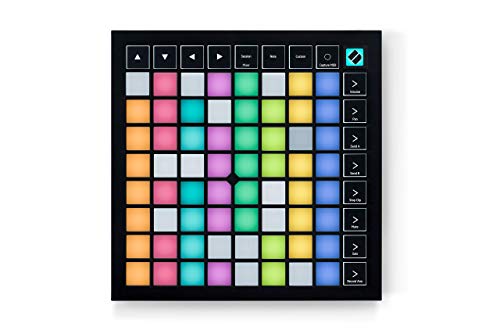
Novation Launchpad X
Get Studio Tips Weekly
Join 5,000+ creators getting acoustic treatment advice every week.
No spam. Unsubscribe anytime.Should You Choose MPC-Style Pads or Grid Controllers
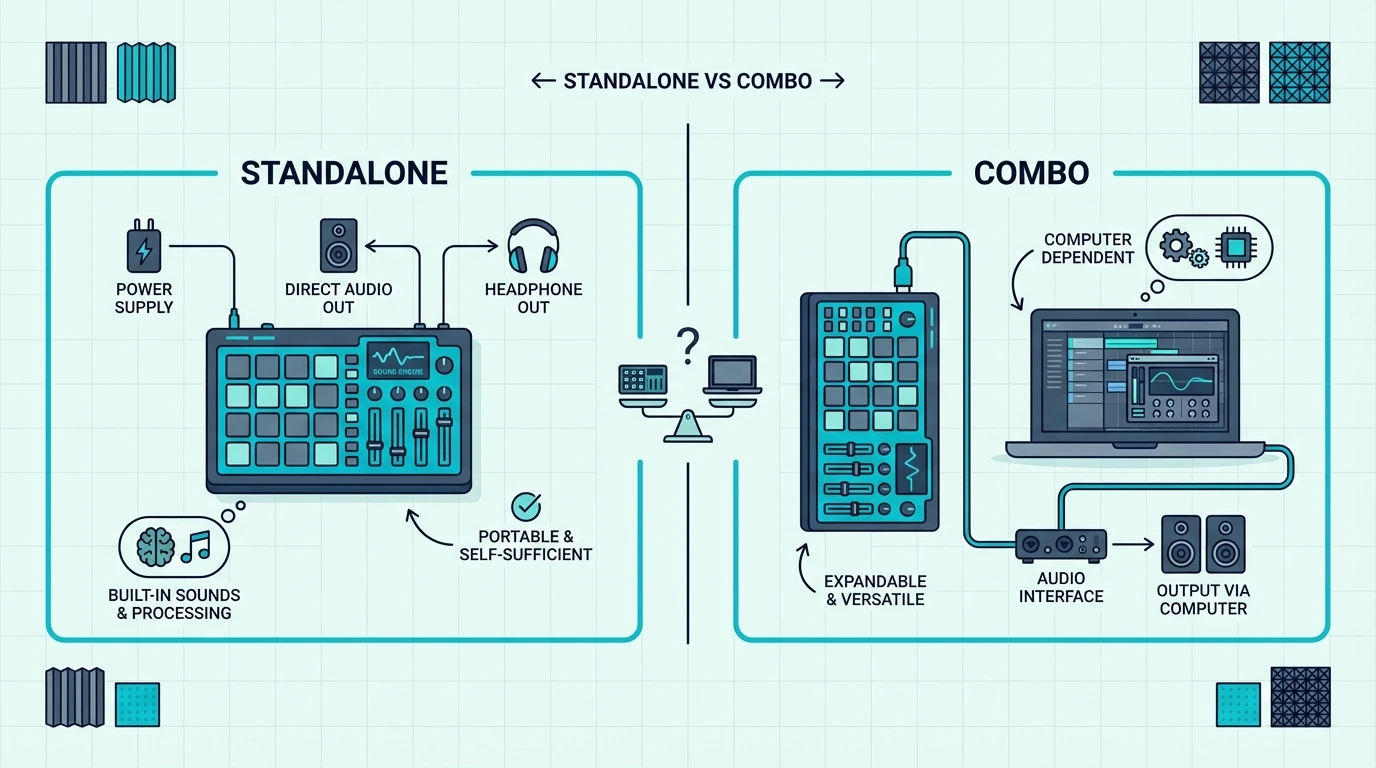
The format decision matters more than any individual spec sheet bullet point. Here is how to choose the pad layout that actually matches your workflow.
When MPC-Style Pads Win
Producers who finger-drum complex patterns usually want a 4×4 layout with thicker pads and familiar spacing. Controllers like the MPD218, MPD226, and Maschine Mikro are built around that feel. They make it easier to play a full kit, use note repeat, and capture natural velocity differences from hit to hit.
MPC-style pads also make more sense when you mostly work with drum racks, samplers, and chopped one-shots instead of large session grids. The layout is optimized for performance drumming first and everything else second.
When Grid Controllers Win
Grid controllers like the Launchpad Mini MK3 and Launchpad X are better if your workflow is centered on Ableton Live, clip launching, and visual performance layouts. The 8×8 grid maps naturally to Session View, and the RGB feedback makes it easier to see what is armed, playing, or queued.
The Launchpad X also works better than most people expect for melodic performance because its pads are velocity-sensitive and support polyphonic aftertouch. The Launchpad Mini is more of a launch-and-trigger surface than a true expressive pad instrument.
Where Maschine Fits
Maschine Mikro sits between a classic MIDI pad controller and a compact groovebox workflow. It is still a dedicated pad controller, but it makes the most sense when you want hardware and software designed around sampling, sequencing, and beat construction as one connected system.
That is why Maschine is brilliant for some producers and too specialized for others. If you want generic MIDI pads for any DAW, Akai or Novation is safer. If you want a beat-production environment, Maschine is stronger.
Pad Sensitivity And Velocity Curves
Not all pads respond the same way to finger strikes. Some pads require heavy hits to register high velocity, while others trigger maximum velocity from a light tap. The best pad controllers let you adjust the velocity curve to match your playing style.
Akai’s MPC-style pads use a proven sensitivity curve refined across decades of hardware sampler development. Launchpad X adds a more performance-oriented take with velocity sensitivity and aftertouch, while Launchpad Mini strips that out in exchange for portability. If expressive finger drumming matters most, prioritize Akai or Maschine. If clip launching matters most, prioritize Launchpad.
The Bottom Line
The Akai MPD218 is the best MIDI pad controller for most producers because it stays locked on the core job: finger drumming, sample triggering, and fast beat entry. If your setup revolves around Ableton Live and clip launching, buy the Novation Launchpad X. If you want the cheapest good entry point, the Akai LPD8 gets you started without wasting money.
If pads are your primary input method and keys are secondary, pair one of these dedicated pad controllers with a separate keyboard controller instead of forcing everything into one cramped device.
Frequently Asked Questions
Do I need a pad controller for beat making?
Not strictly — you can program drums using keyboard keys mapped to drum sounds in your DAW’s sampler. Pads improve the workflow by providing velocity-sensitive surfaces designed for finger drumming, which captures more natural groove than keyboard-based triggering.
How many pads do I need?
Eight pads cover kick, snare, hi-hat, and five additional sounds — enough for most beat-making workflows with pad bank switching. Sixteen pads give you a full kit without switching banks, which speeds up complex finger drumming patterns.
Are grid controllers as good for finger drumming as MPC-style pads?
Not usually. MPC-style controllers like the MPD218 and Maschine Mikro use layouts and pad feel designed for drum performance first. Grid controllers like the Launchpad X can absolutely play drums, but they are optimized for clip launching and multi-purpose performance layouts. The Launchpad Mini is even less drum-focused because its pads are not velocity-sensitive.
Can I use a pad controller with any DAW?
Yes — MIDI pad controllers work with every DAW because they send standard MIDI messages. The difference is integration depth. Akai’s pad controllers behave like straightforward MIDI devices, while Launchpad models feel most at home in Ableton and Logic because their clip-launching and session workflows are more deeply supported there.