MIDI Controller vs Keyboard – One Makes Sound and One Does Not
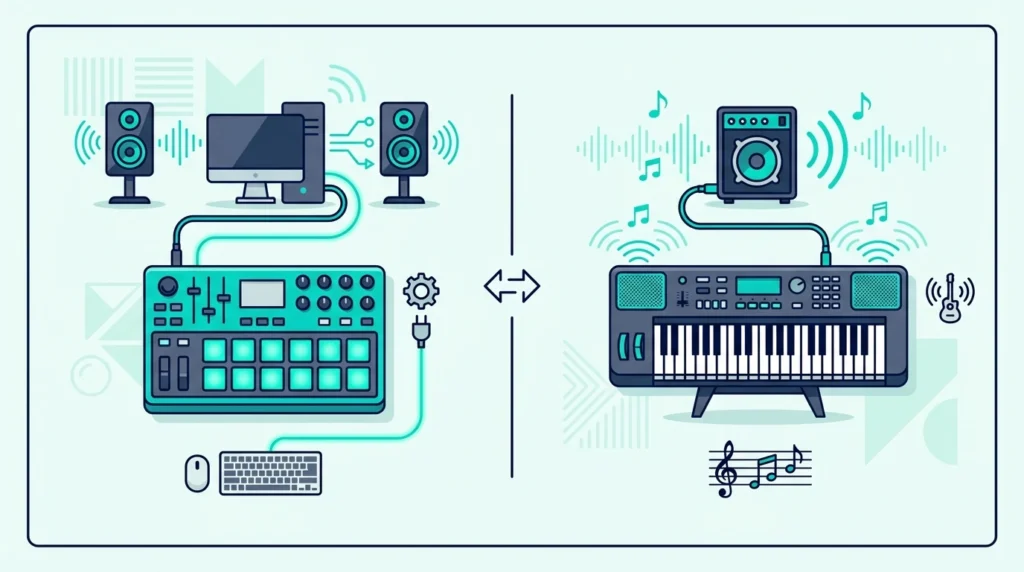
MIDI controller vs keyboard is confusing because the word controller covers a broad category, while keyboard usually means an instrument with its own sound engine. Some MIDI controllers use piano keys, but others use pads, knobs, faders, or foot switches. The deciding question is still simple: does the device generate sound on its own? A keyboard does. A MIDI controller does not.
The buying mistake happens when people treat a MIDI keyboard controller and a standalone keyboard as if they were interchangeable. They are not. A controller is an input device for software or external hardware. A keyboard is an instrument with its own built-in sounds, speakers, or audio outputs.
This guide breaks down that distinction so you can match the right tool to how you actually make music. You will also see where dedicated controllers win, where keyboards win, and how MIDI keyboards fit inside the broader controller category.
Below you will find the core differences explained without jargon, followed by a decision framework for choosing between them based on your specific workflow.
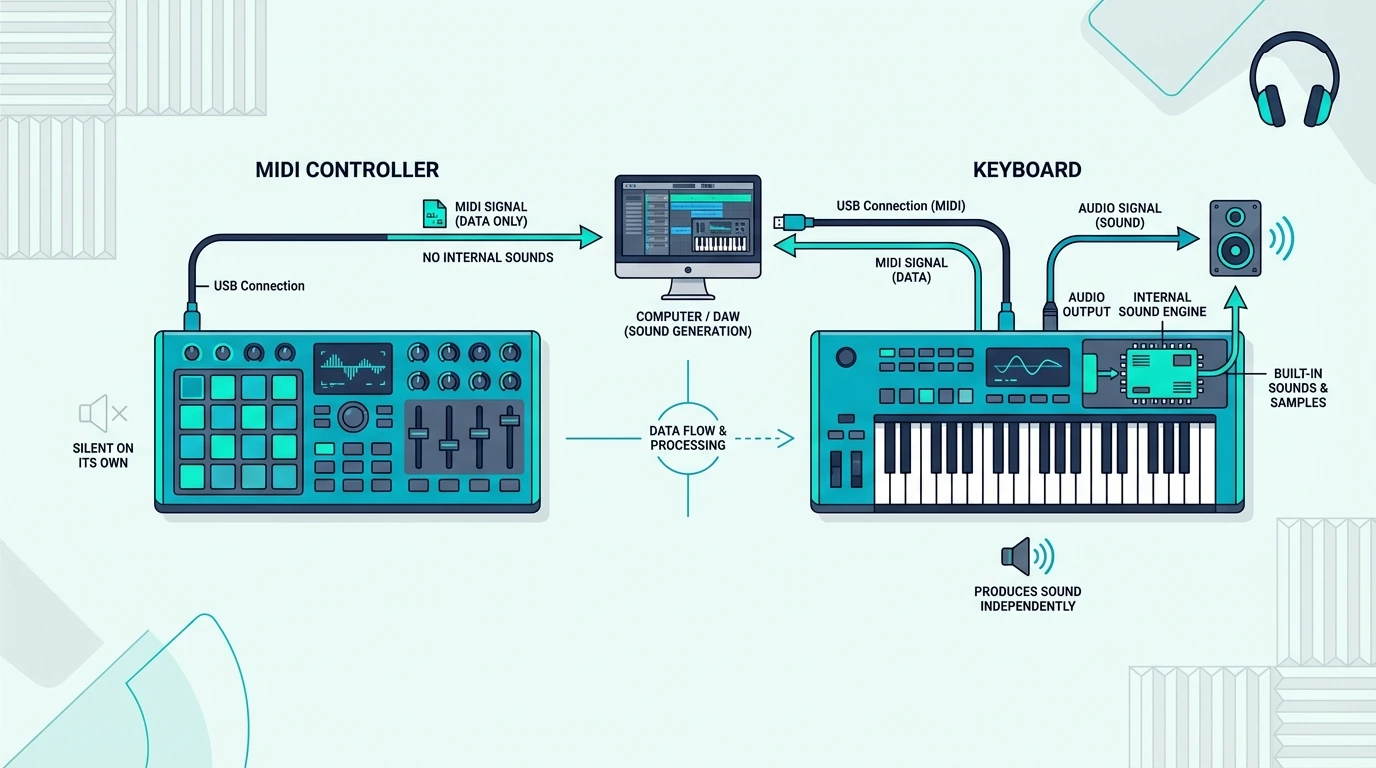
A MIDI controller sends performance data only; it can be a MIDI keyboard, pad controller, grid controller, or foot controller. A keyboard (digital piano or synthesizer) generates its own sound through built-in speakers or audio outputs. Choose a MIDI controller if you produce music on a computer with virtual instruments. Choose a keyboard if you need standalone playing capability without a laptop.
What Is the Core Difference Between a MIDI Controller and a Keyboard
The entire MIDI controller vs keyboard debate reduces to one technical fact that most comparison articles bury under paragraphs of feature lists. Sound generation is the dividing line, and understanding it makes every other difference obvious.
MIDI Controllers Send Data, Not Audio
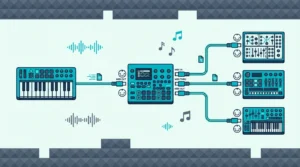
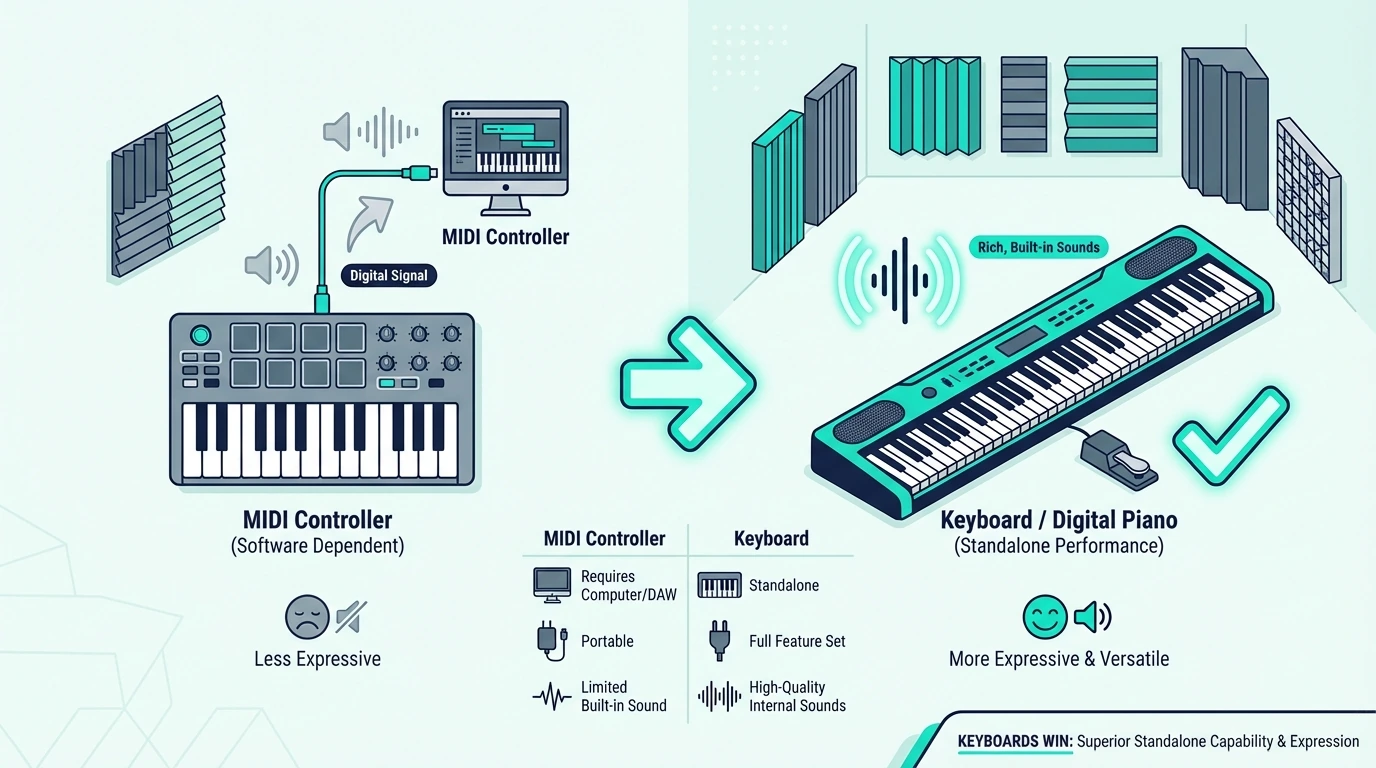
A MIDI controller translates physical input — key presses, pad hits, knob turns, or foot taps — into digital messages and sends those messages to an external device that generates the actual sound. The controller itself contains no sound engine, no speakers, and no audio output.
Hit a pad, press a foot switch, or play a key on a MIDI controller with nothing connected and you hear silence. The device only reports what you did and when you did it. A DAW, app, hardware synth, or sound module has to turn that MIDI data into audio.
The Akai Professional MPD218 proves that a MIDI controller does not need piano keys at all, and the Behringer FCB1010 shows the same rule on the floor. Both are real MIDI controllers, but neither makes sound until other gear responds.
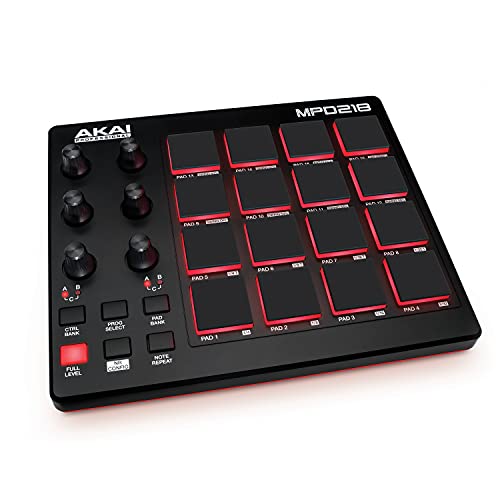
Akai Professional MPD218
Keyboards Generate Their Own Sound
A digital piano, synthesizer, or workstation keyboard contains a sound engine that converts your key presses into audio signals. Press a key and you hear sound immediately — no computer, no software, no external hardware required.
The Yamaha P71 88-Key Weighted Digital Piano includes 10 built-in sounds (grand piano, electric piano, organ, strings) that play through its speakers or headphone output. Plug in power, press a key, hear music — the complete experience in one self-contained unit.

Yamaha P71 88-Key Weighted Digital Piano
That self-contained design costs more (four hundred thirty dollars vs roughly one hundred to one hundred forty dollars for many dedicated controllers) because the keyboard must include the sound engine hardware, amplifier, speakers, and audio processing circuits that a MIDI controller intentionally skips.
Where MIDI Controllers Win

MIDI controllers dominate music production setups for practical reasons that overcome the no-sound limitation. Understanding these advantages explains why most professional studios use controllers rather than standalone keyboards.
Unlimited Sound Variety
A single MIDI controller plays every virtual instrument you install on your computer — thousands of pianos, synths, strings, brass, drums, and experimental sounds. Change which plugin responds to the controller and you have a completely different instrument in seconds.
A keyboard limits you to whatever sounds the manufacturer loaded at the factory. Those 10 to 500 preset sounds never change, never update, and never expand. The moment a new virtual instrument releases, MIDI controller users can play it immediately while keyboard users are stuck with their existing presets.
Lower Cost And Weight
MIDI controllers cost a fraction of standalone keyboards because they skip sound-engine hardware. A dedicated pad controller like the Akai Professional MPD218 sits a little above one hundred dollars, and even a large foot controller like the Behringer FCB1010 stays far below the cost of most digital pianos with built-in sounds.
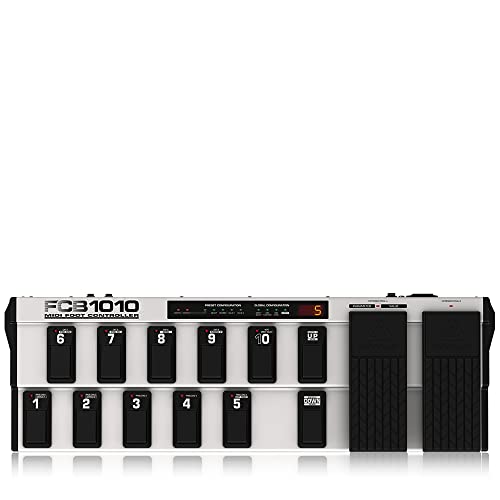
Behringer FCB1010
The portability advantage depends on controller type, but the money always goes into control rather than speakers. A pad controller fits on a desk, a foot controller lives under it, and neither forces you to pay for amplification or factory presets if your laptop, tablet, or rack gear already handles sound.
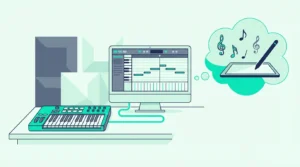
Modern Production Workflow
DAW-based production centers on software instruments, virtual effects, and digital mixing. MIDI controllers fit directly into that workflow because they are built as control surfaces first. Keyboard controllers handle melodic input, pad controllers handle finger drumming, and foot controllers can trigger transport or scene changes while tools like FLkey for FL Studio or Launchkey for Ableton show how deep the software tie-in can go.
Standalone keyboards exist outside the DAW workflow. They produce their own sound independently, which is an advantage for practice but a limitation when you want tight integration with your production software.
Get Studio Tips Weekly
Join 5,000+ creators getting acoustic treatment advice every week.
No spam. Unsubscribe anytime.Where Keyboards Win
Standalone keyboards solve problems that MIDI controllers cannot address, and those problems matter to specific musician types.
Practice Without a Computer
Pianists who practice daily need an instrument that works the moment they sit down — no booting a computer, no launching a DAW, no waiting for plugins to load. A digital piano with built-in sounds provides that instant access. Sit down, press power, play.
That immediacy matters for building practice habits. Adding computer startup time to every practice session creates friction that discourages daily playing. A standalone keyboard eliminates that barrier.
Authentic Piano Feel
Fully weighted hammer-action keys simulate the feel of an acoustic piano — heavier in the bass, lighter in the treble, with the physical resistance that develops proper finger technique. Most MIDI controllers use synth-action or semi-weighted keys that feel nothing like a real piano.
Pianists who split time between a MIDI controller and an acoustic piano find that unweighted controller keys build muscle memory that does not transfer. Weighted keyboards maintain the physical connection between practice and performance.
Live Performance Without a Laptop
Performers who play keyboards on stage need reliable sound that does not depend on a computer. Laptop crashes, software glitches, and USB disconnections can end a live performance. A standalone keyboard produces sound through its own hardware — no software failure can silence it.
That reliability is why many live keyboardists use standalone instruments on stage even when they produce with MIDI controllers in the studio. The studio demands flexibility. The stage demands reliability.
Why Do Many Producers Own Both a MIDI Controller and a Keyboard
The MIDI controller vs keyboard debate often ends with “both” because the two devices serve different functions in a complete music setup.
Home Studio Plus Practice Setup
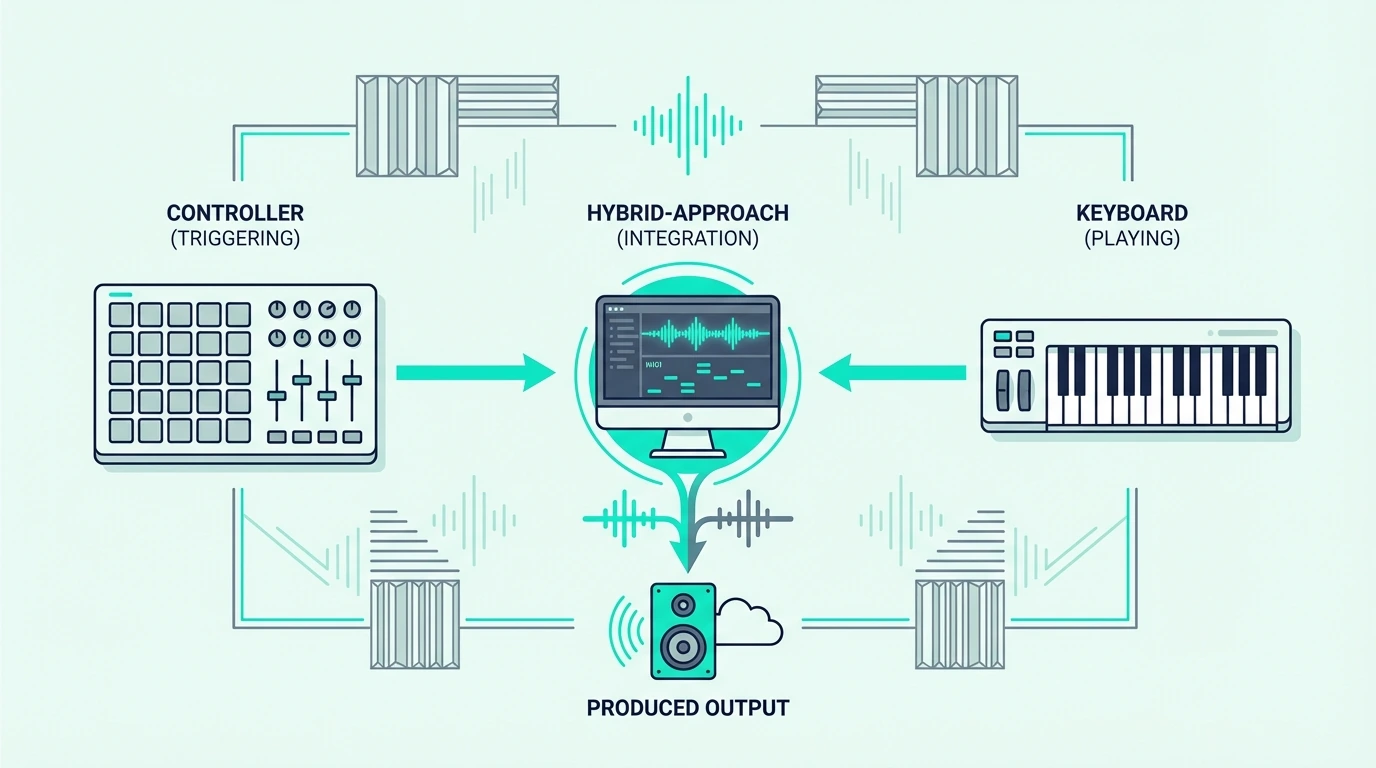
Keep a MIDI controller on your production desk for DAW-based work — beat making, synth programming, recording virtual instruments. Keep a digital piano in another room (or on a stand nearby) for practice — scales, repertoire, technique development.
The MIDI controller handles production. The keyboard handles playing. Neither device compromises on its primary function because it does not need to serve double duty.
Keyboard With MIDI Output
Many digital pianos include MIDI output (USB or 5-pin DIN) alongside their built-in sounds. The Yamaha P71 works as both a standalone piano AND a MIDI controller simultaneously — practice on the built-in piano sounds, then connect to your DAW and use it to play virtual instruments.
This hybrid approach eliminates the need for two separate devices if your primary keyboard playing is piano-style. The tradeoff is cost (four hundred thirty dollars vs roughly one hundred to one hundred forty dollars for many dedicated controllers) and weight (twenty-five pounds versus the lighter gear most controller setups use).
Budget-Conscious Approach
If you can only afford one device, choose based on your primary activity. Primarily produce on a computer — get a MIDI controller that matches your input style. Beat makers can start with the Akai Professional MPD218, performers needing hands-free control can start with the Behringer FCB1010, and key-first producers should shop dedicated MIDI keyboard controllers rather than standalone keyboards with built-in sounds. Primarily practice piano without a computer — get a digital piano with MIDI output. The one you use more often should be the one optimized for that use case.
The Bottom Line
MIDI controllers and keyboards solve different problems. A controller gives you unlimited software instrument access at low cost with zero standalone capability. A keyboard gives you immediate standalone playing at higher cost with limited sound variety.
A MIDI keyboard is one subtype of MIDI controller, but pad and foot controllers make the category much broader than piano-style keys alone.
Choose a MIDI controller if you produce music on a computer and want maximum sound variety at minimum cost. Choose a keyboard if you need standalone practice capability or authentic piano feel. Many serious musicians own both because no single device serves both purposes optimally.
Frequently Asked Questions
Is a MIDI controller better than a keyboard?
Neither is universally better — they serve different purposes. A MIDI controller is better for computer-based music production (more sounds, lower cost, lighter weight). A keyboard is better for standalone practice and live performance (no computer needed, built-in sounds, authentic piano feel).
Can a MIDI controller replace a keyboard?
For music production, yes — a MIDI controller connected to a computer with virtual instrument software provides more sound variety than any standalone keyboard. For piano practice without a computer, no — a MIDI controller produces no sound on its own and cannot replace a standalone instrument.
Do I need both a MIDI controller and a keyboard?
Only if your workflow includes both computer-based production AND standalone piano practice. Most beginners should start with one device based on their primary activity and add the second device later if the need arises.
Can a keyboard work as a MIDI controller?
Yes — any keyboard with USB MIDI or 5-pin DIN MIDI output can send performance data to a computer while simultaneously producing its own built-in sounds. The keyboard functions as both a standalone instrument and a MIDI controller, though it may lack the pads, knobs, and DAW integration features that dedicated controllers provide.