Best MIDI Controller for Ableton — 6 Options That Actually Integrate With Session View
Best MIDI controller for Ableton is a question that comes down to one feature most buyers overlook: Session View integration. Any MIDI keyboard plays notes in Ableton, but only a few controllers let you launch clips, control the mixer, and browse instruments without touching the mouse.
The problem is caused by Ableton’s dual-view workflow (Session View plus Arrangement View) demanding more from a controller than most DAWs. A keyboard that only sends notes ignores the clip-launching, scene-triggering, and real-time mixing that define Ableton’s creative advantage.
We tested 6 controllers through Ableton’s full workflow — Session View clip launching, mixer control, instrument browsing, and real-time performance. Every pick below was evaluated on how deeply it integrates with Ableton, not just whether the keys work.
Below you will find our top picks sorted by integration depth, followed by a guide on setting up any MIDI controller in Ableton Live.
The best MIDI controller for Ableton is the Novation Launchkey 61 MK4 — it auto-maps to Session View, the mixer, and instrument controls the moment you plug in. For a compact alternative, the Akai MPK Mini MK3 works well through MIDI learn. Budget producers can pair the M-AUDIO Keystation Mini 32 MK3 with its bundled Ableton Live Lite license for under sixty dollars.
Why Ableton Needs Session View Integration
Ableton Live is built around two views that no other DAW replicates: Session View (a grid of clips you launch in real time) and Arrangement View (a traditional linear timeline). Most MIDI keyboards only interact with Arrangement View because they send notes and nothing else.
Session View Is Where Ableton Shines
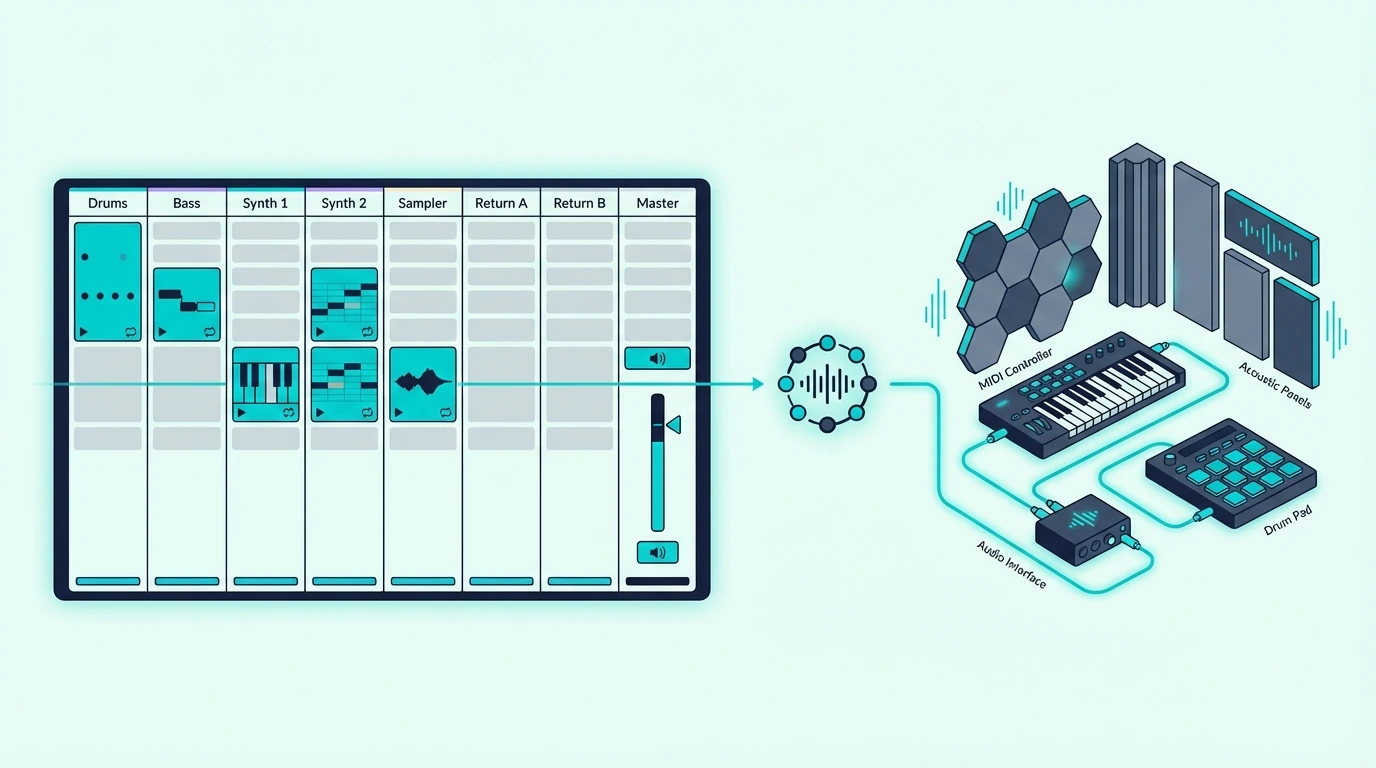
Session View turns music production into a live performance. Each cell in the grid holds a clip — a drum loop, a bass riff, a synth pad — and you trigger them in any combination by clicking or, with the right controller, by pressing a physical pad.
That real-time clip launching is what separates Ableton from every other DAW. A controller with RGB pads that mirror Session View’s grid lets you perform arrangements on the fly, experiment with combinations you would never try with a mouse, and record those improvisations directly into Arrangement View.
Mixer And Device Control
Ableton’s mixer responds to MIDI CC messages, meaning a controller with faders can ride volume levels across tracks without switching to a mouse. Knobs can map to device parameters — filter cutoff on a synth, send levels on a return track, macro controls on a Rack.
Controllers with native Ableton integration auto-map these assignments. Generic controllers require manual MIDI mapping through Ableton’s MIDI learn mode, which works but takes setup time for every new project template.
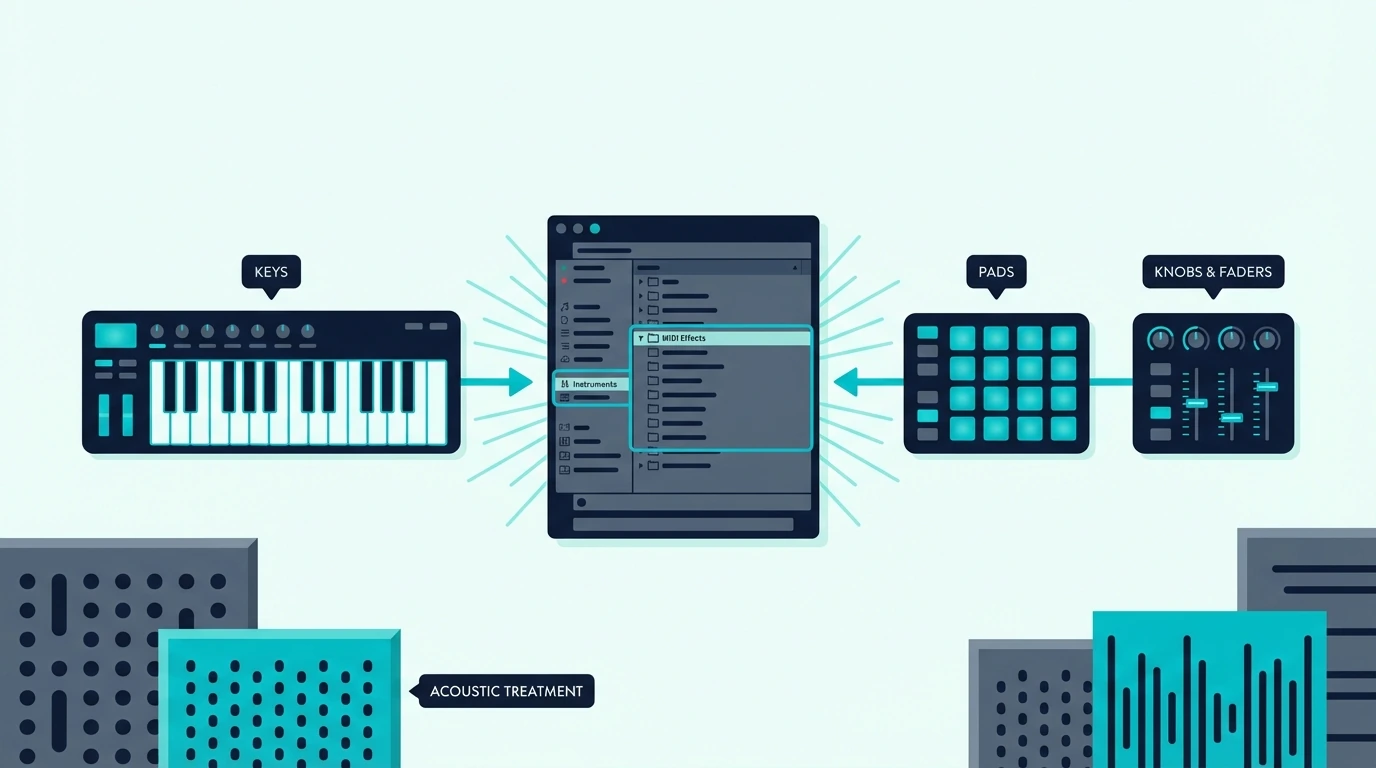
Instrument Browsing From Hardware
The Novation Launchkey series lets you browse Ableton’s instrument and preset library directly from the controller — scrolling through sounds, loading patches, and auditioning them without opening the browser window. That hardware-level browsing keeps you in a creative flow that clicking through folders on screen interrupts.
No other controller manufacturer offers this depth of Ableton preset browsing from hardware. It is a genuine workflow advantage that compounds across every session.
Capture MIDI And Loop Recording
Ableton’s Capture MIDI feature retroactively records what you just played, even if you forgot to press record. A MIDI keyboard with responsive velocity sensitivity makes Capture especially powerful because the dynamics of your improvisation are preserved exactly as you played them.
Loop recording in Session View lets you layer MIDI performances on top of each other in real time. Play a chord progression, then add a bass line on the next pass, then a melody on the third. A controller with enough keys for two-handed playing makes this layered workflow practical.
Which MIDI Controllers Work Best With Ableton
Here are 6 controllers ranked by Ableton Live integration, from the deepest native support to the most affordable entry point.
The Novation Launchkey 61 MK4 is the undisputed Best Overall for Ableton producers. The 16 RGB pads mirror Session View clips, the 9 faders control the mixer, and the knobs auto-map to whichever device is selected. Plug in via USB-C and every Ableton-specific feature activates automatically.
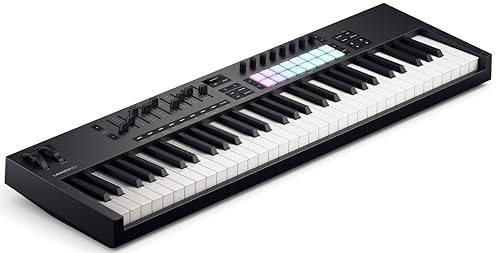
Novation Launchkey 61 MK4
The Akai Professional MPK Mini MK3 earns Best Compact for producers who want keys, pads, and knobs in a portable unit. The 8 MPC pads can trigger clips in Session View through MIDI mapping, and the 8 knobs map to any Ableton parameter. No native Ableton integration, but MIDI learn setup takes under five minutes.
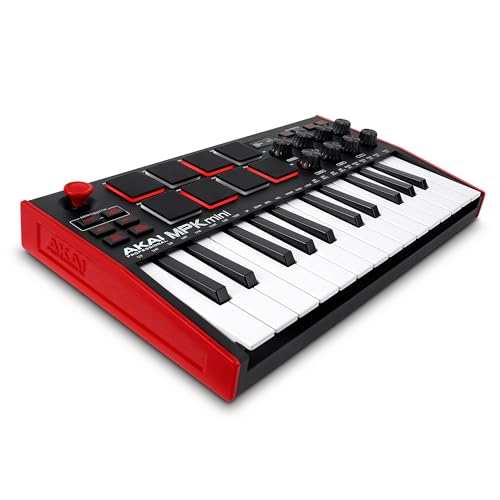
Akai Professional MPK Mini MK3
The M-AUDIO Keystation 49 MK3 takes Best 49-Key for Ableton users who need full-range playing. The bundled Ableton Live Lite license adds immediate value, and the transport controls handle playback without keyboard shortcuts. Pair it with a Novation Launchpad for clip launching alongside the keys.
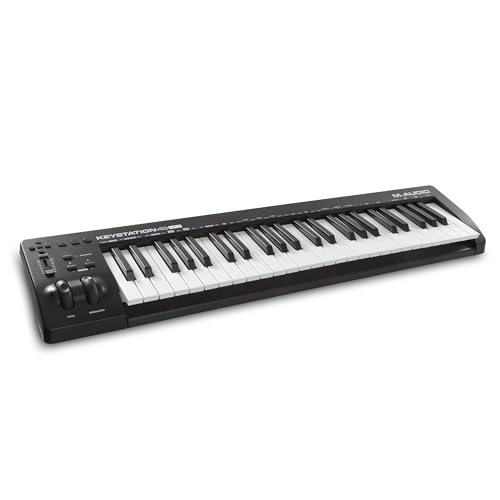
M-AUDIO Keystation 49 MK3
The M-AUDIO Keystation Mini 32 MK3 is the Best With Lite pick because the bundled Ableton Live Lite license means you get both hardware and software for fifty-nine dollars. If you do not own Ableton yet, this is the cheapest way to start producing in Ableton’s ecosystem.
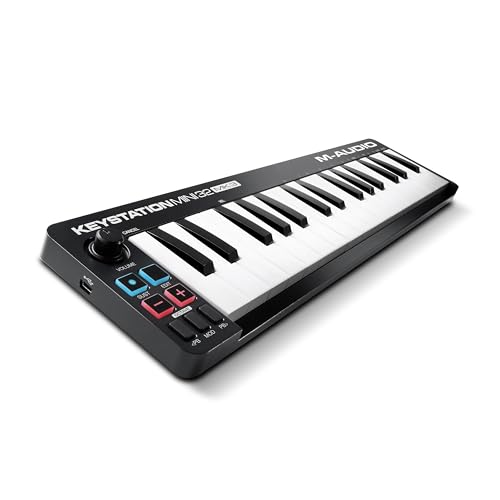
M-AUDIO Keystation Mini 32 MK3
The Nektar SE49 delivers Best Value with 49 full-size keys at under eighty dollars. Nektar’s DAW integration software handles basic Ableton mapping automatically, though it lacks the deep Session View control that Novation provides.
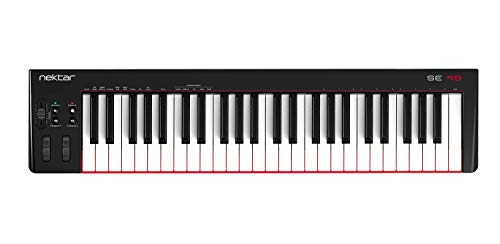
Nektar SE49
And the Nektar SE25 gets you playing in Ableton for under fifty dollars. Velocity-sensitive keys handle note input, and Nektar’s integration software provides basic transport control.
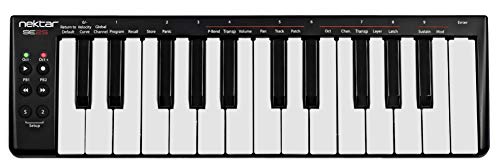
Nektar SE25
Get Studio Tips Weekly
Join 5,000+ creators getting acoustic treatment advice every week.
No spam. Unsubscribe anytime.How Do You Set Up a MIDI Controller in Ableton Live
Ableton handles MIDI controller setup through Preferences, and the process differs depending on whether your controller has native integration.
Native Controllers (Novation Launchkey, Push)
Open Ableton Live Preferences (Cmd+Comma on Mac, Ctrl+Comma on Windows) and navigate to the Link/Tempo/MIDI tab. Novation Launchkey controllers appear automatically in the Control Surface dropdown. Select “Launchkey MK4” and set the input and output ports.
Close Preferences and the controller is fully integrated. Pads mirror Session View, faders control the mixer, and knobs map to the selected device. Zero manual configuration needed.
Generic Controllers (MIDI Learn)
For controllers without native Ableton support, use MIDI learn mode. Click the MIDI button in the top right corner of Ableton (or press Cmd+M). Every mappable parameter highlights in blue.
Click any parameter — a volume fader, a knob, a button — then move the corresponding control on your MIDI keyboard. Ableton captures the MIDI CC message and creates a permanent mapping. Press Cmd+M again to exit MIDI learn mode.
Save the mapping as your default template (File, Save Live Set as Default Set) so it loads automatically with every new project. That one-time investment means you configure once and never think about it again.
Optimizing For Live Performance
Ableton’s Session View becomes a performance instrument when paired with the right controller. Map pad rows to different tracks, assign scenes to a single button press, and use the crossfader for DJ-style transitions between sections.
The Launchkey MK4’s 16 pads handle this natively. For controllers with 8 pads (like the MPK Mini MK3), map the top row to clip launches and the bottom row to scene triggers.
That 8-pad split covers most live performance needs. Combine it with Ableton’s Follow Actions (automatic clip transitions on a timer) and you have a semi-automated live set controlled from a single compact controller.
Using Multiple Controllers Together
Ableton handles multiple MIDI controllers simultaneously without conflict. A popular setup pairs a 49-key keyboard for instrument playing with a dedicated pad controller for Session View clip launching.
Each controller gets its own input port in Preferences. Ableton routes MIDI from each device independently, so you can play keys on one controller while triggering clips on another without any routing issues.
This modular approach lets you start with a budget keyboard and add specialized controllers as your Ableton workflow grows more complex.
The Bottom Line
The Novation Launchkey 61 MK4 is the best controller for serious Ableton producers — native Session View integration, mixer control, and instrument browsing from hardware justify the premium price. For a more affordable all-in-one option, the Akai MPK Mini MK3 covers keys, pads, and knobs at ninety-nine dollars.
New to Ableton entirely? The M-AUDIO Keystation Mini 32 MK3 bundles an Ableton Live Lite license with 32 keys for fifty-nine dollars — the cheapest entry into Ableton’s ecosystem.
Frequently Asked Questions
What is the best MIDI controller for Ableton Live?
The Novation Launchkey MK4 series offers the deepest native Ableton integration — Session View clip launching, mixer control, instrument browsing, and device mapping all work automatically. The Akai MPK Mini MK3 is a strong alternative that works through MIDI learn.
Does Ableton work with any MIDI keyboard?
Yes — Ableton Live supports every class-compliant USB MIDI keyboard. Open Preferences, enable the controller in the Link/Tempo/MIDI tab, and the keys work immediately. The difference between controllers is integration depth — native support versus manual MIDI learn.
Is Ableton Live Lite worth using?
Ableton Live Lite is a fully functional DAW limited to 8 tracks and 2 effects per track. For beginners and budget producers, those limits rarely become a problem during the first year. It includes the same core instruments and audio engine as the full version — the upgrade path to Standard or Suite is seamless when you need more tracks.
Can I use Ableton with a MIDI keyboard and a Launchpad together?
Yes — Ableton supports multiple MIDI controllers simultaneously. A common setup pairs a keyboard controller for note input with a Launchpad for Session View clip launching. Each device gets its own MIDI port assignment in Preferences, and Ableton treats them as independent inputs.