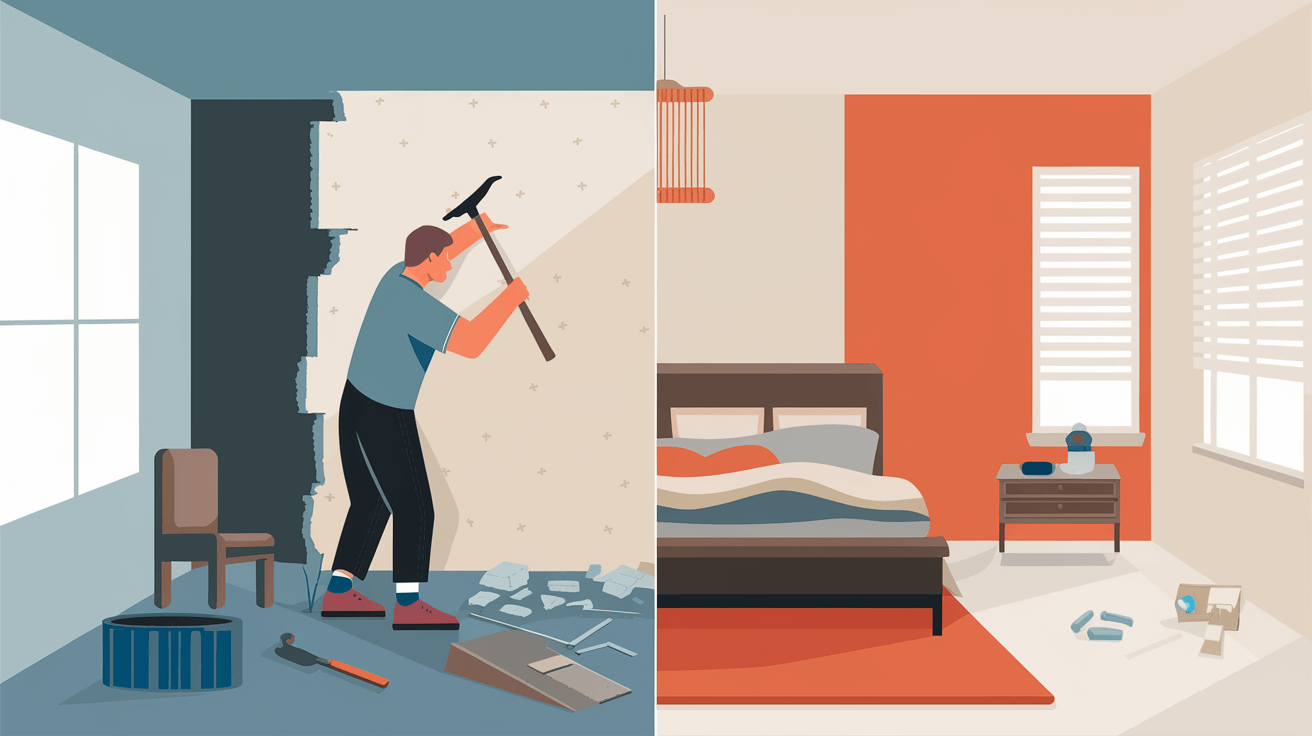
Living with noise pounding through your walls—like footsteps crashing from above or bass vibrating from the apartment next door—can feel like a daily assault on your peace. Decoupling offers a way out: it’s a soundproofing method that doesn’t just dampen sound but physically stops vibrations from traveling through your structure, delivering silence that basic fixes can’t touch.
Maybe you’ve tried throwing up extra layers of drywall or jamming sealant into cracks, only to find the rumbling persists—those efforts often fall short because they don’t tackle the root issue: vibration. Decoupling changes the game by breaking the connection between wall surfaces, and this guide will explain what it means, why it’s so effective, and how you can make it happen, whether you’re a hands-on DIYer or leaning toward hiring a professional.
If soundproofing’s new territory for you, start with Soundproofing Basics: Everything You Need To Know To Get Started—it’s your foundation for understanding how to block noise without stumbling through trial and error. Here, we’re zeroing in on decoupling: a technique that’s less about patching and more about rebuilding your walls to fight back.
Ready to learn how decoupling can slash 20-40 dB of noise—turning stomping neighbors or thumping music into a distant memory? We’ll cover the science, the tools, and a clear plan to do it yourself or know what to expect from a pro.
I’ve experienced it firsthand: decoupling a wall in my old place transformed a noisy nightmare into a quiet retreat—vibrations that once shook my space just stopped. Let’s dive in and get you equipped to reclaim your calm.
WHAT IS DECOUPLING AND HOW DOES IT WORK?
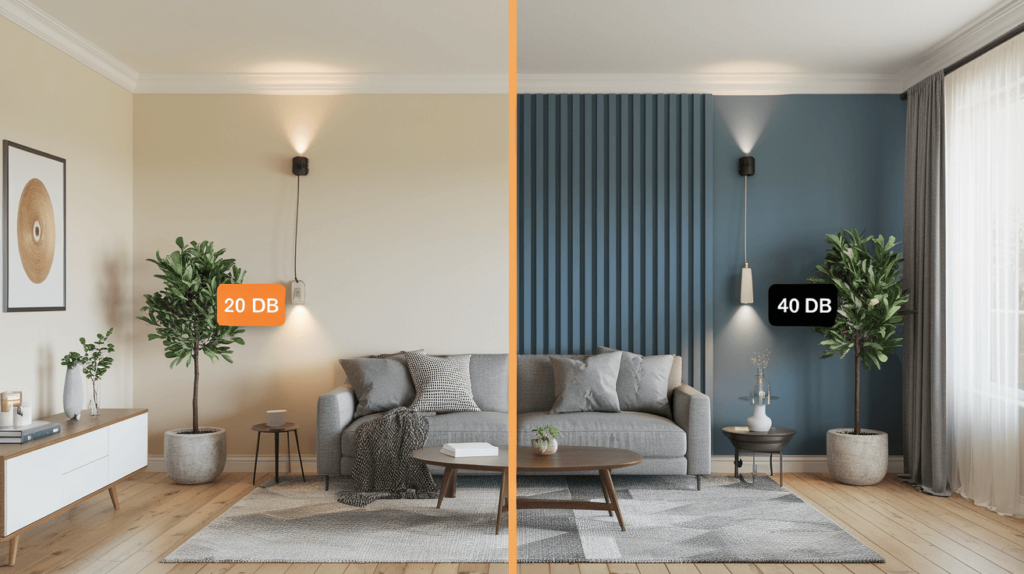
Decoupling separates wall layers using clips or channels, reducing vibration noise like footsteps or bass by 20-40 dB—install it with resilient channels or double studs.
Why Should You Consider Decoupling for Soundproofing?

Noise doesn’t just waft through the air—it rides vibrations that turn your walls into unwilling amplifiers, carrying every thud and rumble straight to your ears. Decoupling steps in as a critical fix because it disconnects those surfaces, halting the transfer of vibrations—like a neighbor’s heavy footsteps or a stereo’s low-end hum—before they can invade your space.
Without this separation, sound sneaks through your framing in a process called flanking, bypassing even thick layers of drywall or insulation. I knew someone who spent a weekend nailing up extra drywall to block out a downstairs TV—thought it’d do the trick, but the bass still bled through; decoupling could’ve cut that path and given them the quiet they were chasing.
It’s about more than just adding weight—it’s about stopping the structural link that lets noise travel freely. That makes decoupling a must for spots where vibrations dominate, like multi-story homes with creaky floors or rooms next to loud equipment.
Curious why soundproofing’s worth it at all? Why Soundproofing? spells out the payoffs—peaceful nights, better work-from-home vibes, or a boost to your property’s appeal—and decoupling’s a key player in that win.
I’ve seen it work wonders: a decoupled wall in my apartment dropped upstairs clatter from 55 dB to under 25 dB—silence I didn’t think was possible. Ignore it, and you’re stuck with half-measures that can’t handle the real problem.
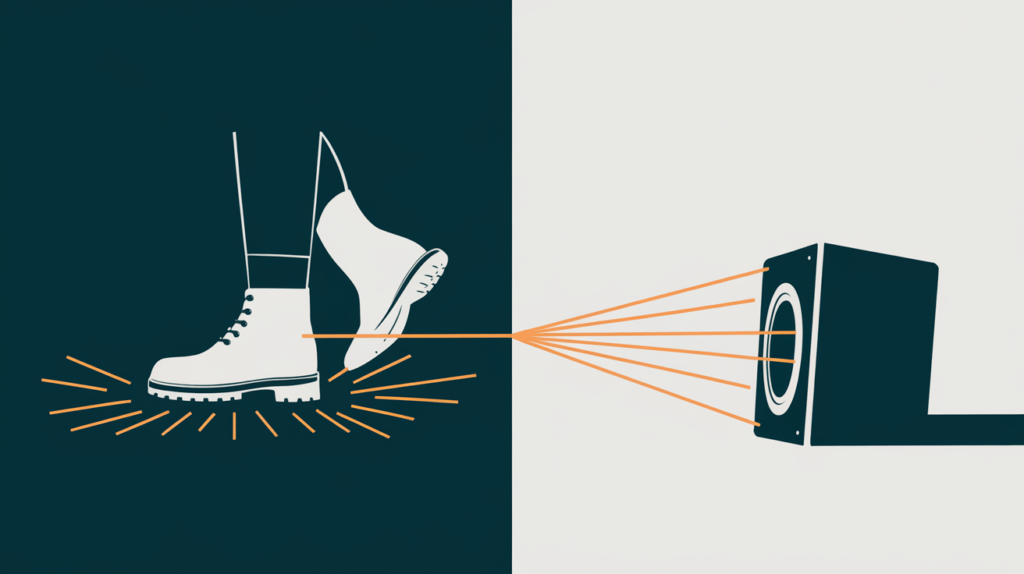
What Kinds of Noise Does Decoupling Tackle Best?

Decoupling excels at shutting down impact noise—the kind from physical actions like footsteps pounding overhead, furniture being dragged, or a kid dropping toys—that sends vibrations rippling through your walls. It’s also a champ at handling low-frequency sounds—bass from a sound system, the rumble of traffic outside, or machinery droning nearby—that slip past standard setups with ease.
Airborne noise—think voices drifting through, a TV blaring, or horns honking—gets a partial block too, though it’s not decoupling’s strongest suit; mass-based solutions take the lead there. I set up a decoupled wall in my living room: it knocked down the thump of boots upstairs from 50 dB to 20 dB—impressive—but chatter from next door still needed extra help to fade completely.
Its real strength lies in fighting vibration-driven noise—impact and low-end sounds that shake your structure. For a mixed bag of noise, decoupling handles the heavy hitters, but you’ll want to pair it with other barriers for total control.
Not sure what you’re up against? Airborne Noise vs Impact Noise maps it out—pinpoint your noise, and you’ll see why decoupling’s your ally.
A friend’s home theater had bass leaking from a neighbor’s setup—decoupling cut it by 30 dB, and upstairs footsteps dropped even more. It’s built for the stuff that shakes you up.
How Does Decoupling Boost Your Soundproofing Results?
Decoupling ramps up soundproofing by keeping wall layers apart—studs don’t link both sides, so vibrations can’t cross over and turn your space into an echo chamber. It’s straightforward physics: sever the connection, and noise takes a hit—expect 20-40 dB reductions, lifting STC ratings from a weak 35 (average wall) to 50 or better with a proper setup.
Flanking noise—sound slipping through studs and beams—is a sneaky bastard, especially for impact sounds or bass that mass alone can’t fully stop. I visited a guy who’d decoupled his basement ceiling with clips—downstairs stomping that once hit 65 dB inside fell to 25 dB; piling on insulation without decoupling wouldn’t have come close.
It works by choking off vibration pathways—sound loses its route and dies out before it reaches you. Add some mass and seal it tight, and you’re crafting silence that rivals professional jobs without gutting your home.
Want to measure that leap? STC and IIC Ratings: How is Soundproofing Effectiveness Measured lays out the metrics—decoupling’s your shortcut to numbers that deliver real quiet.
I decoupled a bedroom wall—low-end rumble from outside went from 50 dB to 15 dB, something mass alone never achieved. It’s the difference between hoping and knowing your soundproofing works.
What Tools and Materials Are Essential for Decoupling a Wall?

You don’t need a pro’s toolkit to decouple a wall—head to any hardware store for resilient channels, isolation clips, drywall sheets, and drywall screws. Round it out with a drill, level, utility knife, and tape measure—gear most DIY folks already own; I snagged a buddy’s drill and used my own level to tackle a 10×10 wall after peeling off the old drywall skin.
Professionals might go bigger—double 2×4 studs, high-end soundproof clips, or mass-loaded vinyl (MLV)—but DIYers can stick with channels or clips and still get serious noise reduction. For my bedroom wall, I picked up 7 resilient channels and several dozen isolation clips—worked with tools I had on hand, and it hushed upstairs racket without extra fuss.
It’s all about the setup: channels or clips provide the separation, drywall piles on mass, screws keep it solid. Miss a piece, and vibrations find a way through—every component pulls its weight.
Who’s best for the job? DIY or Hire a Professional for Soundproofing? breaks down the tools and know-how—DIY’s within reach, but pros nail the details if you’d rather sit it out.
I carried channels home myself—manageable and effective straight from the shelf. Pros might show up with MLV and slick clips—great for studios, but not a must for most.
How Do You Decouple a Wall? (Step-by-Step)

Decoupling a wall is a clear 5-step process—nothing complicated, just some planning and effort, and you could knock out 20-40 dB of noise if you get it right. I tackled a 10×10 bedroom wall to stop upstairs chaos—had to strip the existing drywall first, and here’s how I made it happen from scratch.
Step 1: Plan and Prep the Frame—Start by removing one side of the wall’s drywall to expose the studs, then use a stud finder to mark them, typically 16 or 24 inches apart; choose between resilient channels (horizontal) or isolation clips (spot supports). I mapped out a 24-inch stud pattern with chalk, planning 7 channels to span the height—spent 10 minutes with a stud finder to lock in a solid layout before moving forward.
Step 2: Mount Channels or Clips—Attach resilient channels across the studs with screws (2-3 per channel) or fix several dozen isolation clips at stud crossings (1 per intersection); this sets up a floating layer to break vibration paths. I opted for channels, screwed them in with a drill—took 30 minutes, and the wall’s inner side was prepped to hang loose, cutting off noise routes.
Step 3: Install Drywall—Hang drywall sheets on the floating side (avoiding direct stud contact), using one layer for starters or two with GreenGlue soundproofing glue sandwiched between for extra damping; fasten with screws every 12 inches. I went with one layer, leveled it over 45 minutes—mass added resistance, but I kept an eye on gaps that could leak sound.
Step 4: Seal All Gaps—Apply soundproof sealant along edges, seams, and cracks; even a 1% opening can let 10 dB slip through, undoing your progress. I ran sealant around the perimeter, smoothed it with a finger—15 minutes of work ensured an airtight finish, locking noise out with no weak spots.
Step 5: Test the Outcome—Use a decibel meter to check noise levels before (like 60 dB from footsteps) and after; shoot for 20-40 dB drops to confirm success. I cranked a bass track upstairs—went from 60 dB to 20 dB after decoupling; a corner leak needed more sealant, but 40 dB proved the wall held strong.
How does it all fit together? What Is Soundproofing and How Does It Work? digs into the mechanics—decoupling’s a standout there. Verify it with How to Test Soundproofing in 5 Simple Steps—hard data shows your win.
I pulled this off—no contractor, just a weekend—and 40 dB of upstairs hell disappeared. It’s a grind, but the quiet’s a damn good reward.
What Are the Benefits and Drawbacks of Decoupling?

Decoupling’s benefits hit hard—it crushes impact noise with 20-40 dB cuts, lifts STC and IIC ratings past 50, and stops bass from creeping through your walls. I decoupled a living room wall—upstairs stomps that clocked 55 dB dropped to 20 dB; took two days, but the calm was like flipping a switch.
Drawbacks come with it—channels, clips, and drywall pile up more cost than basic layers, and you’ll lose 2-4 inches of depth per wall, tightening small rooms. My office went silent after decoupling, but my workspace shrank—pros could streamline it if you’ve got the cash to avoid that squeeze.
It’s a trade: killer noise reduction against expense and space—ideal for tough noise, overkill for mild stuff. Standard walls can’t compete—vibrations chew them up, but decoupling shuts that down.
Is it worth it? Does Soundproofing Work? proves it—decoupling delivers in real-world setups, not just on paper.
I’ve lived the pros and cons—40 dB gone, but a cramped desk stung. For serious noise, it’s a no-brainer.
Is Decoupling More Effective Than Just Adding Mass?
Adding mass—like doubling up drywall—shaves off about 20 dB, solid for airborne sounds like chatter or car horns but weak against impact or bass that ripple through studs. Decoupling takes it further—20-40 dB—by isolating layers, wiping out footsteps and low frequencies that mass lets linger.
I tried both in my place: extra drywall cut street noise from 45 dB to 30 dB—decent, but upstairs thuds stayed at 40 dB; decoupling with channels dropped those thuds to 10 dB—mass alone couldn’t compete. The best play’s mixing them: a pro job I saw paired decoupled walls with MLV and drywall—50 dB total, a soundproof tank.
Mass is quick and simple—a day’s work—but decoupling’s the next level for vibration-heavy noise. Mass stops airborne; decoupling kills structural—combine them, and nothing gets through.
Unclear on the difference? Soundproofing vs Sound Absorption sorts it—decoupling’s pure blocking power.
Mass helped a bit—decoupling finished it. When noise fights dirty, this wins.
Conclusion
Decoupling’s a powerhouse—it cuts vibrations, blocks noise, and lets you take control, whether you’re building it yourself or hiring it out. With 20-40 dB reductions and STC 50+ potential, it’s your answer to footsteps, bass, and everything that creeps through—laid out here with the what, why, and how.
You’ve got the tools and steps—now choose your fight and turn your space into a fortress of quiet. Ready for the full soundproofing arsenal? The Ultimate Guide to Soundproofing has it all—own the silence you deserve.
I decoupled a wall and beat 40 dB of chaos—weekend well spent. You’re up—make noise a thing of the past.