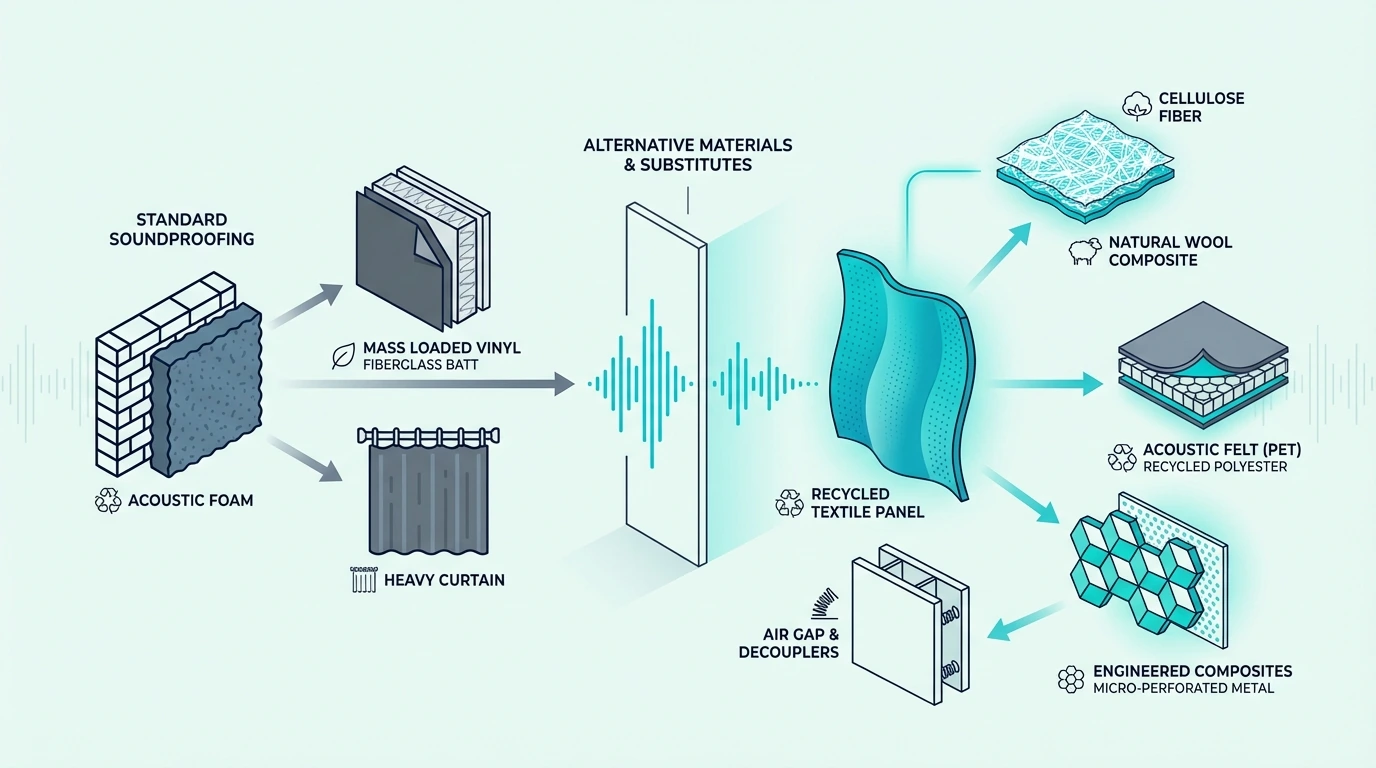
Alternative Soundproofing Materials (What Works And What Doesn’t)
Alternative soundproofing materials can work, but only when you mean real assembly upgrades like Green Glue, resilient channel, isolation clips, and underlayment instead of DIY wall hacks that never had enough mass or decoupling to matter.
Most buyers get stuck because search results mix those real materials with foam, curtains, towels, and other surface add-ons, so they end up buying a product that solves the wrong problem or barely changes the noise at all.
The practical way through it is to match the material to the job: damping for finished drywall builds, decoupling for open wall or ceiling rebuilds, cavity absorption as support, and underlayment for floor impact control.
Below, I will show you which alternatives belong in walls, ceilings, and floors, when each one makes sense, and where they still need mass and airtightness around them.
Alternative soundproofing materials work best when they are real assembly materials, not household stand-ins. For finished walls and ceilings, Green Glue makes sense inside a new drywall layer; for rebuilds, resilient channel is the lower-cost decoupling route while isolation clips with hat channel are the stronger modern upgrade; for floor replacements, acoustic underlayment helps mostly with impact noise; and for open cavities, mineral wool supports the build but does not replace mass, damping, or decoupling on its own.
Real Alternatives vs Household Hacks
The useful way to read alternative here is not whatever happens to be cheap or easy to hang on a surface.
It is what else can replace or supplement the standard mass-only approach inside a real wall, ceiling, or floor assembly.
The confusion problem
The category gets muddled because articles mix Green Glue, resilient channel, isolation clips, acoustic curtains, foam, egg cartons, and towels into one giant list.
That creates the false impression that every product is just another version of soundproofing, when in reality some belong in real assemblies and others barely affect transmission at all.
The four real jobs
Once you separate the assembly materials from the household fillers, real alternatives usually do one of four jobs: damping, decoupling, cavity absorption, or impact control.
Green Glue handles damping, resilient channel and isolation clips handle decoupling, mineral wool supports the cavity, and floor underlayment targets footfall and structure-borne floor noise.
Those categories are not interchangeable. A damping compound cannot replace decoupling hardware, and underlayment cannot do the job of a rebuilt wall or ceiling assembly.
What falls outside those four jobs
None of those four categories include egg cartons, towels, thin foam, or decorative curtains. Those products do not add enough mass or structural separation to matter.
That is the same boundary explained in does soundproof foam work, where absorption gets mistaken for true blocking.
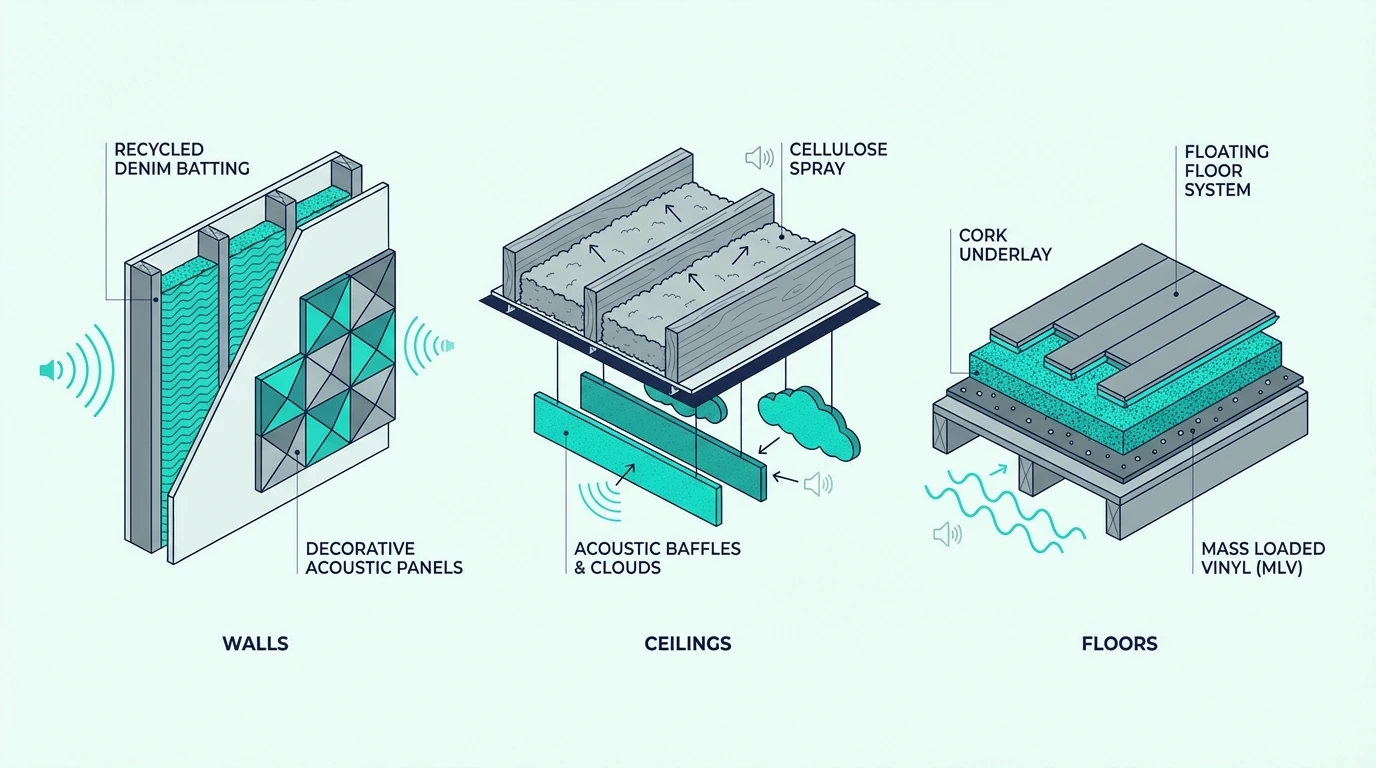
Wall and Ceiling Alternatives: Damping, Decoupling, and Cavity Fill
Once you focus on real assemblies, the wall and ceiling alternatives become much easier to rank.
The best option depends on whether you are overlaying a finished surface or rebuilding from the framing side.
Green Glue As A Damping Alternative
Green Glue makes sense when you are adding a second layer of drywall to a wall or ceiling and want more than just extra mass.
A product like Green Glue Noiseproofing Compound converts vibration between drywall layers into heat, which is why it belongs in real retrofit builds instead of DIY surface hacks.
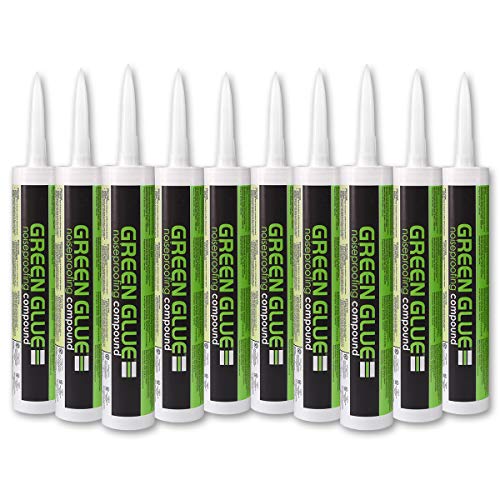
Green Glue Noiseproofing Compound
Resilient channel as a lower-cost decoupling route
Green Glue works on finished surfaces, but when the wall or ceiling is already open to framing, decoupling becomes the bigger lever. Resilient channel is the older budget way to separate new drywall from the studs.
A product like Trademark Soundproofing RC-1 Resilient Channel can still work well in careful wall and ceiling rebuilds, especially in projects closer to soundproofing an existing wall and soundproofing a ceiling.
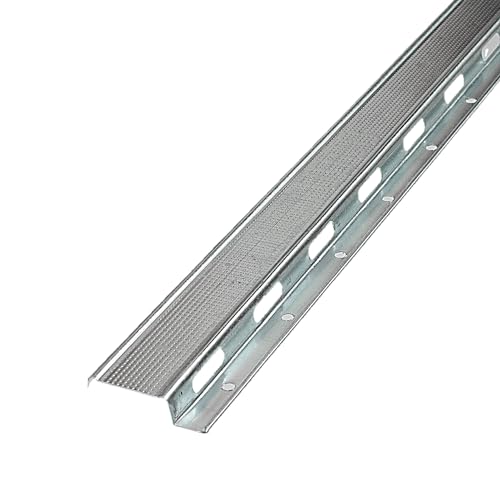
Trademark Soundproofing RC-1 Resilient Channel (32 Pack, 8 ft)
That does not make resilient channel useless. It just means clips are usually the better answer when labor, framing accuracy, and overall performance matter more than keeping hardware costs down.
Isolation clips as the stronger replacement
Resilient channel gets the job done in careful builds, but it is less forgiving than the modern alternative. Isolation clips paired with hat channel break the vibration path more reliably.
A product like RSIC-1 Resilient Sound Isolation Clips separates drywall from framing more reliably than resilient channel alone, which is why serious rebuilds usually step up to clips when performance matters most.
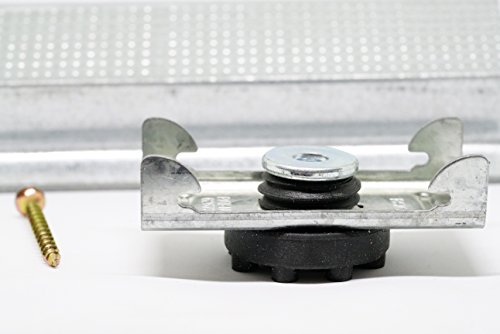
RSIC-1 Resilient Sound Isolation Clips (10 Pack)
Mineral wool as the cavity support layer
Damping and decoupling handle the board-level work, but the cavity between the layers still matters. Mineral wool fills that role as a support layer rather than a standalone fix.
It helps inside open cavities in the same assembly-first way covered in soundproofing a wall and how to soundproof a room, but it does not replace mass, damping, or decoupling on its own.
Get Studio Tips Weekly
Join 5,000+ creators getting acoustic treatment advice every week.
No spam. Unsubscribe anytime.Floor Alternatives: Underlayment and Impact Control
Floor projects follow different rules because impact noise matters more there than airborne wall transmission.
That is why underlayment belongs in this conversation while Green Glue and resilient channel usually do not.
Underlayment For Impact-Noise Control
Underlayment is the alternative material that makes sense when you are replacing a floor and want to reduce footfall, chair scrape, and light structure-borne transfer.
A product like FloorMuffler Ultra Seal Underlayment 300SF belongs under a new hard floor, not on top of a finished room as a magic fix.
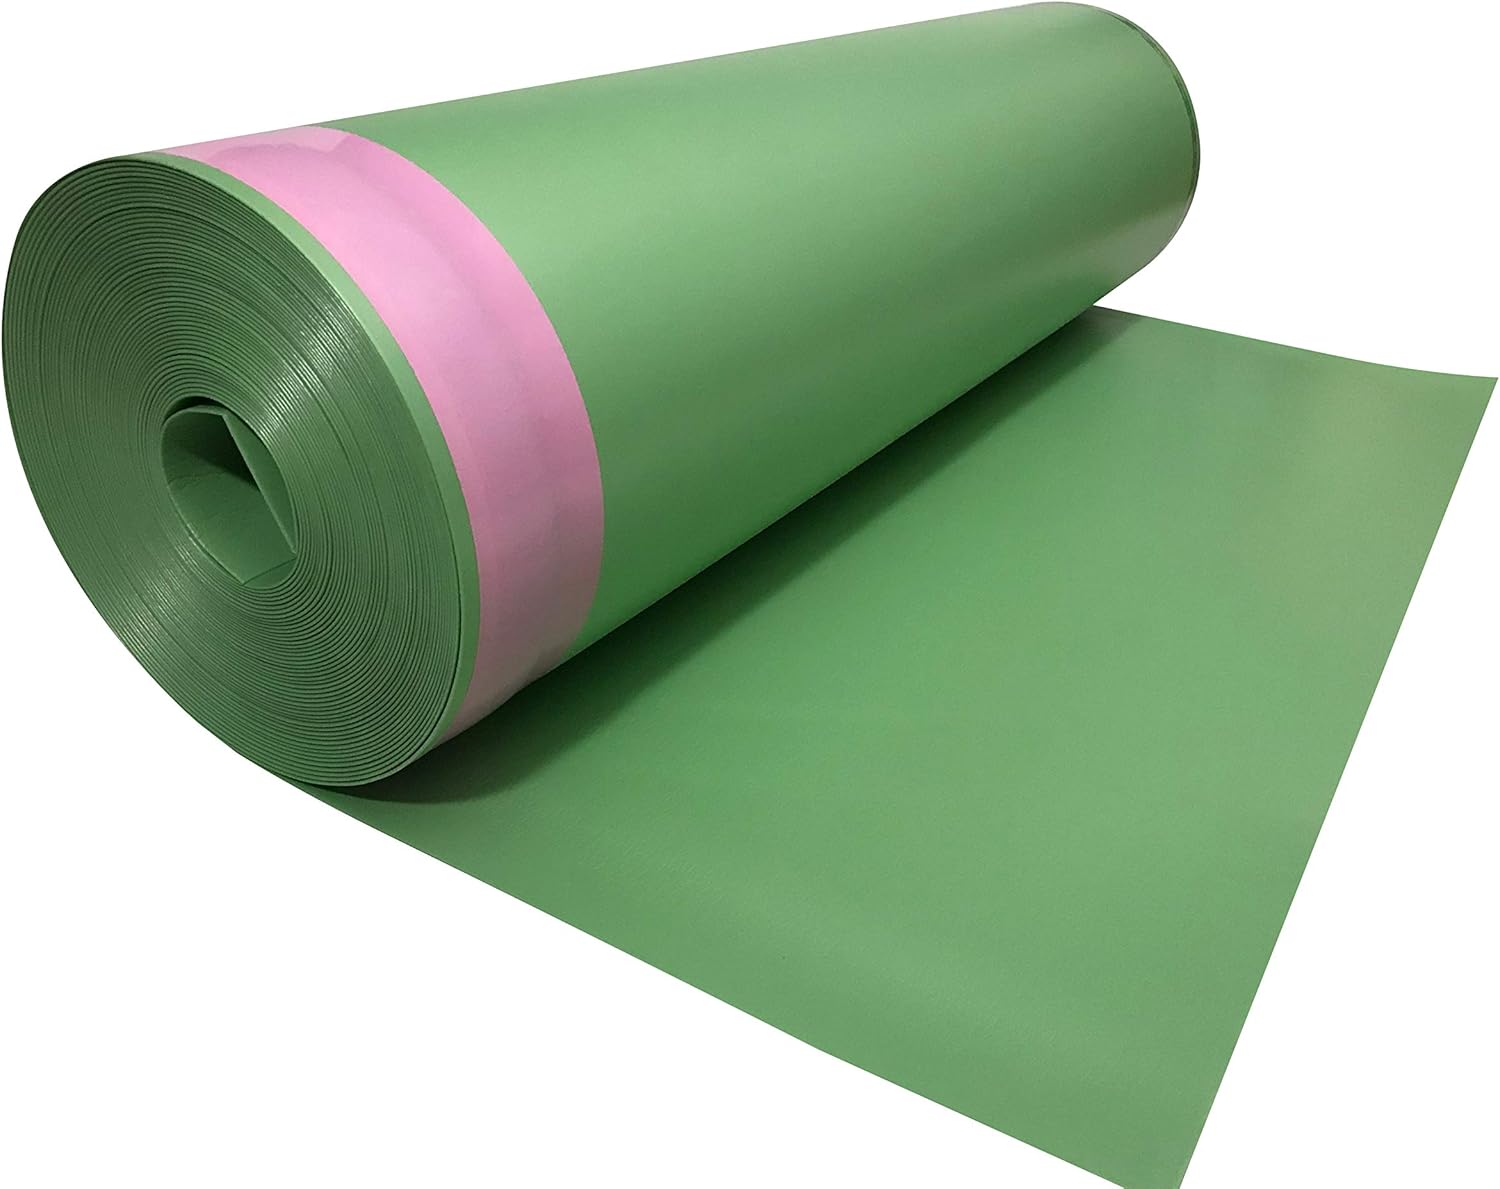
FloorMuffler Ultra Seal Underlayment 300SF
That is why it fits better with soundproofing a floor and best soundproof underlayment for hardwood than with generic room-hack advice.
When underlayment helps and when it disappoints
That kind of underlayment makes the biggest difference when the complaint is footstep noise from the surface itself.
It disappoints when the real issue is airborne transfer through the whole floor-ceiling assembly, because that is when you usually need a broader system like the one described in soundproofing between floors.
That is why underlayment makes the most sense in upstairs rooms, hard-floor renovations, and condo-style floor builds where footsteps are the main complaint.
It is much less impressive when voices, TV, or bass are already moving through joists, cavities, and ceiling drywall below.
Choosing the Right Alternative by Access Level
The fastest way to choose the right material is by access level and noise type, not by whatever product sounds most technical.
That keeps you from buying floor underlayment for a wall problem or Green Glue for a project that really needs decoupling.
Finished walls and ceilings
If the room is finished and you are willing to add new drywall, Green Glue is usually the first serious alternative to consider.
It lets you improve a finished surface without opening the framing, though you still need good sealing and realistic expectations about how much one added layer can do.
Open rebuilds
When the wall is already open, the Green Glue retrofit path does not apply — you have direct access to the framing. Start by deciding whether the budget supports resilient channel or a clip-and-hat-channel build.
Clips are the stronger route, resilient channel is the cheaper route, and both work best when paired with insulation, new drywall, and airtight perimeter details.
In practice, the best-performing builds usually stack more than one category together. That means some combination of cavity insulation, decoupling hardware, extra drywall mass, damping, and sealed edges instead of expecting one product to carry the entire result.
Floor projects
Walls and ceilings offer multiple layers to work with, but floor projects usually come down to one material decision. If you are already replacing the floor finish, underlayment is the obvious first alternative.
If you are not replacing the floor at all, it usually makes more sense to look at the whole project cost through soundproof room cost before buying an underlayment that never gets installed where it belongs.
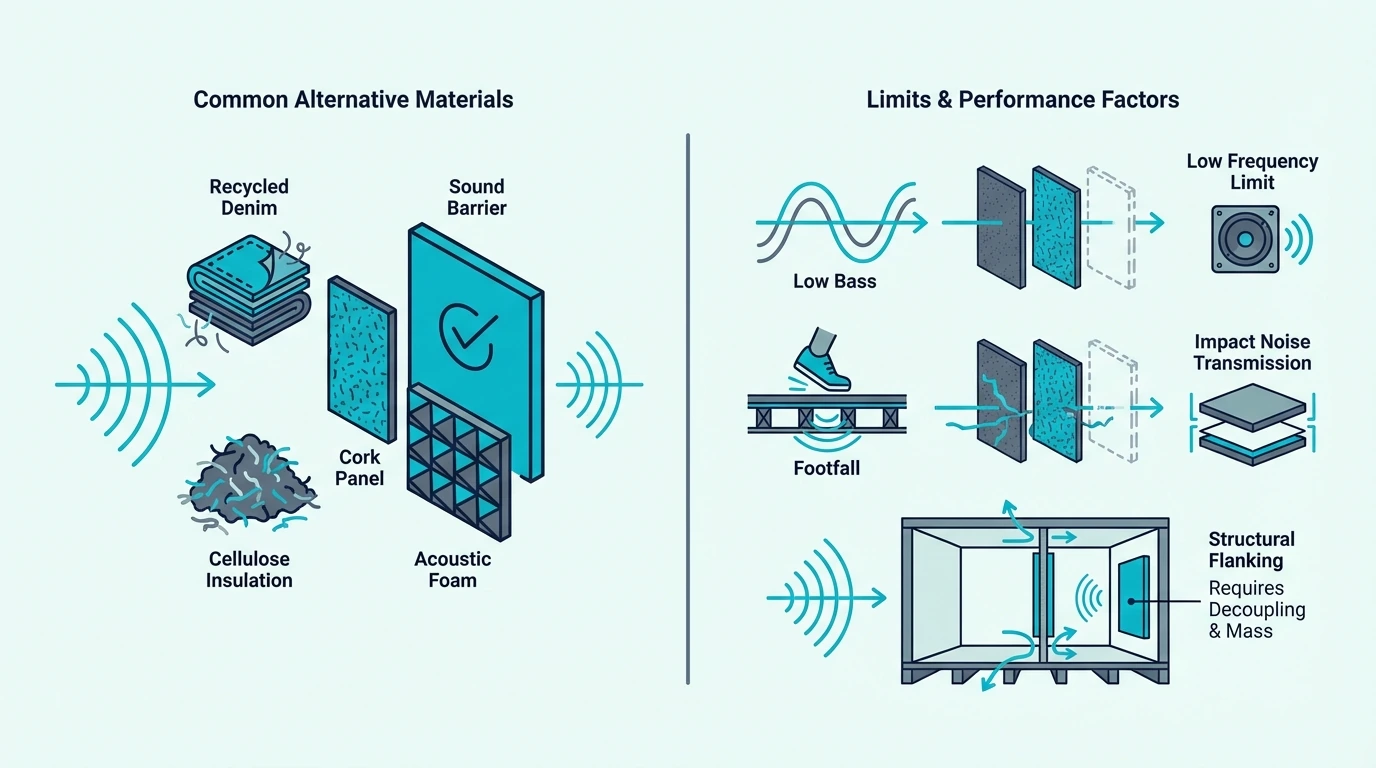
When Alternatives Still Fall Short
Alternative materials still fail when the build has no mass, no airtightness, or too much flanking around the upgraded surface.
That is why Green Glue still needs drywall, clips still need new board layers, and underlayment still cannot fix a weak shared wall or a leaky door.
When you still need mass
Damping and decoupling help a lot, but they do not replace the need for actual board layers, sealed edges, and full-surface coverage.
If the assembly stays light and leaky, the material will look right on paper and still disappoint in the room.
Bass and flanking: where single materials fail
Even with proper mass and decoupling, alternatives can still underperform when bass or flanking paths are involved. Low-frequency energy and indirect paths are where buyers most often overestimate one material.
If the noise is bypassing the upgraded surface through joists, side walls, ducts, or the floor perimeter, you need a broader assembly strategy rather than just a better product category.
The Bottom Line
Alternative soundproofing materials are real assembly choices like Green Glue, resilient channel, isolation clips, and underlayment — not household fillers.
The right pick depends on whether you need damping, decoupling, cavity support, or impact control. If the build still lacks mass and airtight sealing, the material is only one part of the fix.
Frequently Asked Questions
What is the alternative to resilient channel?
The main modern alternative to resilient channel is isolation clips paired with hat channel. That system decouples drywall from framing more reliably and is usually the stronger choice when performance matters more than budget.
Is Green Glue a real soundproofing material?
Yes, but it is a damping material rather than a standalone barrier. It works between drywall layers in a real wall or ceiling build, not as a paint-on shortcut over an unchanged surface.
Does underlayment soundproof a floor?
Underlayment helps mostly with impact noise from footsteps and hard-floor contact. It can be part of a quieter floor build, but it will not solve all airborne transfer through the full floor-ceiling assembly by itself.