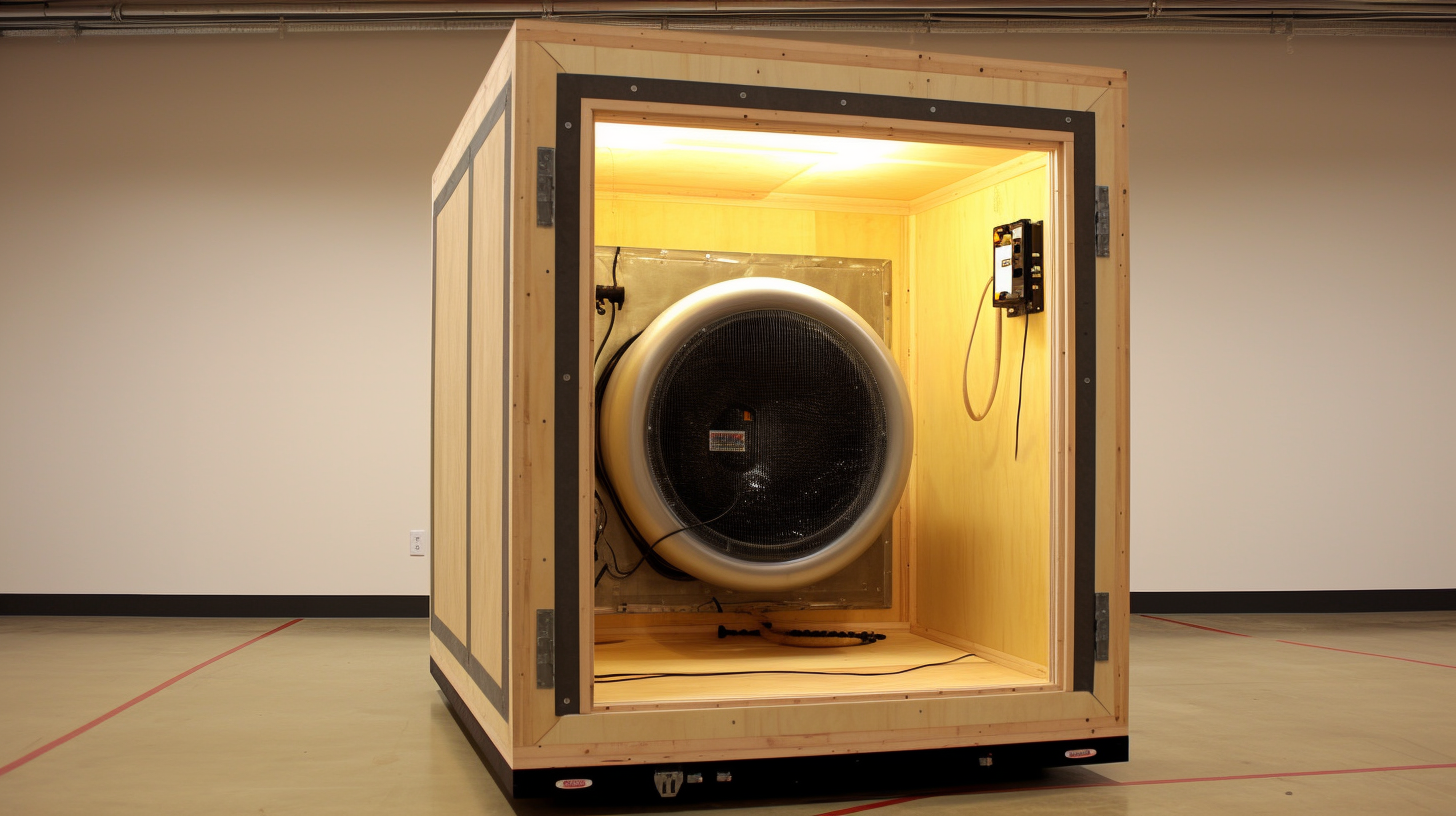
The deafening roar of an air compressor can make concentrating on your woodworking project impossible and disrupt the whole neighborhood. But what if you could contain all that noise so the compressor runs nearly silent?
A soundproof enclosure is the solution to muting distracting compressor noise for smooth operation.
Constructing a customized soundproof box provides an effective method to significantly reduce noise emitted from air compressors for shop use or home DIY projects.
Properly designed, it blocks sound transmission via barriers, absorption, sealing, and isolation to create a quieter compressor installation.
Let’s dive into a step-by-step guide on building your own soundproof enclosure so you can use an air compressor without excess noise disturbance.
Step 1 – Build The Enclosure Frame

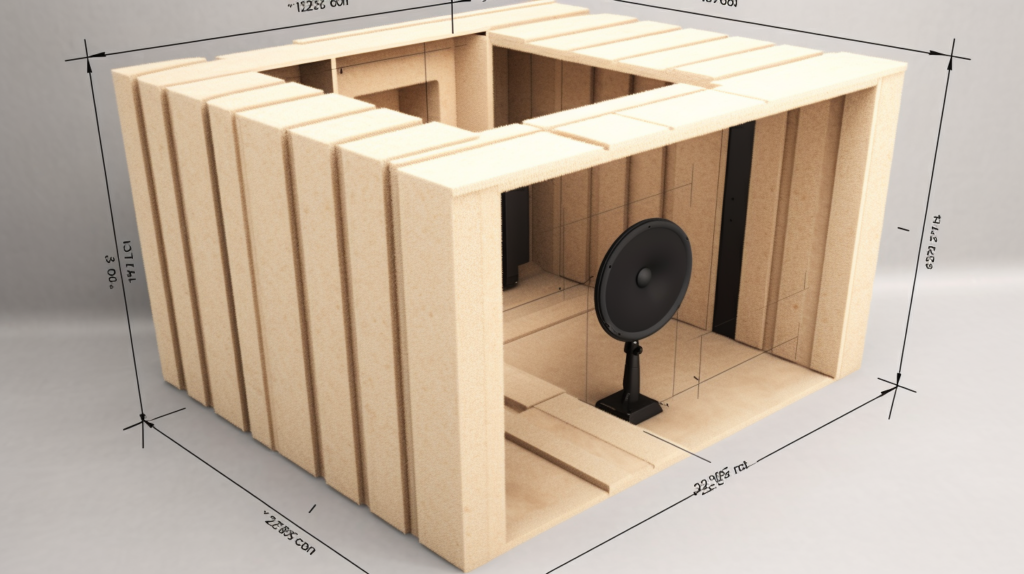
The first step is to build a sturdy framed box that will become the basic enclosure structure. Start by measuring the dimensions of your air compressor and then cut panels of exterior grade plywood or medium density fiberboard (MDF) to size using a tablesaw or circular saw.
Leave sufficient space on all sides for soundproofing materials and airflow.
Use wood glue and screws to join the plywood panels together at the edges to construct a four-sided box frame. Make sure the joints between the cut panels are tight and secure.
Add wood brackets or supports along the interior corners and edges for additional structural reinforcement. All seams should be as tight as possible with no gaps that would allow noise transmission.
High frequency noise in particular can leak through tiny openings. Ensure the enclosure is sturdy enough to contain the weight and vibration of the operating compressor by using at least 3/4 inch thick plywood.
MDF provides additional mass which also helps with sound damping. Seal any unfinished wood surfaces with caulk.
Step 2 – Add Soundproofing Panels

After assembling a solid enclosure frame, the next vital step is adding panels made of specialized soundproofing material to the interior surfaces. There are two optimal choices to use – nitril butadiene rubber (NBR) or mass loaded vinyl (MLV).
These provide maximum noise reduction and sound absorption.
Measure and cut panels from soundproofing rubber or vinyl to attach to the walls, ceiling, and floor. Use heavy duty construction adhesive to glue the panels in place.
Make sure they are securely adhered with full contact over the entire surface area. Go over all joint seams with acoustic caulk to seal any remaining gaps between panels or at edges.
The specialized dense, limp mass of NBR and MLV effectively dampens noise energy. This prevents compressor vibrations from transferring through the enclosure frame.
An alternative budget option is to use standard fiberglass or mineral wool insulation panels instead. However these are less ideal for lower frequency soundproofing.
Step 3 – Install Door

Once the enclosure interior is fully lined with sound damping panels, you will need to cut an opening to install a door. Measure and outline the door location on one side, making it just large enough to allow compressor access.
Use a jigsaw to cut out the opening.
Install a sturdy wooden or metal door using hinges, aligning it flush with the door hole edges. Make sure the door seals tightly when closed.
Weatherstripping tape should be applied along the door perimeter to block sound leakage. A latch should also be added to keep the door firmly shut during compressor operation.
The door should seal completely airtight in order to prevent noise from escaping the enclosure interior. Acoustic sealing gaskets or sweeps can be installed for optimal soundproofing.
Any gaps, air leaks or openings will compromise the acoustic isolation efficiency.
Step 4 – Add Ventilation

While sealing the soundproof box, provisions must also be made for necessary airflow and ventilation. An enclosed compressor generates heat which requires venting.
Cut intake and exhaust holes or ports into the enclosure panels.
Round ducting ports with 90 degree bends are ideal, as the curved shape helps dissipate sound waves. Place acoustic baffles made of sound absorbing materials over the ventilation openings.
This attenuates noise escaping through the ports.
For improved airflow, small low noise fans can be installed in the intake and exhaust ducts. The ports should be positioned to facilitate continuous airflow which prevents overheating.
Generous ventilation allows the compressor motor to operate optimally.
Step 5 – Isolate Vibration
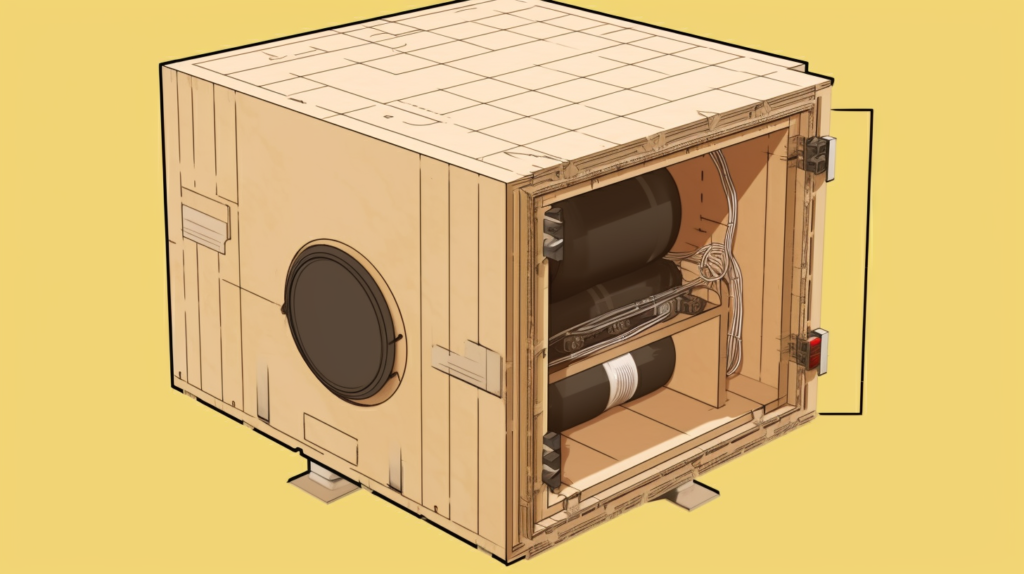
In addition to blocking airborne noise, preventing vibration transfer is also important for containing sound. Use anti-vibration pads made of rubber or neoprene under the enclosure to decouple it from the floor.
This isolates structure-borne noise transmission into the surrounding surfaces.
Four heavy duty vibration isolation pads, one positioned under each corner of the enclosure, work best. The rubber pads absorb compressor motor vibration and disturbances instead of coupling them to the building.
This helps minimize noise pollution originating from the enclosure.
Some additional options to isolate vibration include suspension hangers, isolation feet, and even placing the finished enclosure on a thick rubber mat. The goal is total acoustic decoupling from vibrations below and around the soundproof box.
Step 6 – Seal All Gaps
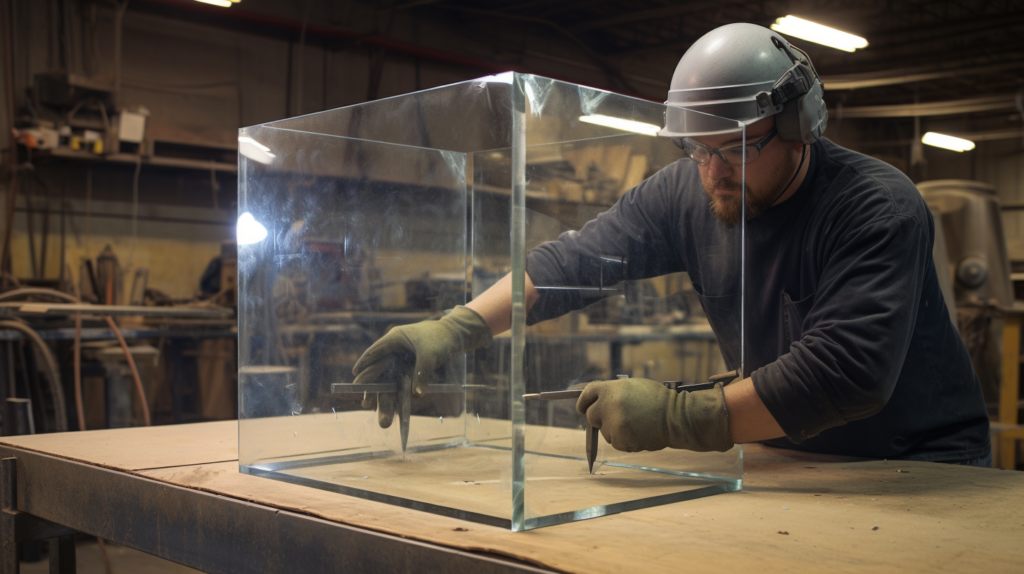
After assembling the full enclosure, carefully check for any overlooked air gaps or leaks, particularly around the door, panels, and ventilation ports. Use a flexible acoustic caulk to fill in and seal any remaining gaps that could allow noise transmission.
The integrity of the soundproof box relies on a complete acoustic seal around the entire perimeter. Inspect the door perimeter, ventilation ports, wiring holes, and all interior panel seams for thorough sealing.
Catching hidden airflow leaks is crucial for preventing sound leakage.
Acoustic caulk remains flexible after drying, which prevents cracking of the seal. Look over the box closely under bright lighting from all angles to ensure you do not miss any tiny air gaps in the enclosure joints or fittings.
Any overlooked openings will compromise noise reduction.
Step 7 – Add Mass Loaded Vinyl (Optional)
For maximum soundproofing from lower frequencies, adding mass loaded vinyl (MLV) sheets into the box construction provides increased noise blocking. MLV comprises thin vinyl loaded with dense minerals to provide limp mass.
You can optionally apply 1/8 or 1/4 inch MLV sheets over your existing soundproofing panels using adhesive. This adds mass which helps dampen lower frequency noise.
Alternatively, attaching weighted materials like sandbags or lead sheeting onto the enclosure interior walls also increases sound-blocking mass.
The more mass that is integrated, the more effective the box will be for deeper noise reduction. However, the standard soundproofing materials already applied should sufficiently mute most compressor noise.
So added mass is optional, not essential.
Conclusion
Constructing a soundproof enclosure for an air compressor is a detailed process but well worth the effort for containing noise. Following the key steps outlined above including building a solid frame, adding sound damping panels, sealing all gaps, isolating vibration, and increasing mass will lead to significant noise reduction from the compressor.
With careful construction using the right acoustic materials, the custom enclosure can decrease sound levels by 50% or more. This allows you to operate the compressor without disturbing others nearby. Meeting local noise regulations also becomes easier.
The vital factors are a sturdy box structure, sealing it completely, using quality sound absorbing panels, preventing vibration transfer, and eliminating any openings. Pay close attention during assembly to achieve the best results.
Your reward will be a dramatically quieter air compressor that can be used almost anywhere without excessive noise.
