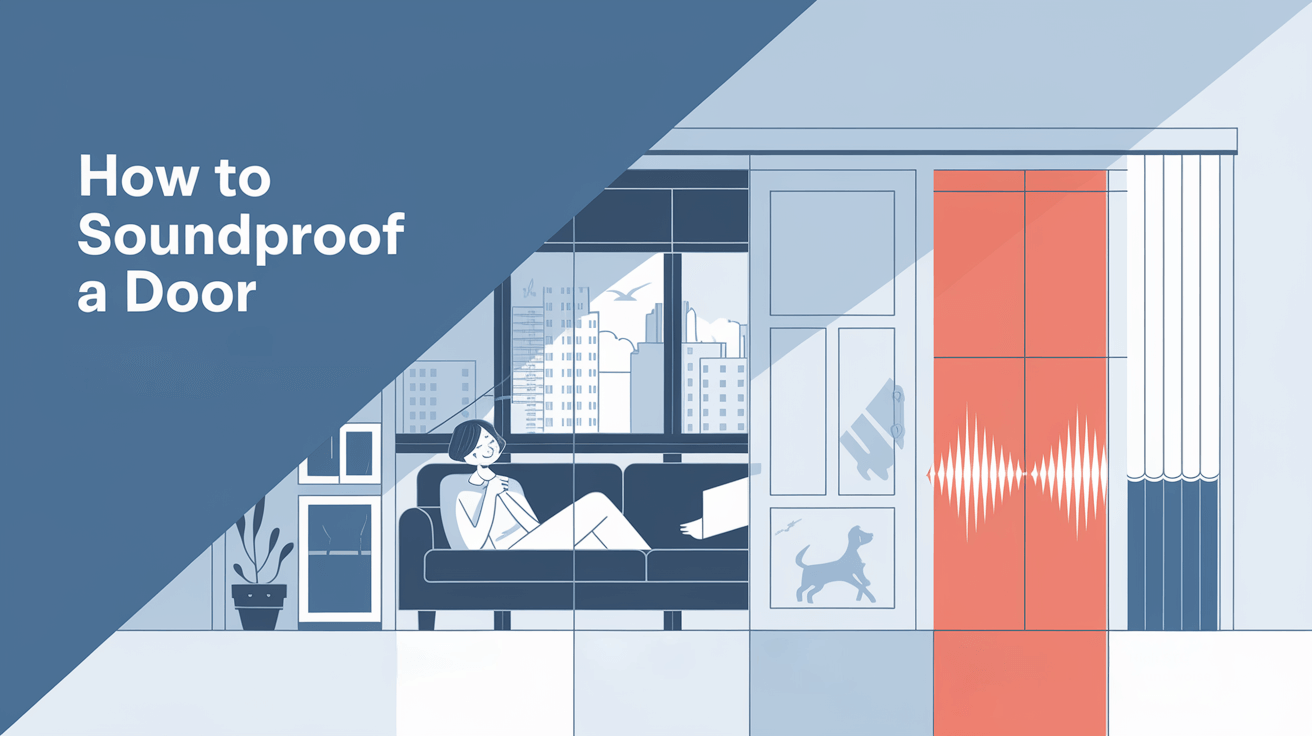
Doors often let unwanted noise—like neighbor chatter, traffic hum, or household bustle—disrupt your peace and quiet at home. Soundproofing them is a practical and effective solution to create a calmer, more private environment, whether you’re a homeowner planning a permanent fix, a renter seeking temporary relief, or a DIY enthusiast on a budget.
Become an Acoustics Insider!
Gain access to expert insights on acoustic panels, soundproofing, soundbars, DJ controllers, MIDI setups, turntables, and more—plus exclusive tips and gear recommendations to perfect your audio world.
We value your privacy—unsubscribe anytime, no spam ever, using the link in our newsletter.
This comprehensive guide walks you through everything you need to know, from understanding the problem to applying simple, tailored techniques.
We’ll start with why soundproofing a door matters, explore the common noise issues it addresses, and highlight the benefits you’ll enjoy once it’s done. %
Then, we’ll cover beginner-friendly methods to get you started and dive deep into specific solutions for various door types, ensuring you find the right fix for your situation. By the end, you’ll have a detailed roadmap to transform any noisy door into a barrier of silence, giving you the tranquil space you deserve.
KEY TAKEAWAYS
Soundproof a door by sealing gaps with weatherstripping or sweeps, adding mass with panels or vinyl, and using high-STC curtains for glass doors. These methods reduce noise by 5–20 decibels for a quieter space.
- Seal gaps to block noise: Use rubber or silicone weatherstripping and door sweeps to cut noise by up to 15 decibels, targeting hollow or poorly fitted doors.
- Add mass for better soundproofing: Attach soundproof panels or mass-loaded vinyl to reduce noise by 10–20 decibels, ideal for hollow or metal doors.
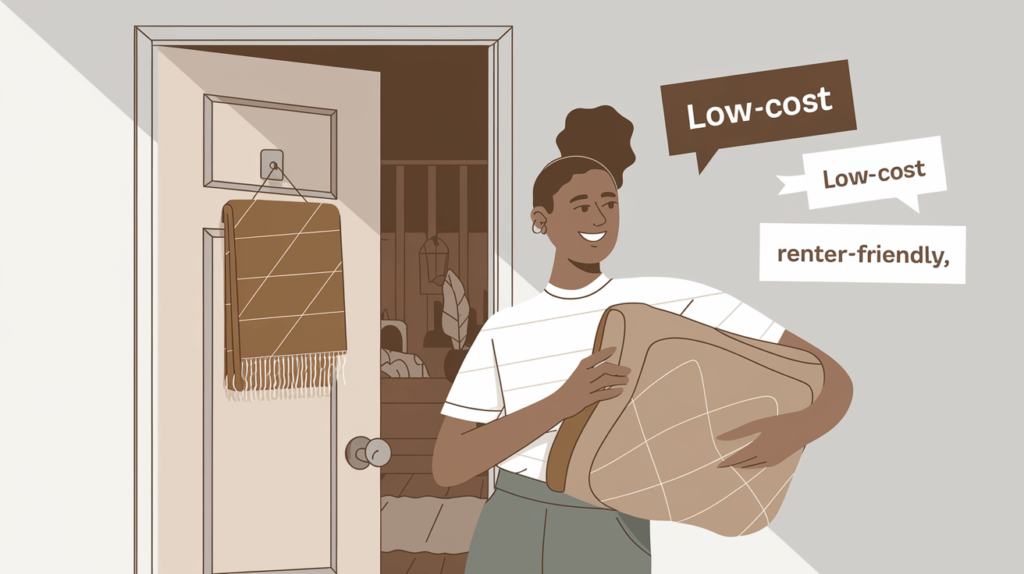
- Use high-STC curtains for glass doors: Overlap curtains on sliding or French doors to absorb noise by 5–10 decibels, offering a stylish, renter-friendly solution.
- Test and adjust: Check noise reduction after applying methods, adjusting seals or mass for optimal quietness during noisy periods like traffic.
Recommended Soundproofing Products

Soundproof Wall Panels
Boost your door’s soundproofing with these sleek wall panels—cut noise by 10-15 decibels, absorb sound, and add style with an easy, renter-friendly setup.
CHECK PRICE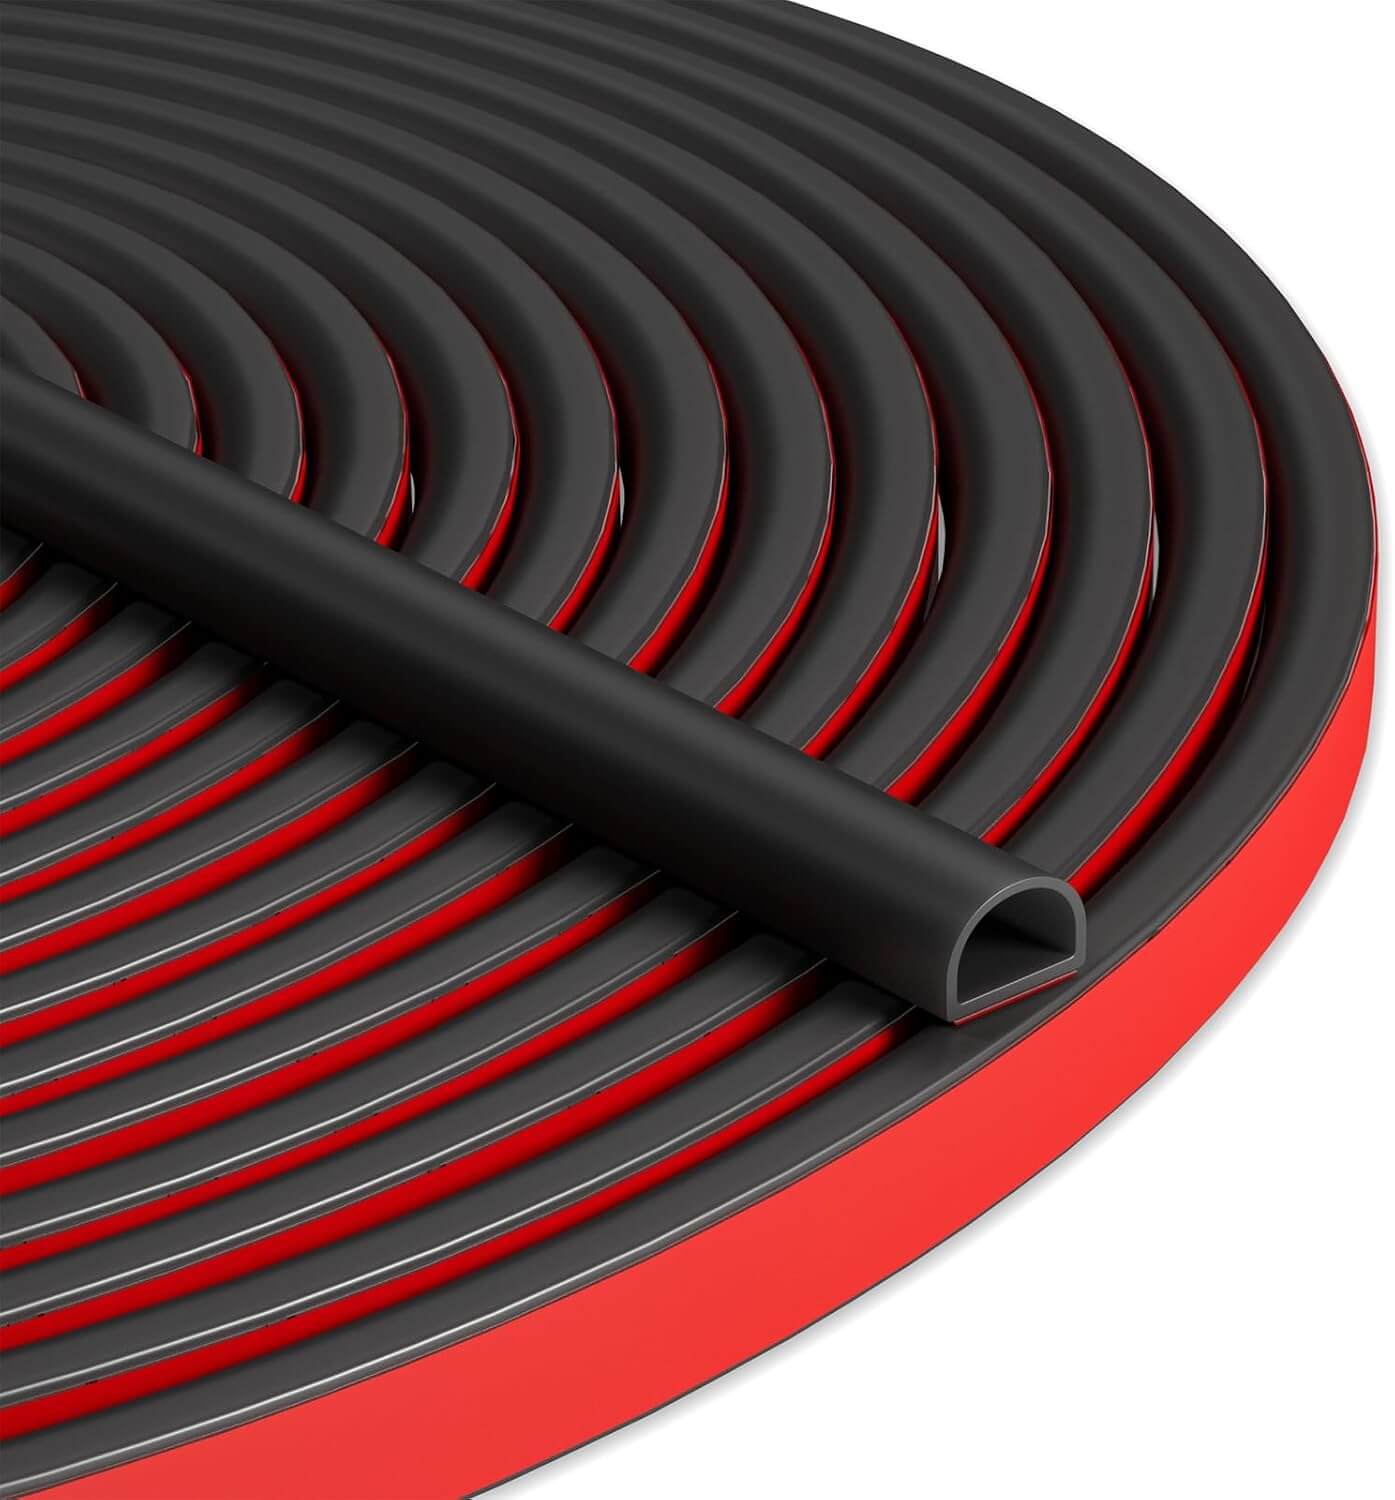
Weatherstrip Door Seal
Block noise leaks with this durable weatherstrip door seal—perfect for sealing gaps around your door frame, reducing sound by up to 15 decibels for a quieter home.
CHECK PRICE
Standard Door Sweep
Seal out under-door noise with this sturdy standard door sweep—easy to install, it blocks drafts and reduces sound by 5-10 decibels for instant quiet.
CHECK PRICE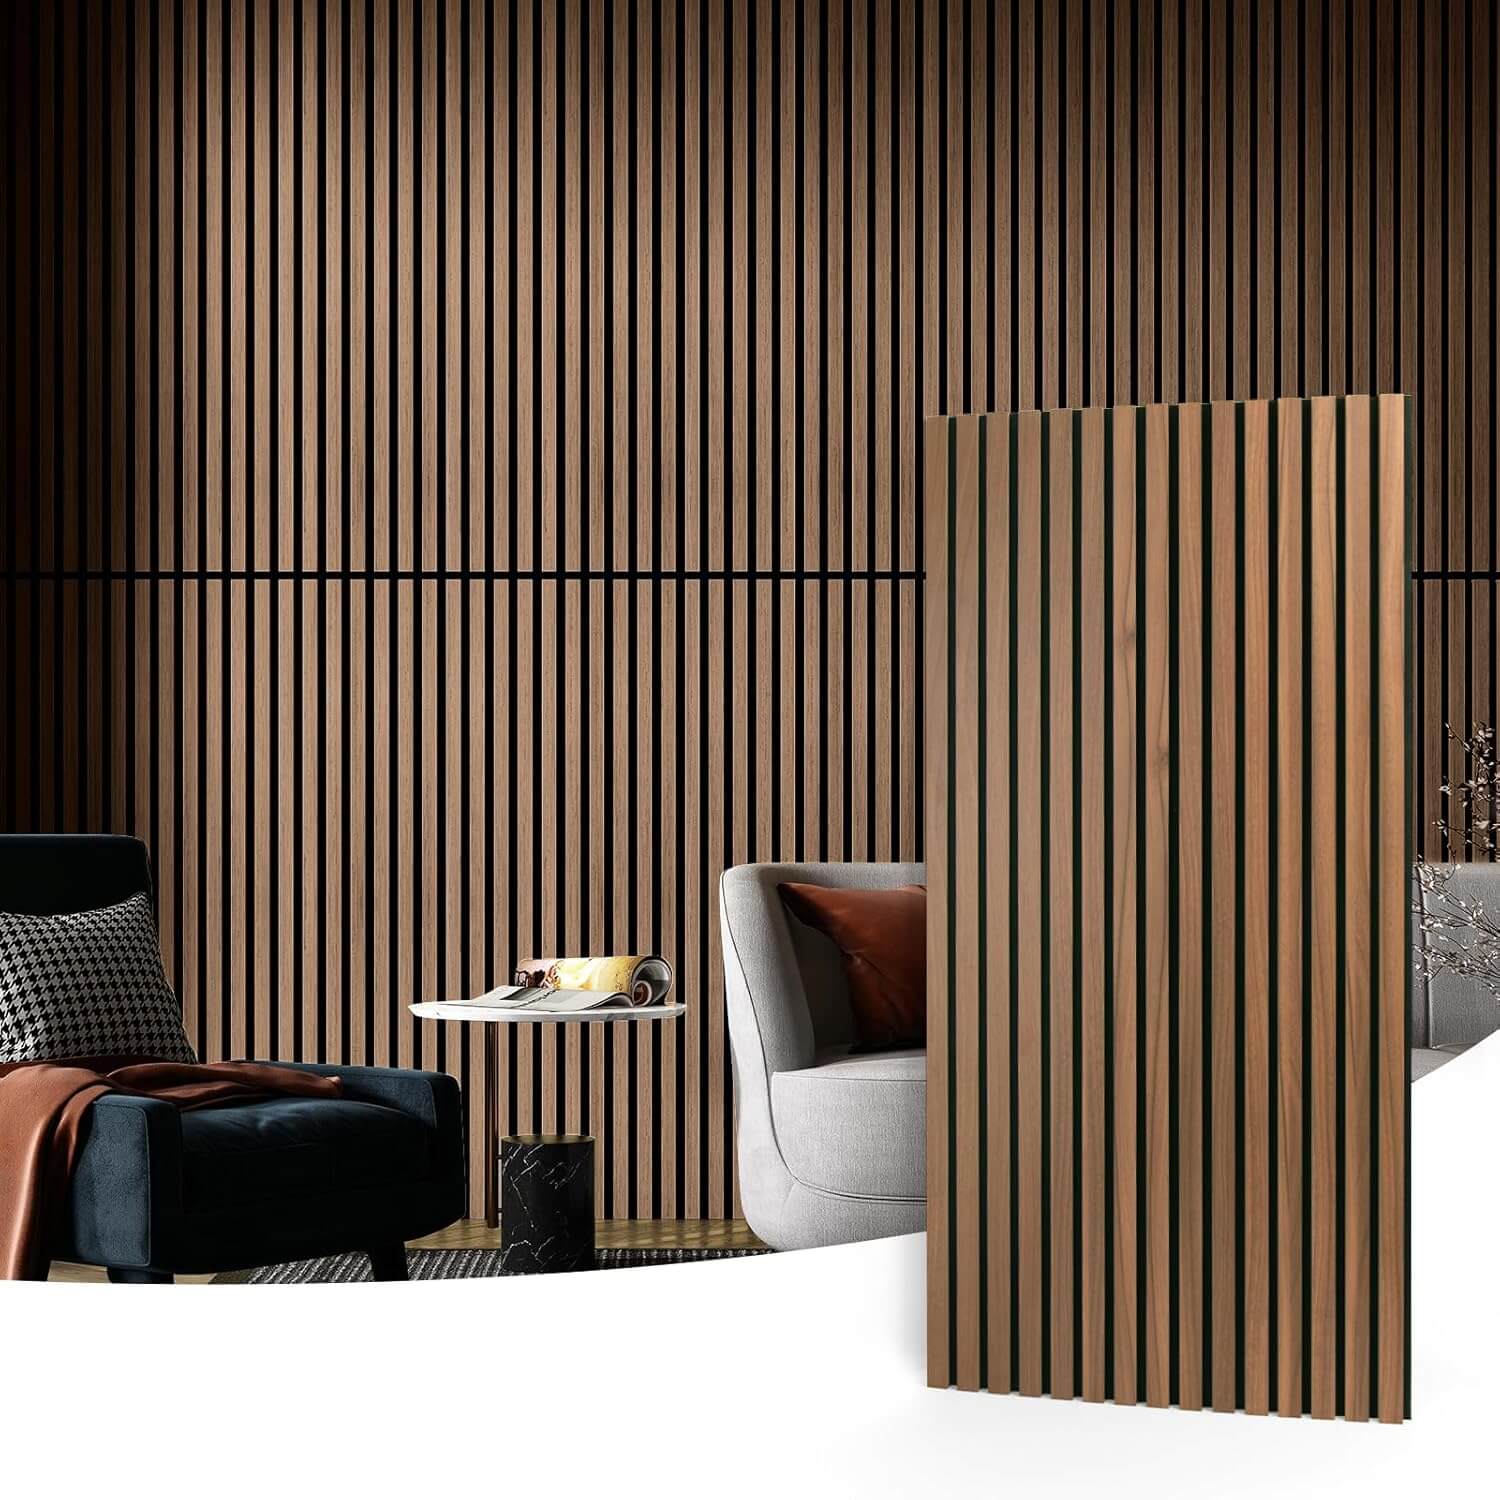
MDF Panels
Fortify your door with these MDF panels—perfect for adding mass, they reduce noise by 10-15 decibels, turning hollow doors into solid sound barriers.
CHECK PRICE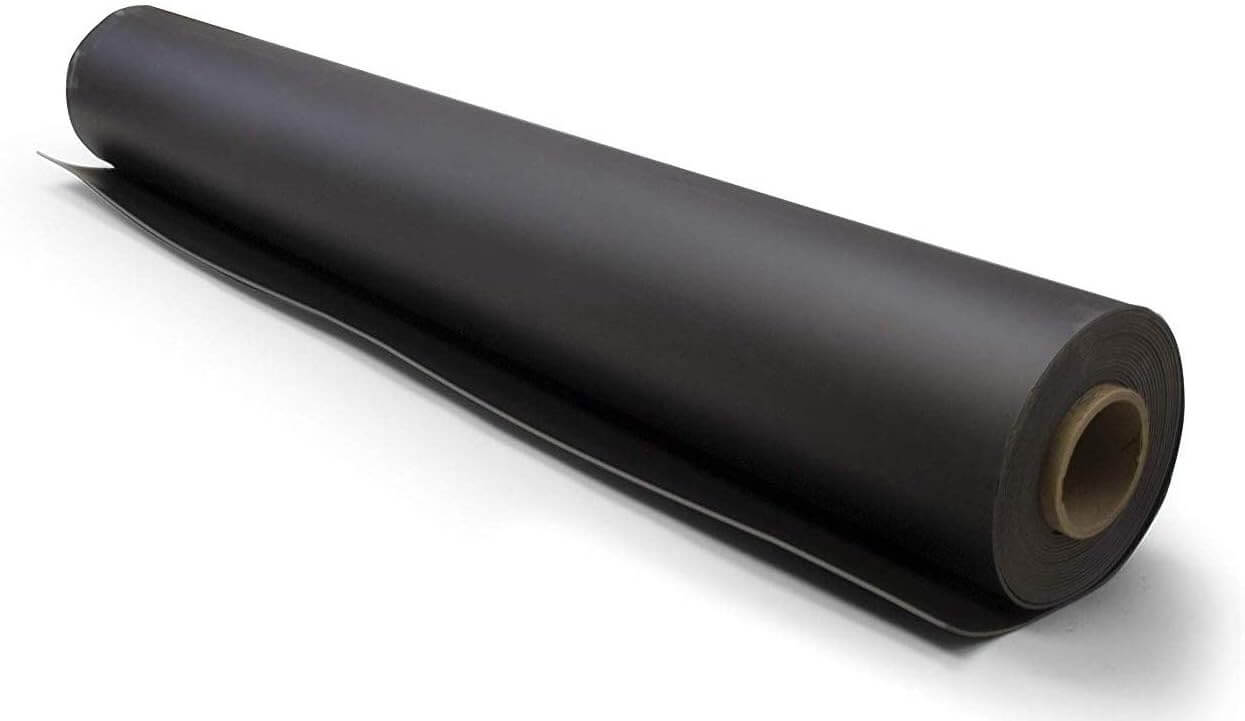
Mass-Loaded Vinyl
Add serious soundproofing power with mass-loaded vinyl—cuts noise by 15-20 decibels, ideal for metal doors or any space needing a dense, quiet barrier.
CHECK PRICE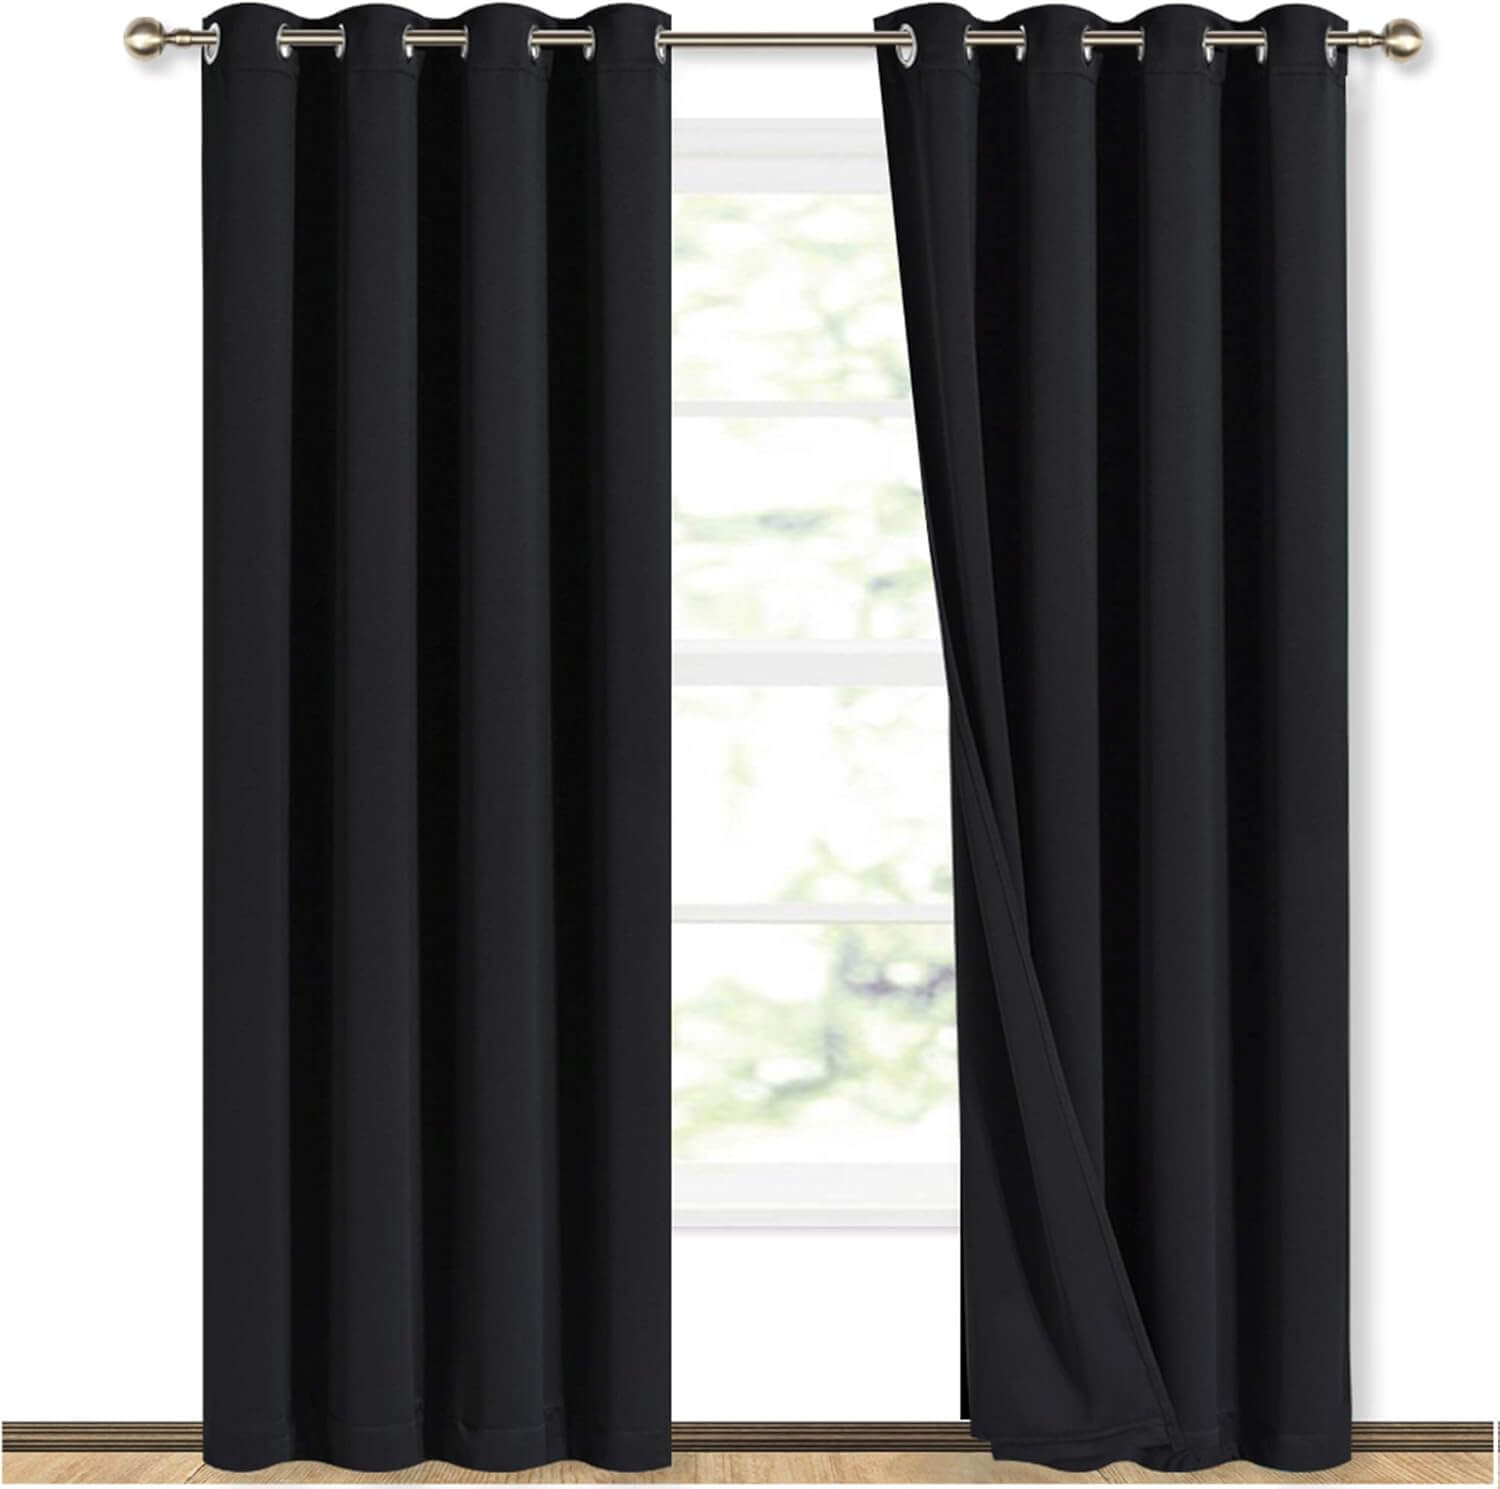
Soundproof Window Treatment Drapes
Elevate your glass doors with these soundproof drapes—absorb noise by 5-10 decibels, block outdoor sounds, and add style with a renter-friendly tension rod setup.
CHECK PRICEWhy Soundproof a Door?
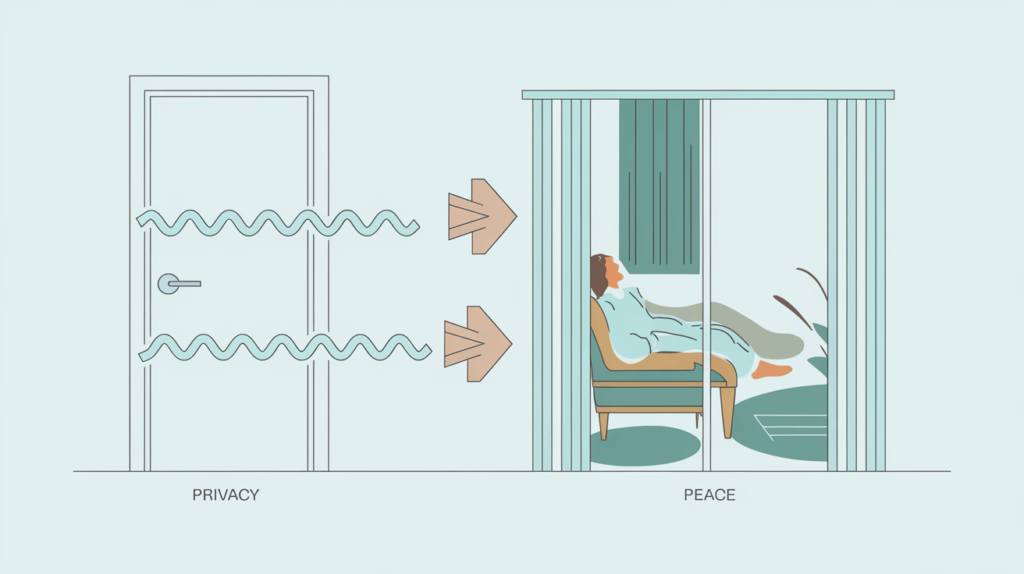
Doors act as gateways for unwanted sound, letting it slip into your home or apartment with ease. Soundproofing them can block out street noise, maintain privacy in shared spaces, or create a peaceful retreat from the chaos outside or within your walls. It’s a critical step that significantly enhances your daily comfort and well-being.
Let’s explore the specific noise problems this solves and the tangible benefits you’ll experience once your door is soundproofed.
Common Door Noise Issues

Doors struggle to block noise effectively due to their design and placement in your home’s structure. Exterior doors often let in the rumble of traffic, the barking of dogs, or the whir of lawnmowers, especially if they’re positioned near busy streets or active neighborhoods.
Inside your home, doors allow sounds like a blaring TV, children playing loudly, or kitchen appliances humming to travel between rooms, disturbing quieter areas such as bedrooms or home offices.
Hollow-core doors, which are lightweight and commonly found in apartments or older homes, transmit up to 50% of sound because of their thin, flimsy construction, according to acoustic studies.
Even solid doors, if they have gaps around the frame or at the bottom, fail to keep noise out unless properly sealed.
A 2019 study by the National Institute of Health found that noise levels above 40 decibels can significantly disrupt sleep, a threshold that uninsulated doors in noisy environments frequently surpass, making soundproofing a pressing need.
Benefits of a Soundproof Door
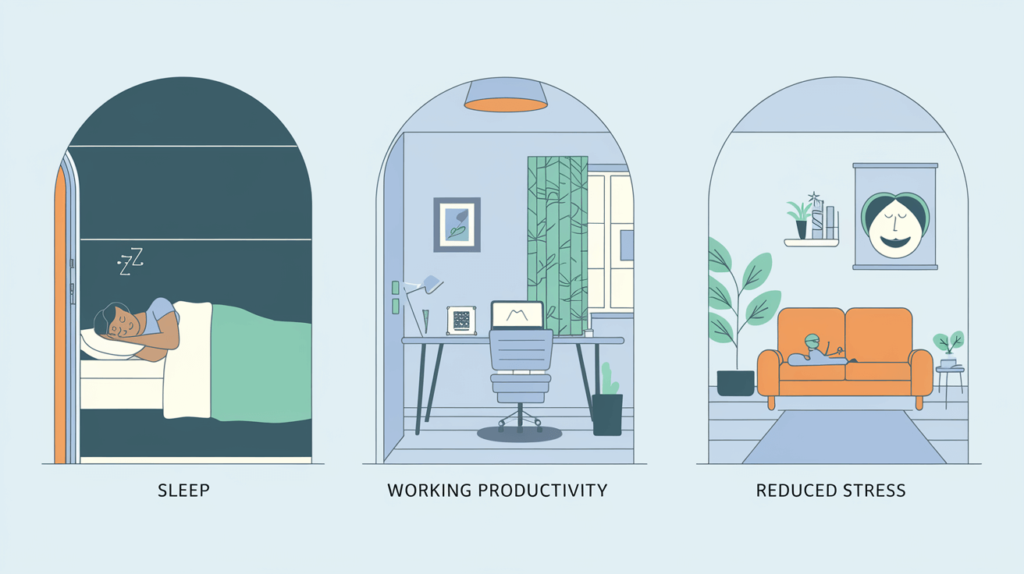
Soundproofing a door boosts your quality of life in ways that go far beyond simply reducing noise. It transforms your space into a haven tailored to your needs, offering multiple advantages.
Improved sleep quality comes from sealing out hallway chatter or street noise, allowing you to rest deeply without interruptions. Even a modest 10-decibel reduction can make a dramatic difference in how refreshed you feel each morning.
Enhanced privacy ensures that conversations in shared spaces or home offices remain confidential, free from eavesdropping or distractions. This is especially valuable if you’re working from home or living with roommates, keeping your personal or professional discussions secure.
Reduced stress counters the toll that constant noise exposure takes on your mental health over time. A soundproof door provides a peaceful sanctuary where you can unwind, relax, and recharge after a long day.
Increased property value is a perk for homeowners, as soundproofing key doors enhances a home’s appeal, particularly in noisy urban areas where quiet is a premium. Better productivity follows when a home office door blocks out household clamor, letting you focus on work or creative projects without losing your train of thought.
Pair these benefits with additional noise-blocking efforts, like those in our How to Soundproof a Bedroom guide, and you’ll maximize your home’s tranquility.
Simple Techniques to Start
You don’t need advanced skills or a big budget to soundproof a door effectively. Simple, accessible methods can reduce noise quickly, making them perfect for beginners or anyone looking for immediate results. Let’s walk through some foundational techniques to get you started on your soundproofing journey.
Benefits of a Soundproof Door
Affordable fixes can make a substantial difference in cutting down noise through your door. One easy option is to install a rubber door sweep, which seals the gap at the bottom where sound often leaks through, offering a quick and accessible solution you can find online or at hardware stores.
Another approach is to hang a heavy blanket over the door using command hooks, adding mass that can reduce noise by up to 10 decibels without requiring permanent changes.
These methods are straightforward, cost-effective, and ideal for renters or those watching their spending.
Sealing Gaps to Stop Noise
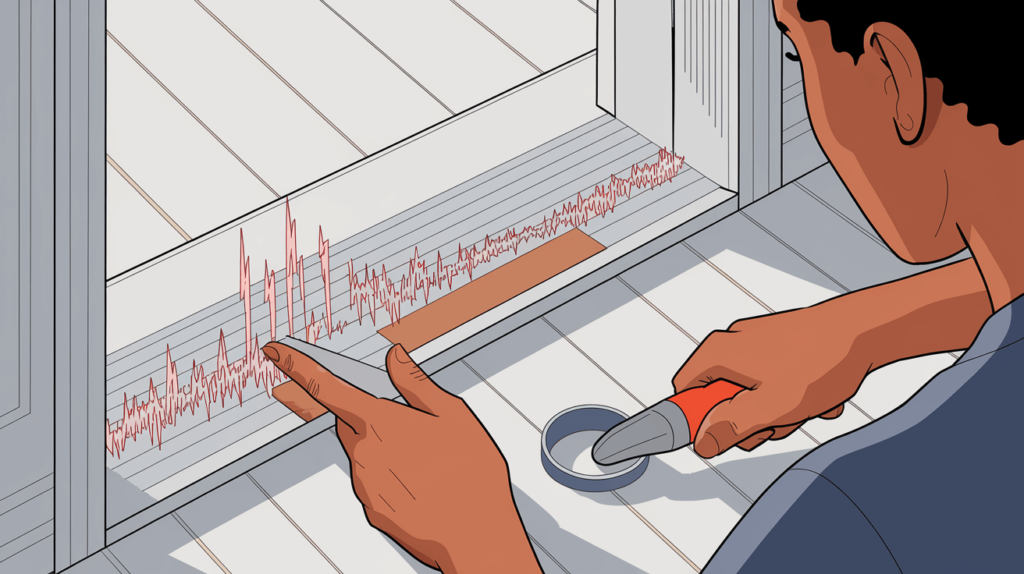
Sealing gaps around your door’s frame is a highly effective way to prevent noise from sneaking into your space. Even small openings, as narrow as 1/8 inch, can let significant sound pass through if left unaddressed, undermining other efforts.
Weatherstrip Door Seal
Block noise leaks with this durable weatherstrip door seal—perfect for sealing gaps around your door frame, reducing sound by up to 15 decibels for a quieter home.
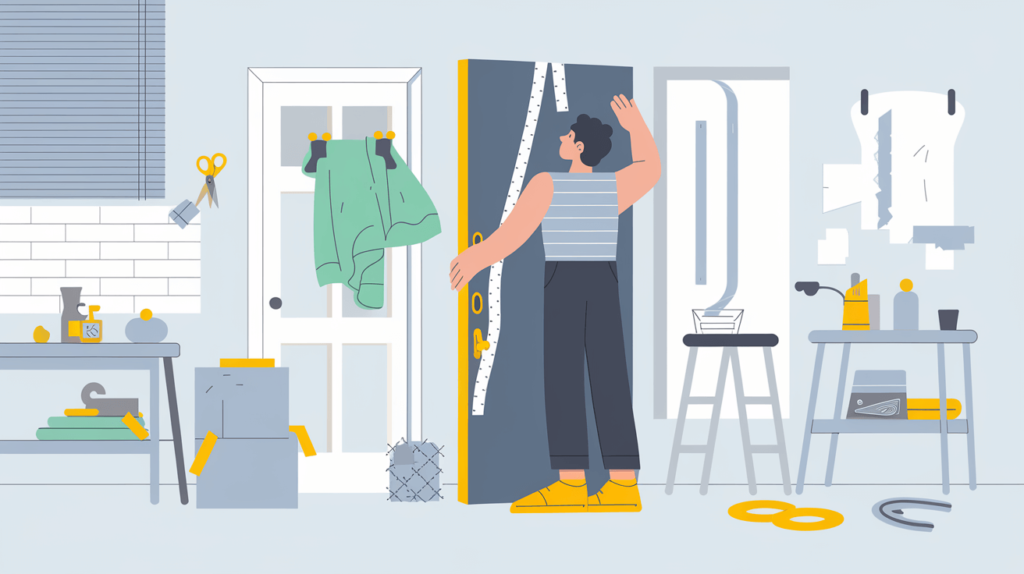
Check Price On AmazonTo do this, measure the top and sides of your door frame to determine how much sealing material you’ll need. Choose a durable option like rubber or silicone weatherstripping, or opt for budget-friendly foam if you’re keeping costs low, then cut it to size with scissors or a utility knife.
Apply the adhesive-backed strips firmly to the frame, ensuring they compress slightly when the door closes to form a tight seal that can reduce noise by up to 15 decibels, according to acoustic testing.
Test the door after applying the strips to confirm it still opens and closes smoothly without sticking. This technique is a cornerstone of soundproofing that works across all door types. We’ll revisit it in more detail for specific doors below.
Adding Mass to Block Sound
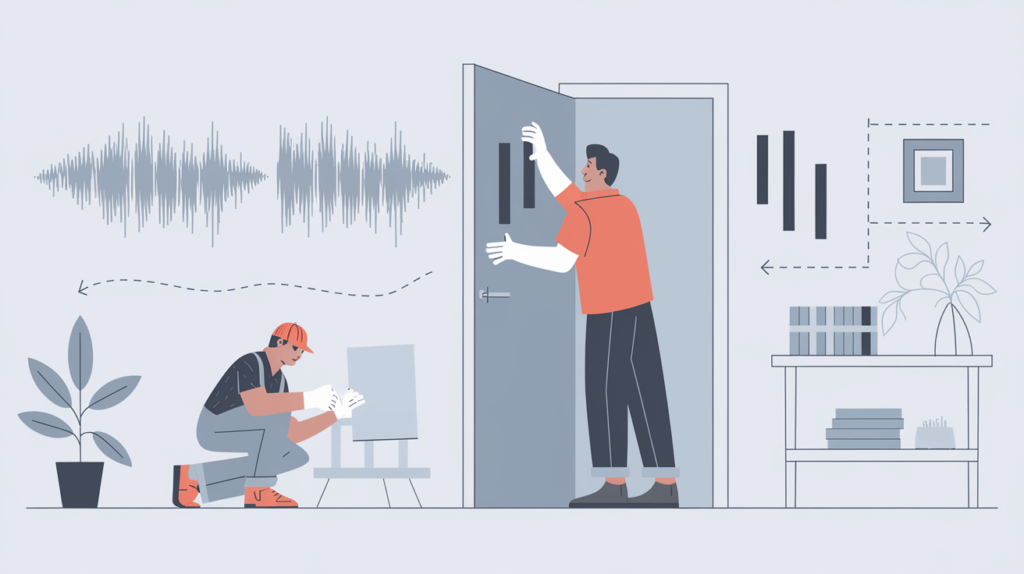
Dense materials are key to stopping sound waves in their tracks—a core principle of soundproofing. Adding mass to your door is a flexible, effective way to tackle noise, whether you need a fast fix or a more robust solution tailored to your space.
One standout option is to install soundproof wall panels, like these Soundproof Wall Panels from Amazon, which you can attach to your door with adhesive strips or double-sided tape for a secure, renter-friendly setup.
These panels are designed to add significant mass while absorbing sound, cutting noise by 10-15 decibels—perfect for blocking everything from street rumble to household chatter. Their sleek design also blends seamlessly with your decor, making them a practical and stylish choice.
Soundproof Wall Panels
Boost your door’s soundproofing with these sleek wall panels—cut noise by 10-15 decibels, absorb sound, and add style with an easy, renter-friendly setup.
Check Price On AmazonIf you’re leaning DIY, pair these panels with a lightweight backing like thin plywood for extra density, then mount them to your door with adhesive for a custom fit that matches your noise needs.
This approach lets you scale the solution to your door’s size and the level of quiet you’re after. It’s a reliable upgrade, especially when combined with gap-sealing techniques from earlier in the guide.
For a DIY approach, layer a piece of plywood with a heavy fabric like a quilt or blanket, then secure it to the door with double-sided tape or adhesive for a custom, budget-conscious panel.
This method can be tailored to your door’s size and your noise concerns. It’s a solid step forward, especially when paired with sealing gaps, as outlined earlier.
Tailoring Solutions to Your Door

Different doors present unique soundproofing challenges depending on their construction, material, and purpose in your home. From flimsy hollow-core doors in apartments to elegant sliding glass doors on patios, each type requires a specific approach to block noise effectively.
Below, we’ll provide detailed, standalone solutions for the most common door types you might encounter, so you can jump straight to the fix that matches your situation and solve your noise problem comprehensively.
Soundproofing Hollow-Core Doors
Hollow-core doors are lightweight and widespread, especially in apartments or older homes, but they’re notoriously poor at blocking sound due to their thin construction. Acoustic studies show they can let through up to 50% of noise—like hallway chatter, neighbor music, or household bustle—making them a weak link in your soundproofing efforts. If you’re tired of hearing every sound through your bedroom or office door, here’s how to turn that flimsy barrier into a decent shield against noise.
Hollow-core doors are common in apartments and older homes due to their lightweight build, but their thin structure makes them terrible at blocking sound. Acoustic studies reveal they can let up to 50% of noise—like hallway chatter, neighbor music, or household bustle—pass right through, leaving your quiet space vulnerable.
If you’re fed up with every sound infiltrating your bedroom or office, transform that flimsy door into a solid noise barrier with Soundproof Wall Panels. These panels add mass and absorb sound, slashing noise by 10-15 decibels to give you the peace you deserve.
Soundproof Wall Panels
Boost your door’s soundproofing with these sleek wall panels—cut noise by 10-15 decibels, absorb sound, and add style with an easy, renter-friendly setup.
Check Price On AmazonNext, seal the gaps around the frame with silicone weatherstripping, which adapts well to the uneven edges often found on hollow-core doors due to their budget manufacturing. Cut the strips to fit the top and sides, apply them with adhesive backing, and add a rubber door sweep to the bottom to block the gap where sound sneaks under—test the door to ensure it closes smoothly. These sealing measures tackle the secondary problem of air gaps, which amplify the door’s natural weakness.
Weatherstrip Door Seal
Block noise leaks with this durable weatherstrip door seal—perfect for sealing gaps around your door frame, reducing sound by up to 15 decibels for a quieter home.
Check Price On AmazonTo further enhance your efforts, apply soundproofing tape along the door’s seams where the veneer meets the frame, as hollow-core doors tend to vibrate and amplify sound at these points. This quick addition dampens those vibrations, adding another layer of quietness that’s especially helpful in high-traffic areas.
If you’re a renter, these methods—wall panels, foam, and removable sealing—are non-invasive and easy to undo when you move out, keeping your landlord happy. However, if you own your space and can make permanent changes, consider replacing the hollow-core door with a solid-core alternative, which can drop noise by 20-30 decibels—more on that in Are Solid Core Doors Effective? below. Either way, these steps transform a noisy hollow door into a functional sound barrier tailored to your needs.
Soundproofing Sliding Glass Doors
Sliding glass doors, with their expansive glass surfaces and sliding tracks, let noise flood into your home from streets or patios, often reaching 40 decibels or more inside.
They’re beautiful additions to living rooms or balconies, but their design makes them a soundproofing challenge—glass is a poor insulator, and tracks create persistent gaps. If traffic or backyard noise is ruining your peace, here’s a detailed plan to quiet these doors effectively.
Begin by sealing the frame edges with rubber weatherstripping, paying close attention to the sliding side where the door meets the frame to ensure a tight seal when closed.
Weatherstrip Door Seal
Block noise leaks with this durable weatherstrip door seal—perfect for sealing gaps around your door frame, reducing sound by up to 15 decibels for a quieter home.
Check Price On AmazonCut the strips to fit the top, sides, and stationary panel, applying them with adhesive backing, then install a heavy-duty door sweep with an adjustable rubber flap along the track—adjust it so the door still slides smoothly. This combination targets the gaps, reducing noise by 5-10 decibels and setting a strong foundation for further improvements.
Standard Door Sweep
Seal out under-door noise with this sturdy standard door sweep—easy to install, it blocks drafts and reduces sound by 5-10 decibels for instant quiet.
Check Price On AmazonFor the glass itself, hang soundproof curtains with a high Sound Transmission Class (STC) rating, ensuring they’re wide enough to overlap the frame by a few inches on all sides for full coverage. These layered fabrics absorb sound waves that pass through the glass, cutting noise by another 5-10 decibels while adding a stylish, renter-friendly touch—mount them with a tension rod if you can’t drill. This step addresses the glass’s tendency to transmit mid-to-high frequencies like voices or car horns.
To refine the fix, apply acoustic soundproofing film to the glass surface, which dampens vibrations that glass naturally amplifies, adding a subtle 3-5 decibel reduction. Clean the glass thoroughly, apply the film with a squeegee to avoid bubbles, and pair it with curtains or the secondary layer for maximum impact—it’s a low-profile option that also boosts privacy. Together, these steps turn your sliding glass door from a noise highway into a manageable barrier, balancing aesthetics and silence.
Soundproofing Exterior and Entry Doors
Exterior and entry doors face the toughest noise challenges, battling outdoor sounds like traffic, construction, or barking dogs that can overwhelm your home’s interior. They’re your first line of defense, and without proper soundproofing, they let in far too much racket—especially if near busy streets or active neighborhoods. Here’s how to fortify them into a robust shield against external noise.
If you’re replacing the door, opt for a solid-core model made of wood or composite materials, which inherently blocks 20-30 decibels more than hollow-core doors due to its dense construction. Ensure it’s installed flush with the frame to avoid gaps, and pair it with the next steps for optimal results—solid-core is a homeowner’s best bet for lasting quiet. If replacement isn’t an option, focus on enhancing what you have with sealing and additional layers.
Seal the frame thoroughly with durable rubber weatherstripping designed for exterior use, applying it along the top and sides where the door meets the wall to block both sound and weather infiltration.
Weatherstrip Door Seal
Block noise leaks with this durable weatherstrip door seal—perfect for sealing gaps around your door frame, reducing sound by up to 15 decibels for a quieter home.
Check Price On AmazonCut the strips precisely, clean the frame with alcohol for adhesion, and press firmly—then add an exterior-rated rubber door sweep to the bottom, adjusting it to seal tightly without dragging. These sealing efforts can reduce noise by 10-15 decibels, addressing the common gap problem that plagues even solid doors.
For an extra layer of protection, install a storm door outside your primary entry door, choosing one with tight seals and a sturdy frame to create an air gap that traps sound waves effectively. This secondary barrier can cut noise by another 10-15 decibels, doubling as weather protection—a smart upgrade for homes in noisy or harsh climates. Position it to align with your main door’s seals, ensuring no sound slips through the cracks between them.
If your existing door is hollow or lightweight, consider adding mass by attaching a thick MDF panel to the interior side with adhesive, boosting its density to mimic a solid-core’s performance. Combine this with weatherstripping and a storm door, and you’ll turn your entryway into a formidable fortress against outdoor noise—ideal for urban dwellers or anyone near constant activity. These steps offer a comprehensive fix that lasts.
MDF Panels
Fortify your door with these MDF panels—perfect for adding mass, they reduce noise by 10-15 decibels, turning hollow doors into solid sound barriers.
Check Price On AmazonSoundproofing Barn Doors
Barn doors, with their sliding design and often lightweight materials, leak noise through gaps and lack of density, despite their stylish appeal in modern homes. They’re common in offices or living spaces but falter at keeping sound out—or in—due to their open tracks and minimal insulation. If you’re dealing with noise bleeding through your barn door, here’s how to restore quiet effectively.
Start by sealing the gaps with flexible rubber weatherstripping along the top and sides of the frame, adapting to the uneven surfaces typical of barn doors’ rustic build—silicone works well for this. Apply it with adhesive backing, ensuring a snug fit when the door is closed, then attach a rubber door sweep to the bottom that won’t hinder sliding. This sealing can reduce noise by 5-10 decibels, tackling the primary leakage points.
Weatherstrip Door Seal
Block noise leaks with this durable weatherstrip door seal—perfect for sealing gaps around your door frame, reducing sound by up to 15 decibels for a quieter home.
Check Price On AmazonAdd mass to the door by securing an MDF panel to its face with construction adhesive or double-sided tape, depending on permanence—ensure it’s sized to fit without overloading the track.
MDF Panels
Fortify your door with these MDF panels—perfect for adding mass, they reduce noise by 10-15 decibels, turning hollow doors into solid sound barriers.
Check Price On AmazonThis increases density, cutting noise by another 10-15 decibels, and addresses the lightweight issue—check the sliding mechanism post-installation for smooth operation. Paint or stain the panel to match your door’s aesthetic, keeping its charm intact.
For additional quiet, attach soundproofing panels to the noise-facing side, focusing on absorbing sound waves like voices or TV noise that barn doors struggle to block. Use adhesive strips for easy application, and consider covering them with fabric if aesthetics matter—this adds 5-7 decibels of reduction. Finally, stick felt pads along the track edges to dampen vibrations when sliding, a subtle tweak that enhances overall silence.
Soundproof Wall Panels
Boost your door’s soundproofing with these sleek wall panels—cut noise by 10-15 decibels, absorb sound, and add style with an easy, renter-friendly setup.
Check Price On AmazonThese steps transform your barn door from a stylish liability into a functional sound barrier. They’re adaptable for renters with removable options or homeowners seeking a lasting fix—quiet and beauty can coexist here.
Soundproofing Metal Doors
Metal doors, often found in garages or as exterior entries, conduct noise easily through their rigid surfaces, letting in traffic rumble or neighbor sounds despite their durability. They’re built for security, not silence, so privacy suffers without intervention—especially in busy areas. Here’s how to soundproof them for a quieter, more private space.
Layer mass-loaded vinyl or mineral wool insulation on the interior side to dampen the vibrations metal naturally amplifies—secure it with adhesive and cover with a thin panel for a clean look. This adds significant density, reducing noise by 15-20 decibels, and tackles the core conduction issue effectively. Ensure the insulation fits the door’s dimensions—typically 36×80 inches—to avoid gaps.
Mass-Loaded Vinyl
Add serious soundproofing power with mass-loaded vinyl—cuts noise by 15-20 decibels, ideal for metal doors or any space needing a dense, quiet barrier.
Check Price On AmazonSeal the frame with silicone weatherstripping, which holds up to metal’s exposure to weather and wear, applying it along the top and sides for a tight fit. Add a rubber door sweep to the bottom, adjusting it to seal without scraping—together, these cut noise by 5-10 decibels more. Clean the metal surface with alcohol before applying to ensure adhesion, especially on exterior doors.
Weatherstrip Door Seal
Block noise leaks with this durable weatherstrip door seal—perfect for sealing gaps around your door frame, reducing sound by up to 15 decibels for a quieter home.
Check Price On AmazonFor extra absorption, attach soundproofing panels to the interior side over the insulation, targeting echo and mid-frequency sounds like voices or machinery noise. Use adhesive strips or glue, stacking this with insulation for a comprehensive privacy shield—perfect for garages turned into workspaces. These steps turn a noisy metal door into a solid barrier, balancing security and silence.
Soundproof Wall Panels
Boost your door’s soundproofing with these sleek wall panels—cut noise by 10-15 decibels, absorb sound, and add style with an easy, renter-friendly setup.
Check Price On AmazonSoundproofing French Doors
French doors, with their large glass panels, let noise slip through easily despite their elegant appeal—common on patios or as interior dividers. Glass is a poor sound insulator, and multiple panes create extra gaps that amplify the problem—think street noise or room-to-room spillover. Here’s how to quiet them down without sacrificing style.
Seal the frame and the gap where the two doors meet with rubber weatherstripping, ensuring a tight fit when closed—focus on the middle join, a notorious leak point. Cut strips to size, apply with adhesive, and add a rubber sweep to the bottom of each door to block under-door noise—reduces sound by 5-10 decibels. Test the doors to ensure they latch properly post-sealing.
Hang high-STC soundproof curtains over the glass, choosing layered fabrics that overlap the frame by a few inches on all sides for full coverage. This absorbs sound waves passing through the glass, cutting noise by 5-10 decibels—a renter-friendly fix with tension rods if drilling isn’t allowed. It tackles the glass’s weakness stylishly.
Soundproof Window Treatment Drapes
Elevate your glass doors with these soundproof drapes—absorb noise by 5-10 decibels, block outdoor sounds, and add style with a renter-friendly tension rod setup.
Check Price On AmazonApply acoustic soundproofing film to the glass panels to dampen vibrations, a subtle step that adds 3-5 decibels of reduction—clean the glass and squeegee it on for a bubble-free finish. Stack this with curtains for a combined effect that turns your French doors into a quieter, yet still beautiful, feature—ideal for patios or living areas.
Weatherstrip Door Seal
Block noise leaks with this durable weatherstrip door seal—perfect for sealing gaps around your door frame, reducing sound by up to 15 decibels for a quieter home.
Check Price On AmazonSoundproofing Louvered Doors
Louvered doors, with their slatted design for ventilation, leak noise freely—think closets, laundry rooms, or pantries where sound passes through the openings unchecked. They prioritize airflow over silence, making them tough to quiet without blocking their purpose. Here’s how to soundproof them while balancing both needs.
Cover the slats with acoustic fabric or lightweight panels, choosing breathable materials that block sound but allow some air through—secure with adhesive strips or glue for flexibility. This reduces noise by 5-7 decibels, addressing the slats’ openness—opt for fabric if aesthetics matter, as it blends better. It’s a compromise that keeps ventilation viable.
Soundproof Wall Panels
Boost your door’s soundproofing with these sleek wall panels—cut noise by 10-15 decibels, absorb sound, and add style with an easy, renter-friendly setup.
Check Price On AmazonSeal the frame with rubber weatherstripping along the top and sides, then add a rubber sweep to the bottom to block gaps—cut precisely and apply firmly for a snug fit. This adds another 5-10 decibel reduction, tackling leaks around the slats—test for smooth operation. If airflow isn’t critical, attach an MDF panel over the slats entirely, boosting density significantly.
These steps turn a louvered door from a noise conduit into a manageable barrier. They’re adjustable—keep it breathable for closets or go all-in for quiet in laundry spaces.
Soundproofing Sliding Doors (Non-Glass)
Non-glass sliding doors, often used for closets or room dividers, leak noise through their tracks and lightweight panels—think bedroom or office disruptions. They’re space-savers but sound sieves without proper fixes. Here’s how to silence them effectively.
Weatherstrip the frame with rubber along the top and sides, ensuring a tight seal when closed—silicone adapts to sliding quirks well—and add a rubber sweep to the track below. This seals gaps, cutting noise by 5-10 decibels—adjust the sweep to avoid drag. It’s a foundational step that works across sliding designs.
Weatherstrip Door Seal
Block noise leaks with this durable weatherstrip door seal—perfect for sealing gaps around your door frame, reducing sound by up to 15 decibels for a quieter home.
Check Price On AmazonHang high-STC curtains over the door, overlapping the frame for full coverage, to absorb sound waves passing through the panels—reduces noise by 5-10 decibels more. Mount with a tension rod for renters or a permanent rod if you own—style meets function here. Add soundproofing tape to seams for an extra layer, targeting minor leaks.
Soundproof Window Treatment Drapes
Elevate your glass doors with these soundproof drapes—absorb noise by 5-10 decibels, block outdoor sounds, and add style with a renter-friendly tension rod setup.
Check Price On AmazonThese fixes make your sliding door a quieter space-saver—perfect for closets shielding bedroom peace.
Soundproofing Bifold Doors
Bifold doors, with their folding panels and gaps, leak noise easily—common for closets, pantries, or small dividers where sound spills through unchecked. Their multi-section design complicates sealing but not impossibly. Here’s how to quiet them down fully.
Weatherstrip the frame along the top and sides with rubber, adapting to the folding sections—apply firmly with adhesive for a snug fit when closed. Add a rubber sweep to the bottom across all panels, ensuring it seals without hindering folding—cuts noise by 5-10 decibels. Test the doors to confirm smooth operation post-sealing.
Weatherstrip Door Seal
Block noise leaks with this durable weatherstrip door seal—perfect for sealing gaps around your door frame, reducing sound by up to 15 decibels for a quieter home.
Check Price On AmazonAttach lightweight soundproofing panels or an MDF panel to each folding section with adhesive strips, boosting density—size it to fit without blocking the fold—reduces noise by 5-10 decibels more. This tackles the panels’ thinness—foam keeps it light, MDF goes deeper. These steps turn bifolds into a quiet, functional feature.
Mass-Loaded Vinyl
Add serious soundproofing power with mass-loaded vinyl—cuts noise by 15-20 decibels, ideal for metal doors or any space needing a dense, quiet barrier.
Check Price On AmazonConclusion
Soundproofing a door is a straightforward, impactful way to reclaim peace in your home or apartment. Start with simple sealing or mass-adding techniques, then tailor your approach to your specific door type from the detailed solutions above.
Frequently Asked Questions
(Jump here for quick answers to common queries—standalone solutions ahead.)
Frequently Asked Questions
Solid-core doors excel at blocking noise with their dense wood or composite construction—unlike hollow-core’s 5-10 decibels, they cut 20-30 decibels. A 60 dB street drops to a whisper-quiet 30 dB with one installed flush—ideal for bedrooms or entryways. Seal them with weatherstripping and a sweep for maximum quiet.
Can I Use Household Items?
Yes, you can roll a thick towel into a draft stopper to block the bottom gap, cutting 3-5 decibels instantly. Hang a heavy blanket with command hooks or place a book-filled shelf against the door for 5-10 decibel reduction—simple and free. More creative ideas await in Using Household Items to Soundproof a Door.
How Much Does It Cost?
Budget fixes like weatherstripping and sweeps are affordable, doable on a tight budget with minimal investment. Solid-core doors or insulation upgrades cost more but deliver bigger noise drops—exact figures vary by project scope. Check [How Much Does Soundproofing Cost?(#)] for a detailed breakdown.
Can I Soundproof Permanently?
Swapping to a solid-core door offers a lasting 20-30 decibel reduction if you can replace it—perfect for homeowners. Adding permanent insulation like mineral wool and sealing gaps with weatherstripping enhances this further—quiet for years. It’s a robust, enduring fix for any space.
What Materials Work Best for Soundproofing?
Acoustic foam absorbs mid-to-high frequencies like voices—attach with strips for 5-10 decibel cuts, ideal for quick fixes. Mineral wool like Roxul ComfortBatt adds mass in cavities or panels, dropping noise by 15-20 decibels—great for deeper solutions.
Any Renter-Friendly Tips?
Renters can use clip-on door sweeps and adhesive weatherstripping—both peel off cleanly, cutting noise by 5-10 decibels. Hang high-STC curtains with a tension rod for another 5-10 decibel drop—removable and stylish. Roll a towel for a free bottom seal if budget’s tight.
How Do I Soundproof With Weatherstripping?
Weatherstripping seals frame gaps—pick rubber or foam, measure the frame, and cut to fit precisely. Clean with alcohol, apply adhesive strips, and press for a snug seal—slashes noise by 10-15 decibels. Test the door to ensure smooth operation afterward.
Recommended Soundproofing Products
Soundproof Wall Panels
Boost your door’s soundproofing with these sleek wall panels—cut noise by 10-15 decibels, absorb sound, and add style with an easy, renter-friendly setup.
CHECK PRICE
Weatherstrip Door Seal
Block noise leaks with this durable weatherstrip door seal—perfect for sealing gaps around your door frame, reducing sound by up to 15 decibels for a quieter home.
CHECK PRICE
Standard Door Sweep
Seal out under-door noise with this sturdy standard door sweep—easy to install, it blocks drafts and reduces sound by 5-10 decibels for instant quiet.
CHECK PRICE
MDF Panels
Fortify your door with these MDF panels—perfect for adding mass, they reduce noise by 10-15 decibels, turning hollow doors into solid sound barriers.
CHECK PRICE
Mass-Loaded Vinyl
Add serious soundproofing power with mass-loaded vinyl—cuts noise by 15-20 decibels, ideal for metal doors or any space needing a dense, quiet barrier.
CHECK PRICE
Soundproof Window Treatment Drapes
Elevate your glass doors with these soundproof drapes—absorb noise by 5-10 decibels, block outdoor sounds, and add style with a renter-friendly tension rod setup.
CHECK PRICE