How to Balance a Turntable Arm: A Vinyl Lover’s Guide
Did you know that an unbalanced turntable arm can ruin your precious vinyl records?
I sure didn’t when I first got into collecting vinyl, and boy, did I learn that lesson the hard way!
But don’t worry, I’m here to share my hard-earned knowledge with you so you can avoid making the same mistakes I did.
Properly balancing your turntable arm is crucial for getting the best sound quality out of your records and, more importantly, protecting them from unnecessary wear and tear.
In this guide, I’ll walk you through everything you need to know about balancing your turntable arm, from understanding why it’s important to detailed instructions on how to do it right.
How to Balance Turntable Arm

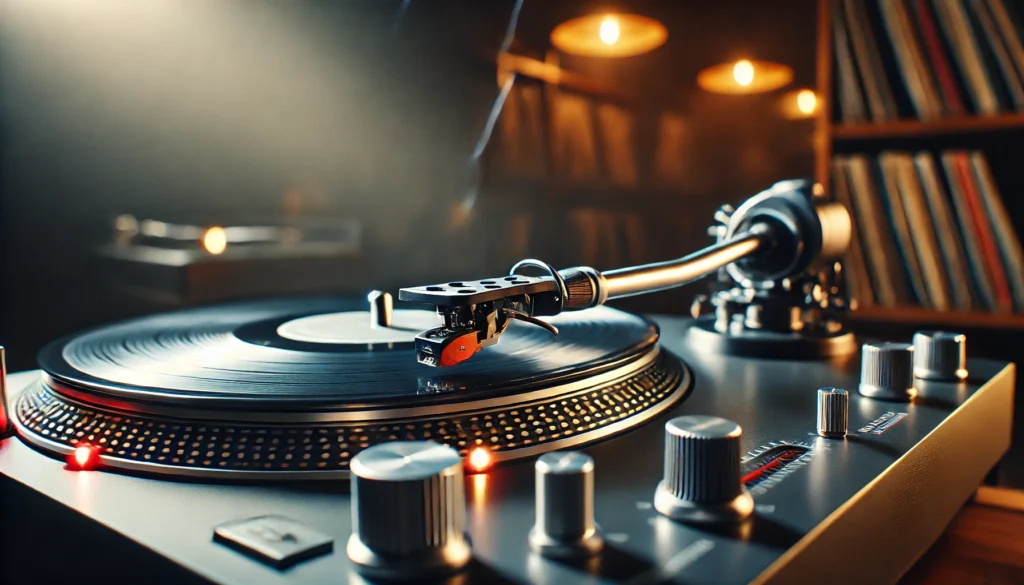
Balancing a turntable arm involves adjusting the counterweight and anti-skate to ensure the stylus applies the correct amount of pressure on the record groove.
You’ll start by setting the anti-skate to zero, then adjust the counterweight until the arm floats horizontally.
After that, you’ll fine-tune the tracking force using a gauge, and finally, set the anti-skate to match the tracking force.
This process optimizes sound quality and minimizes record wear.
We’ll explore this topic more deeply below, but that’s the gist of it!
Understanding Turntable Arm Balance
Okay, let’s get into the nitty-gritty of turntable arm balance. When I first started out, I thought it was just some audiophile mumbo-jumbo, but trust me, it’s super important!
Turntable arm balance refers to the way your tonearm is set up to apply the right amount of pressure on your records.
It’s all about finding that sweet spot where the stylus (that’s the needle, for us non-techies) can track the grooves accurately without putting too much or too little pressure on the vinyl.
Why is this so important, you ask? Well, let me tell you about the time I ruined my favorite record because I didn’t know any better.
I had the arm set way too heavy, and after just a few plays, I noticed the sound quality had gone downhill faster than a roller coaster. Turns out, I’d actually worn down the grooves!
Talk about a heartbreaking (and expensive) lesson. On the flip side, if your arm is too light, you’ll get all sorts of funky sounds – skipping, distortion, you name it.
It’s like trying to ice skate with roller blades on – it just doesn’t work! Now, there’s a common misconception that heavier is better because it keeps the needle in the groove.
I used to think that too! But nope, that’s not how it works.
The goal is to find the perfect balance (pun intended) where the stylus can pick up all the tiny details in the groove without causing any damage. Another thing I’ve learned is that different cartridges (that’s the doohickey that holds the stylus) have different optimal tracking forces.
So, if you upgrade your cartridge, you’ll need to rebalance your arm. I found that out the hard way when I splurged on a fancy new cartridge and couldn’t figure out why it sounded worse than my old one!
Bottom line: getting your turntable arm balance right is crucial for protecting your vinyl and getting the best sound quality. It might seem a bit daunting at first, but don’t worry – I’ll walk you through it step by step.
Trust me, your ears (and your records) will thank you!
Get Studio Tips Weekly
Join 5,000+ creators getting acoustic treatment advice every week.
No spam. Unsubscribe anytime.Tools Needed for Balancing a Turntable Arm
Alright, let’s talk tools! When I first decided to balance my turntable arm, I thought I could just eyeball it.
Spoiler alert: that didn’t work out so well. So, let me save you some trouble and walk you through what you’ll actually need.
First up, the essentials. You’ll need a steady hand and patience (trust me, you’ll need both!).
A tracking force gauge is also crucial – this little gadget is a game-changer. You’ll also want to have a small screwdriver (usually a flathead) and a clean, lint-free cloth on hand.
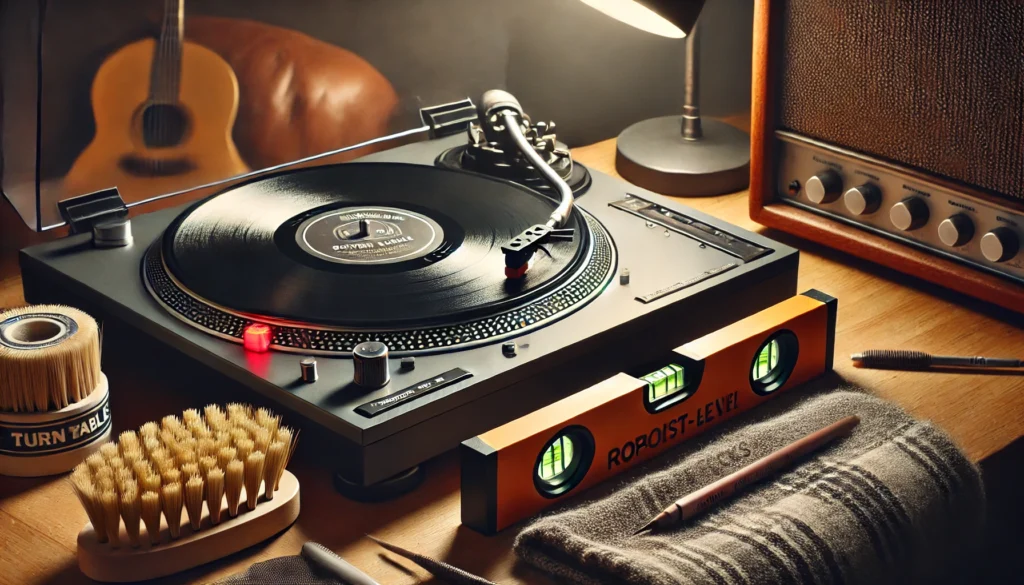
Now, some optional tools can make your life easier. A spirit level helps ensure your turntable is perfectly flat.
A cartridge alignment protractor is great for getting that perfect angle. And a magnifying glass can be helpful because some of these adjustments are tiny!
When I first started, I tried to cheap out and skip the tracking force gauge. Big mistake!
I ended up guessing the weight and, well, let’s just say my records weren’t too happy about that. So, do yourself a favor and invest in a good gauge.
They’re not too expensive, and they’ll save you a lot of headaches (and potentially damaged records) in the long run. As for where to find these tools, most good audio equipment stores will have them.
I actually found my tracking force gauge online – there are tons of options out there. Just make sure to read reviews and get one that’s accurate.
Oh, and here’s a pro tip I learned the hard way: make sure your hands are clean and dry before you start fiddling with your turntable. I once got a bit of pizza grease on my stylus (don’t ask), and let me tell you, that was not a fun cleanup job!
Remember, taking care of your turntable is an investment in your music enjoyment. These tools might seem like a bit of an expense upfront, but they’ll pay off in the long run with better sound quality and longer-lasting records.
Trust me, future you will be grateful!
Step-by-Step Guide to Balancing Your Turntable Arm

Alright, folks, it’s time to roll up our sleeves and get down to business! I’m going to walk you through balancing your turntable arm.
Don’t worry if it seems a bit intimidating at first – I was nervous too when I first tried it. But trust me, once you get the hang of it, you’ll be doing it like a pro!
First things first, you need to prepare your turntable. Make sure it’s on a level surface.
I once tried to balance mine on a wobbly table – big mistake! Use a spirit level if you have one, or just eyeball it if you don’t.
Also, make sure your turntable is unplugged. Safety first, people!
Next, you’ll want to set the anti-skate to zero. Look for the anti-skate control – it’s usually a small dial or slider near the tonearm base.
Set this to zero for now. We’ll come back to it later, I promise!
Now comes the fun part – adjusting the counterweight. This is where the magic happens!
The counterweight is that chunky thing at the back of the tonearm. Start by rotating it until the tonearm floats horizontally, perfectly balanced.
It might take a few tries, but be patient! I remember spending a good 20 minutes on this step the first time, cursing under my breath the whole time.
But man, was it satisfying when I finally got it right! Once your arm is floating horizontally, you need to zero the tonearm.
Carefully rotate the numbered dial on the counterweight (not the entire weight) until it reads zero. This step is crucial – it’s like calibrating a scale before you weigh something.
Now it’s time to set the tracking force. Gently rotate the entire counterweight (including the dial) clockwise until the desired tracking force is reached.
Your cartridge manual should tell you the recommended tracking force. If you don’t have the manual, a good starting point is usually between 1.5 to 2 grams.
This is where that nifty little tracking force gauge comes in handy. Place it on the platter and carefully lower the tonearm onto it.
The gauge should confirm that you’ve set the correct tracking force. If it’s off, adjust the counterweight slightly and check again.
It might take a few tries to get it perfect. Remember that anti-skate control we zeroed out earlier?
Now it’s time to set it. Generally, you want to set it to the same value as your tracking force.
But here’s a little secret I learned: sometimes setting it slightly lower (like 0.5g less) can give you better sound. Play around with it and trust your ears!
Finally, do a final visual check. Once everything’s set, the tonearm should be parallel to the record surface when it’s lowered.
If it’s not, you might need to adjust the tonearm height (if your turntable allows for that). Now, I know this might sound like a lot, but trust me, it gets easier with practice.
The first time I did this, it took me over an hour and I was sweating bullets the whole time. Now?
I can do it in about 10 minutes, easy peasy! One last tip: be gentle!
These are delicate instruments we’re dealing with. I once got a bit too enthusiastic and nearly snapped my stylus clean off.
Talk about a heart-stopping moment! Remember, the goal here is to find that sweet spot where your records sound amazing and your stylus isn’t wearing them down.
It might take a bit of trial and error, but once you get it right, oh boy, you’ll hear the difference! And don’t be afraid to fine-tune things as you go along.
Sometimes a tiny adjustment can make a world of difference in sound quality. Happy balancing, vinyl lovers!
Your ears (and your records) will thank you for taking the time to get this right.
Maintaining Your Turntable Arm Balance
Now that you’ve got your turntable arm perfectly balanced, you might think you’re done for good. But hold up!
Maintaining that balance is just as important as setting it up in the first place. Don’t worry, though – it’s not as daunting as it sounds.
First things first, how often should you check your balance? Well, I learned the hard way that it’s not a set-it-and-forget-it kind of deal.
I recommend giving it a quick check every month or so, and definitely anytime you move your turntable or bump it accidentally. I once had a party where someone decided to use my turntable as a drink coaster (the horror!), and you bet I was rebalancing that arm the next day.
Now, what can affect your balance over time? More than you might think!
Temperature changes can mess with the viscosity of the arm’s bearings. Dust buildup can add tiny amounts of weight to your stylus.
Even the natural settling of your turntable’s feet can throw things off kilter. It’s like your turntable is a living, breathing thing – it needs regular check-ups!
Here are some tips I’ve picked up for keeping your turntable in top condition. Keep it clean – dust is the enemy of good sound.
I use a carbon fiber brush before and after each listening session. It’s become almost meditative for me – a little ritual before I dive into my vinyl journey.
When you’re not using your turntable, use a stylus cover. It’ll keep dust off and prevent accidental damage.
I learned this one after my cat decided my stylus looked like a fun toy. Let’s just say that was an expensive replacement.
Every few months, check your leveling. Use a spirit level to make sure your turntable is still perfectly flat.
You’d be surprised how much floors can shift, especially in older houses. Listen critically – your ears are your best tools.
If something starts to sound off, don’t ignore it. It might be time for a rebalance.
Keep your turntable away from vibrations. I used to have mine right next to my speakers.
Big mistake! The vibrations were subtly affecting the balance.
Now I keep it on a separate, sturdy surface. Regularly check your tracking force using your gauge every month or so to make sure it hasn’t drifted.
And be mindful of temperature – try to keep your turntable in a room with relatively stable temperature. Extreme changes can affect the balance.
Remember, taking care of your turntable is an act of love. It’s not just about maintaining equipment – it’s about preserving the quality of your music and the lifespan of your precious vinyl collection.
I know it might seem like a lot of work, but trust me, it becomes second nature after a while. And the payoff?
Crystal clear sound, happy records, and the satisfaction of knowing you’re treating your music with the respect it deserves. So go forth, balance those arms, and enjoy the warm, rich sound of perfectly played vinyl.
Your ears (and your records) will thank you!
Conclusion
Whew! We’ve covered a lot of ground, haven’t we?
From understanding why turntable arm balance is crucial, to the process of achieving that perfect balance, and even how to maintain it. It’s been quite a journey!
Let’s recap why all this matters: a properly balanced turntable arm ensures the best possible sound quality from your vinyl records while also protecting them from unnecessary wear and tear. It’s like finding that perfect dance partner – when everything’s in balance, the music just flows!
Now, I know we’ve gone through a lot of technical stuff, but don’t let that intimidate you. Remember, every vinyl enthusiast started somewhere, and with a bit of practice, you’ll be balancing tonearms like a pro in no time.
It’s all about patience, attention to detail, and a willingness to learn. One thing I’ve learned in my vinyl journey is that there’s always room for customization.
While I’ve given you the general guidelines, don’t be afraid to experiment a little. Maybe you’ll find that a slightly lighter tracking force works better for your favorite jazz records, or that a touch more anti-skate gives your classical albums that extra clarity.
Trust your ears and have fun with it! And hey, if you’re feeling overwhelmed, that’s okay too.
The vinyl community is full of helpful folks who are always willing to share their knowledge. Don’t hesitate to reach out to fellow enthusiasts or your local record store for advice.
We’re all in this together, united by our love for those beautiful black discs. Lastly, I want to encourage you to share your own experiences and tips.
Have you found a clever way to check your balance? Did you make a mistake that taught you a valuable lesson?
Share it in the comments! Your insights could be just what another vinyl lover needs to hear.
Remember, at the end of the day, this is all about enjoying your music to the fullest. A well-balanced turntable arm is your ticket to audio bliss, allowing you to immerse yourself in the warm, rich sound that only vinyl can provide.
So go on, give your turntable some love, drop that needle, and let the music play. Here’s to perfectly balanced tonearms and many hours of happy listening!