Hey there, vinyl enthusiasts!
Today, we’re diving into a topic that’s near and dear to my heart: keeping your record player needle (or stylus, if you want to get fancy) in tip-top shape.
Trust me, I’ve learned the hard way that a clean stylus is the secret sauce to crisp, clear tunes and happy, long-lasting records.
How to Clean a Record Player Needle or Stylus
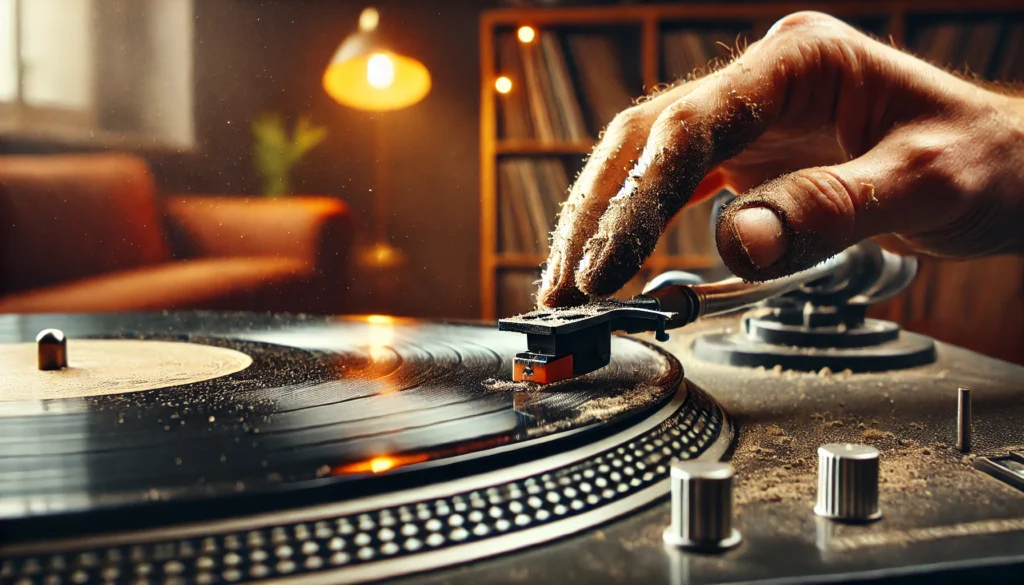
Alright, let’s cut to the chase. To clean your record player needle, you’ve got two main options: dry cleaning with a soft brush or wet cleaning with a specialized solution.
For a quick clean, gently brush from back to front with a dry brush, like a carbon fiber brush. For a deeper clean, apply a tiny amount of cleaning solution to a stylus brush and carefully clean the needle.
Remember, always be gentle – that little needle is more delicate than my grandma’s china! We’ll dive into the nitty-gritty details below, but that’s the gist of it.
Why Clean Your Record Player Needle?
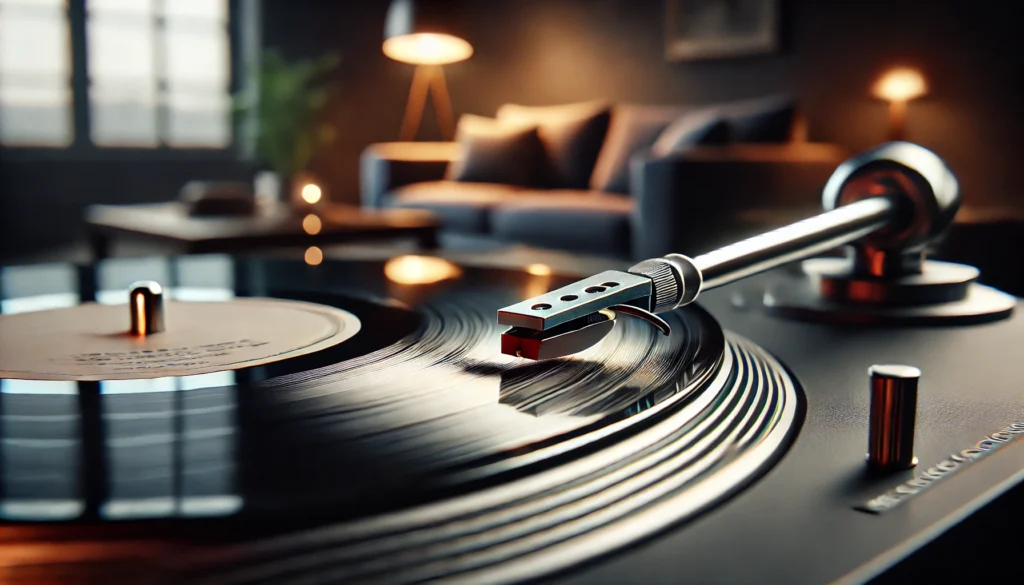
Listen up, because this is important! A dirty stylus is like trying to listen to your favorite album through a mouthful of cotton balls. Trust me, I’ve been there, and it’s not pretty.
Here’s the deal: First off, sound quality takes a major hit. A gunked-up needle can’t track the grooves properly, leading to distortion, skips, and overall crappy sound.
It’s like trying to read a book with smudged glasses – frustrating and totally unnecessary. Secondly, and this one hurts my soul, a dirty stylus can actually damage your precious vinyl!
It’s like taking sandpaper to your records every time you play them. Ouch! Lastly, neglect your stylus, and you’ll be shelling out for a replacement way sooner than you should.
And let me tell you, those little buggers aren’t cheap! I remember the first time I really cleaned my stylus after months of neglect.
The difference was like night and day – suddenly, I was hearing details in my favorite albums that I’d never noticed before. It was like getting a brand new record collection!
Types of Stylus Cleaning Methods
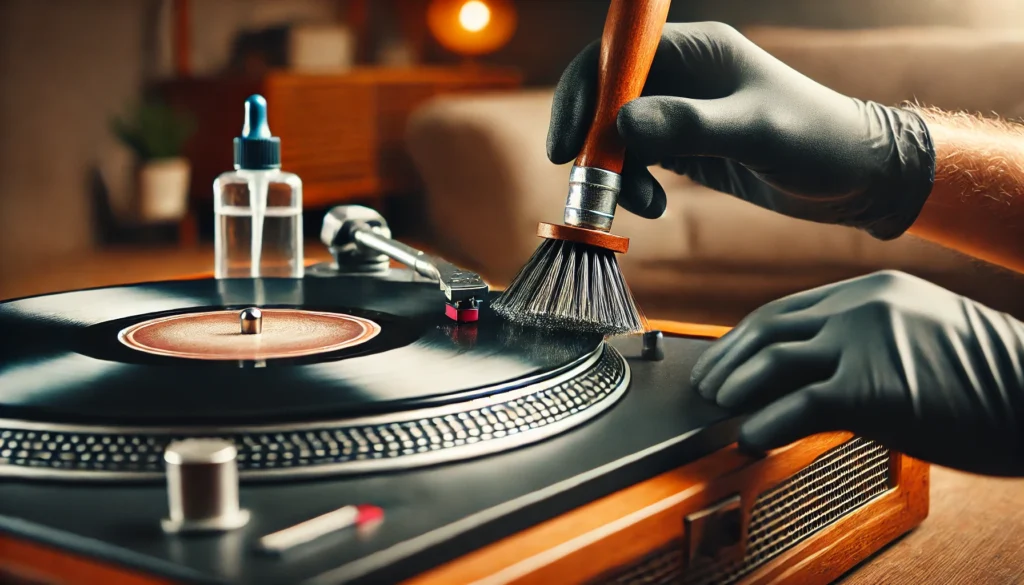
Alright, let’s break down your cleaning options. We’ve got two main camps here: dry cleaning and wet cleaning.
Each has its place, kind of like how you wouldn’t use a pressure washer to clean your glasses (learned that one the hard way). Dry cleaning is your everyday, quick-and-easy option.
Perfect for a little maintenance before you drop the needle. Carbon fiber brushes are these little miracles that are my go-to.
The super-fine bristles can get into all the nooks and crannies without risking damage. A soft-bristled brush is a good alternative if you don’t have a carbon fiber brush handy.
Just make sure it’s clean and dry! The pro of dry cleaning is that it’s quick, easy, and low-risk if done gently.
The con is that it might not remove stubborn gunk buildup. When your stylus needs a spa day, it’s time to break out the wet cleaning methods.
Specialized stylus cleaning fluid is designed specifically for this delicate job. A little goes a long way!
In a pinch, distilled water can work for light cleaning. But be careful – water and electronics aren’t always the best of friends.
The pro of wet cleaning is that it’s more thorough for stubborn dirt and buildup. The con is that there’s a slightly higher risk if not done carefully.
Don’t go drowning your stylus! I’ll admit, the first time I tried wet cleaning, I was nervous as heck.
But man, the results were worth it. Just remember: less is more when it comes to liquid near your turntable!
Step-by-Step Guide to Cleaning Your Stylus
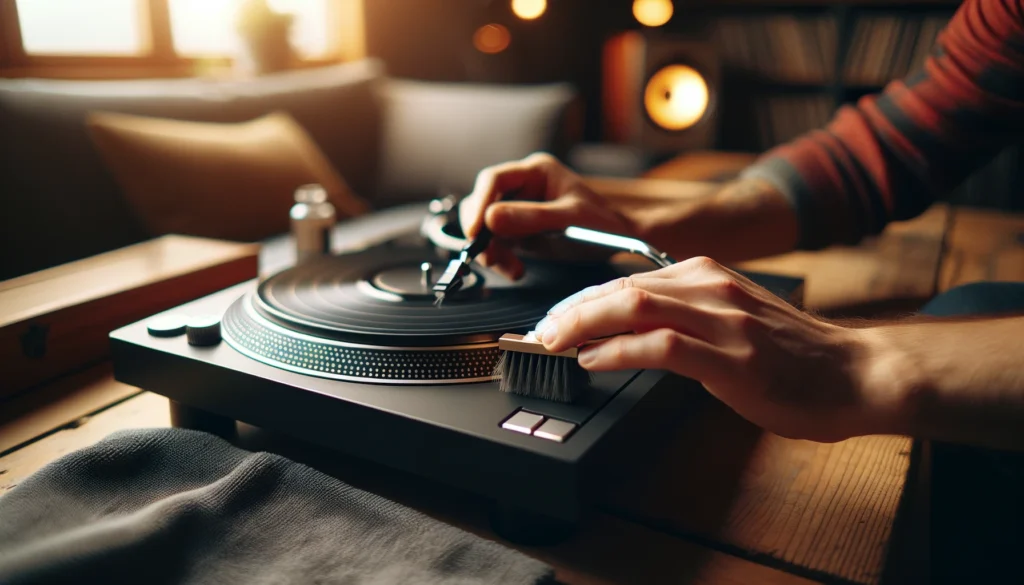
Alright, class, it’s time to get hands-on! Here’s your step-by-step guide to stylus cleaning nirvana.
Follow along, and don’t worry – I’ve made all the mistakes so you don’t have to! First things first, let’s talk preparation and safety precautions.
Power down your turntable. Seriously, don’t skip this step unless you enjoy the tingle of electrical shocks.
Remove the dust cover if you have one. We need clear access here!
If possible, lock your tonearm in place. This prevents any accidental bumps that could bend your stylus (and break your heart).
Take a deep breath. You’ve got this! For the dry cleaning technique, grab your carbon fiber brush (or soft-bristled alternative).
Gently (and I mean GENTLY) brush from back to front of the stylus. Think of it like petting a very tiny, very expensive cat.
Repeat a few times, making sure to clean all sides of the stylus. Stand back and admire your work!
When it comes to wet cleaning, apply a TINY amount of cleaning solution to your stylus brush. We’re talking a drop, not a dollop!
Very carefully brush the stylus from back to front, just like with dry cleaning. If using a cleaning solution, follow up with a dry brush to remove any residue.
Let the stylus air dry completely before playing any records. As for frequency, a quick dry clean before each listening session is ideal.
It takes 10 seconds and can save you a world of trouble! For a deeper wet clean, aim for every 20-30 hours of playtime, or if you notice sound quality issues.
Remember, folks: when in doubt, err on the side of caution. It’s better to clean too little than to clean too aggressively and damage your precious stylus!
Best Products for Cleaning Record Player Needles
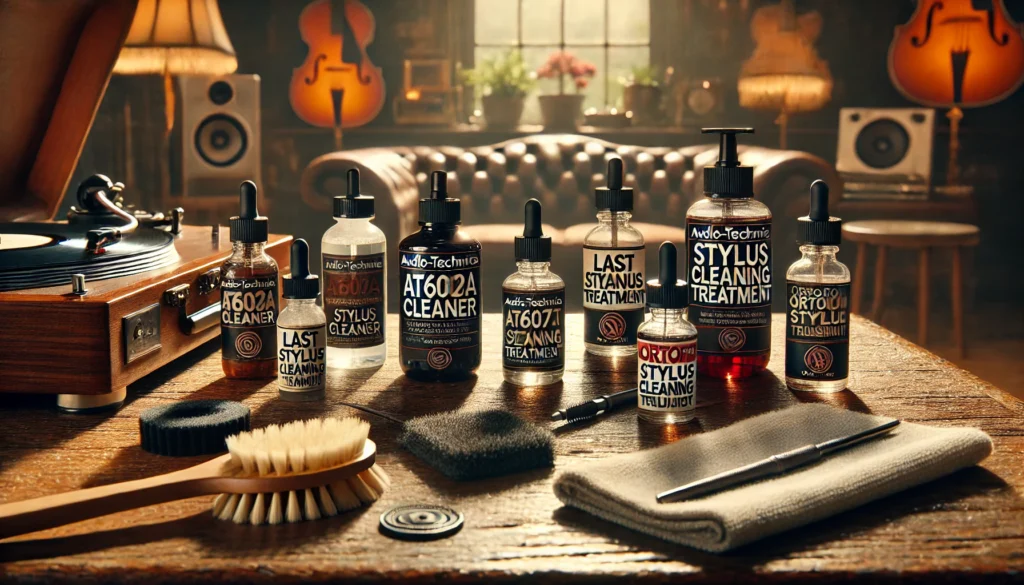
Alright, time for some product talk! After years of trial and error (and a few cringe-worthy mistakes), here are my top picks for keeping your stylus spick and span.
When it comes to recommended cleaning solutions, Audio-Technica AT607a Stylus Cleaner is like liquid gold for your stylus. A little pricey, but worth every penny.
LAST STYLAST Stylus Treatment is not just a cleaner, but a treatment that can extend the life of your stylus. It’s like a multivitamin for your needle!
Ortofon Stylus Cleaning Fluid is another solid option from a trusted brand in the turntable world. Now, I get it.
Sometimes you’re itching to clean your stylus but don’t have the fancy stuff on hand. Here are some DIY alternatives that won’t break the bank (or your stylus): Distilled water, for light cleaning, a tiny drop can do the trick.
Just be extra careful! Isopropyl alcohol (91% or higher), mix one part alcohol with four parts distilled water.
Use sparingly! Warning: These DIY methods should be a last resort.
Use at your own risk, and please, for the love of vinyl, be careful! Now, let’s talk about what NOT to use.
Trust me, I’ve made some of these mistakes so you don’t have to: Tap water contains minerals that can leave residue on your stylus. Big no-no!
Household cleaners, unless you want to turn your stylus into modern art, keep these far away. Your breath and a cloth, I know it seems tempting, but your breath can actually introduce moisture and oils.
Resist the urge! Remember, when it comes to cleaning products, sometimes less is more.
You don’t need a whole chemistry set to keep your stylus clean – just a few quality products and a gentle touch.
Common Mistakes to Avoid When Cleaning Your Stylus
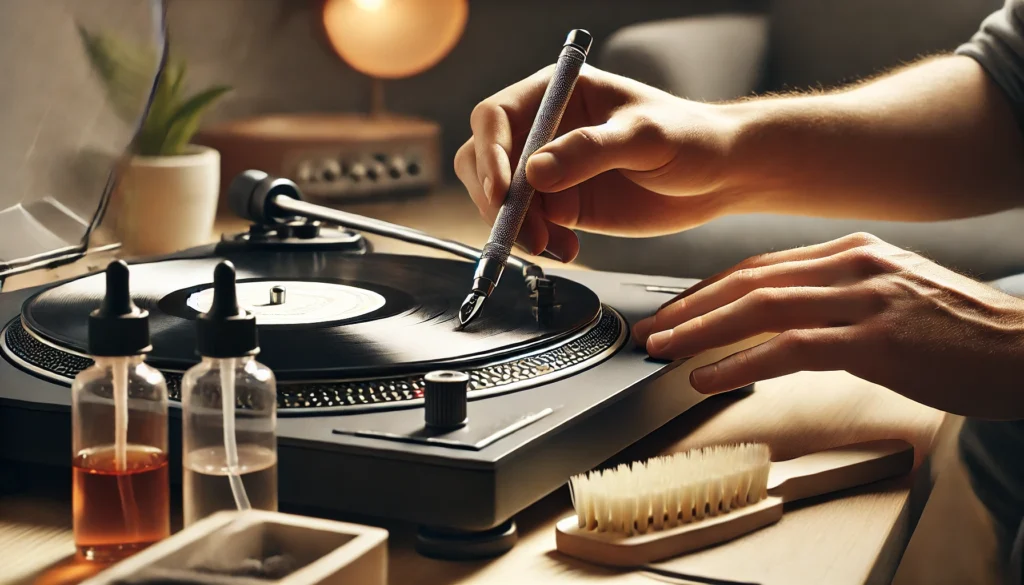
Alright, gather ’round for story time. I’ve made just about every mistake in the book when it comes to stylus cleaning, and I’m here to save you from the same fate.
Learn from my facepalm moments! The number one sin in stylus cleaning?
Thinking “elbow grease” applies here. It doesn’t! Your stylus is more delicate than a house of cards in a windstorm.
I once pressed too hard and ended up with a bent stylus and a very expensive lesson learned. Tip: Let the cleaning tool do the work.
You’re just there to guide it gently. Oh boy, where do I start with using the wrong cleaning materials?
I’ve seen people use everything from Q-tips to their shirt sleeves. Heck, I once used a cotton ball and ended up with a stylus that looked like it had a tiny sweater.
Stick to proper stylus cleaning tools. They’re designed for the job and won’t leave fibers or residue behind.
Over-cleaning is another common mistake. I went through a phase where I was cleaning my stylus before and after EVERY. SINGLE. SONG.
Talk about overkill! Not only was I wasting time, but I was also increasing the risk of accidental damage.
Remember: A quick brush before each session and a deeper clean every 20-30 hours of playtime is usually plenty. Here’s a mistake I see a lot: obsessing over the stylus but neglecting the rest of the turntable.
Your stylus is part of a larger system, and if the other parts are dirty or out of whack, you’re fighting a losing battle. Make sure you’re also keeping your records clean, your turntable dust-free, and everything properly aligned.
The first time I used stylus cleaning fluid, I treated it like I was watering a very tiny plant. Big mistake!
You need the tiniest drop – think less “watering can” and more “eye dropper.” Less is more with cleaning solutions.
You can always add a bit more if needed, but too much can lead to residue build-up or even damage. By avoiding these common pitfalls, you’ll be well on your way to stylus cleaning mastery.
And hey, if you do make a mistake, don’t beat yourself up. We’ve all been there!
Maintaining Your Record Player Beyond the Stylus

Alright, vinyl virtuosos, let’s zoom out a bit. Keeping your stylus clean is crucial, but it’s just one part of the bigger picture.
Let’s talk about how to keep your entire turntable setup in harmony. Your turntable is like a finely tuned instrument, and it needs some TLC to keep hitting those high notes.
First off, use that dust cover! It’s not just there to look pretty.
When you’re not spinning records, keep that cover closed to prevent dust build-up. Check your turntable’s level regularly.
An uneven surface can affect playback and put unnecessary stress on your stylus. I once realized my turntable was slightly tilted, and fixing it was like getting a free upgrade!
If you have a belt-drive turntable, check the belt periodically for signs of wear or stretching. A worn belt can affect speed consistency.
This next bit is a bit more advanced, but proper cartridge alignment is crucial for optimal sound and to minimize record wear. If you’re not comfortable doing it yourself, don’t be afraid to seek help from a pro.
Your records are the lifeblood of your system. Treat them right, and they’ll reward you with sweet, sweet music for years to come.
Always handle records with clean, dry hands. The oils from your skin can actually damage the vinyl over time.
When handling records, only touch the edges and the label area. Never touch the grooves!
Store records vertically, never stacked. Use inner sleeves to protect against dust and static.
Keep your records in a cool, dry place. Extreme temperatures and humidity can warp vinyl faster than you can say “audiophile.”
Invest in a good record cleaning system. Clean records not only sound better but also help keep your stylus cleaner for longer.
I remember the day I reorganized my record storage and started using proper inner sleeves. It was like rediscovering my collection all over again – suddenly, albums I thought were noisy started playing like new!
Here’s a bonus tip about the importance of break-in time: new styli and cartridges often need a break-in period. If you’ve just installed a new one, give it some time before making any judgments.
I once nearly returned a “defective” cartridge, only to realize it just needed about 20 hours of playtime to really start shining. Remember, maintaining your record player is a labor of love.
It takes a bit of effort, but the payoff in sound quality and longevity is absolutely worth it. Plus, there’s something deeply satisfying about caring for your audio equipment – it’s like you’re part of the music-making process!
Conclusion
Whew! We’ve covered a lot of ground today, from the nitty-gritty of stylus cleaning to the broader picture of turntable care.
Let’s recap the key points: Regular stylus cleaning is crucial for sound quality and record longevity. Use the right tools and techniques – gentle is the name of the game!
Don’t forget about the rest of your turntable and your precious vinyl collection. Proper handling and storage of records go a long way in maintaining your entire system.
Remember, every turntable setup is unique, so don’t be afraid to experiment (carefully!) to find what works best for you. The world of vinyl is all about the journey and the joy of discovery.
I’d love to hear about your experiences! Have you had any vinyl care epiphanies?
Any cleaning disasters you’ve learned from? Drop a comment below and share your story.
We’re all in this together, spinning our way to audio nirvana one clean stylus at a time. Now, if you’ll excuse me, I’ve got a date with my turntable and a freshly cleaned stylus.
Happy listening, folks!
