Psst! Hey there, fellow vinyl enthusiast! Ever put on your favorite record, only to be greeted by an annoying hum that just won’t quit?
Trust me, I’ve been there, and it’s enough to make you want to chuck your whole setup out the window. But hold up!
Before you do anything drastic, let me let you in on a little secret: that pesky hum might just be a grounding issue. And guess what? It’s totally fixable!
I remember the first time I encountered this problem. I’d just scored an amazing vintage turntable at a flea market, and I couldn’t wait to fire it up.
But when I did, instead of crystal-clear tunes, all I got was a buzz that could’ve rivaled a swarm of angry bees.
Talk about a bummer! But that frustrating experience led me down the rabbit hole of turntable grounding, and now I’m here to share all the juicy details with you.
In this guide, we’re gonna dive deep into the world of turntable grounding. I’ll break it down for you step by step, just like I wish someone had done for me back then.
We’ll cover everything from why grounding is so dang important to how to troubleshoot those stubborn issues that make you wanna pull your hair out.
So grab a cup of coffee (or maybe a glass of wine – I won’t judge), and let’s get ready to banish that hum for good!
How to Ground a Turntable

Grounding a turntable is a simple process that involves connecting a wire from your turntable to a grounding point on your amplifier or receiver.
First, locate the grounding screw or terminal on both your turntable and audio equipment.
Then, attach one end of the ground wire to the turntable’s ground point and the other end to your amp or receiver’s ground terminal.
Tighten both connections securely. This helps eliminate hum and improves overall sound quality.
We’ll explore this topic more deeply below, covering everything you need to know about proper turntable grounding.
Understanding Turntable Grounding
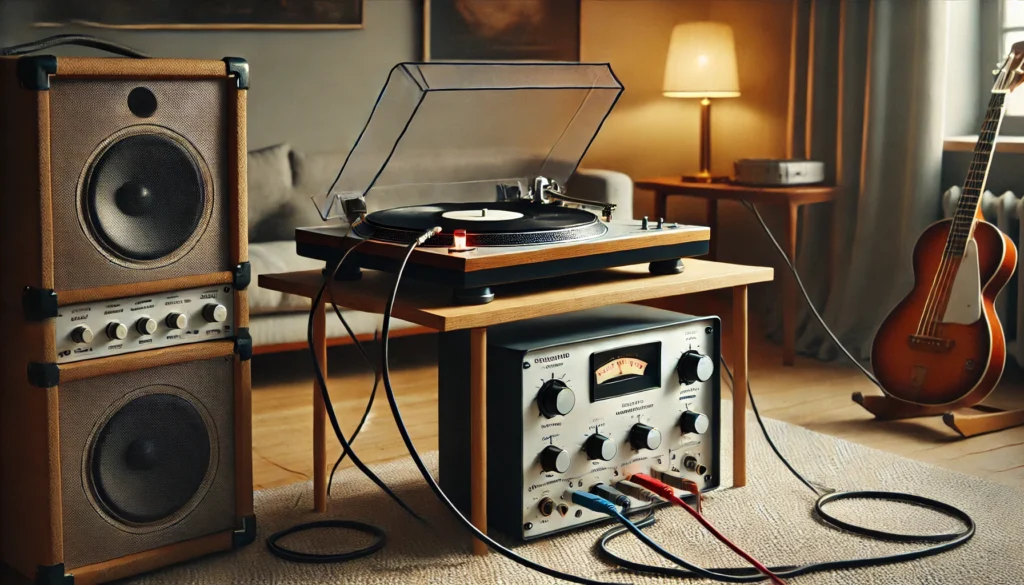
Alright, let’s get down to brass tacks and talk about what the heck grounding actually is. You know how sometimes you get a little zap when you touch a doorknob?
That’s kinda what we’re dealing with here, but on a much smaller scale. Grounding is basically giving all that excess electrical energy a safe place to go, instead of messing with your tunes.
Now, I gotta be real with you – when I first started messing around with turntables, I thought grounding was just some audiophile voodoo. Boy, was I wrong!
It turns out that proper grounding is like the unsung hero of your audio setup. It’s working behind the scenes to keep things sounding crisp and clean.
So why is grounding such a big deal for turntables specifically? Well, these babies are super sensitive to electrical interference.
I mean, think about it – you’ve got this tiny needle picking up microscopic vibrations from a piece of vinyl. It’s like trying to hear a whisper in a crowded room.
Any little bit of electrical noise can mess with that delicate signal. I learned this the hard way when I first set up my vintage turntable.
I plugged everything in, dropped the needle, and BAM – instant buzz city. It was like trying to listen to music through a swarm of bees.
Not exactly the warm, rich vinyl sound I was hoping for, ya know? But here’s the kicker – once I figured out how to ground that bad boy properly, it was like night and day.
Suddenly, all I could hear was the music, pure and clear. No more hum, no more buzz, just sweet, sweet analog goodness.
Now, I’m not gonna lie – there are a few common issues that can crop up if your grounding game isn’t on point. You might hear that annoying hum I mentioned earlier, or maybe a persistent buzz that makes you wanna tear your hair out.
In some cases, you might even pick up radio interference. (Yeah, I once had my turntable randomly start playing a local country station. Talk about a mood killer!)
But don’t sweat it! All these issues are totally fixable once you know what you’re doing.
And trust me, by the time we’re done here, you’ll be a grounding guru. So let’s roll up our sleeves and get into the nitty-gritty of how to make your turntable sound as clean as the day it was born!
Tools and Materials Needed
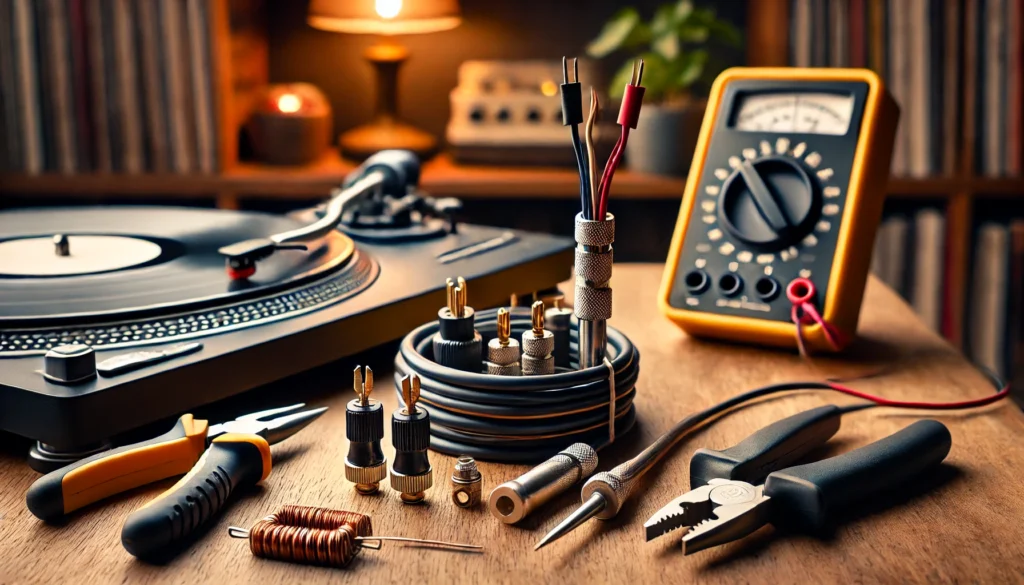
Alright, folks, it’s time to talk shop! Before we dive into the nitty-gritty of grounding your turntable, we gotta make sure you’re packing the right tools for the job.
Trust me, there’s nothing worse than getting all amped up to fix your audio setup, only to realize you’re missing some crucial piece of equipment. Been there, done that, and let me tell you, it’s frustrating as heck!
So, let’s break down the essentials you’ll need to get this grounding party started:
- Ground wire: This is the MVP of our operation. You can usually find these bad boys with a spade connector on one end and a bare wire on the other.
If your turntable didn’t come with one, don’t panic! You can easily make your own with some 16 or 18 gauge wire.
- Screwdriver: A small flathead screwdriver is usually all you need to tighten those ground connections. But hey, if you wanna feel fancy, a precision screwdriver set can’t hurt.
- Wire strippers: If you’re making your own ground wire or need to strip the ends of an existing one, these babies are a lifesaver. Trust me, trying to strip wire with your teeth is NOT the move.
(Don’t ask how I know this…)
- Multimeter: Okay, this one’s optional, but it can be super helpful for troubleshooting. If you’re dealing with a persistent hum or want to check your connections, a basic multimeter can be your best friend.
Now, for those of you who really wanna take your setup to the next level, there are a few optional goodies you might wanna consider:
- Grounding block: This is like a central hub for all your grounding needs. It can be especially handy if you’ve got multiple components to ground.
- Ferrite chokes: These little clip-on devices can help reduce high-frequency interference. They’re like noise-canceling headphones for your cables!
- Audio-grade power strip: A high-quality power strip with isolated outlets can help prevent ground loops and provide cleaner power to your system.
- Anti-static mat: This can help reduce static buildup on your vinyl, which can contribute to noise and even attract dust to your records.
Look, I know it might seem like overkill to some of y’all, but trust me – having the right tools can make all the difference. I remember trying to MacGyver a ground connection with a paperclip and some electrical tape once.
Let’s just say it didn’t end well, and I may or may not have accidentally shocked myself in the process. (Pro tip: Don’t be like me. Use the proper tools!)
So, there you have it – your turntable grounding toolkit. Gather these goodies, and you’ll be all set to tackle any grounding challenge that comes your way.
And hey, even if you don’t need all the fancy extras right now, it’s always good to know what’s out there. You never know when you might wanna level up your audio game!
Step-by-Step Guide to Grounding Your Turntable
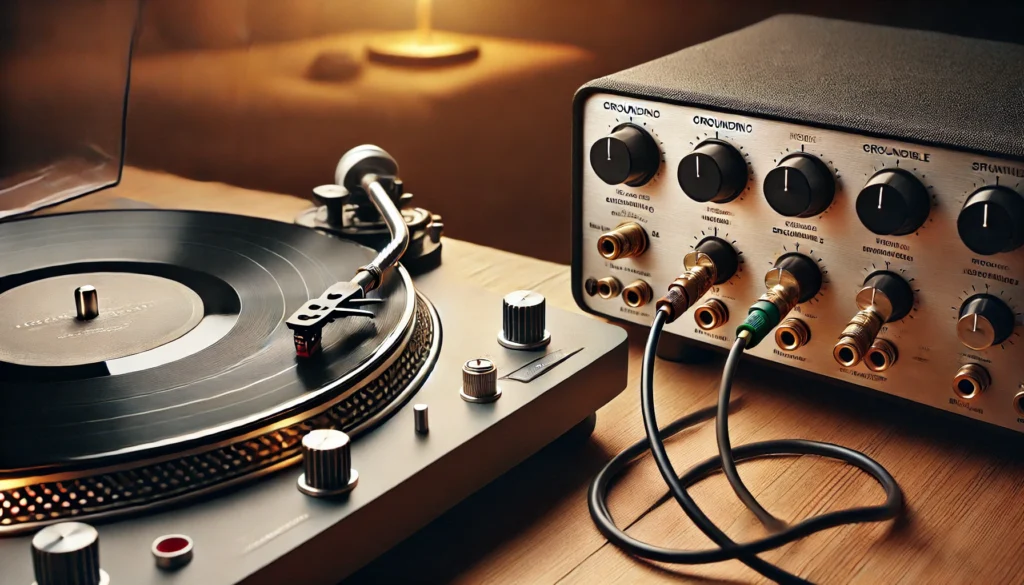
Alright, audio adventurers, it’s time to get our hands dirty! We’re gonna walk through grounding your turntable step by step.
Don’t worry if you’ve never done this before – I’ll guide you through it just like I wish someone had done for me when I was fumbling around with my first setup.
Step 1: Identify Your Grounding Points
First things first, we gotta locate where we’re gonna make our connections. On your turntable, look for a small screw or post labeled “GND” or “Ground”.
It’s usually on the back, near where the RCA cables come out. Can’t find it?
Don’t panic! Some turntables use the chassis itself as a ground point.
Now, on your amplifier or receiver, you’re looking for a similar setup. There’s usually a screw terminal labeled “GND” or sometimes a little picture of a triangle with a line under it.
(Fancy, right?)
Step 2: Connecting the Ground Wire
Okay, here’s where the magic happens. Take your ground wire (remember that MVP we talked about in the tools section?) and connect one end to the turntable’s ground point.
If it’s a screw, loosen it a bit, wrap the wire around it, and tighten it back up. If you’re dealing with a spade connector, just slip it over the post and tighten.
Now, stretch that wire over to your amp or receiver and do the same thing on that end. Make sure both connections are nice and snug.
We don’t want any loose connections here – that’s just asking for trouble!
Step 3: Testing the Connection
Alright, moment of truth! Plug everything in, turn on your system, and drop the needle on a record.
If all goes well, you should hear nothing but sweet, sweet music. No hum, no buzz, just pure analog goodness.
But wait, what if you’re still hearing some noise? Don’t throw in the towel just yet!
Sometimes it takes a little tweaking to get things just right. Try adjusting the tightness of your ground connections.
I’ve found that sometimes a connection that feels tight can still be a little loose electrically. Another trick I’ve learned: try reversing the direction of your ground wire.
I know it sounds weird, but sometimes this can make a difference, especially if you’re dealing with a ground loop. Oh, and here’s a pro tip: while you’re at it, make sure all your other connections are solid too.
Loose RCA cables can be sneaky culprits when it comes to unwanted noise. Now, I gotta be honest with you – the first time I tried grounding a turntable, I somehow managed to connect the ground wire to the wrong terminal on my amp.
Let’s just say the resulting noise was… impressive. But hey, we learn from our mistakes, right?
And now you can learn from mine! Remember, every system is a little different, so don’t get discouraged if it takes a bit of trial and error.
The key is to be patient and methodical. And trust me, once you get it right, the improvement in sound quality will be music to your ears.
(See what I did there?)
So there you have it – your step-by-step guide to grounding your turntable. Follow these steps, and you’ll be well on your way to audio nirvana.
And hey, even if you hit a snag, don’t sweat it. We’ve got troubleshooting tips coming up next.
You’ve got this!
Troubleshooting Common Grounding Issues

Alright, vinyl virtuosos, let’s talk troubleshooting. Because let’s face it, sometimes things don’t go as smoothly as we’d like.
But don’t worry – I’ve been through the audio trenches, and I’m here to help you navigate the murky waters of grounding issues.
First up, let’s tackle that persistent hum or buzz. You know the one – it’s like a swarm of angry bees decided to crash your listening party.
If you’re still hearing this after grounding, don’t panic! Here are a few things to try:
- Double-check your connections: I know, I know, you already did this. But trust me, it’s worth another look.
Make sure everything is tight and secure.
- Try a different outlet: Sometimes the problem isn’t your equipment, but the power source. I once spent hours trying to fix a hum, only to realize it disappeared when I plugged into a different wall socket.
Face, meet palm.
- Lift the ground: This sounds counterintuitive, but sometimes you need to break the ground connection to fix a hum. Try a cheater plug or ground lift adapter.
(But be careful with this one – safety first!)
Now, let’s talk about the dreaded ground loop. This is when you’ve got multiple paths to ground, creating a circular current that shows up as noise in your system.
It’s like your audio setup is playing a game of electrical hot potato, and you’re the one getting burned.
To tackle a ground loop:
- Try the “one plug” trick: Plug all your components into the same power strip or outlet. This can often eliminate the loop.
- Use isolation transformers: These bad boys can break the loop by separating the grounds between components.
- Check for cable TV connections: Sometimes your cable or satellite box can introduce a ground loop. Try disconnecting it temporarily to see if that’s the culprit.
Lastly, let’s chat about interference from other electronics. This is when your turntable starts picking up radio signals or buzzing when your phone is nearby.
(Yeah, I once had my turntable start playing a local radio station. Talk about a mood killer!)
To combat interference:
- Reposition your equipment: Sometimes just moving your turntable away from other electronics can work wonders.
- Use shielded cables: If your cables aren’t already shielded, upgrading can make a big difference.
- Try ferrite chokes: These little clip-on devices can help reduce high-frequency interference.
Now, I gotta tell you about the time I thought I had a grounding issue, but it turned out my cat had been chewing on my RCA cables. Yeah, not my proudest moment as an audiophile.
But hey, we live and learn, right? The key to troubleshooting is patience and persistence.
Don’t be afraid to try different solutions, and remember – every system is unique. What works for one setup might not work for another.
But stick with it, and I promise you’ll get there. And if all else fails?
Well, there’s no shame in calling in the pros. Sometimes a fresh set of eyes (and ears) can make all the difference.
Just make sure to regale them with tales of your troubleshooting adventures. Who knows?
You might even teach them a thing or two!
Advanced Grounding Techniques for Audiophiles
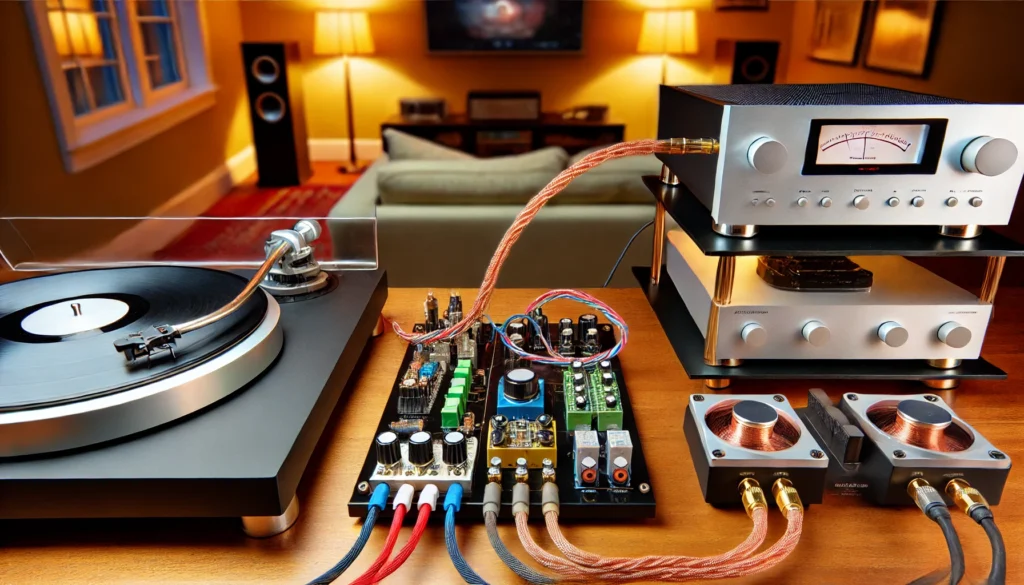
Alright, audio aficionados, it’s time to take things up a notch! If you’ve mastered the basics of turntable grounding and you’re hungry for more, you’ve come to the right place.
These advanced techniques are for those of you who want to squeeze every last drop of performance out of your system. Fair warning: we’re about to get a little nerdy here, but trust me, it’s worth it!
Let’s start with multiple component grounding. If you’re like me, your audio setup probably looks like a mad scientist’s laboratory, with components stacked everywhere.
Each of these babies needs to be grounded properly to achieve audio nirvana. Here’s where the concept of star grounding comes in handy.
Picture a star with your preamp or integrated amp at the center. All your other components – turntable, CD player, DAC, you name it – connect their ground wires to this central point.
This helps prevent ground loops and keeps noise to a minimum. I remember when I first implemented star grounding in my system – it was like someone had lifted a veil I didn’t even know was there!
Now, let’s talk about dedicated grounding blocks. These are like the fancy cousins of the humble ground screw on your amp.
A good grounding block provides multiple connection points and can help isolate ground connections between components. Some audiophiles swear by copper bus bars for this purpose.
I once splurged on a high-end grounding block, and let me tell you, the improvement in clarity was no joke!
But here’s where things get really interesting – alternative grounding methods. Ever heard of using a dedicated earth ground?
This involves running a thick wire from your audio system to a grounding rod driven into the actual earth outside your house. Sounds crazy, right?
But I’ve tried it, and the reduction in noise floor was mind-blowing. Just be sure to check local building codes before you start digging up your yard!
Another trick up the audiophile sleeve is capacitor bypassing. This involves adding small capacitors across ground connections to shunt high-frequency noise to ground more effectively.
It’s a delicate balance, though – too much capacitance can actually degrade the sound. I learned this the hard way when I went overboard and ended up with muddy bass.
Oops!
Let’s not forget about isolation transformers. These bad boys can break ground loops by completely isolating the grounds between components.
They’re especially useful if you’re dealing with stubborn hum issues that just won’t quit. I once added an isolation transformer to my phono stage, and it was like someone had hit the mute button on the background noise.
Now, here’s a technique that might sound a bit out there – cryogenic treatment of cables and connectors. Some audiophiles swear by deep-freezing their cables to improve conductivity.
I’ll be honest, I was skeptical at first. But after trying it on a whim (and nearly giving myself frostbite in the process), I have to admit there was a noticeable improvement in detail retrieval.
One last advanced technique to consider is magnetic field optimization. This involves carefully arranging your components and cables to minimize electromagnetic interference between them.
It can be a bit like playing audio Tetris, but the payoff in reduced noise can be significant. Just be prepared for some funny looks from your family as you obsessively rearrange your audio rack for the umpteenth time!
Remember, with all these advanced techniques, the key is experimentation and careful listening. What works wonders in one system might not do much in another.
It’s all about finding the right combination for your unique setup. I’ll never forget the time I spent an entire weekend tweaking my grounding setup, only to realize that the biggest improvement came from simply cleaning the connections with some contact cleaner.
Sometimes it’s the simplest things that make the biggest difference!
At the end of the day, advanced grounding is as much an art as it is a science. It’s about developing a feel for your system and learning to trust your ears.
And hey, even if not every tweak results in an earth-shattering improvement, the journey itself is half the fun. After all, isn’t that what being an audiophile is all about?
So go forth and experiment! Try out these advanced techniques, keep an open mind, and most importantly, enjoy the music.
Because at the end of the day, that’s what it’s all about – getting the most out of your vinyl and losing yourself in the music. Happy grounding, audio adventurers!
Conclusion
Whew! What a journey we’ve been on, huh? From the basics of why grounding matters to the wild world of advanced audiophile techniques, we’ve covered a lot of ground (pun totally intended).
But here’s the thing – all this tech talk and troubleshooting is really about one thing: getting the most out of your music.
Remember when we started, and I told you about that frustrating hum that nearly made me chuck my turntable out the window? Well, looking back, I’m kinda glad I had that problem.
It kicked off this whole adventure into the world of audio grounding, and man, what a ride it’s been!
Now, I know we’ve thrown a lot of information at you. Some of it might seem a bit overwhelming, especially if you’re new to this whole vinyl game.
But here’s the secret – you don’t have to do it all at once. Start with the basics, get your turntable properly grounded, and go from there.
Trust me, even that first step can make a world of difference. As you get more comfortable, feel free to experiment with some of the more advanced techniques we talked about.
But always remember – there’s no one-size-fits-all solution in audio. What works for my setup might not work for yours, and that’s okay!
The fun is in the experimentation, in the little tweaks and adjustments that gradually shape your system into something uniquely yours. And hey, let’s not forget the most important thing – safety first!
Always be careful when working with electrical components, and if you’re ever unsure, don’t hesitate to consult a professional. Your ears (and your equipment) will thank you.
Now, I’d love to hear from you! Have you tried any of these grounding techniques?
Did they work for you? Or maybe you’ve got some secret audiophile trick up your sleeve that we haven’t covered.
Drop a comment below and let’s keep this conversation going. After all, half the fun of this hobby is sharing experiences and learning from each other.
Before I sign off, I just want to say – don’t let the pursuit of perfect sound keep you from enjoying your music. At the end of the day, this is all about enhancing your listening experience.
So once you’ve got your system dialed in, sit back, drop the needle on your favorite record, and just enjoy. Because that moment when the music starts, and everything else fades away?
That’s what it’s all about. So here’s to clean grounds, quiet backgrounds, and most importantly, great tunes.
Keep spinning those records, my friends, and may your sound always be as clear as a bell and as warm as a summer afternoon. Rock on!
