Hey there, fellow vinyl enthusiasts! Today, we’re diving into a topic that’s probably bugged you as much as it has me – those pesky scratches on your turntable’s dust cover.
Man, I remember the first time I noticed a big ol’ scratch right in the middle of my brand new turntable’s dust cover.
Talk about a mood killer! But don’t worry, I’ve been through the trenches and come out the other side with some tricks up my sleeve.
Let’s face it, a scratched-up dust cover isn’t just an eyesore – it’s like trying to appreciate the Mona Lisa through a dirty window.
No bueno! But here’s the thing: you don’t need to be a rocket scientist or have deep pockets to fix this problem.
I’m gonna walk you through some tried-and-true methods that’ll have your dust cover looking crystal clear in no time.
Trust me, I’ve made every mistake in the book when it comes to this stuff. But hey, that’s how we learn, right?
So grab a drink, put on your favorite record (carefully!), and let’s get into the nitty-gritty of how to remove those annoying scratches from your turntable dust cover. It’s gonna be a fun ride!
How To Remove Scratches From Turntable Dust Cover?
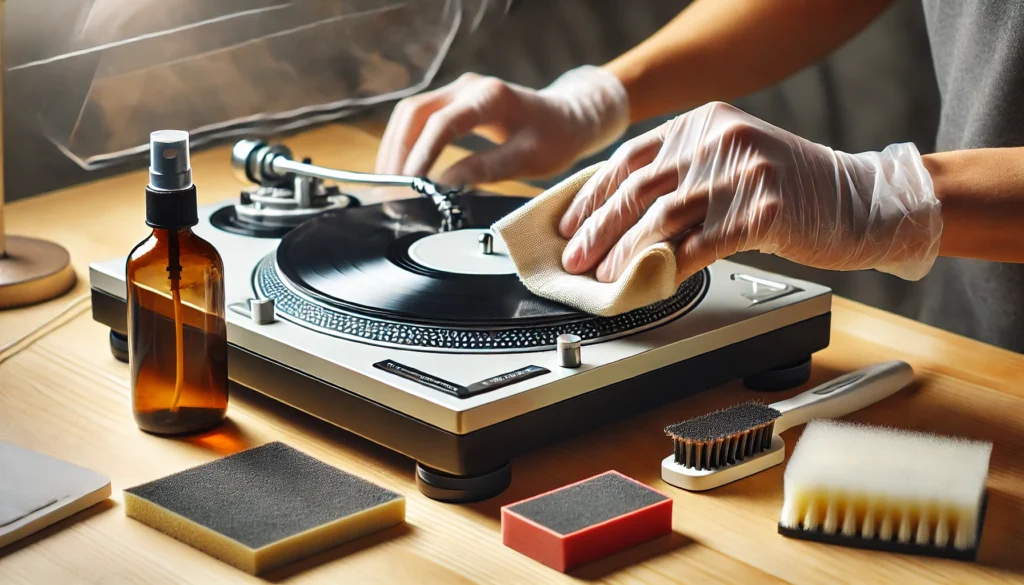
To remove scratches from a turntable dust cover, follow these steps: 1) For light scratches, apply a small amount of plastic polish or non-gel toothpaste to a microfiber cloth and gently rub in circular motions. 2) For deeper scratches, use a plastic scratch repair kit, which typically includes fine-grit sandpaper and polishing compounds.
3) In severe cases, wet sanding with 2000-grit or higher sandpaper, followed by polishing, can be effective. Always clean the dust cover before and after treatment, and work in a well-ventilated area.
If these methods don’t work, consider professional restoration.
Now that we’ve covered the basics, let’s dive deeper into each method and explore some pro tips to get your dust cover looking brand new again.
Understanding Turntable Dust Cover Scratches

Alright, let’s talk scratches. Not all scratches are created equal, folks!
In my years of obsessing over my vinyl setup, I’ve seen ’em all. You’ve got your light surface scratches – those annoying little buggers that you can barely feel with your fingernail but catch the light just right to drive you nuts.
Then there are the deeper gouges that make you wince every time you look at ’em.
Here’s the deal: understanding what you’re dealing with is half the battle. Light scratches? No biggie.
We can handle those with some DIY magic. But those deep ones? They might need a bit more TLC, or in worst-case scenarios, professional help.
Don’t panic though! We’ll get to all that.
Now, you might be wondering, “Why should I even care about a few scratches?” Well, let me tell you a little story. I once ignored a bunch of small scratches on my dust cover, thinking they were no big deal.
Fast forward a few months, and those little scratches had turned into a hazy mess that was seriously messing with my vinyl viewing pleasure. Not to mention, it was collecting dust like nobody’s business!
So here’s the lowdown: keeping your dust cover clear isn’t just about looks (although, let’s be honest, a pristine setup is pretty sweet). It’s about protecting your precious vinyl from dust, debris, and accidental damage.
Plus, there’s something deeply satisfying about dropping that needle and seeing your record spin through a crystal-clear cover.
Before we dive into the fix-it part, take a good look at your dust cover. Run your fingers gently over the scratches.
Can you feel ’em? Are they catching your nail? This’ll give you a good idea of what we’re dealing with and help you pick the best method to tackle them.
Remember, every scratch tells a story – but let’s be real, some stories we’d rather erase! So, let’s roll up our sleeves and get ready to give those scratches the boot.
Trust me, your turntable (and your eyes) will thank you!
Gathering Supplies for Scratch Removal
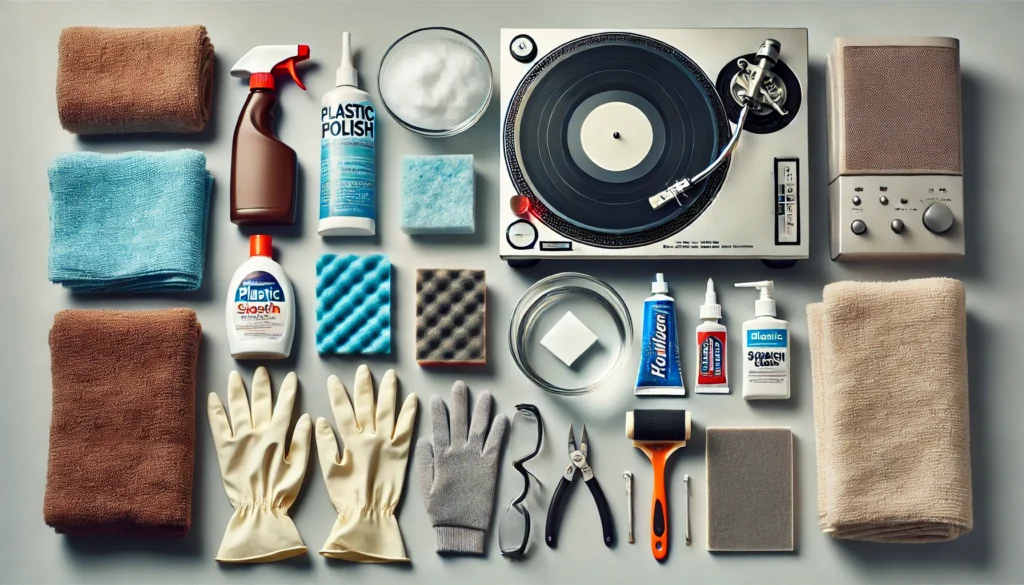
Okay, team, it’s time to gear up! Before we dive into scratch-busting action, we need to make sure we’ve got all our ducks in a row.
And by ducks, I mean supplies. Trust me, there’s nothing worse than getting all pumped up to fix your dust cover only to realize you’re missing that one crucial item.
Been there, done that, and let me tell you, it’s frustrating as heck!
So, what do we need? Let’s break it down:
First up, the essentials:
- Microfiber cloths – and I mean the good ones, not those cheapo ones that leave lint everywhere.
- Plastic polish – this stuff is like magic in a bottle for light scratches.
- Toothpaste – yep, you read that right! The white, non-gel kind works wonders.
- Warm water and mild dish soap – for cleaning before and after.
- A clean, lint-free towel – for drying.
Now, if you’re feeling fancy (or dealing with some stubborn scratches), you might want to grab these optional but super helpful tools:
- A plastic scratch repair kit – these often come with various grits of sandpaper and polishing compounds.
- A buffer pad – trust me, your arms will thank you for this one.
- Novus plastic polish set – this is the good stuff, folks!
Oh, and here’s something I learned the hard way – safety first! Grab yourself some:
- Rubber gloves – to protect your hands from chemicals and prevent fingerprints on your freshly polished cover.
- Safety glasses – because nobody wants polish in their eyes, am I right?
- A well-ventilated area – seriously, some of these products can be pretty smelly.
Now, I know what you’re thinking – “Do I really need ALL this stuff?” Well, not necessarily. But here’s a little pro tip from yours truly: it’s better to have it and not need it than need it and not have it.
Plus, most of this stuff is pretty handy for other household fixes too.
One time, I thought I could get away with using an old t-shirt instead of a microfiber cloth. Big mistake!
Ended up with tiny scratches all over the cover. Talk about one step forward, two steps back!
So learn from my fails and get the right tools for the job.
Alright, got everything? Double-check that list!
Once you’re all set, we can move on to the fun part – actually fixing those pesky scratches. Get ready to see your dust cover transform before your very eyes!
Simple DIY Methods for Light Scratches

Alright, folks, it’s time to roll up our sleeves and get down to business! We’re talking light scratches here – you know, the ones that make you squint and tilt your head just right to see ’em.
But don’t be fooled, these little buggers can still mess with your vinyl viewing experience. Lucky for you, I’ve got some tried and true methods that’ll have your dust cover looking slick in no time.
First up, the toothpaste trick. I know, I know, it sounds crazy, but hear me out!
Grab some plain white toothpaste (none of that gel stuff) and a soft cloth. Put a small dab on the scratch and gently rub it in circular motions.
The mild abrasives in the toothpaste work to smooth out the scratch. Just don’t go overboard – too much pressure and you’ll end up with a bigger problem than you started with.
Trust me, I learned that the hard way!
Next, let’s talk plastic polish. This stuff is like liquid gold for your dust cover.
Apply a small amount to a clean microfiber cloth and work it into the scratch using light, circular motions. It might take a bit of elbow grease, but stick with it.
The first time I tried this, I got impatient and nearly gave up. But man, when I saw the results, I was kicking myself for not discovering this sooner!
Now, here’s a little secret weapon: the magic eraser. Yep, that humble household cleaner can work wonders on light scratches.
Dampen it slightly and gently rub the scratched area. But be careful!
Too much pressure can actually create more scratches. I once got a bit overzealous and ended up with a slightly foggy spot.
Not my finest moment, let me tell you.
Here’s a pro tip: whatever method you choose, always test it on a small, inconspicuous area first. Better safe than sorry, right?
Remember, patience is key here. These methods aren’t instant fixes – it might take a few tries to see results.
But trust me, when you finally see that scratch disappear, it’s like Christmas morning for vinyl nerds!
Oh, and one more thing – make sure you clean the dust cover thoroughly before and after. You don’t want any dirt or debris causing more scratches while you’re trying to fix the existing ones.
Been there, done that, and let me tell you, it’s not fun starting over from square one.
So there you have it, folks – your game plan for tackling those annoying light scratches. Give these methods a shot and watch your dust cover transform from scratched to spectacular.
Your vinyl collection will thank you!
Tackling Deep Scratches on Turntable Dust Covers
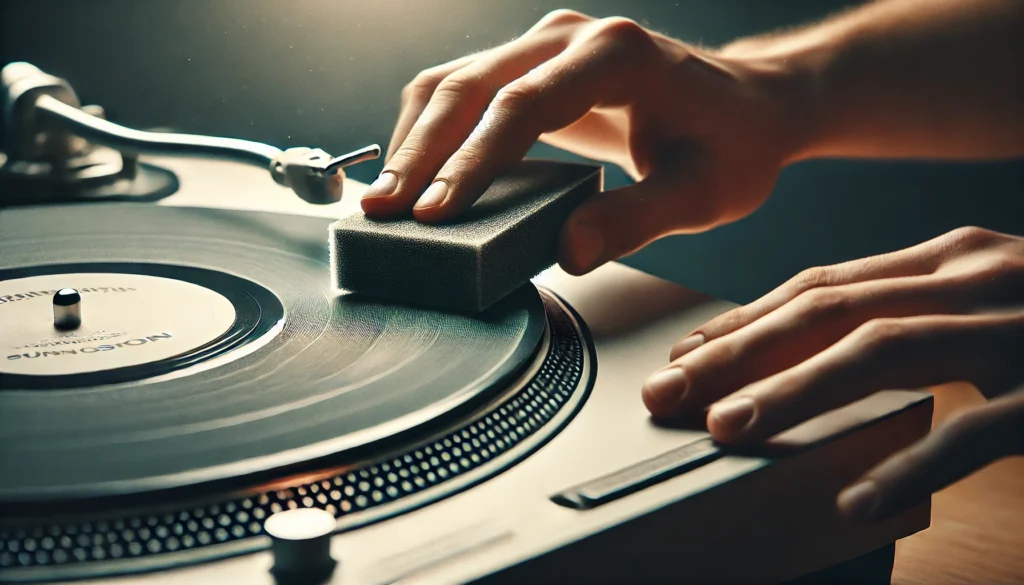
Alright, gang, now we’re getting into the big leagues. Those deep scratches that make you wince every time you look at your turntable?
Yeah, we’re coming for them. This is where things get a bit more intense, but don’t worry – I’ve got your back.
I’ve been through this battle myself, and let me tell you, it’s not for the faint of heart. But the results?
Oh man, they’re worth it.
First up, let’s talk wet sanding. Now, I know what you’re thinking – “Sanding my dust cover?
Are you crazy?” That’s exactly what I thought the first time someone suggested it to me. But trust me, when done right, it’s a game-changer.
Start with a super fine grit sandpaper (I’m talking 2000 grit or higher) and keep it wet at all times. Work in small, circular motions, and for the love of all things vinyl, go slow!
I rushed it once and ended up with a cover that looked like it had been through a sandstorm. Not my proudest moment.
Next up, scratch repair kits. These babies are designed specifically for plastic and can work wonders on deeper scratches.
They usually come with a series of polishing compounds and sandpapers. Follow the instructions to the letter – this isn’t the time to get creative.
I learned that the hard way when I tried to “improve” on the process and ended up with a mess that took twice as long to fix.
Now, here’s where it gets real. If you’ve got scratches that look more like canyons, it might be time to consider professional help.
I know, I know, it’s hard to hand over your precious turntable to someone else. But sometimes, you gotta know when to fold ’em.
There are specialists out there who can work magic on even the most battle-scarred dust covers.
Here’s a tip from someone who’s been in the trenches: take your time. Rushing through this process is a one-way ticket to Regretsville, population: you.
Put on your favorite album (on another system, of course), get in the zone, and treat it like a meditation. Your dust cover – and your sanity – will thank you.
Oh, and one more thing – if you’re dealing with really deep scratches, you might want to consider using a plastic filler before polishing. It’s like spackle for your dust cover.
Just be careful not to overdo it – too much filler and you’ll end up with a lumpy mess. Trust me, I’ve been there, and it’s not a good look.
Remember, folks, deep scratches are tough, but they’re not invincible. With a little patience, the right tools, and maybe a bit of colorful language (hey, we’re all adults here), you can bring that dust cover back from the brink.
And when you finally lower that cover over your turntable, scratch-free and gleaming? That feeling is pure vinyl nirvana.
Preventing Future Scratches on Your Dust Cover
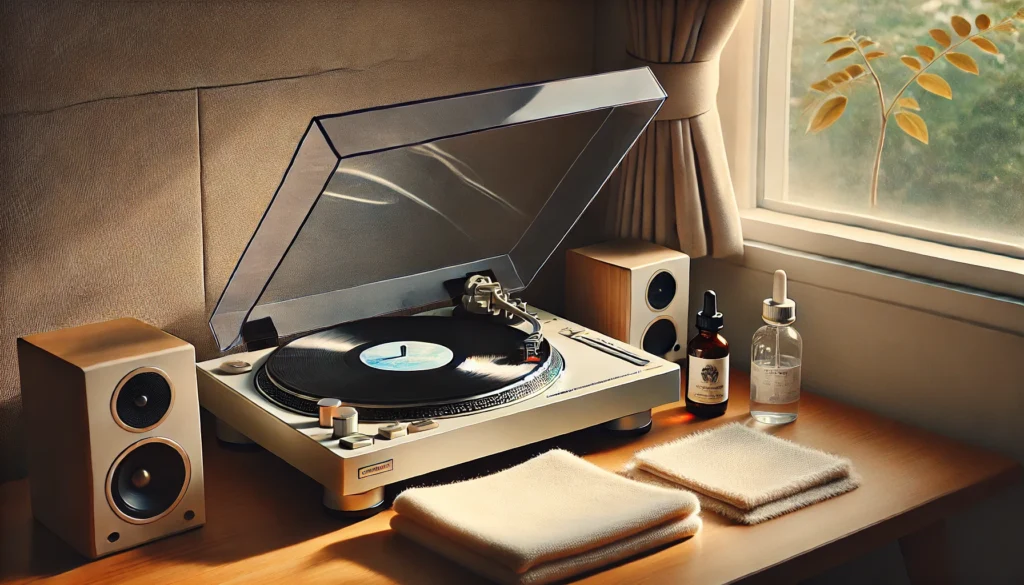
Alright, vinyl lovers, we’ve battled the scratches and come out victorious. But here’s the million-dollar question: how do we keep those pesky scratches from coming back?
Well, buckle up, because I’m about to drop some knowledge that I wish someone had shared with me years ago. Trust me, these tips could save you a lot of headaches (and elbow grease) down the road.
First things first: cleaning. I know, I know, it sounds obvious, but you’d be surprised how many folks neglect this simple step.
Use a soft, lint-free cloth – microfiber is your best friend here. And for the love of all things groovy, avoid paper towels!
I made that mistake once and ended up with tiny scratches all over my newly polished cover. Talk about a facepalm moment.
When it comes to cleaning solutions, less is more. A little warm water and a drop of mild dish soap will do the trick for most dust and fingerprints.
Avoid harsh chemicals – they can do more harm than good. And always, always dry your cover thoroughly.
Leftover water droplets can leave spots or even cause warping over time.
Now, let’s talk handling. Treat your dust cover like it’s made of delicate butterfly wings.
I know that sounds dramatic, but seriously, gentle is the name of the game. When you’re opening or closing it, use both hands and lift from the sides, not the front edge.
I learned this the hard way when I accidentally slammed my cover shut and left a nice big scratch right in the center. Not my finest hour.
Here’s a pro tip: invest in a dust cover protector. Yeah, I know, it sounds like overkill – a cover for your cover?
But hear me out. These soft, fabric sleeves can be a game-changer, especially if you’re constantly moving your turntable around (guilty as charged).
They’re like a suit of armor for your dust cover, protecting it from scratches, dust, and even UV damage.
Speaking of storage, if you need to remove your dust cover for any reason, treat it like the precious gem it is. Store it flat, not on its side, and for heaven’s sake, don’t stack anything on top of it!
I once used my removed dust cover as a makeshift shelf for some records. Let’s just say it didn’t end well for anyone involved.
Oh, and here’s something I wish I’d known earlier: be mindful of your cleaning cloths. Make sure they’re clean before you use them on your dust cover.
A tiny piece of grit caught in the fabric can turn your gentle cleaning session into an impromptu scratch-creating party. Not fun.
Lastly, consider your turntable’s environment. Is it in direct sunlight?
Near a heat source? These can cause the plastic to warp or become brittle over time, making it more susceptible to scratches.
A little shade and some climate control can go a long way in preserving your dust cover’s pristine condition.
Look, I get it. Sometimes life happens, and despite our best efforts, scratches occur.
But by following these tips, you’ll be giving your dust cover the best chance at a long, scratch-free life. And trust me, future you will be thanking present you for taking these precautions.
Remember, folks, an ounce of prevention is worth a pound of cure. Or in our case, an ounce of care is worth a scratch-free dust cover.
Your vinyl deserves to be seen in all its glory, so let’s keep that view crystal clear!
Conclusion
Whew! We’ve been on quite the journey, haven’t we? From understanding those pesky scratches to battling them head-on, and finally learning how to keep ’em at bay.
If there’s one thing I hope you take away from all this, it’s that a little TLC goes a long way when it comes to your turntable’s dust cover.
Now, I know we’ve covered a lot of ground here, but remember – this isn’t a one-size-fits-all kind of deal. Your turntable, your dust cover, they’re unique!
So don’t be afraid to experiment a little (carefully!) to find what works best for you. Maybe you’ll discover a killer combo of techniques that works wonders on your particular setup.
And hey, let’s be real for a second. Even with all these tips and tricks, sometimes life happens.
You might get a scratch or two down the line. But now? Now you’re armed and ready to tackle whatever comes your way.
You’re practically a dust cover ninja!
Before I sign off, I gotta stress this – always prioritize safety when working with any cleaning products or tools. Your health is way more
