Did you know that a tiny adjustment on your turntable can make or break your vinyl listening experience?
Well, buckle up, because we’re about to dive into the world of anti-skate – a feature that might seem small but packs a big punch when it comes to getting the most out of your records.
As a vinyl enthusiast and self-proclaimed audiophile, I’ve spent countless hours tinkering with turntables.
Trust me, I’ve made every mistake in the book! But through all that trial and error, I’ve come to appreciate just how crucial anti-skate is in the grand scheme of turntable setup.
In this article, we’ll explore what anti-skate is, why it matters, and how to set it up like a pro.
Whether you’re a vinyl newbie or a seasoned collector, I promise you’ll walk away with some nuggets of wisdom that’ll take your listening game to the next level.
What Is Anti-Skate On My Turntable & How Does It Work?

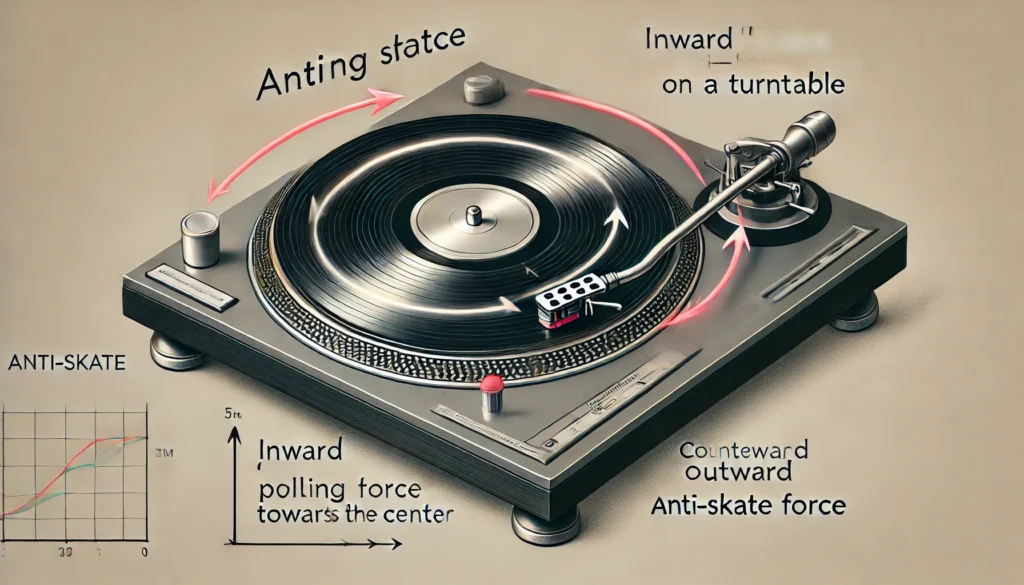
Anti-skate on a turntable is a mechanism that counteracts the natural inward force on the tonearm as it tracks the record groove.
It works by applying an equal outward force, ensuring the stylus maintains consistent contact with both walls of the groove.
This balance is crucial for optimal sound quality and to prevent excessive wear on your records and stylus.
I remember the first time I heard about anti-skate – I was like, “What’s the big deal?” But let me tell you, once I got it dialed in correctly, it was like hearing my records for the first time all over again!
We’ll dive deeper into the nitty-gritty below, but for now, just know that this little feature can make a world of difference in your vinyl experience.
The Physics Behind Anti-Skate
Alright, let’s get a little nerdy for a second – but I promise it’ll be worth it! You know how when you’re ice skating, you naturally want to curve inward?
Well, your turntable’s tonearm feels the same way. As the record spins, there’s this pesky force called the “skating force” that tries to pull the tonearm towards the center of the record.
Now, why does this happen? It’s all about friction and angles, folks. The stylus, sitting in the groove, creates friction as it tracks the music.
But because the tonearm is at an angle to the record (unless you’ve got one of those fancy linear tracking turntables), this friction doesn’t just slow the arm down – it also pulls it inward.
I learned this the hard way when I first started collecting vinyl. I couldn’t figure out why my records sounded so wonky, especially towards the center.
It turns out, without proper anti-skate, the stylus was putting more pressure on one wall of the groove than the other. Not cool for sound quality or record longevity!
This is where anti-skate comes to the rescue. It’s like giving your tonearm a little outward nudge to balance things out.
When set correctly, it keeps the stylus centered in the groove, making sure it’s reading both channel walls equally. Trust me, your ears (and your records) will thank you!
Types of Anti-Skate Mechanisms
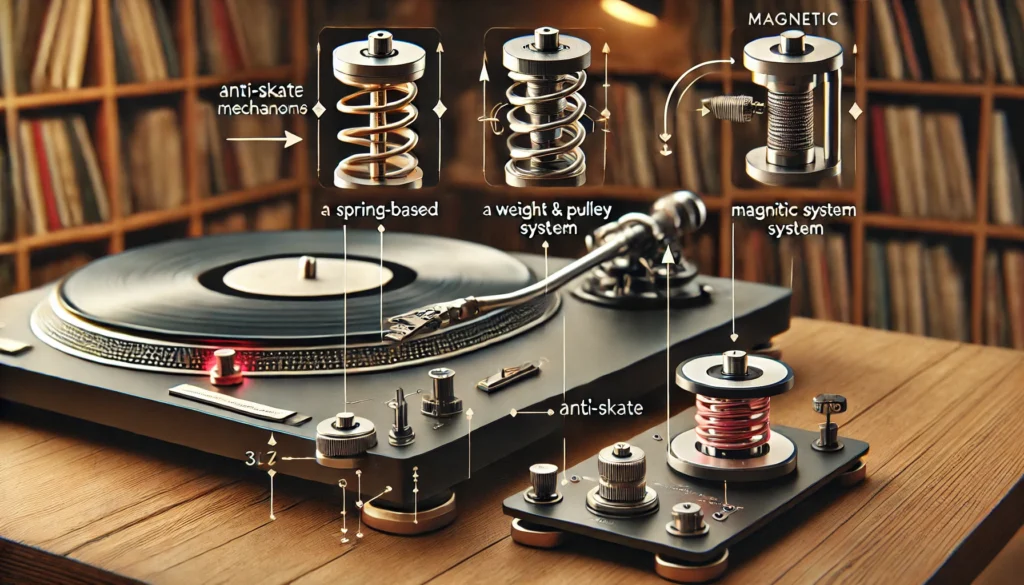
In my vinyl journey, I’ve come across a few different types of anti-skate systems. Let’s break ’em down:
Spring-based systems are pretty common and use a small spring to apply outward force on the tonearm. They’re usually adjustable with a little dial or slider. I’ve found these to be pretty reliable, but sometimes they can be a bit finicky to get just right.
Then there are weight and pulley systems. These use a weight hanging on a thread that’s attached to the tonearm via a little pulley.
As the arm moves inward, the weight provides a counterforce. I love how precise these can be, but I’ve definitely tangled that thread more times than I care to admit!
Some fancy-pants turntables use magnets to create the anti-skate force. It’s all very high-tech and usually provides super smooth operation. I drooled over one of these at a hi-fi show once, but my wallet wasn’t having it.
Each type has its pros and cons. Spring systems are simple but can wear out over time. Weight systems are precise but can be fiddly. Magnetic systems are smooth but often pricier.
Personally, I’ve had good experiences with all types – it’s more about getting the adjustment right than which system you’re using.
Why Is Anti-Skate Important?
Let me tell you a story. Back when I was a vinyl newbie, I thought anti-skate was just some audiophile mumbo-jumbo.
Boy, was I wrong! I left it off completely, and after a few months, I noticed my records sounding distorted, especially on the inner grooves.
Even worse, when I looked closely at my stylus, it was visibly worn on one side. Ouch!
Anti-skate is crucial for several reasons. First off, it’s all about sound quality. When your stylus is centered in the groove, it picks up the sound from both channel walls equally.
This means better stereo separation and more accurate sound reproduction. It’s like the difference between listening through one-and-a-half earbuds versus two properly fitted ones.
It’s also about protecting your precious vinyl. Without anti-skate, your stylus puts more pressure on one groove wall.
Over time, this can actually wear down your records unevenly. And let me tell you, there’s nothing worse than damaging a rare vinyl find because of improper setup.
Your stylus benefits too. Just like it wears your records unevenly, improper anti-skate can wear down your stylus faster on one side. These little guys aren’t cheap, so you want them to last as long as possible.
Lastly, correct anti-skate helps your stylus stay in the groove, especially during louder or more dynamic passages. This means fewer skips and better playback of complex music.
Trust me, once you get your anti-skate dialed in, you’ll wonder how you ever listened without it properly set up!
How to Set Up Anti-Skate Correctly

Alright, here’s where the rubber meets the road – or should I say, where the stylus meets the groove? Setting up anti-skate can seem daunting, but I promise it’s not rocket science.
Start with the basics: make sure your turntable is level and your cartridge is properly aligned. Anti-skate won’t work miracles if everything else is out of whack. Next, set your tracking force. This is usually done before anti-skate. Follow your cartridge manufacturer’s recommendations.
Find your anti-skate control. It might be a dial, a slider, or a hanging weight, depending on your turntable. Start at zero by setting the anti-skate to its lowest setting. Now, use a blank record or a test record. If you don’t have one, you can use the run-out groove of a regular record.
Gradually increase anti-skate. Watch the tonearm as it sits in the groove. If it starts to drift inward, you need more anti-skate. If it drifts outward, you’ve gone too far. Fine-tune by ear by playing some music and listening for distortion, especially in the right channel. Adjust until it sounds clean and balanced.
Don’t forget to double-check with different records. What works for one might not be perfect for all, so test with a few different albums.
Common mistakes? Oh boy, I’ve made them all! Don’t just set it to match the tracking force number – that’s a rough guide at best. And don’t forget to re-adjust if you change your stylus or cartridge.
Remember, patience is key. It took me a while to get the hang of it, but now I can dial it in pretty quickly. You’ll get there too!
Troubleshooting Anti-Skate Issues

Even with the best setup, sometimes things can go wonky. Here are some common issues I’ve run into and how to fix them:
If you’re experiencing skipping on inner grooves, this could mean your anti-skate is set too low. Try increasing it slightly. Distortion in one channel? If it’s the right channel, your anti-skate might be too high. If it’s the left, it might be too low.
Watch out for tonearm drift. If it’s drifting inward, increase your anti-skate. If it’s drifting outward, decrease it. Inconsistent sound across the record? Your anti-skate might need fine-tuning, or there could be an issue with your tonearm bearings.
If you’re still having trouble, don’t be afraid to start from scratch. Reset everything to zero and work your way up again. And hey, if all else fails, don’t be ashamed to ask for help. I’ve learned some of my best tricks from the folks at my local hi-fi shop!
Advanced Anti-Skate Techniques
Ready to take your anti-skate game to the next level? Here are some pro tips I’ve picked up over the years:
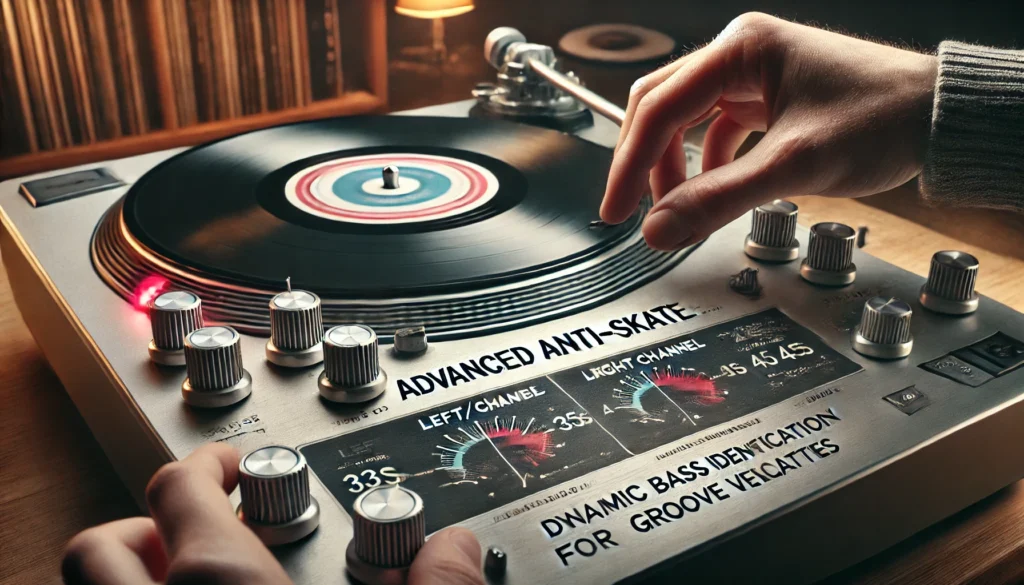
Consider using a test record. These have specific tracks designed to help you dial in your anti-skate perfectly. Look for one with left/right channel identification and tracking ability tests.
Think about your music choices too. If you listen to a lot of dynamic music with heavy bass, you might need a touch more anti-skate to keep the stylus tracking properly during those intense passages.
Did you know that the optimal anti-skate can vary slightly between 33s and 45s? It’s true! This is due to the difference in groove velocity. You might want to adjust accordingly when switching between speeds.
For those of you with older, well-loved records, you might need to back off the anti-skate a bit to prevent skipping. These worn grooves can behave differently, so a little tweaking can go a long way.
At the end of the day, trust your ears. If it sounds good and your records aren’t showing signs of wear, you’re probably in good shape. Remember, these are advanced techniques. Don’t stress if you’re not ready for this level yet. A good basic setup will get you 90% of the way there!
Conclusion
Whew! We’ve covered a lot of ground, haven’t we? From the basics of what anti-skate is to some pretty advanced techniques. But here’s the thing – all this tech talk is really just in service of one goal: getting the most enjoyment out of your vinyl collection.
Remember when I said that tiny adjustment could make or break your listening experience? Well, now you know why! Anti-skate might seem like a small detail, but it’s one of those things that separates the good setups from the great ones.
But here’s my final piece of advice: don’t get too caught up in the perfectionism trap. Yes, it’s important to get your anti-skate set correctly. But at the end of the day, the most important thing is that you’re enjoying your music. If you’ve followed the steps we’ve outlined and your records sound good to you, then kick back, drop the needle, and enjoy!
And hey, I’d love to hear about your experiences with anti-skate. Have you noticed a big difference after dialing it in? Any tricks you’ve discovered that I didn’t mention? Drop a comment below and let’s keep the conversation going. After all, the best part of this hobby is sharing our knowledge and experiences with fellow vinyl enthusiasts.
Now, if you’ll excuse me, I’ve got some records to spin. Happy listening, folks!
