Picture this: you’ve just scored a pristine copy of your favorite album on vinyl, rushed home to spin it on your turntable, and… wait, why does it sound like it’s whispering? If you’re scratching your head wondering, “Why is my turntable so quiet?” you’re not alone.
I’ve been there, trust me! As a vinyl enthusiast and self-proclaimed audio tinkerer, I’ve encountered my fair share of volume woes. But fear not, fellow record lovers!
I’m here to share the knowledge I’ve gained through years of trial and error (and a few facepalm moments). In this article, we’ll dive into the most common reasons your turntable might be giving you the silent treatment and how to crank up the volume without breaking a sweat.
So, grab a cup of coffee, and let’s get your vinyl singing at the top of its lungs again!
Why Is My Turntable So Quiet?

Alright, let’s cut to the chase. Your turntable might be acting like a shy performer for a handful of reasons.
Maybe your stylus is worn out and needs a replacement – trust me, I’ve been guilty of using a needle way past its prime! Or it could be that your cartridge settings are off, kinda like trying to dance with your shoes on the wrong feet.
Another culprit? A weak or missing preamp. I once spent a whole weekend wondering why my new turntable was so quiet, only to realize I needed a preamp.
Facepalm moment right there! Sometimes, it’s just a matter of improper setup – like when I didn’t level my turntable and wondered why it sounded off.
And don’t get me started on amplifier and speaker issues – those can definitely put a damper on your vinyl party. But don’t worry, we’re gonna dive deeper into all these potential party poopers and how to kick ’em to the curb!
Understanding Turntable Components and Their Impact on Volume
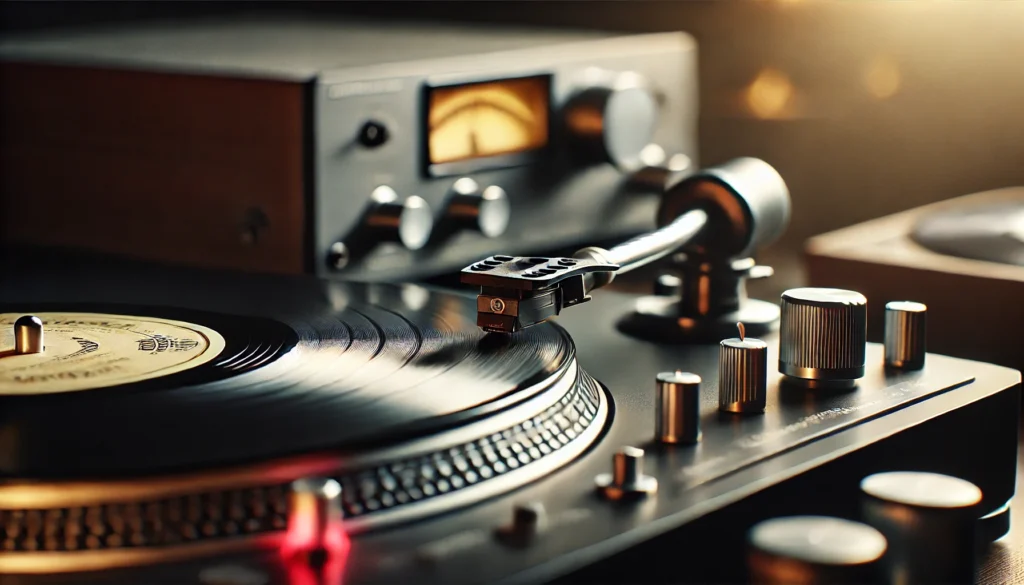
Let’s break it down, shall we? When I first got into vinyl, I thought a turntable was just a fancy record spinner.
Boy, was I wrong! There’s a whole orchestra of components working together to make that sweet analog sound.
First up, we’ve got the cartridge and stylus – the dynamic duo responsible for reading those tiny grooves in your records. Think of the cartridge as the interpreter and the stylus (or needle) as its eyes.
If either of these is off its game, your music’s gonna sound about as exciting as a deflated balloon.
Now, here’s where I made my rookie mistake: I didn’t realize how crucial proper alignment was. Imagine trying to read a book with your eyes crossed – that’s basically what a misaligned cartridge does to your records.
It’s all about precision, folks!
But wait, there’s more! Enter the preamp, the unsung hero of volume.
This little guy takes the whisper-quiet signal from your cartridge and amplifies it to a level your stereo can actually work with. I remember the day I discovered my old turntable had a built-in preamp, and I’d been running it through another external one.
Talk about overkill! But hey, live and learn, right?
Getting these components to play nice together is key to achieving that perfect volume. It’s like conducting an orchestra – when everything’s in harmony, oh boy, does it sound sweet!
But don’t worry if it seems overwhelming. We’re gonna break it all down, step by step.
Trust me, if I could figure it out after countless facepalm moments, you’ve got this in the bag!
Worn or Misaligned Stylus: The Silent Culprit
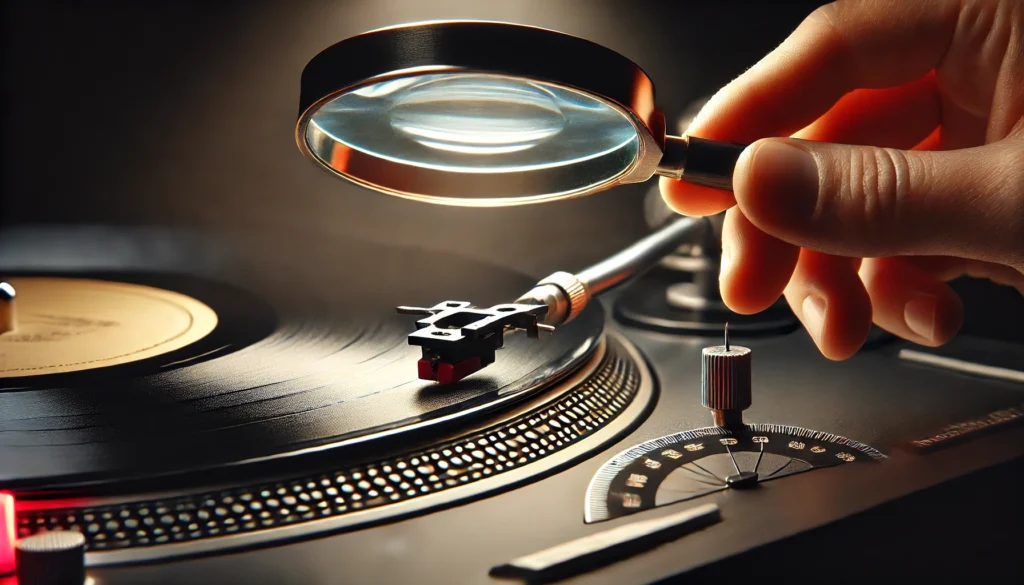
Alright, let’s talk about the stylus – that tiny but mighty component that’s literally the point of contact between your records and the rest of your system. I’ll never forget the time I realized my stylus was worn out.
I was wondering why my favorite albums suddenly sounded like they were being played underwater!
So, how do you know if your stylus is the silent troublemaker? Well, aside from the obvious drop in volume, you might notice a loss of clarity in the high frequencies.
It’s like someone threw a blanket over your speakers. Another telltale sign is distortion, especially in louder passages.
If your music starts to sound like it’s coming through a bad phone connection, your stylus might be crying out for retirement.
But here’s the tricky part – sometimes it’s not wear and tear, but misalignment that’s causing the issue. I learned this the hard way when I installed a new cartridge and didn’t align it properly.
The result? It sounded like my records were being played by a tone-deaf robot. Not cool.
Checking your stylus is pretty straightforward. First, give it a good look with a magnifying glass.
If the tip looks flat or chipped, it’s time for a replacement. Trust me, your records will thank you!
As for alignment, there are a few tools you can use. Personally, I swear by the two-point protractor method.
It might seem finicky at first, but once you get the hang of it, it’s like unlocking a secret level in your audio game.
Replacing a stylus can be nerve-wracking – I still get sweaty palms every time I do it. But remember, a fresh stylus can breathe new life into your entire system.
It’s like getting a new pair of glasses; suddenly, everything’s clearer and more vibrant!
Just be careful when handling the stylus. I once dropped mine on the floor and spent the next hour crawling around like a detective, searching for it.
Not my proudest moment, but hey, we’ve all been there, right?
Cartridge Woes: Settings and Connections

Let’s dive into the world of cartridges, shall we? This little powerhouse is like the heart of your turntable, and just like your ticker, it needs the right pressure to function properly.
I’m talking about tracking force, folks!
I remember when I first got my hands on a high-end cartridge. I was so excited that I slapped it on without checking the recommended tracking force.
Big mistake! The sound was thin, and the volume was pathetic.
It was like trying to squeeze juice from a raisin – not much coming out!
Here’s the deal: too little tracking force, and your stylus won’t sit properly in the groove, resulting in low volume and potential skipping. Too much, and you risk damaging both your records and your stylus.
It’s a Goldilocks situation – you need to get it juuuust right.
And don’t even get me started on anti-skate! This setting counteracts the natural tendency of the tonearm to slide towards the center of the record.
Get it wrong, and your sound stage goes all wonky. Trust me, I’ve had albums where it sounded like the drummer was playing from inside a closet while the singer was shouting from across the street!
Now, let’s talk connections. You’d think plugging in a few wires would be straightforward, right?
Well, let me tell you about the time I spent hours troubleshooting low volume, only to realize one of my cartridge leads had come loose. Talk about a facepalm moment!
Check those tiny wires connecting your cartridge to the headshell. They’re color-coded for a reason, folks!
Red and green for right channel, white and blue for left. And make sure they’re snug – a loose connection can turn your high-fidelity setup into a lo-fi nightmare faster than you can say “vinyl revival.”
Oh, and here’s a pro tip I learned the hard way: if you’re switching cartridges, double-check the output level. I once went from a high-output moving magnet to a low-output moving coil without adjusting my preamp settings.
The result? It sounded like my records were being played from the bottom of a well!
Remember, getting these settings right is like tuning a guitar. It takes a bit of patience and a good ear, but once you nail it, the difference is like night and day.
Your records will thank you, and your ears will do a happy dance!
Preamp Problems: Boosting Your Signal
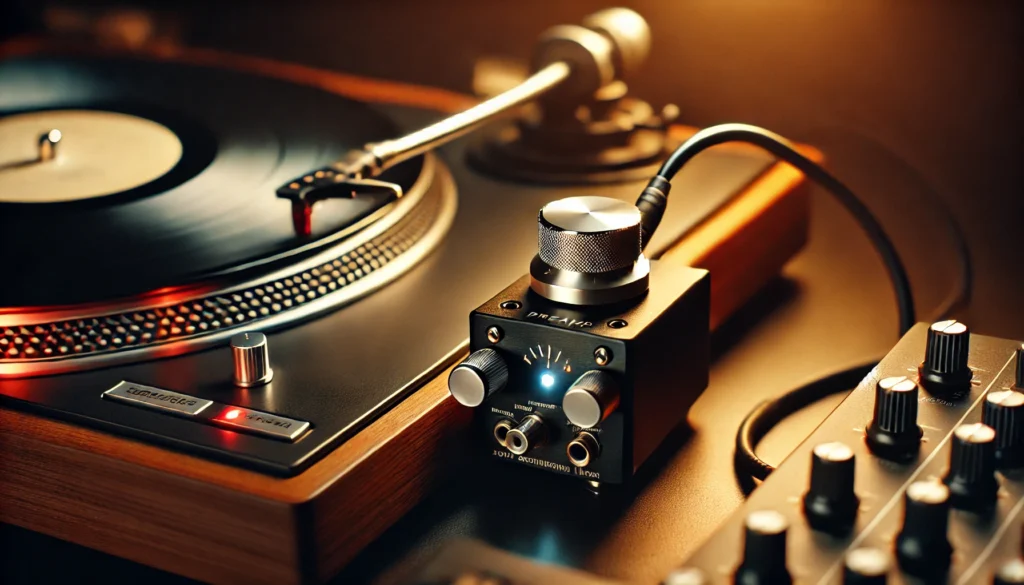
Alright, let’s talk about the unsung hero of the turntable world – the preamp. This little marvel is responsible for taking that teeny-tiny signal from your cartridge and beefing it up to a level your main amplifier can work with.
Without it, your vinyl would sound about as loud as a mouse whispering.
I’ll never forget the day I plugged my brand new turntable directly into my receiver’s AUX input, wondering why it sounded like my records were being played from the next room. Turns out, I needed a preamp!
It was like I’d been trying to fill a swimming pool with a garden hose, and someone finally turned on the fire hydrant.
Now, here’s where it gets tricky. Some turntables have a built-in preamp, some don’t.
And some receivers have a phono input (which is basically a built-in preamp), while others don’t. It’s like a game of audio chess, and you need to know your pieces!
I once spent an entire afternoon troubleshooting low volume, only to realize I was running my signal through two preamps. Talk about overkill!
It’s like wearing two pairs of glasses – you’re not seeing any better, you’re just giving yourself a headache.
If you’re using an external preamp, make sure it’s up to snuff. I learned the hard way that not all preamps are created equal.
I once bought a super cheap one online, thinking I was being clever. The result?
It sounded like my records were being played through a tin can telephone. Lesson learned: sometimes it’s worth investing a little more for quality sound.
And don’t forget about gain settings! Most preamps have adjustable gain, which is like a volume boost for your cartridge’s signal.
Set it too low, and you’ll be cranking your main volume to the max. Set it too high, and you risk distortion.
Finding that sweet spot is like Goldilocks tasting porridge – when it’s just right, you’ll know!
Oh, and here’s a pro tip: if you’re hearing a persistent hum through your speakers, check your preamp’s grounding. I once spent weeks battling an annoying buzz, only to realize I’d forgotten to connect the ground wire from my turntable to my preamp.
It was like magic – plug in that little wire, and suddenly, silence is golden!
Remember, a good preamp setup is the difference between your vinyl sounding like a whisper or a roar. Get it right, and you’ll be swimming in a sea of warm, full-bodied analog goodness.
Now that’s what I call audio nirvana!
5. Turntable Setup and Maintenance for Optimal Sound
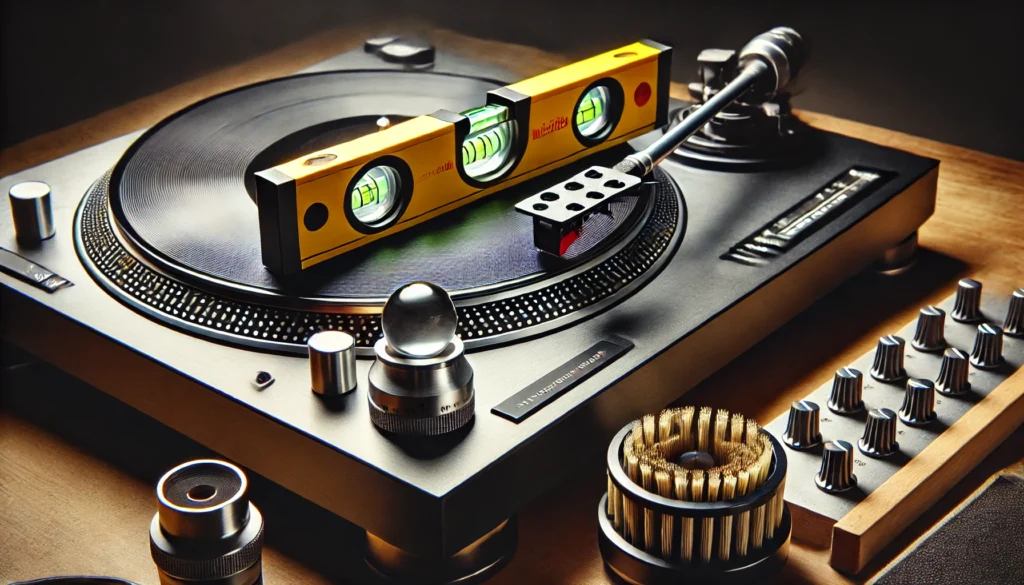
Let’s get down to the nitty-gritty of turntable setup and maintenance. Trust me, this stuff matters more than you might think.
I learned that the hard way when I first set up my prized turntable on a wobbly IKEA table. Every time someone walked by, it sounded like my records were seasick!
First things first: leveling. Your turntable needs to be as level as a calm lake on a windless day.
I’m talking bubble-level perfect. I once thought I could eyeball it – big mistake!
My records were playing slower on one side than the other, like some weird audio version of the leaning tower of Pisa.
And don’t even get me started on balance. Your tonearm should be perfectly balanced before you set the tracking force.
I remember spending hours wondering why my brand new cartridge sounded off, only to realize my tonearm was slightly tilted. It was like trying to write with a pen that’s constantly falling over – frustrating and ineffective!
Now, let’s talk about the unsung heroes of the turntable world – belts and motors. If your belt is stretched out or your motor is struggling, your records might sound like they’re being played underwater.
I once had a belt that was so old and stretched, it was like watching a record play in slow motion. Not exactly the foot-tapping experience I was going for!
But here’s the real kicker – cleanliness. Dust is the mortal enemy of good sound.
I learned this the hard way when I left my turntable uncovered for a month while on vacation. Coming back to play a record was like listening through a layer of fuzzy sweaters.
Not cool, man.
Regular cleaning is key. I’m talking about dusting your turntable, cleaning your stylus, and yes, cleaning your records too.
I use a carbon fiber brush before and after every play. It’s like flossing for your vinyl – a little annoying, but so worth it in the long run.
Oh, and here’s a pro tip I wish someone had told me earlier: check your cartridge alignment every few months. Temperature changes can cause things to shift ever so slightly, and before you know it, your perfect setup is a little off-kilter.
Remember, a well-maintained turntable is a happy turntable. And a happy turntable means crystal clear, room-filling sound that’ll make your digital-loving friends wonder what they’ve been missing all these years.
It’s like the difference between instant coffee and a perfectly pulled espresso – once you’ve experienced the good stuff, there’s no going back!
Conclusion
Whew! We’ve been on quite the audio journey, haven’t we? From worn styli to preamp puzzles, we’ve covered the main reasons why your turntable might be giving you the silent treatment.
But here’s the thing – every setup is unique, just like every vinyl enthusiast’s taste in music.
Remember when I first started out? I was so frustrated with my quiet turntable that I nearly gave up on vinyl altogether.
But with a little patience, some trial and error, and a whole lot of learning, I finally got my system singing at the top of its lungs. And let me tell you, that first moment when everything clicked into place and the music filled the room?
Pure magic!
Now it’s your turn to experience that audio nirvana. Take what you’ve learned here and apply it to your own setup.
Maybe your stylus needs replacing, or perhaps your cartridge could use a realignment. Whatever the case, don’t be afraid to roll up your sleeves and dive in.
Trust me, the satisfaction of solving the problem yourself is almost as sweet as the music that’ll soon be filling your room!
Just remember, vinyl is as much about the journey as it is about the destination. Each adjustment, each upgrade, each cleaning session – they’re all part of the ritual that makes listening to records so special.
It’s not just about the sound; it’s about the connection you forge with your music.
As you work on improving your turntable’s volume, don’t forget to enjoy the process. Put on your favorite records, even if they’re a bit quiet at first.
Let the music inspire you as you tinker and tweak. And most importantly, trust your ears.
They’re your best tool in this analog adventure.
Oh, and here’s a final piece of advice from someone who’s been down this road: don’t be afraid to ask for help. Join online forums, visit your local record store, or chat with other vinyl enthusiasts.
The analog audio community is incredibly supportive and always eager to share knowledge. I can’t tell you how many times a random tip from a fellow vinyl lover has saved me hours of frustration!
So, what are you waiting for? Go give your turntable some love, and before you know it, you’ll be cranking up the volume and rediscovering your record collection all over again.
Who knows? You might even impress your friends with your newfound audio expertise at your next listening party!
Remember, a quiet turntable is just a challenge waiting to be overcome. With the right knowledge and a bit of patience, you’ll be well on your way to audio bliss.
Now go forth and let those grooves sing!
