Hey there, vinyl enthusiasts and curious newcomers! Ready to dive into the world of turntables? Well, you’re in for a treat!
I remember when I first got my hands on a turntable – it was like opening a treasure chest of musical possibilities.
But let me tell you, it wasn’t all smooth sailing at first. I made my fair share of rookie mistakes, but that’s all part of the journey, right?
Now, you might be wondering, “Why bother with all this old-school tech when we’ve got streaming at our fingertips?”
Well, let me tell you – there’s something magical about dropping that needle onto a vinyl record. The warm, rich sound that fills the room is unlike anything you’ll get from digital audio.
Plus, the whole ritual of selecting a record, carefully placing it on the platter, and watching it spin… it’s an experience, I tell ya!
But here’s the thing – to really get the most out of your vinyl experience, you’ve gotta set up your turntable right. Trust me, I learned this the hard way.
I once had my tonearm so out of whack that I thought my favorite Beatles record had turned into a skippy mess. Turns out, it was just my shoddy setup!
So, buckle up, ’cause I’m gonna walk you through everything you need to know about setting up and using a turntable. By the end of this guide, you’ll be spinning records like a pro!
How to Set Up and Use a Turntable
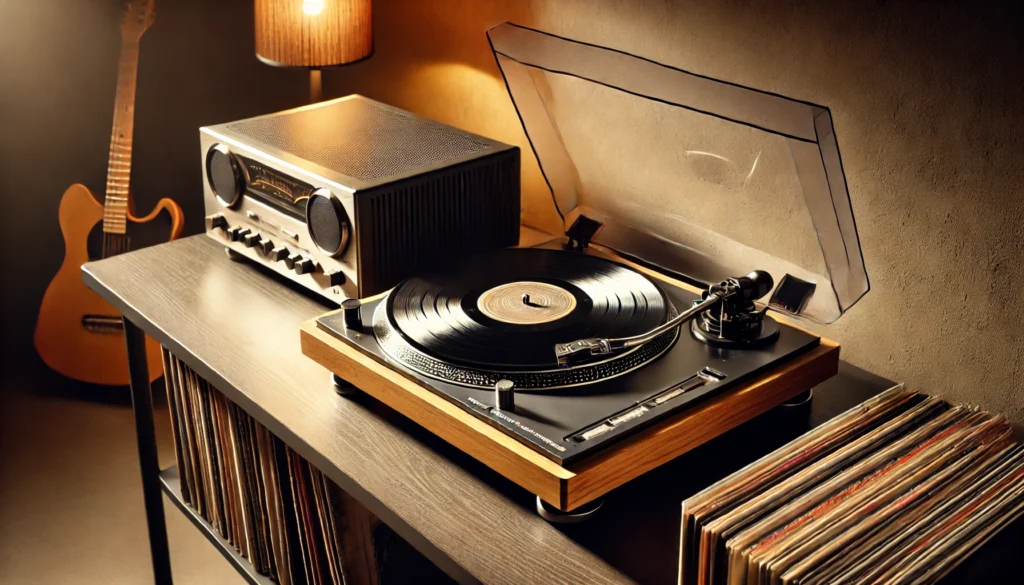
To set up and use a turntable, follow these steps:
1) Choose a level surface and place your turntable.
2) Connect the turntable to a phono preamp or amplifier.
3) Balance the tonearm and set the tracking force.
4) Adjust the anti-skate.
5) Clean your vinyl record.
6) Carefully place the record on the platter.
7) Use the cue lever to lower the stylus onto the record’s lead-in groove.
8) Enjoy your music!
Remember to handle records by their edges and clean the stylus regularly for optimal sound quality.
While this quick guide covers the basics, there’s a lot more to learn about getting the most out of your turntable setup. In the following sections, we’ll dive deeper into each step, explore common issues, and share some pro tips to enhance your vinyl listening experience.
Choosing the Right Turntable
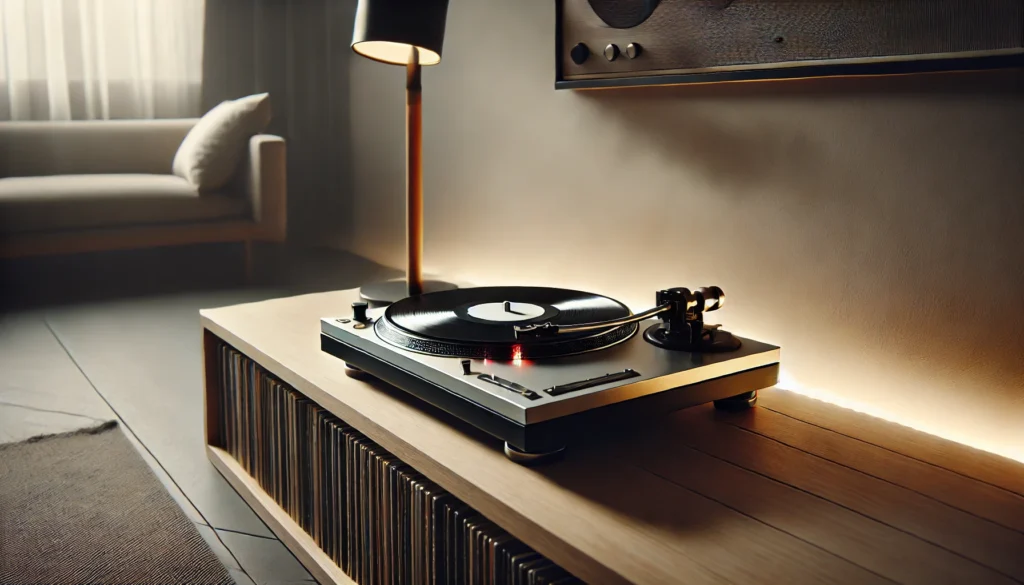
Alright, let’s talk turkey about picking the perfect turntable. When I first started out, I was completely overwhelmed by all the options.
Belt-drive? Direct-drive? What the heck did all that mean? Well, I’m here to break it down for you in simple terms.
First up, you’ve got your belt-drive turntables. These bad boys use a belt to spin the platter (that’s the thing your record sits on).
They’re usually quieter and can give you better sound quality, especially for those mellow jazz sessions or acoustic tracks. But here’s the catch – they’re not great for DJ-ing or if you’re the impatient type who can’t wait for the platter to get up to speed.
On the flip side, you’ve got direct-drive turntables. These are the workhorses of the DJ world.
The motor’s directly connected to the platter, so you get instant start-up and more consistent speed. Plus, they’re built like tanks!
I remember when my clumsy cousin knocked over my direct-drive at a party – I nearly had a heart attack, but the thing just kept on spinning like nothing happened!
Now, when you’re shopping for a turntable, there are a few key features you’ll want to keep an eye out for:
- Adjustable counterweight: This little gizmo helps balance your tonearm and set the right tracking force. Trust me, you don’t want to skip this – unless you enjoy the sound of your needle gouging your precious vinyl!
- Anti-skate control: This nifty feature helps keep your stylus centered in the groove. Without it, you might find your needle skating across your records like it’s auditioning for the Olympics.
- Pitch control: If you’re feeling fancy, this lets you fine-tune the speed of your platter. It’s not essential, but it’s pretty cool if you want to get your records spinning at juuuust the right speed.
- Built-in preamp: If you’re just starting out, a turntable with a built-in preamp can save you some hassle (and cash). But if you’re looking to upgrade your sound down the line, you might want one without so you can add a separate preamp later.
Now, I know what you’re thinking – “How much is this gonna set me back?” Well, the good news is, you don’t have to sell a kidney to get into vinyl. There are some decent entry-level turntables out there for around $100-$200.
But if you’ve got some extra cash burning a hole in your pocket, you can find some really sweet setups in the $300-$500 range.
Just remember, the most expensive turntable isn’t always the best one for you. It’s all about finding the right balance between your budget and your needs.
Heck, I started with a hand-me-down turntable that looked like it had been through a war, and I still managed to fall in love with vinyl!
Essential Components for Your Turntable Setup
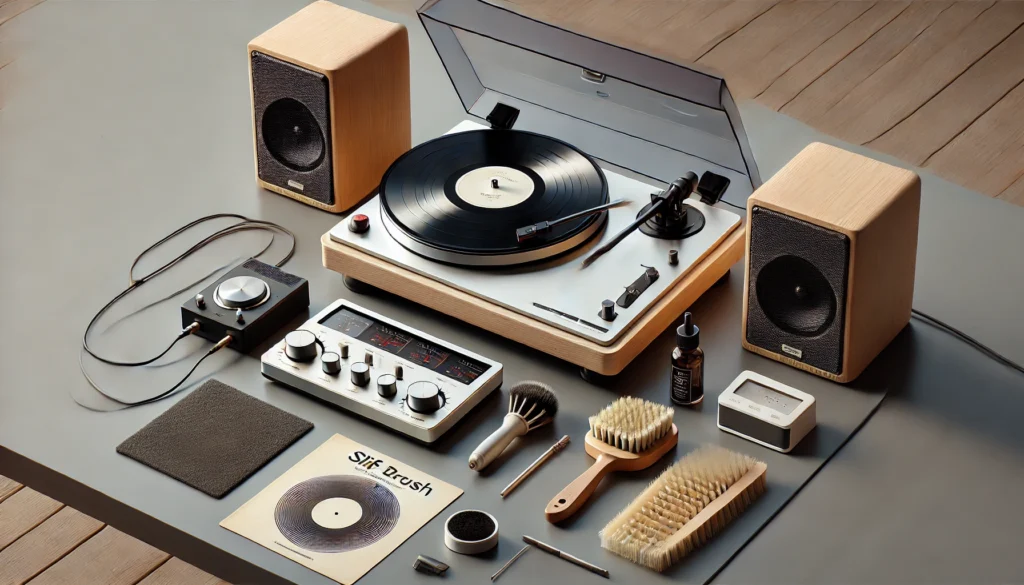
Okay, so you’ve got your turntable picked out. Awesome! But hold your horses – we’re not done yet.
There are a few more pieces to this vinyl puzzle that you’re gonna need. Don’t worry, I’ve got your back.
Let’s break it down.
First up, you’re gonna need a phono preamp. Now, I know what you’re thinking – “A phono what-now?” I had the same reaction when I first heard about it.
Basically, a phono preamp boosts the signal from your turntable and applies something called RIAA equalization. Without getting too nerdy, it makes your records sound the way they’re supposed to.
Some turntables have this built-in, but if yours doesn’t, you’ll need to grab one separately.
Next, you’ll need something to actually hear your music. Shocking, I know!
You’ve got two main options here: powered speakers or an amplifier with passive speakers. If you’re just starting out, powered speakers can be a great, simple option.
But if you want more control over your sound (and trust me, you might catch the audiophile bug), an amp and passive speakers might be the way to go.
Now, let’s talk about the unsung hero of your setup – the cartridge and stylus. This dynamic duo is what actually reads the grooves in your records and turns them into sweet, sweet music.
The cartridge holds the stylus (also called the needle), and together they’re like the eyes and ears of your turntable. When I first started out, I thought all cartridges were created equal.
Boy, was I wrong! Upgrading my cartridge was like cleaning my ears for the first time – suddenly, I could hear details in my records that I never knew existed!
Lastly, don’t forget about the accessories. These might seem like small potatoes, but trust me, they can make a big difference.
Here are a few must-haves:
- Record cleaning brush: Keep those grooves dust-free for the best sound quality.
- Stylus brush: A clean stylus is a happy stylus!
- Slip mat: This goes between your record and the platter. It can help reduce static and improve sound.
- Level: Make sure your turntable is perfectly flat for optimal performance.
I remember when I first got my turntable, I was so excited that I skipped on some of these accessories. Big mistake!
My records were picking up more dust than a neglected attic, and my stylus was getting gunked up faster than you can say “vinyl revival.” Learn from my mistakes, folks!
Step-by-Step Turntable Setup Guide
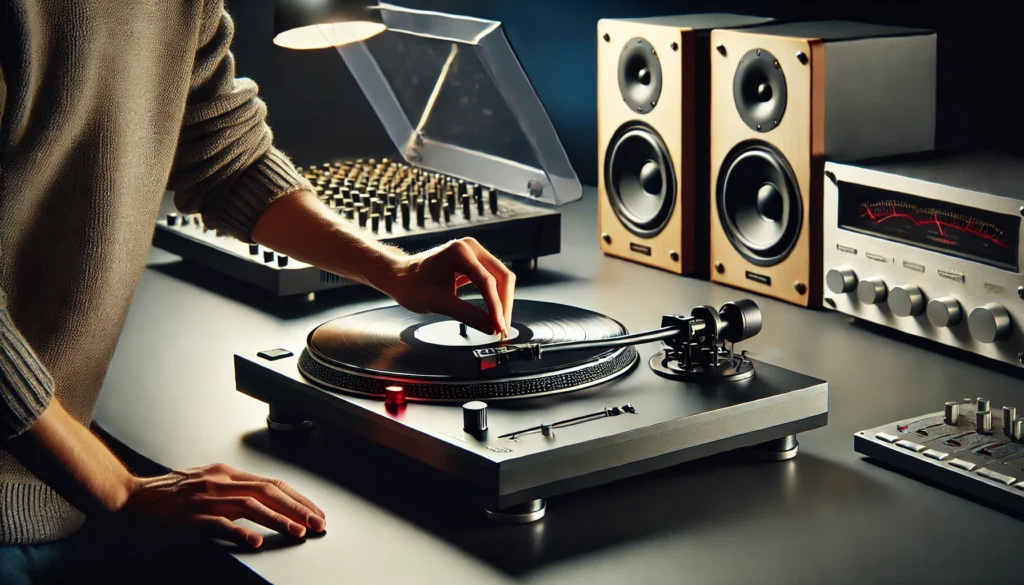
Alright, now we’re getting to the good stuff! Setting up your turntable might seem like rocket science at first, but trust me, once you get the hang of it, it’s a piece of cake.
Let’s break it down step by step.
- Unboxing and initial inspection:
First things first, let’s get that baby out of the box! Be gentle – turntables can be delicate.
Give everything a once-over to make sure nothing’s damaged or missing. I once got a turntable where the tonearm was bent like a boomerang – not ideal!
- Balancing the tonearm:
This is where things get a bit tricky, but don’t sweat it! Start by setting the anti-skate to zero and removing any counterweights.
Now, adjust the counterweight until the tonearm floats horizontally. It should be as level as a calm lake on a windless day.
Once you’ve got that, you’re ready for the next step.
- Setting the tracking force:
Remember that counterweight we just adjusted? Now we’re gonna use it to set the tracking force.
Your cartridge will have a recommended tracking force – usually between 1.5 to 2.5 grams. Set the counterweight dial to zero without moving the actual weight, then rotate the whole thing to the recommended force.
Voila! You’ve just set your tracking force like a pro.
- Adjusting the anti-skate:
Anti-skate keeps your needle from getting pulled towards the center of the record. Generally, you want to set this to the same number as your tracking force.
Easy peasy!
- Connecting to your audio system:
Time to hook everything up! Connect your turntable to your phono preamp (if it’s external), then to your amplifier or powered speakers.
Don’t forget the ground wire – it looks like a little tail coming out of your turntable. Attach this to the ground post on your preamp or amp to avoid any nasty humming sounds.
Now, I know this might all sound complicated, but trust me, it gets easier with practice. I remember the first time I tried to balance a tonearm – I was sweating bullets and my hands were shaking like I was diffusing a bomb!
But after a few tries, it became second nature.
Oh, and here’s a pro tip: invest in a tracking force gauge. It’s a little gadget that helps you set your tracking force more accurately.
When I first got one, I realized I’d been way off in my settings. Suddenly, my records sounded clearer than ever!
Just remember, take your time with this setup process. It’s not a race, and getting it right will make a world of difference in how your records sound.
And hey, if you mess up, no biggie! You can always start over.
That’s the beauty of this hobby – there’s always room to tinker and improve.
Using Your Turntable: Best Practices
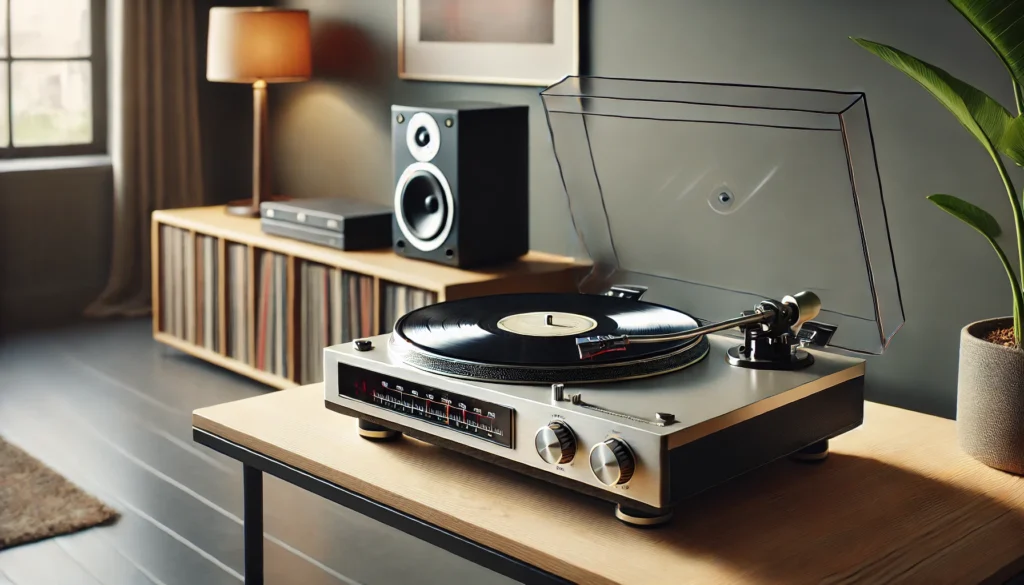
Alright, you’ve got your turntable all set up and ready to rock. But hold up!
Before you start spinning those precious vinyl gems, let’s talk about some best practices. Trust me, I’ve learned some of these the hard way, and I’d hate for you to make the same mistakes!
First things first – handling your records. Always, and I mean ALWAYS, handle your records by the edges and the label.
Avoid touching the grooves like they’re hot lava. Your fingers are like little grease factories, and that oil can gunk up the grooves and affect the sound quality.
I once let a friend handle my prized original pressing of “Dark Side of the Moon” without explaining this… let’s just say we’re not friends anymore. (Just kidding, but I did make him buy me a new copy!)
Now, let’s talk about storage. Store your records vertically, like books on a shelf.
Stacking them horizontally might seem space-efficient, but it can warp your records faster than you can say “audiophile.” And please, for the love of all that is holy, keep them in their sleeves when not in use!
Cleaning your records is crucial. A carbon fiber brush is your best friend here.
Give your records a gentle brushing before and after each play to keep dust at bay. For deeper cleaning, you might want to invest in a record cleaning solution and microfiber cloth.
Just be gentle – you’re not scrubbing pots and pans here!
When it comes to actually playing your records, here’s where the magic happens. Start by giving your stylus a quick brush (front to back, never side to side) to remove any built-up gunk.
Then, use the cueing lever to gently lower the stylus onto the record. I know it’s tempting to just plop that needle down, but trust me, your records (and your stylus) will thank you for being gentle.
While the record’s playing, try to resist the urge to lift the dust cover. I know, I know, watching that record spin is hypnotic.
But every time you lift that cover, you’re letting dust settle on your precious vinyl. Plus, some turntables can pick up vibrations from the cover being open, which can affect the sound.
When it’s time to flip the record or change to a new one, always use the cueing lever to lift the tonearm. Then, stop the platter before removing the record.
I once got a little too eager and tried to snatch the record while it was still spinning – ended up with a scratch that sounded like a DJ having a seizure.
Oh, and here’s a quirky little tip I picked up along the way: if you’re having trouble with static electricity making your records stick to the slipmat, try placing a metal record weight on top of the spindle (not on the record itself) while it’s playing. It helps ground things and reduce static.
Weird, but it works!
Remember, using a turntable is all about the ritual. Take your time, be mindful, and really immerse yourself in the experience.
There’s something truly special about carefully selecting a record, gently placing it on the platter, and hearing those first crackles as the needle hits the groove. It’s like a little ceremony every time, and that’s what makes vinyl so magical.
Troubleshooting Common Issues
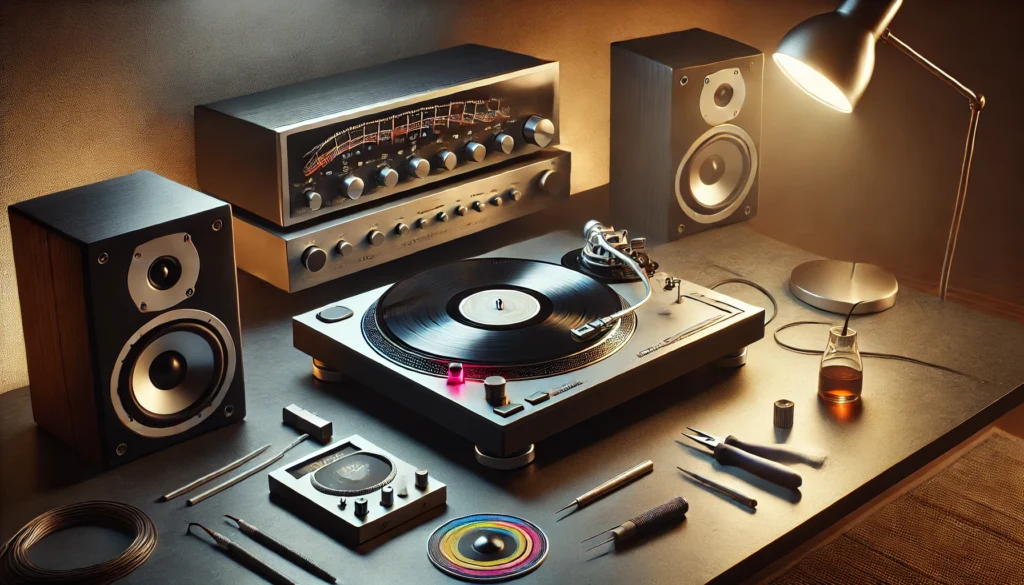
Alright, let’s face it – even with the best setup and care, sometimes things can go a little wonky with your turntable. But don’t panic!
Most common issues have pretty simple fixes. Let’s dive into some troubleshooting tips that’ll have you back to spinning tunes in no time.
- Skipping or distorted sound:
Oh man, there’s nothing worse than settling in for a listening session and hearing your favorite track skip like a scratched CD. (Remember those?) First, check your tracking force.
If it’s too light, your stylus might be bouncing out of the groove. Too heavy, and you might be damaging your records.
Also, make sure your turntable is on a level surface. I once had a persistent skipping problem that drove me nuts, only to realize my turntable was slightly tilted because of a wobbly table leg!
- Excessive surface noise:
If your records sound like they’re being played through a bowl of Rice Krispies, you’ve got a noise problem. First, give your records a good cleaning.
You’d be amazed at how much gunk can build up in those grooves! If that doesn’t help, check your stylus.
It might be dirty or worn out. I once spent weeks troubleshooting a noise issue, only to realize my stylus was balder than my Uncle Joe!
- Speed inconsistencies:
Does your music sound like it’s been pitch-shifted by a deranged DJ? You might have a speed problem.
First, use a strobe disc to check if your turntable is actually spinning at the right speed. If it’s off, you might need to adjust the pitch control (if your turntable has one) or get the motor serviced.
I once had a turntable that played everything slightly too fast – made all my records sound like chipmunk versions!
- Cartridge alignment problems:
If your music sounds distorted, especially towards the center of the record, your cartridge might be misaligned. This is a bit tricky to fix, but don’t worry – you’ve got this!
Use a cartridge alignment protractor (you can print one online) to check and adjust the alignment. It’s a bit fiddly, but man, the improvement in sound quality is worth it!
- Humming or buzzing:
If you’re hearing a constant hum or buzz, it’s probably a grounding issue. Make sure that little grounding wire from your turntable is connected to your amp or preamp.
If it is and you’re still getting buzz, try a different outlet – sometimes electrical interference can cause this. I once spent an entire weekend trying to eliminate a mysterious hum, only to realize it was coming from my mini-fridge next to the turntable.
D’oh!
Remember, troubleshooting is all part of the vinyl experience. Don’t get discouraged if things aren’t perfect right away.
Half the fun is tinkering and gradually improving your setup. And hey, if all else fails, there’s no shame in taking your turntable to a pro for a check-up. Sometimes, you need a turntable doctor!
Maintaining Your Turntable for Longevity
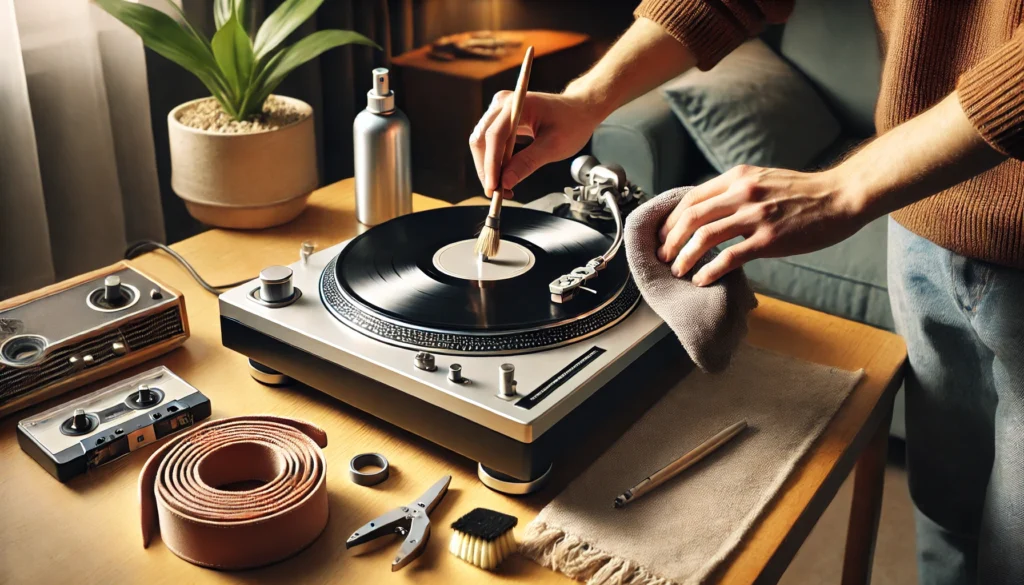
Alright, vinyl lovers, let’s talk about keeping your turntable in tip-top shape. Think of your turntable like a classic car – with proper care and maintenance, it can last for decades and even become a family heirloom.
(I’m still using my dad’s old Technics, and let me tell you, that thing’s older than most of my t-shirts!)
First up, let’s talk cleaning. Your turntable is like a dust magnet, and all that gunk can affect your sound quality.
Give it a gentle wipe-down with a microfiber cloth regularly. For those hard-to-reach spots, a soft brush or can of compressed air can work wonders.
Just be gentle – you’re not pressure washing your deck here!
Now, let’s talk about the heart of your turntable – the stylus. This little guy does all the heavy lifting, so treat it with respect!
Clean it gently with a stylus brush or a specialized cleaning solution. And here’s a pro tip: always brush from back to front, never side to side.
I learned that the hard way when I accidentally bent my stylus trying to clean it. Talk about a face-palm moment!
If you’ve got a belt-drive turntable, don’t forget about the belt! Over time, these can stretch out or even snap.
Check it periodically for signs of wear and replace it if needed. It’s a pretty easy DIY job, but if you’re not comfortable, no shame in asking for help.
I once tried to replace a belt after a few beers and ended up with something that looked more like a Möbius strip than a turntable belt!
For those of you with direct-drive turntables, you’ve got it a bit easier in the maintenance department. Just keep an eye (or ear) out for any unusual noises or speed inconsistencies that might indicate the motor needs attention.
Now, here’s something a lot of folks overlook – the environment. Your turntable doesn’t like extreme temperatures or humidity.
Try to keep it in a stable environment, away from direct sunlight or heat sources. I once made the mistake of putting my turntable near a window – come summer, the heat warped my favorite Beach Boys record into a vinyl taco!
Lastly, know when it’s time to call in the pros. If you’re hearing persistent issues that you can’t solve, or if it’s been a few years since your last service, it might be time for a check-up.
Think of it like taking your car for an oil change – a little preventative maintenance can save you from bigger problems down the road.
Remember, maintaining your turntable isn’t just about preserving sound quality – it’s about respecting the craftsmanship and history of this amazing technology. Plus, there’s something deeply satisfying about caring for your equipment.
It’s all part of the ritual that makes vinyl so special!
Conclusion
Whew! We’ve covered a lot of ground, haven’t we? From choosing the right turntable to troubleshooting those pesky issues, you’re now armed with the knowledge to dive headfirst into the wonderful world of vinyl.
But here’s the thing – this is just the beginning of your journey!
Remember, setting up and using a turntable isn’t just about following a set of instructions. It’s about developing a relationship with your music.
It’s about the ritual of carefully selecting a record, gently lowering the needle, and immersing yourself in the warm, rich sound that only vinyl can provide. It’s about rediscovering your favorite albums and hearing details you never noticed before.
Sure, there might be a learning curve. You might accidentally scratch a record (I still cringe thinking about the time I dropped the tonearm on my favorite Bowie album).
You might spend hours tweaking your setup to get it just right. But trust me, it’s all worth it when you drop the needle and hear that perfect sound.
And hey, don’t be afraid to experiment! Try different cartridges, play with speaker placement, or even dabble in vintage equipment.
The beauty of this hobby is that there’s always something new to learn and explore.
Most importantly, remember to enjoy the journey. Share your newfound passion with friends (vinyl listening parties are a blast!), support your local record stores, and maybe even start hunting for those rare pressings at flea markets and garage sales.
Who knows? You might just stumble upon a hidden gem!
So, what are you waiting for? Dust off those old records (or go buy some new ones – no judgment here!), fire up that turntable, and let the music play.
Welcome to the wonderful world of vinyl – I have a feeling you’re going to love it here!
Oh, and one last thing – if you’ve got any killer tips or awesome vinyl stories, drop ’em in the comments below. We’re all in this together, and sharing is caring in the vinyl community.
Now, if you’ll excuse me, I’ve got a date with my turntable and a fresh cup of coffee. Happy spinning, folks!
