That glass sliding door – letting in every bark, honk, and shout. Is a peaceful night’s sleep just a pipe dream with that thin barrier letting noise freely pass through?
Not so fast. A quiet oasis is possible even with that acoustically transparent slider.
Strategically sealing, insulating, and enhancing sliding glass doors can effectively block outside noise.
Methodically addressing every potential air leak and gap, adding weatherstripping, and incorporating sound dampening materials transforms these sonic weak points into sound barriers.
Let’s dive in to the step-by-step process of soundproofing problematic sliding glass doors.
Step 1 – Comprehensive Inspection and Air Leak Testing
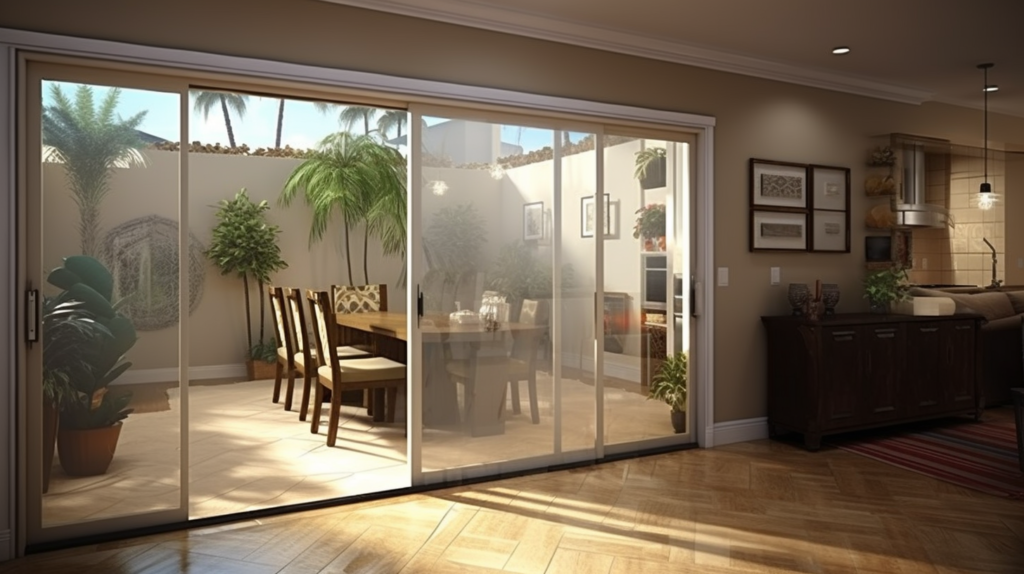
Thoroughly inspecting a sliding glass door for any air leaks is the critical first step in soundproofing it.
This involves slowly and methodically examining the entire door frame, threshold, and interior wall perimeter for even the smallest cracks, gaps, or openings that could compromise the acoustic integrity.
Begin by visually inspecting the door when closed, using a bright flashlight or natural sunlight to illuminate any potential cracks or separations. Look closely along each edge where the door contacts the frame, as minor settlement or shifting can create hairline gaps here.
Check areas where caulking is already applied to ensure it still provides an airtight seal and has not cracked, peeled away, or degraded over time.
Pay particularly close attention to the threshold or track area along the bottom of the door. This area often incurs more wear from opening and closing as well as expansion and contraction with temperature changes.
Gaps in the threshold easily allow noise to penetrate under the door. Note any identified leaks to seal later.
After a thorough visual inspection of the stationary door frame, repeat the process while slowly sliding the door panels open and closed, feeling for any bumps or unevenness that could indicate a compromised seal.
Drafts or daylight visible along the edges are also signs of air leaks. Mark any problematic areas.
For confirmation, conduct an active air leakage test. The incense stick method involves slowly moving a lit incense stick around the door perimeter and watching where the smoke gets pulled towards gaps.
For a more rigorous test, use a DIY or professional air leakage detector tool to accurately measure airflow. This will pinpoint all areas that need sealing.
Completing this careful inspection and testing process provides vital information on where air sealing needs to be performed and proper weatherstripping installed for maximum soundproofing.
Step 2 – Sealing Identified Leaks with Caulk
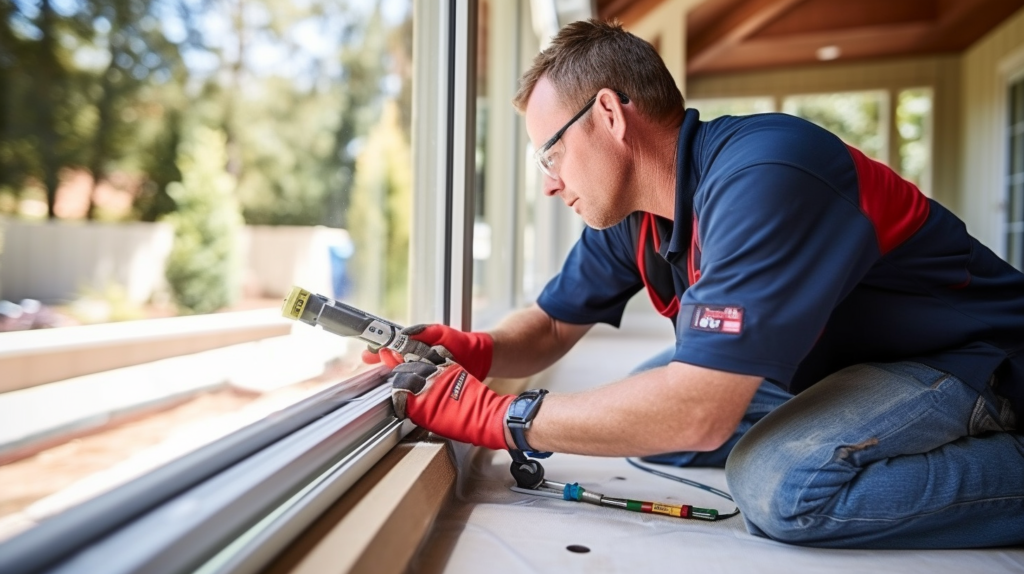
Once potential air leaks have been identified through inspection and testing, it’s time to start sealing them using acoustic caulk designed for soundproofing. This specialized caulk contains noise dampening polymers that block sound when cured, unlike standard caulks.
Purchase quality brands recommended specifically for sealing air leaks around doors and windows to ensure performance.
Carefully read the manufacturer’s application instructions since some acoustic caulk requires damp surfaces while others require completely dry surfaces. Prepare the surrounding area by clearing any dust, grease or debris that could affect caulk adhesion.
If existing caulk is in place, remove any cracked or peeling sections so the new caulk can form a tight bond.
Cut the tip of the caulk tube at a 45-degree angle to control flow. Applying in steady beads in hard to reach areas may require using a caulk gun.
Make sure to completely fill any cracks and gaps for an airtight seal. Tool and smooth the caulk if required for a seamless look.
Follow drying times before disturbing the area or installing weatherstripping. Using high-quality acoustic caulk properly is key for sealing noise leaks.
Step 3 – Install Compressible Door Seals
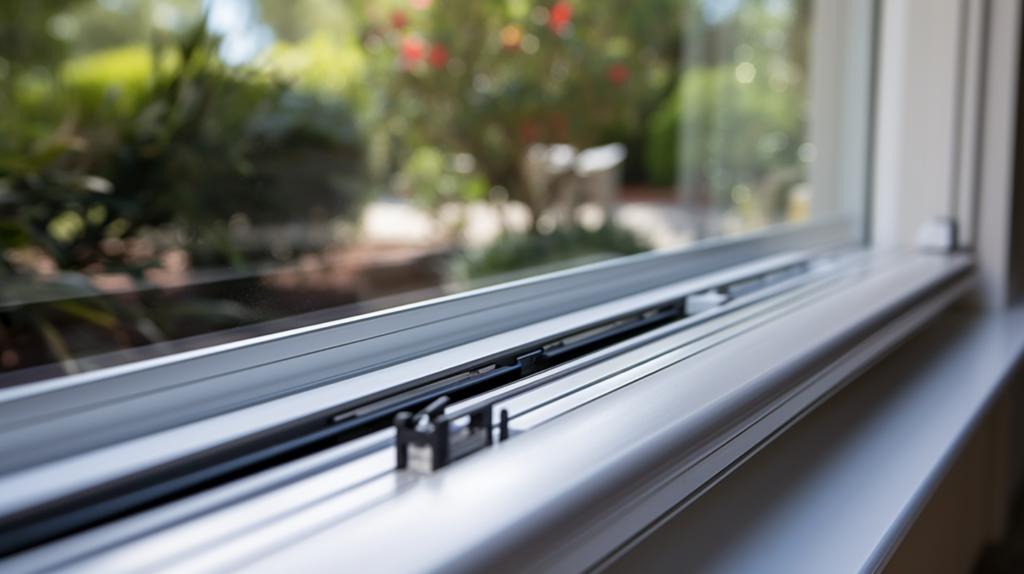
In addition to sealing gaps and cracks, adding weatherstripping creates an air tight barrier along door opening surfaces.
For optimal noise blocking, replace any low quality weatherstripping already installed with new compression seals designed to stop sound infiltration. Measure the frame dimensions to calculate the linear footage needed.
For the door panel edges, use thicker compressible weatherstripping like foam tapes and sweeps that compress when the panels are closed to block airflow and noise. Carefully install along the full length of the meeting rails using provided adhesive backing.
Ensure complete contact between the weatherstripping and door with no gaps or bunching.
Where the frame meets the wall, install high density vinyl strips that compress when the door is shut. Cut pieces to fit each side and top of the frame perimeter. Remove any old weatherstripping and clean the surface thoroughly before applying the new materials.
Follow all manufacturer’s directions for proper installation of door weatherstripping.
Performing dedicated air sealing fixes the actual leaks, while quality weatherstripping provides full perimeter acoustic insulation against noise intrusion for complete soundproofing.
Step 4 – Isolate Bottom Door Gap
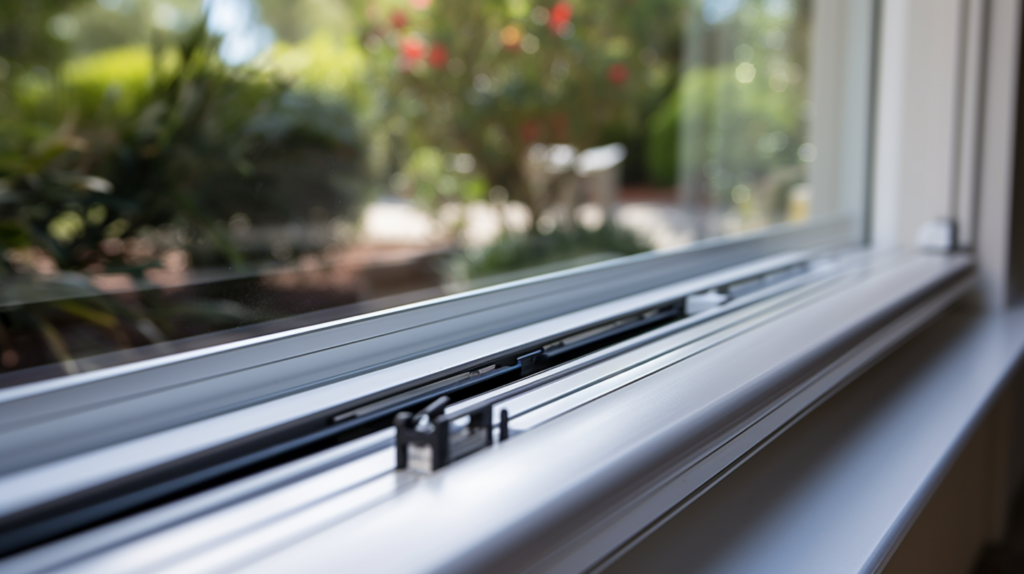
The gap beneath the sliding door needs special attention, as this area is prone to air leaks. If the door contains built-in bottom rails, inspect them for any warping, cracks, or deterioration that could compromise the acoustic isolation.
Seal any issues with acoustic caulk first.
Measure the rails and cut pieces of compression rail weatherstripping to fit each section. Remove old weatherstripping if already installed.
Thoroughly clean the rails so the new weatherstripping adheres properly when compressed. Cut each piece precisely for tight fit along the rails.
For doors without built-in bottom rails, install an adhesive door bottom sweep. Measure the door width and purchase a sweep slightly wider to completely seal the gap between door and floor.
Clean the bottom of the door panel and apply the sweep following directions.
When properly installed, bottom rail or door sweeps prevent air infiltration under the doorway. They compress when the door is closed to form an airtight barrier against sound leaks.
Sealing off this bottom gap is imperative to achieve full acoustic isolation.
Step 5 – Increase Sound Dampening Through Using Soundproofing Curtains

Although sealing air leaks is most critical, additional sound dampening materials can enhance the noise reduction of a sliding glass door. One option is installing soundproof curtains, designed with dense multi-layer materials that improve acoustic isolation.
Measure the door opening and purchase curtains sized to overlap the frame on all sides.
Mount curtain rods and slide tracks so the curtains can open and close freely over the door. With proper coverage, the insulating curtain materials absorb vibrations and dampen sound transmission.
Close fully when seeking maximum sound containment. Maintain proper sealing along edges for optimum performance.
Alternatively, apply soundproofing materials directly to the door itself. Acoustic panels or insulation boards can be mounted on the door surface using adhesive.
This adds mass to improve sound blocking. Matte finish decals also dampen vibrations. Ensure any added materials don’t interfere with proper door operation.
Combining direct soundproofing treatments with vigorous air sealing provides greater noise reduction than either method alone. Always address actual air leaks first before adding supplementary sound absorption materials.
Step 6 – Change Or Upgrade to a Solid Core Door For Easier Convenience

If the goal is maximum soundproofing because noise levels are very high, replacing the sliding glass door altogether with a solid core wood door is the most effective option. Glass doors inherently leak more sound due to the thin panels and compressible weatherstripping.
Solid wood doors provide much greater sound transmission loss.
Look for solid core wood slabs at least 1-3/4 inches thick made of dense hardwoods like oak. Avoid doors with glass cutouts, louvers, or panels which compromise sound containment.
Install using high quality acoustic seals like silicone gaskets around the full perimeter for an airtight seal. Carefully align and hang the door in the frame to maintain continuous contact with the seals.
Upgrade any door hardware such as the lockset and hinges to solid, well-constructed options without gaps that weaken soundproofing. Avoid unnecessary features like pet doors or mail slots.
Proper installation of a heavy, leak-free solid core wood door can reduce noise far more than trying to soundproof a sliding glass door.
With each step in this comprehensive process, the acoustic isolation improves, transforming the sliding glass door into an effective sound barrier able to provide the desired level of audio privacy.
Follow through in sequence for best results. And be sure to maintain all weatherstripping, sweeps, seals and caulking over time to preserve maximum sound containment.
\With diligence and the right materials, even problematic sliding glass doors can be made essentially soundproof.
Conclusion
Ultimately, the most crucial steps in soundproofing a sliding glass door involve thoroughly sealing all potential air leaks using quality caulking and weatherstripping.
Compressing seals along the door edges and isolating the bottom gap prevent noise infiltration around the entire perimeter. Once air sealing is complete, adding supplementary sound damping materials like curtains can provide incremental improvements.
For maximum noise reduction, replacing the sliding glass door with a solid wood door is the most foolproof option. Following this comprehensive process in sequence allows even leaky sliding doors to be transformed into effective sound barriers.
With proper installation and maintenance, the desired level of acoustic isolation can be achieved to reduce noise penetration, improve privacy, and create a more peaceful indoor space.
