How To Soundproof Between Floors (Footsteps, Voices, And Finished-Space Fixes)
How to soundproof between floors can work, but only if you stop treating footsteps, voices, and upstairs noise as one single problem.
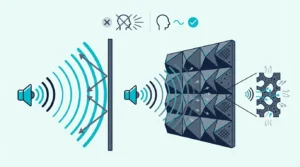
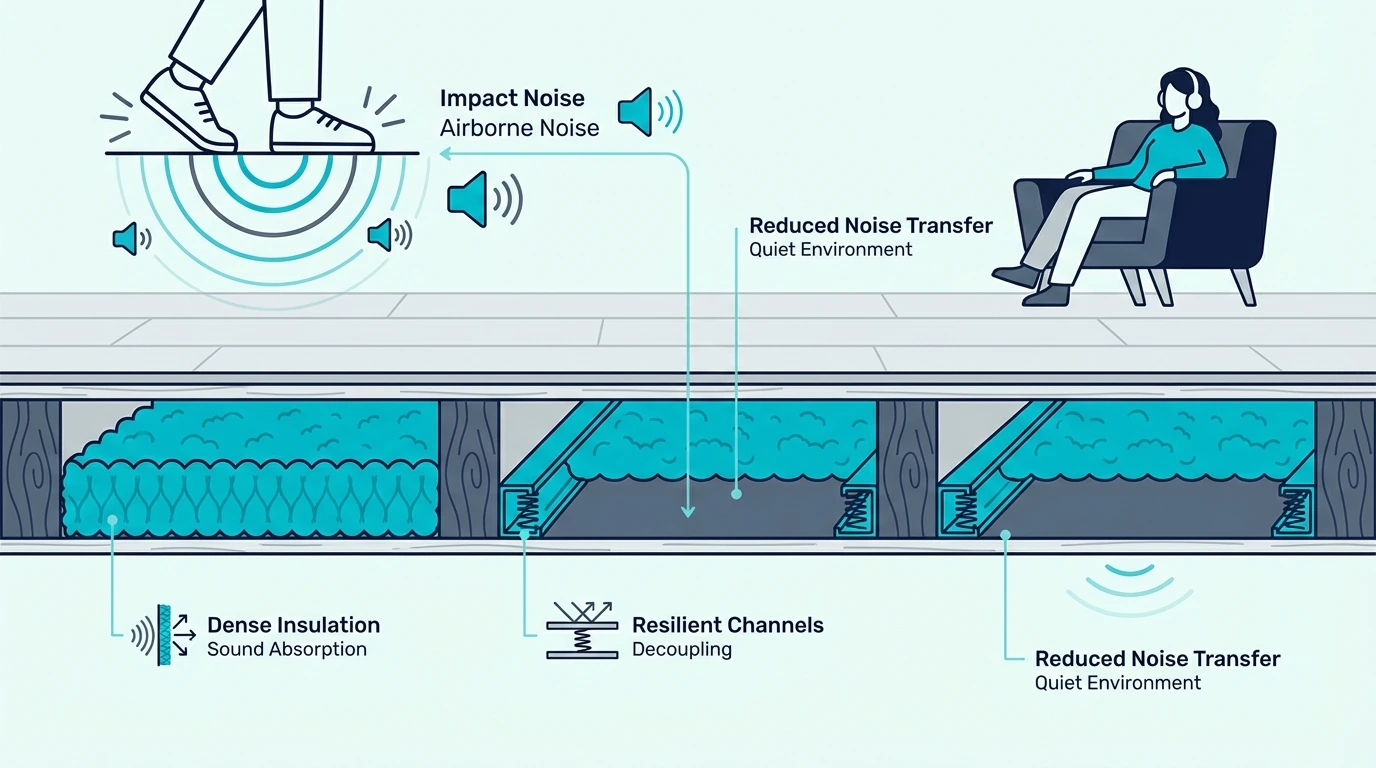
That is where most between-floor projects go wrong. Footsteps and dropped objects enter the structure as impact, while voices and TV bleed behave more like airborne transfer, so one light fix on the ceiling below often leaves the complaint untouched.
The good news is that once you separate those paths, the upgrade plan gets much clearer. You can reduce footstep noise, reduce speech bleed between levels, and decide whether a floor-side change, a ceiling-side retrofit, or a larger assembly rebuild is worth it.
Below, start by deciding which noise is moving between floors, then use that answer to choose the cheapest useful fix, the strongest upstairs-floor option, or the best ceiling-side compromise for a finished space.
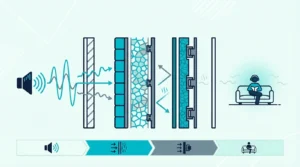
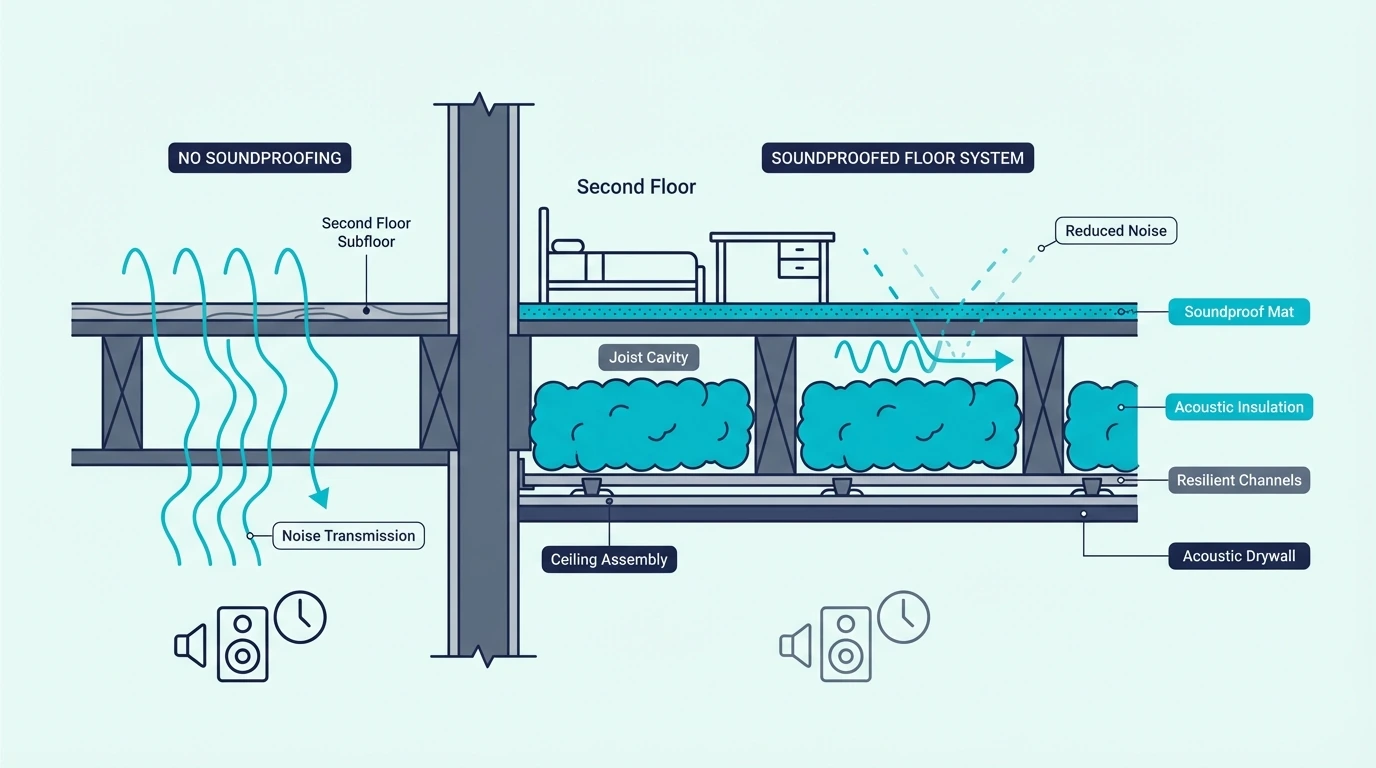
The best way to soundproof between floors is to treat the noise as close to the source as possible. For footsteps and dropped items, top-side fixes like rugs, pads, and better underlayment usually matter more than ceiling-only changes. For voices and TV bleed, mass, sealing, insulation, and stronger ceiling or floor rebuilds matter more. Cheap fixes can help, but major reductions usually require either access to the floor above or a more serious ceiling-side retrofit below.
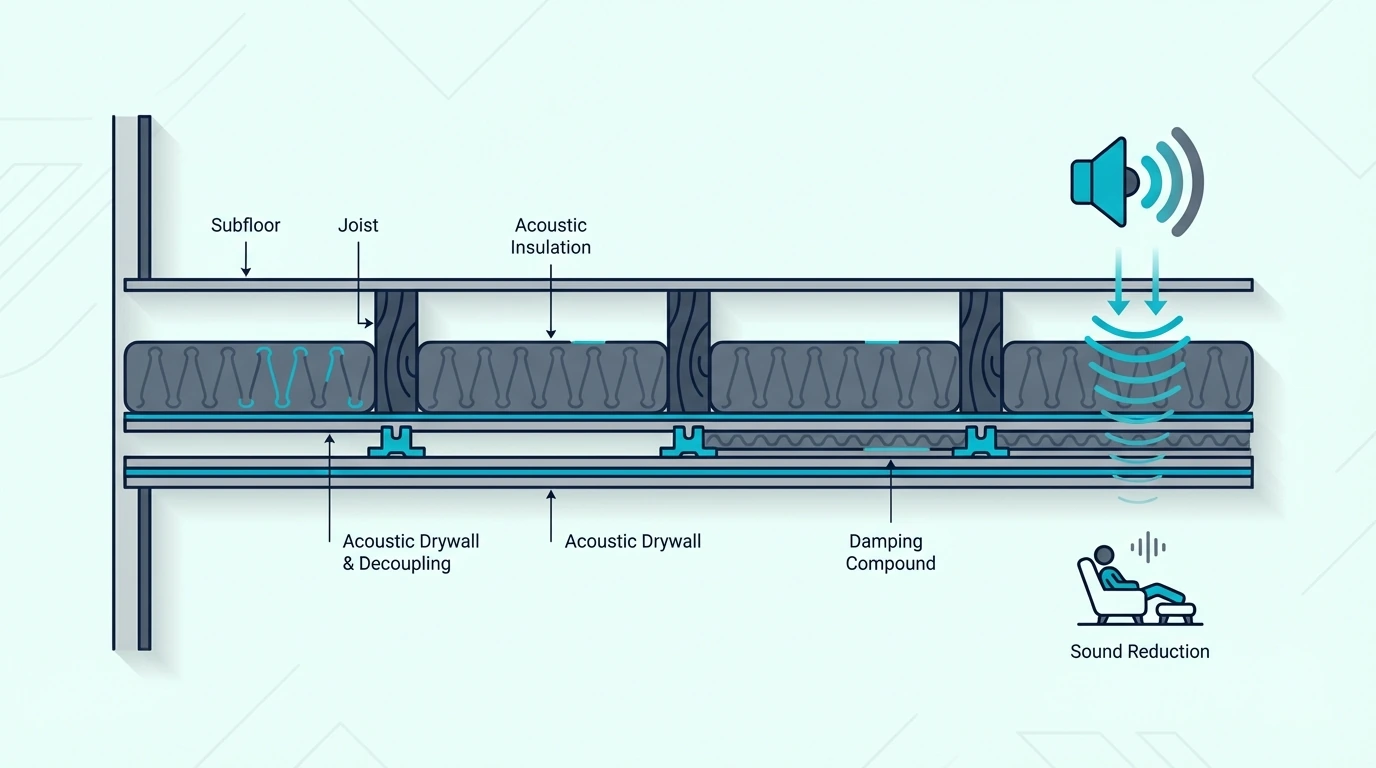
Diagnose The Floor-Ceiling Assembly First
Between-floor soundproofing gets easier once you stop asking one product to solve every kind of noise.
The first decision is whether the assembly is carrying impact, airborne transfer, or both.
Start With The Noise Entering The Assembly
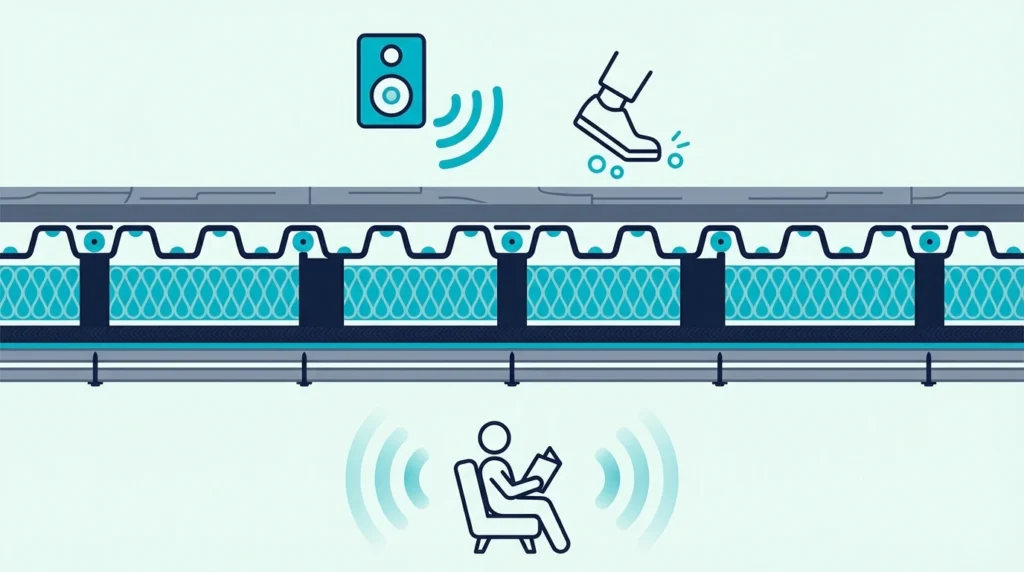
Footsteps, dropped items, pets, and chair movement are impact-noise problems. Those sounds enter the structure directly, which is why they often feel harder to stop than voices even when they are not technically louder.
Voices, TV, and general room sound are airborne-noise problems. Those usually respond better to mass, sealing, and a stronger assembly than to soft top layers alone.
If you need the broader diagnostic framework first, compare this with how to soundproof a floor and how to soundproof a ceiling before you decide which side of the assembly deserves the first budget.
Treat The Side You Control Closest To The Source
If you control the upstairs floor, that is usually the best side to treat first for impact noise because it lets you soften and interrupt vibration before it spreads into the joists. Once the vibration is already in the structure, the fix usually gets harder and more expensive.
If you only control the room below, the ceiling becomes the practical treatment side. That can still help, but it is often more of a compromise for footstep noise.
Expect Reduction Instead Of Silence
Realistic between-floor soundproofing usually means meaningful reduction, not complete silence.
That expectation matters because floors and ceilings are connected through joists, fasteners, and framing.
Cheap Fixes Only Help When They Match The Path
Once the noise type is clear, cheap fixes become much easier to judge honestly.
The best budget moves reduce the right path a little, while the worst ones pretend the structure is not involved.
Floor-Side Softening Is The Honest Budget Move
For footsteps, the cheapest helpful moves usually happen on the floor side. Rugs, dense rug pads, furniture foot pads, and better floor coverage all help reduce the sharpness of impact at the source.
If you need a removable test layer over hard flooring, a product like TroyStudio Thick Sound Absorbing Interlocking Floor Mats fit the low-cost category much better.
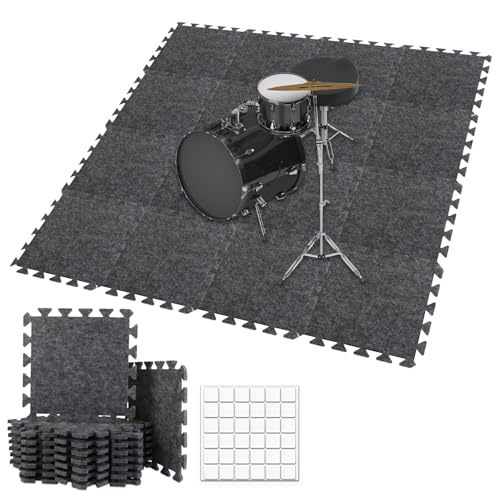
TroyStudio Thick Sound Absorbing Interlocking Floor Mats
Ceiling Patches Usually Trim Irritation, Not The Cause
From below, low-cost fixes are more limited. Sealing obvious perimeter gaps, addressing recessed-light leakage, and adding some mass during a planned ceiling refresh can help, but they usually will not equal source-side floor treatment for heavy footstep noise.
They are best treated as reduction moves, not full solutions. If the joists are still carrying most of the impact energy, a cheaper ceiling patch usually lowers irritation more than it changes the assembly.
Cheap Products Fail When They Ignore The Assembly
Thin foam, decorative soft sheets, and random “soundproof” ceiling add-ons are the biggest hype zone here. They may change the feel of the room, but they do not usually solve the structural transmission path between floors.
Cheap between-floor soundproofing should stay grounded in the same rules as best soundproofing material and best insulation for soundproofing: real gains come from source-side control, mass, and better isolation.
Get Studio Tips Weekly
Join 5,000+ creators getting acoustic treatment advice every week.
No spam. Unsubscribe anytime.Upstairs Floors Give You The Best Leverage
Once cheap fixes hit their limit, the upstairs side is where the strongest between-floor strategy usually begins.
That is where you can still act before vibration spreads through the framing.
Source-Side Layers Work Before Vibration Spreads
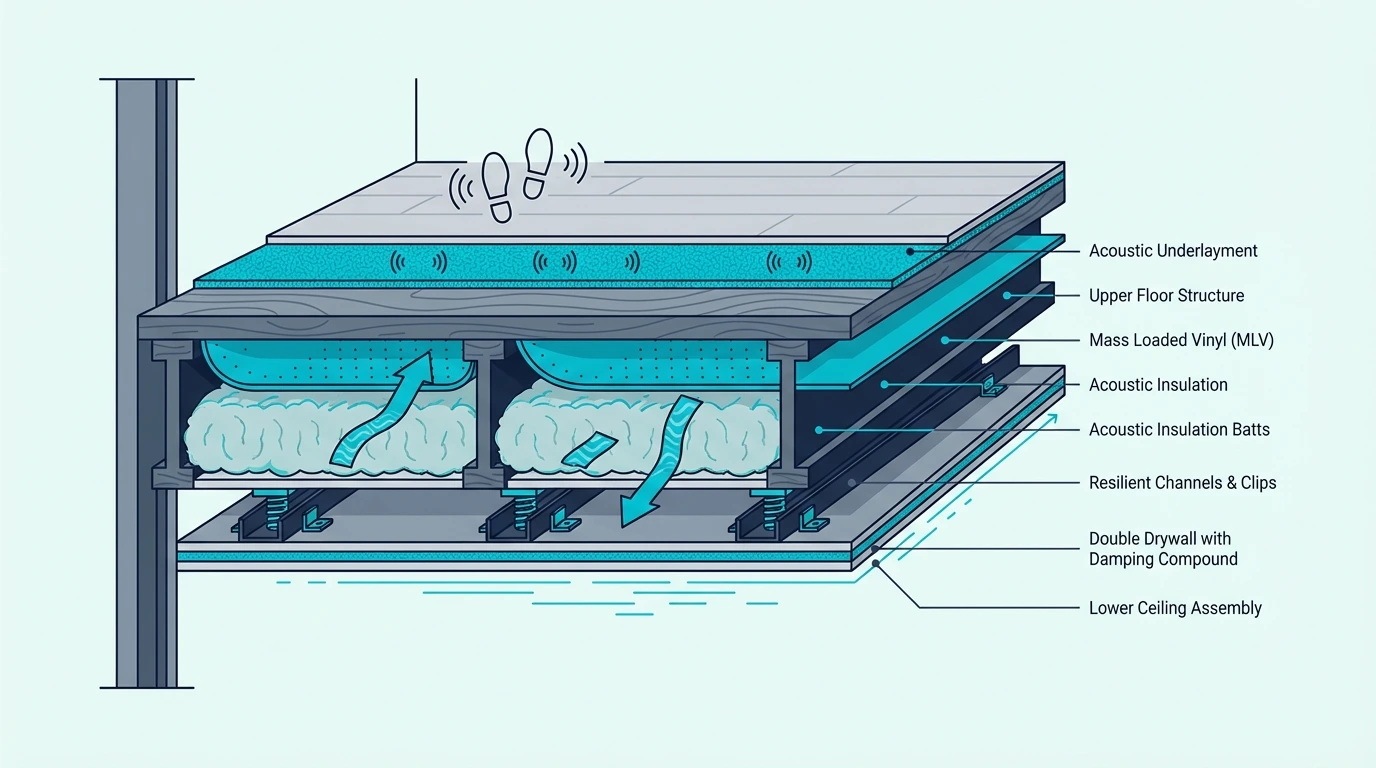
The best floor-side moves are the ones that reduce vibration before it enters the structure. Better underlayment, thicker soft finishes, and more thoughtful floor build-ups matter most when footsteps are the main complaint.
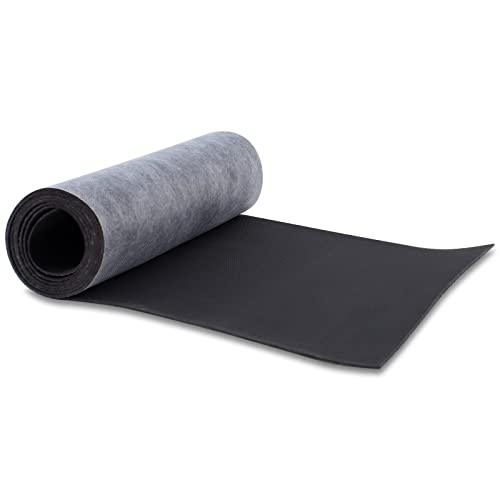
That is also why timing matters. If the upstairs flooring is already being replaced, that is the cleanest moment to add better layers like FloorMuffler Ultra Seal Underlayment.

FloorMuffler Ultra Seal Underlayment
Open The Floor When The Upgrade Needs Real Mass
You need to open the floor when the noise is severe, the existing floor is already being replaced, or you want to add real mass and better layers instead of another temporary surface fix.
A product like TroyStudio Mass Loaded Vinyl Sound Proof Barrier shows the project moving away from surface comfort and toward real mass in the assembly.
TroyStudio Mass Loaded Vinyl Sound Proof Barrier
Finished Floors Need Better Timing, Not Random Tear-Outs
The best answer is to match the upgrade to a moment when the floor is already being touched. If the space must stay finished, source-side softening may still be smarter than a floor tear-up at the wrong time.
Ceiling-Side Retrofits Are The Finished-Space Compromise
If the upstairs floor is off limits, the lower ceiling becomes the practical treatment side.
That does not make it useless, but it does change the goal from ideal source control to the best realistic compromise below.
Added Mass And Damping Are The Best Moderate Move
From below, the best moderate move is usually adding mass and damping. If the ceiling can take another drywall layer, damping between layers becomes a practical finished-space upgrade.
A product like Green Glue Noiseproofing Compound fits this stage because it supports a real ceiling-side assembly upgrade rather than another cosmetic patch.

Green Glue Noiseproofing Compound
If the project is moving into a real drywall build, this is also where better sheetrock choices matter more than decorative acoustic add-ons.
Ceiling Retrofits Make More Sense For Airborne Complaints
Ceiling-side fixes are worth doing when the upstairs floor cannot be changed, when airborne noise is part of the complaint, or when a lower-room renovation is already happening anyway. The same existing retrofit logic matters here too.
Open Ceilings Let You Build A Stronger Assembly
A full ceiling rebuild becomes the better choice when the noise is severe, insulation is missing, flanking paths are obvious, or impact noise keeps surviving lighter fixes. Once the ceiling is open, you can fill the cavity correctly and pair that with stronger layers below.
A product like AFB Mineral Wool Insulation Batts help illustrate that point because insulation matters more once it becomes part of a stronger total system.
AFB Mineral Wool Insulation Batts
Apartments Limit Which Side You Control
Apartment situations are the hardest because you often do not control both sides of the assembly.
That turns between-floor soundproofing into a strategy problem as much as a materials problem.
Renters Need Source-Side Softness First
Renters should start with source-side softness where they control it: rugs, pads, removable mats, furniture-foot protection, and fuller floor coverage.
This article should connect with how to soundproof an apartment and how to soundproof a room.
If you live below the problem, part of the solution may still depend on what the upstairs unit is willing or allowed to change. That is one reason impact-noise complaints in apartments can stay stubborn after decent ceiling-side work.
Upstairs Behavior Can Still Control The Result
The upstairs neighbor is the real variable when the main complaint is footsteps, dragged furniture, pets, or other impact-heavy living patterns.
Pros Matter When The Building Is Bigger Than DIY
Call a professional when the complaint is severe, when the building is multi-unit, or when the solution may involve a ceiling rebuild, flooring removal, or a higher-performance isolation assembly.
The Bottom Line
How to soundproof between floors gets simpler once you answer three questions first.
Is the main problem impact noise or airborne noise?
Do you control the upstairs floor, the lower ceiling, or both?
And is the goal moderate reduction or a bigger rebuild-level improvement?
If the noise is impact-heavy and you control the floor above, start there.
If the floor above is off limits, use the ceiling below as the best compromise and keep expectations realistic.
If the complaint is mostly voices and TV bleed, move faster toward mass, sealing, insulation, and stronger ceiling or floor layers.
That is the decision rule that keeps between-floor projects from wasting money on the wrong side of the assembly.
Frequently Asked Questions
How do I reduce footstep noise from upstairs?
Reduce footstep noise from upstairs by softening the source side first with rugs, pads, mats, or better underlayment if the floor can be opened. If the upstairs floor cannot be changed, a stronger ceiling-side retrofit below may still help, but it usually works better as a compromise than as the ideal first choice.
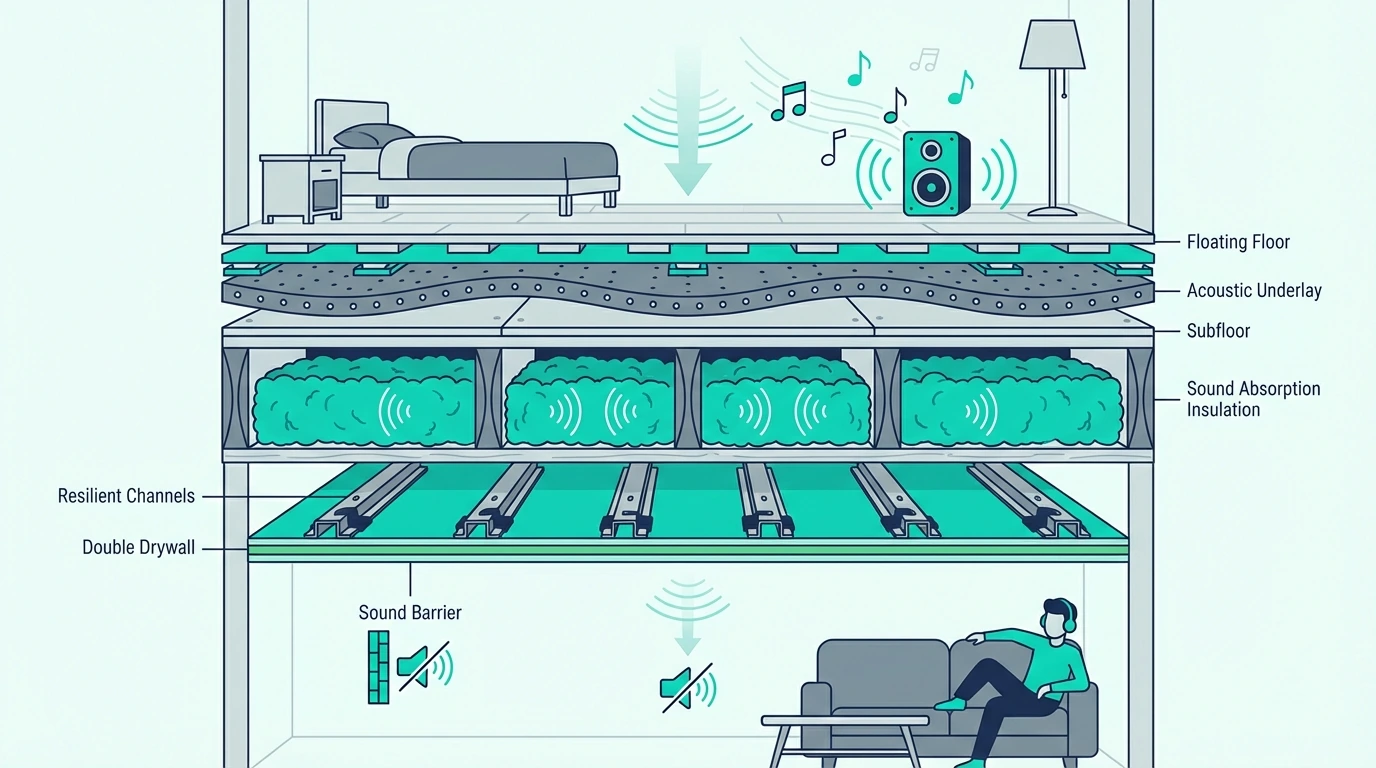
What to put between floors to reduce noise?
To reduce noise between floors, the most useful materials are dense underlayment, insulation in the cavity, added mass layers, and better isolated ceiling or floor assemblies. The right combination depends on whether the main problem is impact noise, airborne noise, or both.