How to Clean Acoustic Foam: Safe Methods That Won’t Damage It [2026]
To clean acoustic foam safely, you need a light touch—but only if you keep it mostly dry.
Scrub it like a kitchen sponge, and you’ll crush the cells that do the absorbing (and sometimes rip the panel right off the wall).
That’s because foam is open-cell: it grabs dust, but it also holds moisture and tears when you overwork it.
Follow the routine below and you’ll get cleaner foam without odor, sagging panels, or a surprise mold problem.
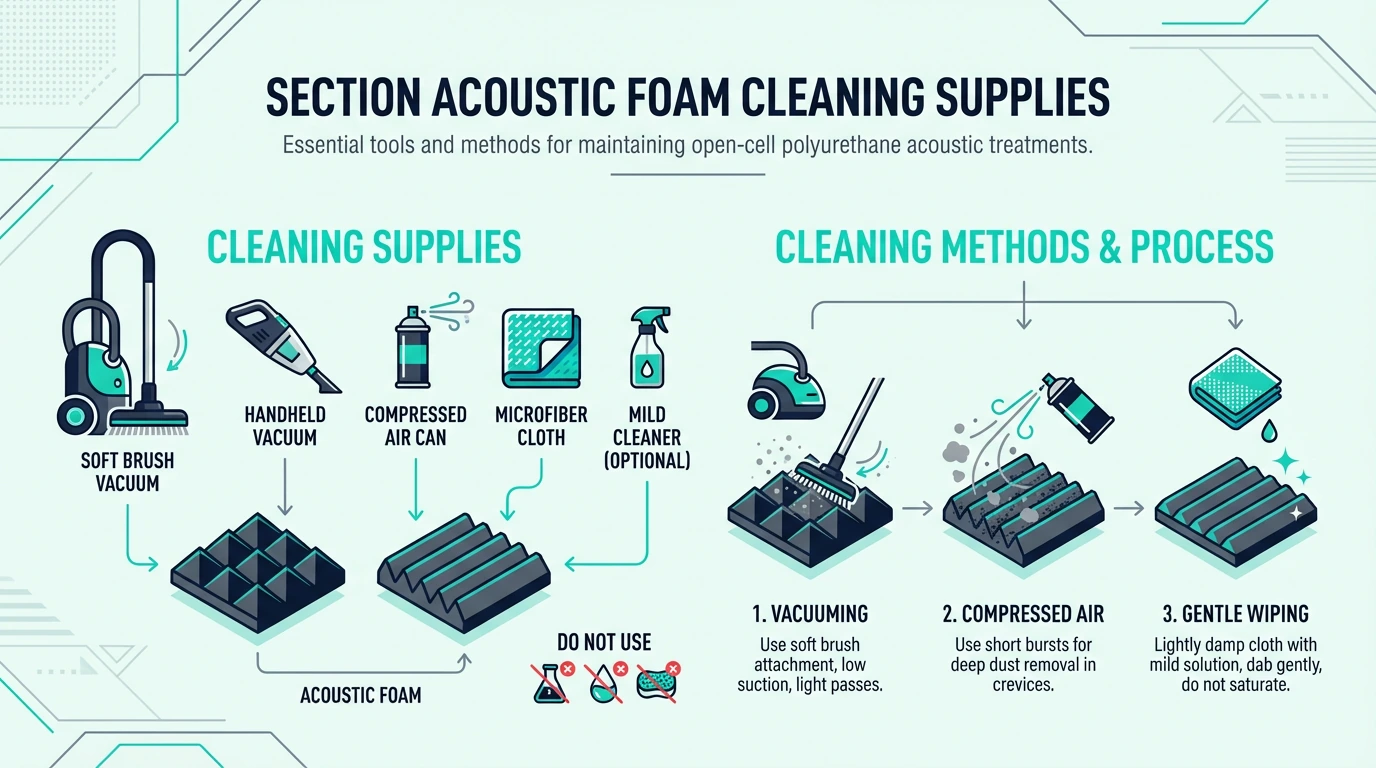
We’ll start with vacuuming (best for dust), then move to spot cleaning, and finish with a low-risk deep-clean + drying sequence.
Vacuum acoustic foam with a soft brush for routine cleaning, and avoid soaking it with water. If you must spot-clean, use minimal moisture, pat (don’t rub), and dry the foam fully to prevent odor and mold.
Can You Clean Acoustic Foam?
Yes—you can clean acoustic foam, but you’re mostly cleaning the surface. Foam is open-cell and full of tiny pockets, so aggressive scrubbing pushes dirt deeper and damages the structure.
Think of cleaning as “remove dust and light grime without saturating the foam.” If the foam is stained through, brittle, or crumbling, cleaning won’t bring it back.
If your foam is already old and shedding dust, check can acoustic foam get old before you spend time cleaning. Sometimes replacement is the healthier move.
If you’re not sure what you’re dealing with, start by identifying the foam type and thickness. The buying guide in how to choose acoustic foam makes it easier to tell “real treatment” from cheap foam that won’t survive much handling.
Also decide whether you’re cleaning panels that are mounted or panels that are loose. Mounted foam is easier to dust, but it’s harder to dry safely if you accidentally soak it.
If you want the foam to stay cleaner longer, clean the room first. Vacuum the floor, wipe nearby shelves, and clear the main dust sources before you touch the panels.
For a bigger “treatment plan” (placement, coverage, and what foam can’t fix), start at the acoustic foam hub. It’ll help you decide whether you’re maintaining foam or upgrading your setup.
Before you start: do a fast damage check
Grab one panel and do a quick “is this worth saving?” check. It takes 30 seconds and prevents the most common mistake: turning a small cleaning job into a bigger replacement job.
If you see any of the signs below, cleaning is usually a losing battle. You can still remove loose dust, but don’t expect stains, odor, or texture to “come back.”
- Crumbling or chalky residue when you pinch a corner.
- Permanent flattening where the ridges no longer spring back.
- Musty odor that returns after the room dries out.
- Dark spotting that looks like mildew or mold.
If you suspect mold or the foam makes allergies worse, treat it like a health issue. Read is acoustic foam dangerous and err on the side of removal instead of trying to “sanitize” porous foam.
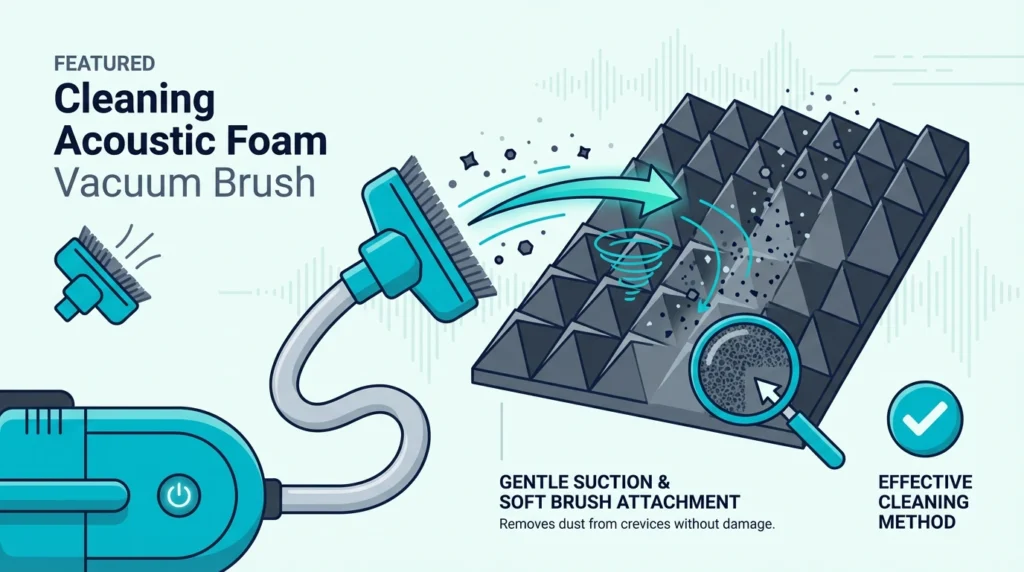
Method 1: Vacuuming (Best for Dust)
Vacuuming is the safest “default” because it removes dust without soaking the foam. The key is low suction and a brush that won’t snag the ridges.
If you don’t already have a gentle brush, a soft brush attachment is the right tool for this job.
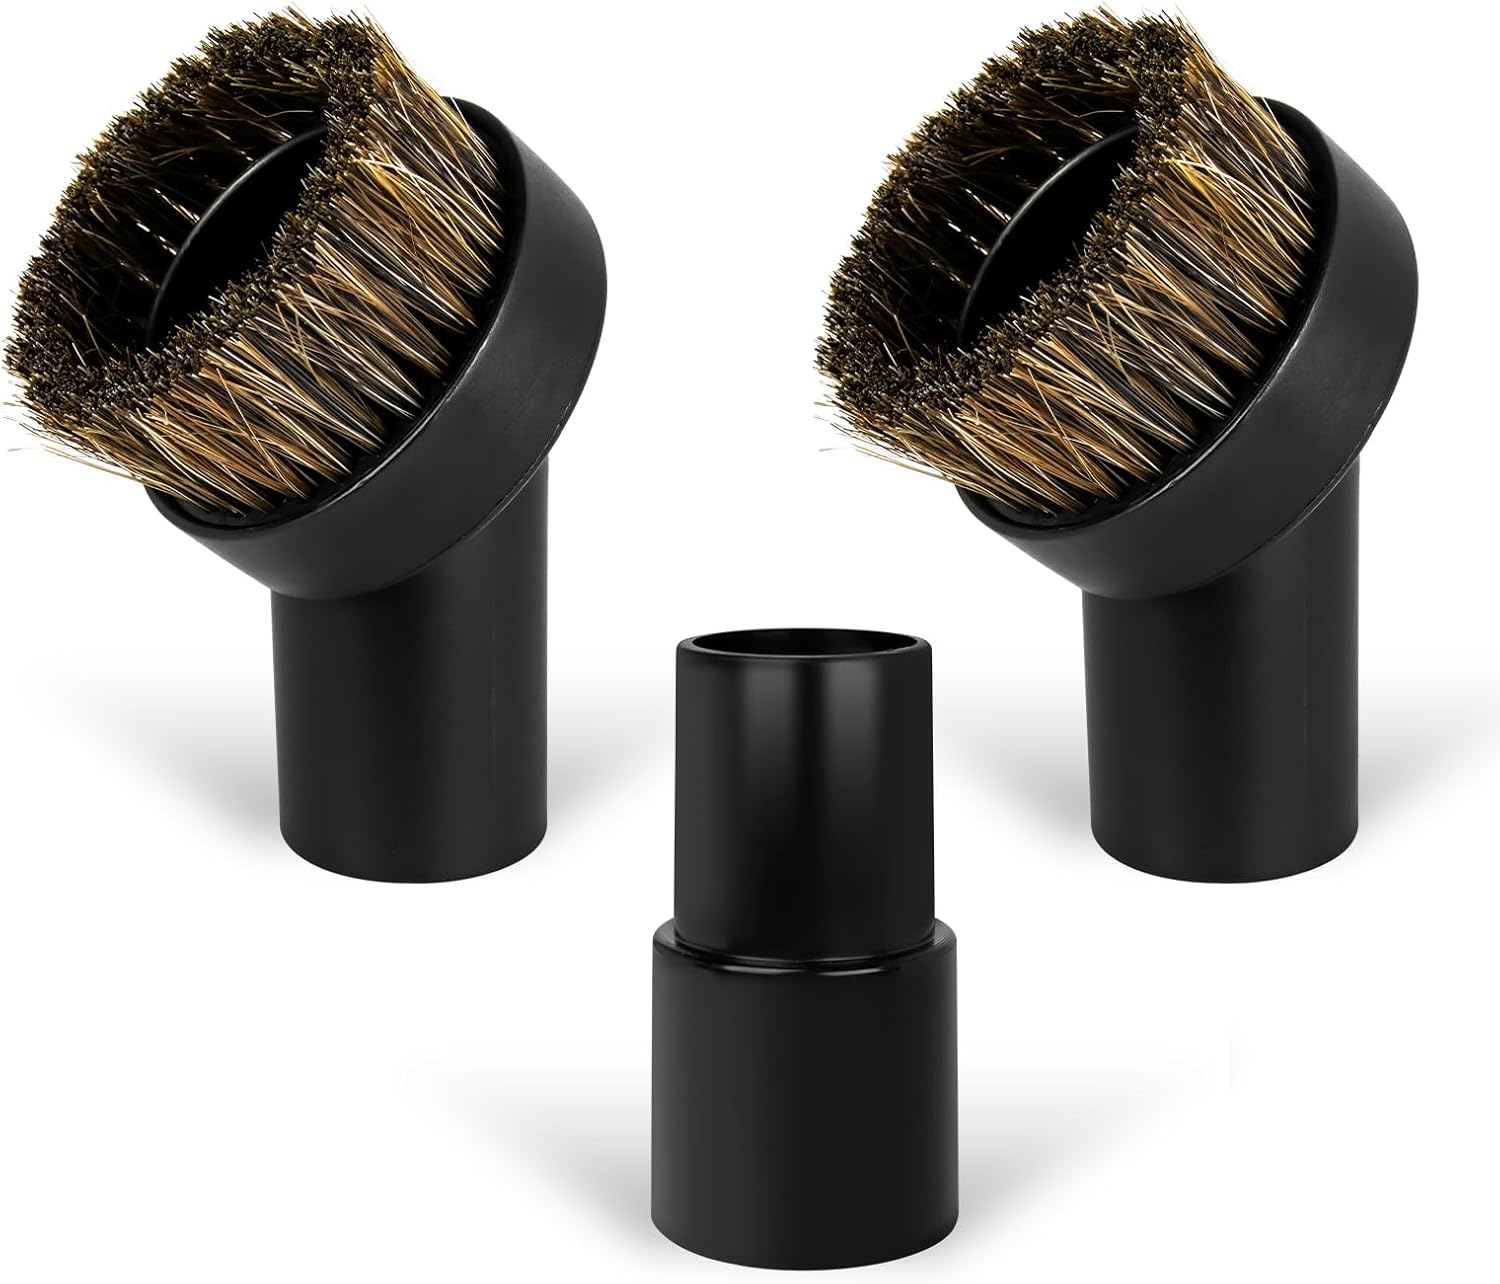
soft brush attachment
Avoid motorized “beater bar” heads. Those are designed for carpet, and they can shred foam ridges fast.
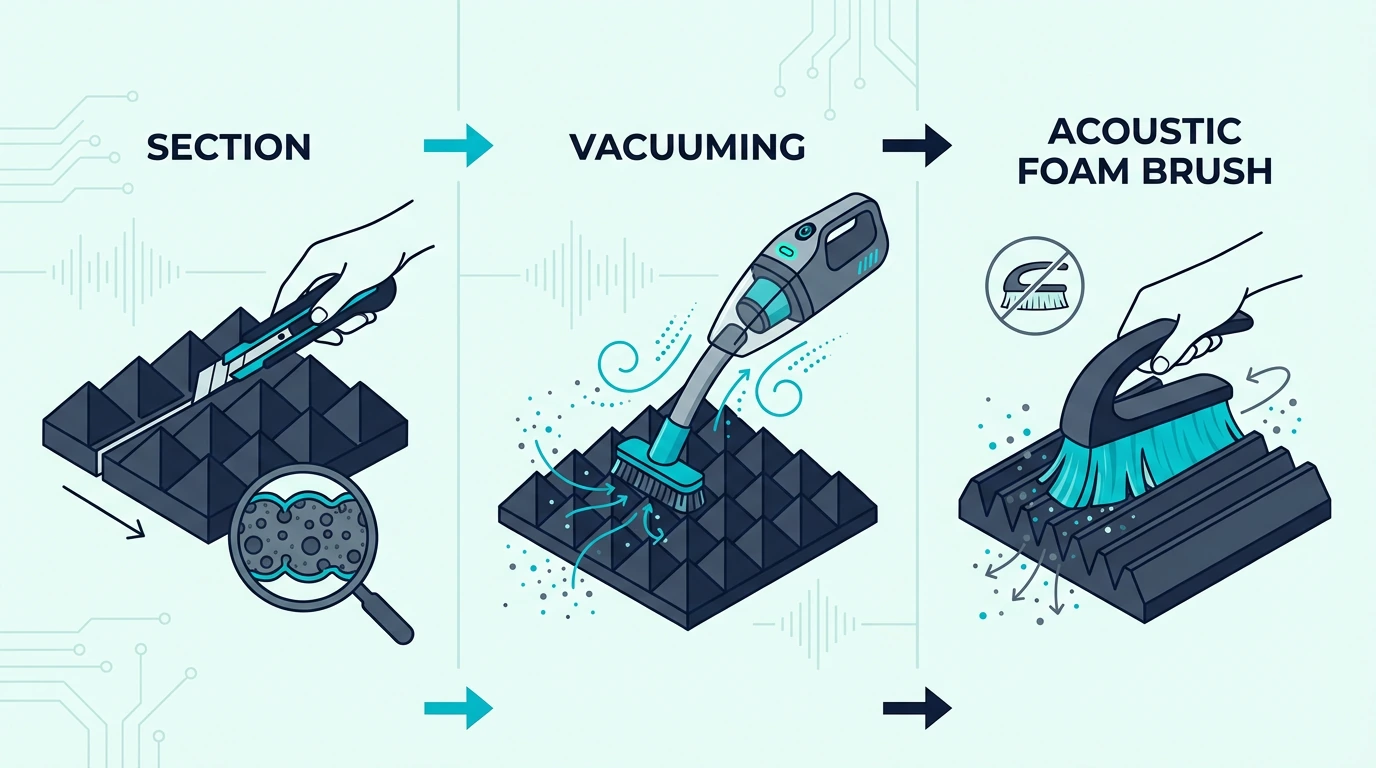
How to vacuum foam safely
Run the brush lightly over the foam surface and let the suction do the work. Don’t “press in” to dig out dust, because that crushes the foam and can tear edges.
If panels are mounted with weak adhesive, support them with your free hand while vacuuming. You want the foam to stay still while the brush moves.
Vacuum slowly and work in one direction so you don’t catch the ridges. If you see the foam flexing a lot, reduce suction or back off pressure.
If the foam is very dusty, do a quick “first pass” to remove loose dust, then repeat. A second gentle pass usually beats one aggressive pass.
If you’re dealing with pet hair, start by vacuuming the surface lightly, then follow with a microfiber wipe. Hair tends to cling to the ridges, and pulling it by hand can tear peaks off.
When you’re done, check the floor line where the foam meets the wall. Dust that falls during cleaning is a good reminder that foam also collects debris in the room, so a quick sweep helps keep it from re-settling.
Get Studio Tips Weekly
Join 5,000+ creators getting acoustic treatment advice every week.
No spam. Unsubscribe anytime.Method 2: Spot Cleaning (For Stains)
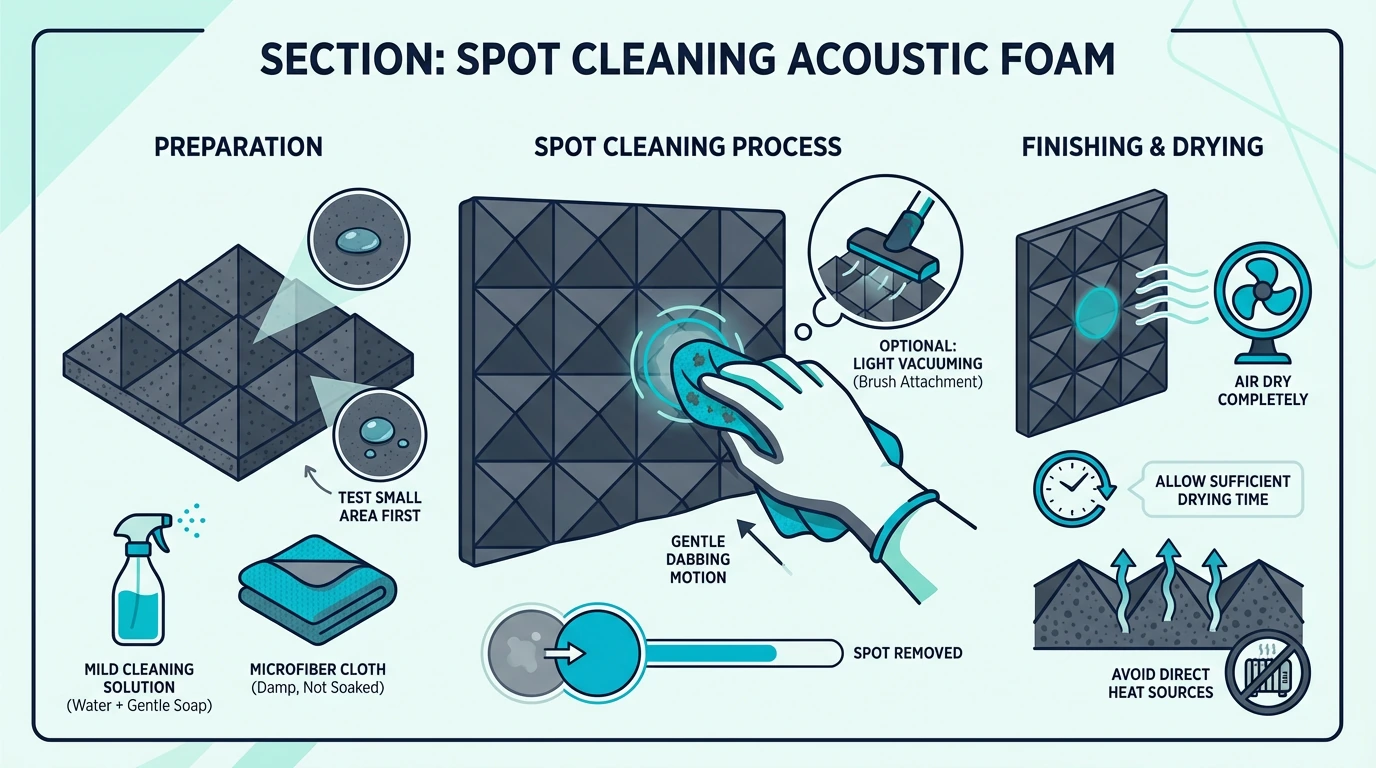
Spot cleaning is for small stains, not for “washing the panel.” The more water you add, the longer the foam stays wet, and wet foam is where odors and mold start.
Use a quality microfiber cloth so you can dab without shredding the foam surface.
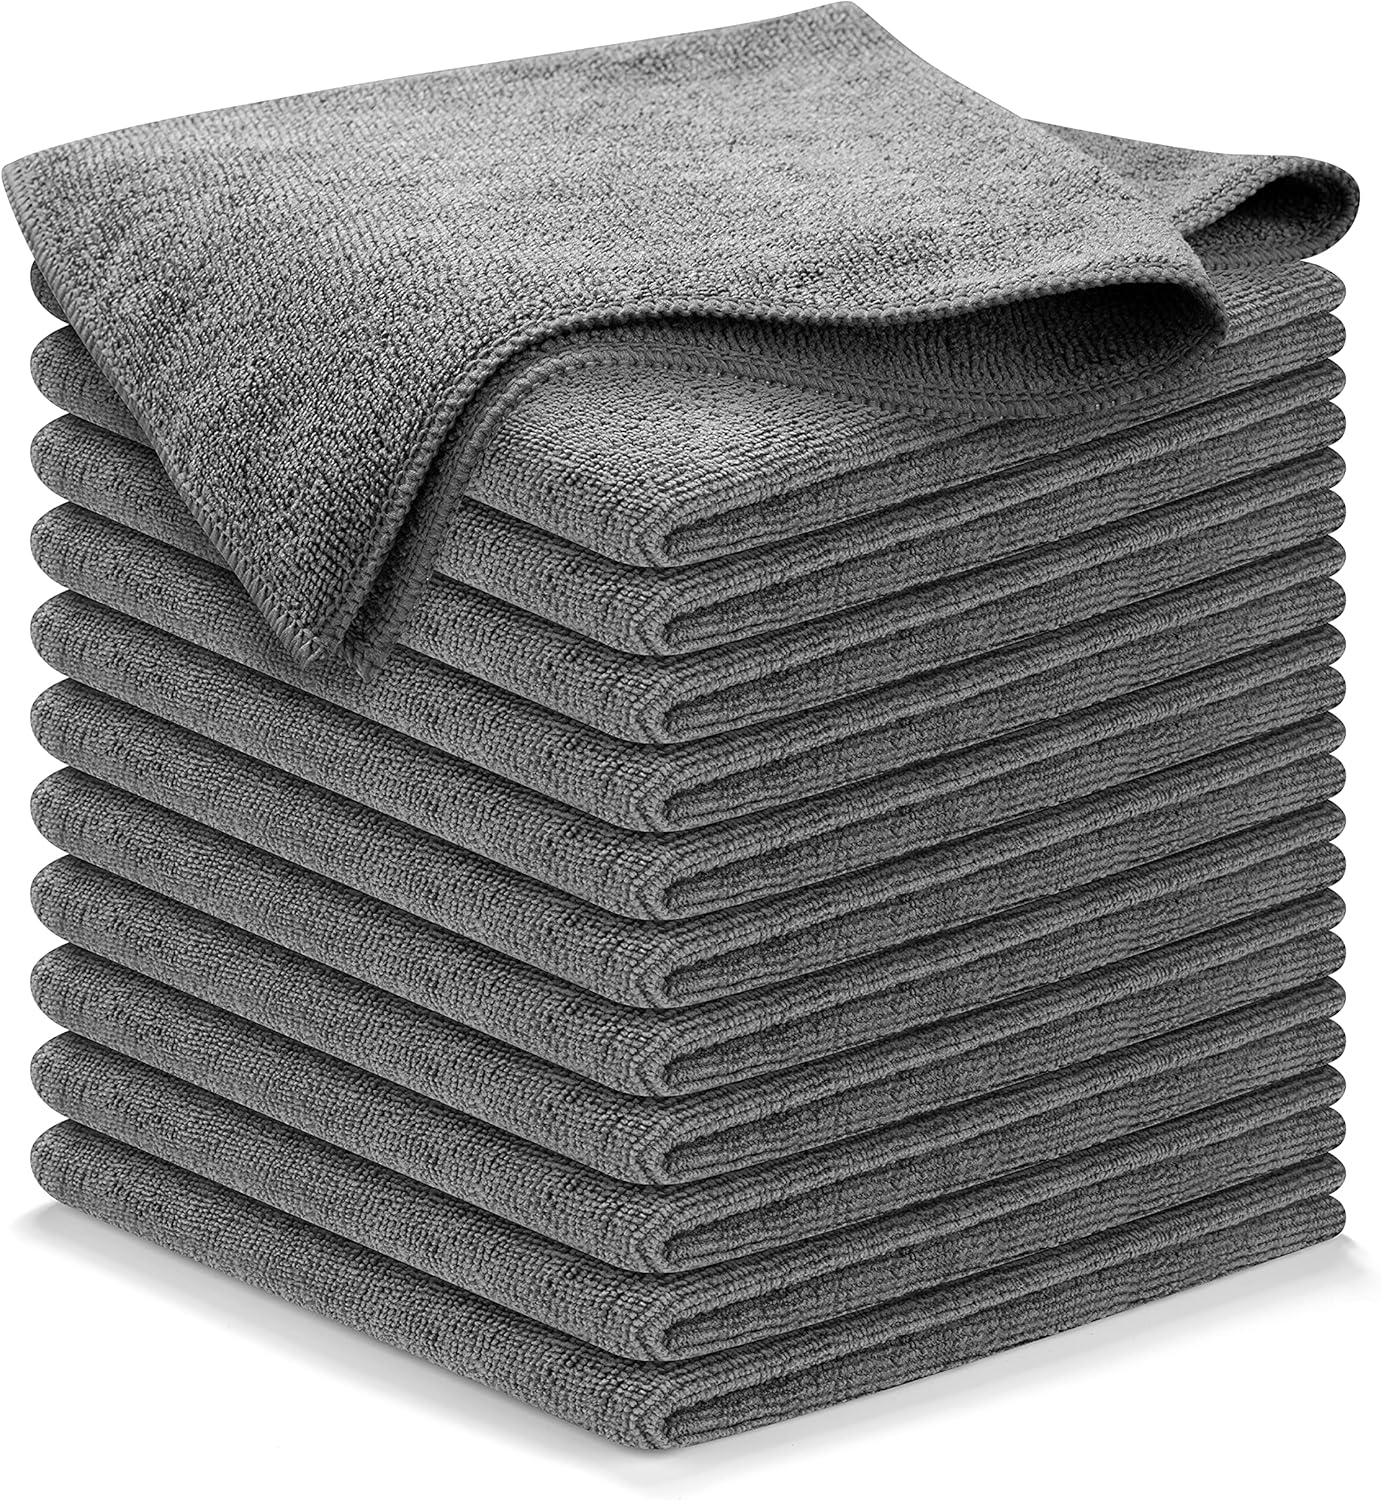
quality microfiber cloth
If your foam is mounted, put a towel on the floor and keep the moisture on the cloth, not on the panel. Spraying the foam directly is how water runs into the wall and leaves a damp spot you can’t see.
How to spot-clean without ruining foam
Lightly dampen the cloth (do not soak it) and blot the stain. Avoid rubbing back-and-forth, because that fuzzes the surface and can deform the peaks.
If you use a tiny amount of mild soap, wipe once with a barely-damp cloth afterward to remove residue. Soap left inside the foam can attract more dirt later.
Always test in a small hidden corner first. Some foams discolor easily, and it’s better to find that out on the edge than in the center of a panel.
If the stain is on the tips of wedge/pyramid ridges, focus on dabbing the high points only. Pressing liquid into the valleys is how foam stays wet for too long.
Stains from smoke, cooking grease, or aerosols are the hardest to “spot clean” because the residue spreads. If the foam smells smoky even after drying, deep cleaning often doesn’t fix the odor, and replacement is usually the honest answer.
After spot cleaning, dry the foam completely. If the foam ever gets damp through, follow acoustic foam dryer instead of leaving wet panels on a wall overnight.
Method 3: Deep Cleaning (If Really Necessary)
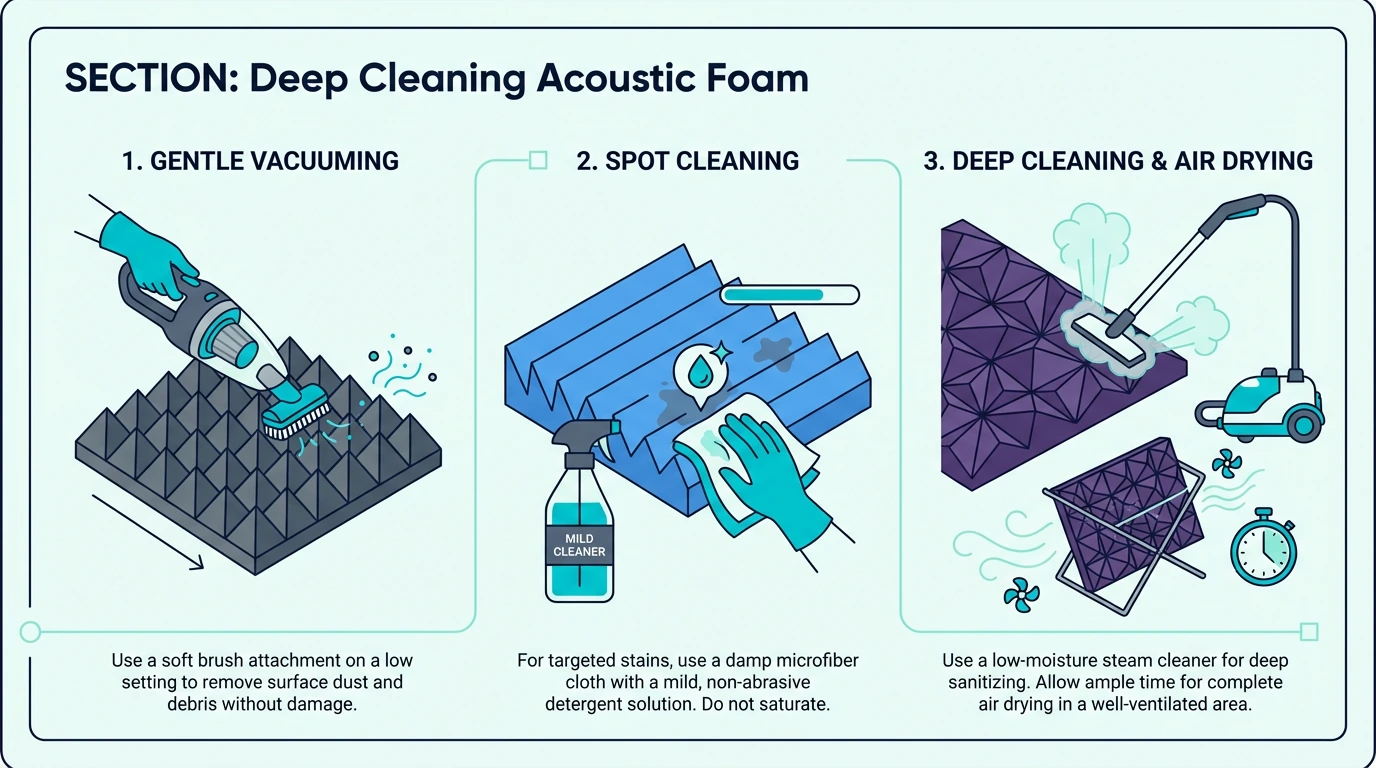
Deep cleaning is a last resort for foam that’s truly filthy or was exposed to smoke/dust. It’s also where people accidentally destroy panels by saturating them.
If your foam is mounted, consider removing only the worst panels and cleaning those. Cleaning everything at once increases the chance you trap moisture in the room.
For deep dust removal, an electric air duster can blow loose debris out of the cells without soaking the foam.

electric air duster
If you have to use water, use as little as possible and dry aggressively afterward. The safest “wet” approach is light misting, gentle blotting, then airflow until the foam is fully dry through.
Drying matters as much as cleaning. A panel can feel dry on the surface while still holding moisture inside the cells.
A safer “deep clean” sequence (without soaking the foam)
Start with the lowest-risk steps and stop as soon as the foam looks acceptable. You’re trying to improve the panel, not make it perfect.
Take the panel down carefully if it’s mounted, especially if it’s glued. The guide at remove acoustic foam helps you avoid tearing the foam or the drywall.
Shake and blow out dust outdoors using low power first. Hold the foam so air flows across the ridges rather than straight into the foam’s valleys.
Blot the worst grime with a barely damp cloth, then blot again with clean water to remove residue. If the cloth is wet enough to drip, it’s too wet.
Press (don’t wring) between two dry towels to pull out moisture. Wringing twists and permanently deforms the foam.
Air-dry with moving air until the foam is dry all the way through. A fan plus time beats heat every time.
Reinstall only when the foam is truly dry. If it’s even slightly damp, adhesives fail and you can trap moisture behind the panel.
If foam is greasy, smoky, or smells bad, replacement can be the smarter option. Foam holds odors, and you don’t want your room to smell like “cleaner” or “old sponge.”
What Not to Do When Cleaning Acoustic Foam
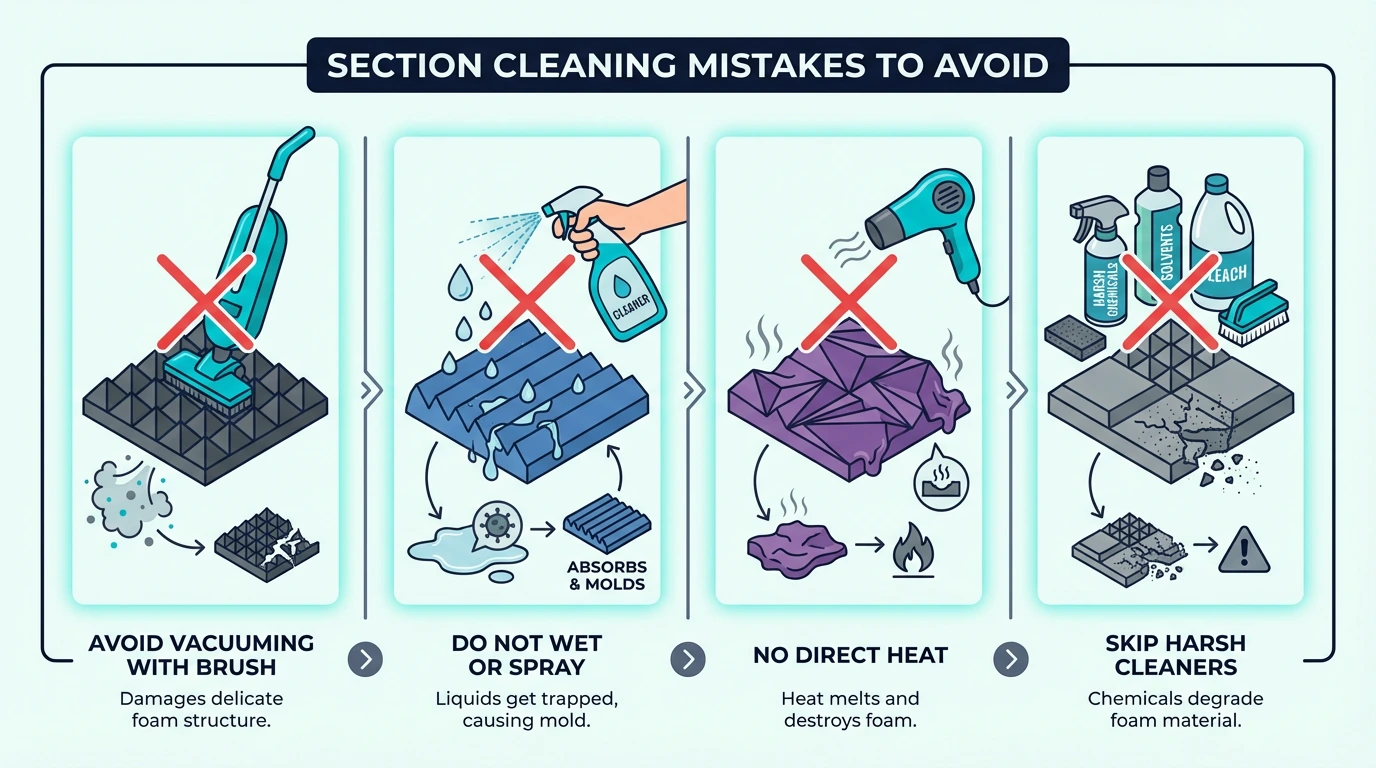
Don’t soak foam in water and “let it dry later.” Water can sit inside the cells for a long time, especially in humid rooms.
Don’t use harsh chemicals or solvents. If it can melt plastics or strip paint, it can damage foam and leave residues you’ll breathe.
Don’t scrub aggressively. If the foam surface is shredding, you’re literally removing the material that does the absorbing.
Don’t “speed dry” foam with high heat. Heat can deform foam, and warm, damp foam is exactly where odors and mold can develop.
Don’t leave damp foam stacked or pressed under weight. Compression plus moisture is how panels end up permanently deformed.
Avoid “DIY disinfectant experiments.” Vinegar, bleach, and heavy fragrances often leave a smell you can’t get out of the foam, and some chemicals can weaken the structure over time.
If a corner is torn or ragged, you can sometimes trim it cleanly instead of scrubbing harder. Use cut acoustic foam so you get a clean edge without shredding the panel.
If the foam is too dirty to clean without damage, it’s time to remove and replace it. Use remove acoustic foam so you don’t turn the job into drywall repair.
Conclusion
Vacuuming with a soft brush is the safest way to clean acoustic foam, because it avoids moisture and avoids crushing the foam’s structure. Spot cleaning can work, but only when you keep water to a minimum and dry the foam completely.
If your foam is crumbling, permanently compressed, or smells musty even after drying, cleaning won’t fix it. At that point, replacement is the more honest solution.
If you’re deciding whether to replace foam or upgrade to longer-lasting treatment, start with acoustic foam vs acoustic panels. It’ll save you from buying the same foam twice.
If you’re still debating whether foam is worth maintaining at all, read acoustic foam worth it. Sometimes the best “cleaning” decision is swapping to treatment that doesn’t trap dust as easily.
Frequently Asked Questions
Can you wash acoustic foam in a washing machine?
No. Washing machines soak and agitate foam, which can tear it, deform it, and leave it wet inside for too long.
Can you use alcohol or disinfectant on acoustic foam?
Use caution. Some cleaners can leave residues or damage foam, so test on a small hidden area and use minimal liquid.
How often should you clean acoustic foam?
As needed. Light vacuuming every few weeks is usually enough in dusty rooms, and most foam doesn’t need frequent “wet” cleaning.
Can you paint acoustic foam to cover stains?
Sometimes, but it’s easy to make foam stiffer and less effective if you overdo it. If you’re considering paint, follow paint acoustic foam so you don’t seal the surface.
What if the foam is too dirty to save?
If cleaning would require soaking or aggressive scrubbing, replacement is usually smarter. Remove it cleanly first using remove acoustic foam so you don’t destroy the wall underneath.
Can you clean acoustic foam without taking it off the wall?
Yes, as long as you stick to dry methods. Vacuuming with a soft brush is the safest option because it won’t introduce moisture into the wall.
Does cleaning acoustic foam make it work better?
It can help a little if the foam is coated in dust, because dust blocks the pores that absorb sound. Cleaning won’t turn thin foam into “real soundproofing,” but it can keep your treatment from slowly getting less effective over time.
Can you use canned air instead of a vacuum?
You can, but it’s messy and it tends to blow dust deeper into the room. If you go that route, do it outdoors (or right next to an open window), and finish with a light vacuum pass.

