How to Decorate With Acoustic Foam (Without Looking Like a Budget Studio)
Decorating with acoustic foam is one of the fastest ways to tame echo, but it can also make your room look like a budget studio overnight. If you’ve ever looked at your wall on a video call and thought “why does this look so messy,” this guide is for you.
Most foam looks wrong because it gets installed like an afterthought: random squares, mismatched colors, uneven spacing, and no visual anchor. The fix isn’t buying more foam — it’s making a few intentional design decisions before you stick anything to the wall.
This article covers color choices, layouts that look designed, ways to blend foam with decor, and simple cover/frame tricks when you hate the texture.
If you’re still deciding what to buy, start with the how to choose acoustic foam guide so you don’t decorate a product that can’t solve your problem. Otherwise, jump to the Quick Takeaway below and steal the design rules that make foam look intentional.
If you want acoustic foam to look good, treat it like wall art: pick a palette, commit to a pattern, and keep spacing consistent. “Random squares everywhere” is what makes foam look cheap, even when the foam itself is fine. Start with one focal wall (usually behind your mic/monitors) and design that wall first. Once it looks right, copy the same spacing and alignment rules to the rest of the room.
How Do You Choose Colors for Acoustic Foam?
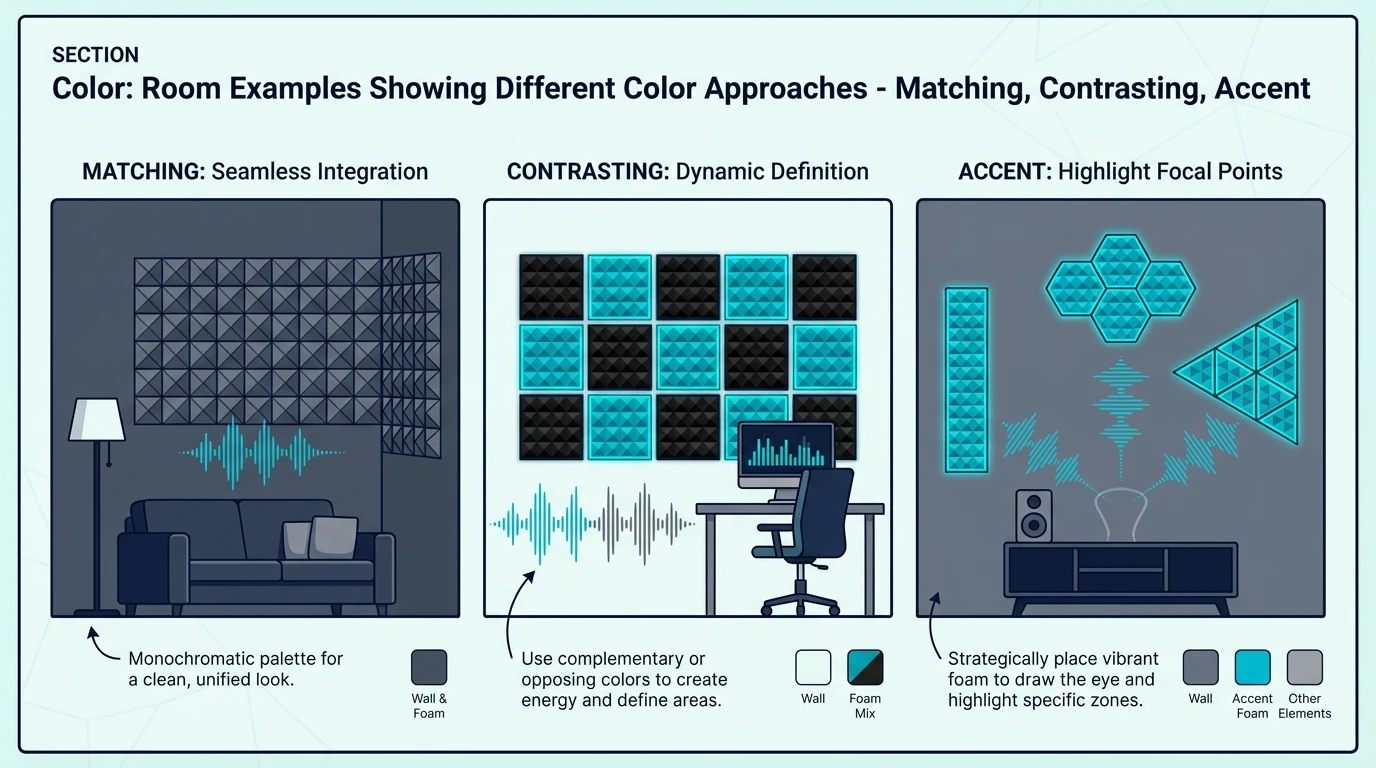
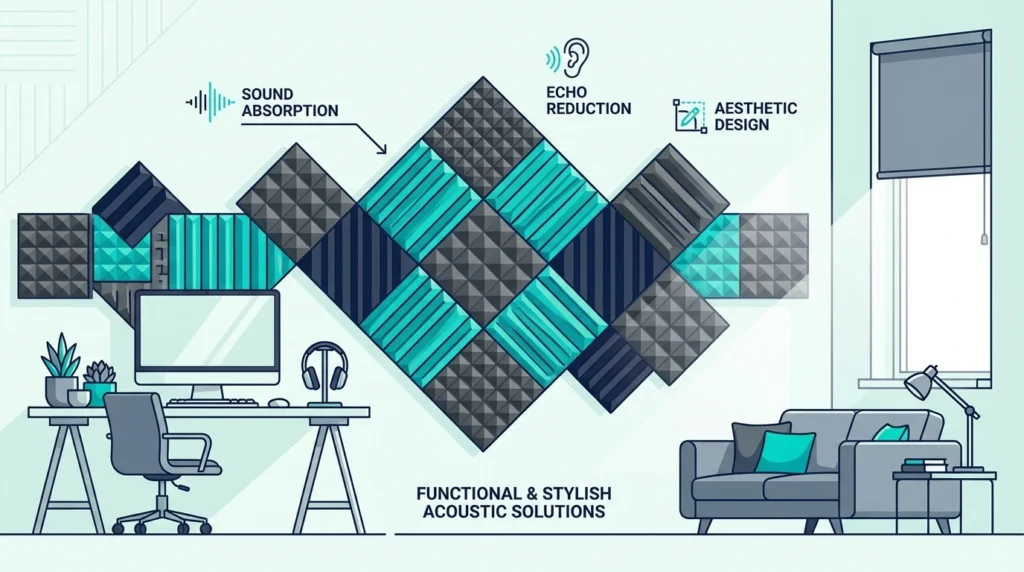
Color is the quickest way to make foam disappear—or to make it look like a deliberate accent. Before you buy, decide whether you want “invisible treatment” (blend), “statement wall” (contrast), or “ties the room together” (accent).
Match the Wall (Invisible Treatment)
If you match your wall color, the foam texture becomes the only thing your eye notices, and even that fades at a distance. This is the safest option for living rooms, offices, and any space where you want the room to read “normal” on camera.
Dark neutrals (charcoal, dark gray) hide the wedge texture better than bright colors. If your walls are light, a slightly darker tone than the paint often looks more intentional than trying to color-match perfectly.
Self-adhesive foam is also easier to keep clean-looking, because you can place panels without smearing glue or leaving tape lines around the edges. A starter pack like 18 Pack Self-Adhesive Acoustic Foam Panels makes it easy to lay out a neat grid and adjust as you go.
18 Pack Self-Adhesive Acoustic Foam Panels (12x10, 0.4 inch)
Use Contrast (Make It a Feature)
Contrast only works when it looks planned, not accidental. Pick one contrasting color and repeat it elsewhere in the room (a rug stripe, a poster frame, a keyboard mat) so the foam feels connected.
If you’re not willing to repeat the color, don’t go bold. A strong contrast with no other “echo” in the room makes the wall look like a patch job.
Use an Accent Color (Tie Into Your Setup)
Accent color is the sweet spot for most creators because it looks intentional without shouting. Choose a foam color that matches one existing accent in your setup, then keep everything else neutral.
This works especially well for gaming rooms and studios where you already have a defined color theme. Once the palette is locked, the next step is making the layout look designed, which is where most foam installs fall apart.
What About Multi-Color Patterns?
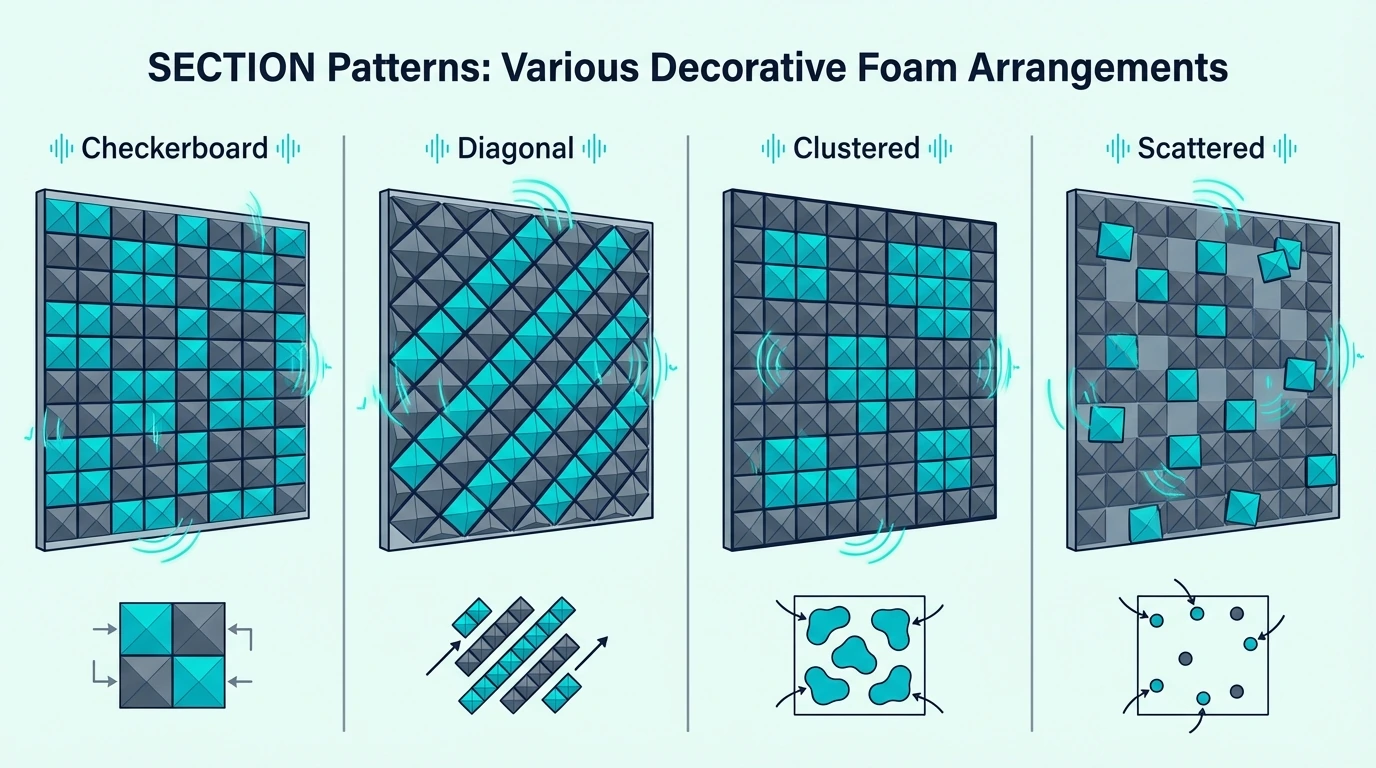
Multi-color can look great, but only if you plan it like a pattern, not a pile of leftovers. Lay panels on the floor first, take a photo, and copy that map onto the wall so you don’t end up improvising mid-install.
If you want the easiest upgrade without thinking too hard, do a two-color checkerboard with consistent spacing. Then keep reading, because the pattern you choose matters less than how cleanly you execute spacing and alignment.
How Should You Arrange Acoustic Foam Panels to Look Good?
Once color is handled, layout is what separates a designed wall from random foam squares. A clean pattern also helps you keep coverage where it matters acoustically instead of scattering panels like stickers.
Start With One Focal Zone (Don’t Sprinkle)
Pick one wall to be your treatment feature, usually behind your microphone or behind your monitors. Treating one area well looks intentional and often solves the worst reflections at the same time.
If you need placement guidance, the how to arrange acoustic foam guide works as the acoustic map. Then come back here and make that map look good.
Patterns That Look Intentional in Real Rooms
Checkerboards work because your brain reads them as a design choice, not a coverage mistake. Diagonal stripes and centered blocks also work, as long as edges are straight and spacing is consistent.
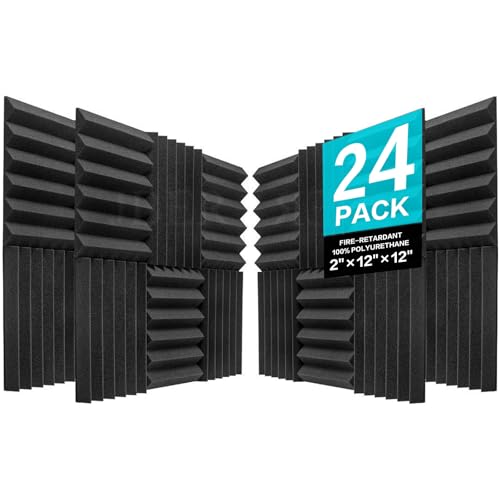
If you want foam that looks more architectural on the wall, thicker pyramid panels tend to read more like a pattern and less like packing material. A 2-inch set like 24 Pack 2-Inch Pyramid Acoustic Foam Panels gives you deeper texture, which can look better on camera when you light the wall from the side.
24 Pack 2-Inch Pyramid Acoustic Foam Panels (12x12)
Avoid patterns that require perfect measuring if you know you won’t measure. A slightly imperfect simple grid looks better than a complicated pattern that drifts by half an inch every row.
The Spacing Rule That Fixes 80% of “Ugly Foam”
Whatever spacing you pick, repeat it everywhere. Uneven gaps are what make foam look like it was installed panel-by-panel with no plan.
Painter’s tape is the cheat code here. Mark the outside edges of your layout first, then fill in the interior so every row stays aligned.
Don’t Sacrifice Performance for Aesthetics
Leaving small gaps between panels is usually fine for echo control, but huge decorative spacing can reduce coverage where you actually need it. If you’re treating a slapback wall, prioritize coverage at ear level and behind the mic over making the wall perfectly symmetrical.
Get Studio Tips Weekly
Join 5,000+ creators getting acoustic treatment advice every week.
No spam. Unsubscribe anytime.How Can You Blend Acoustic Foam With the Rest of Your Room?
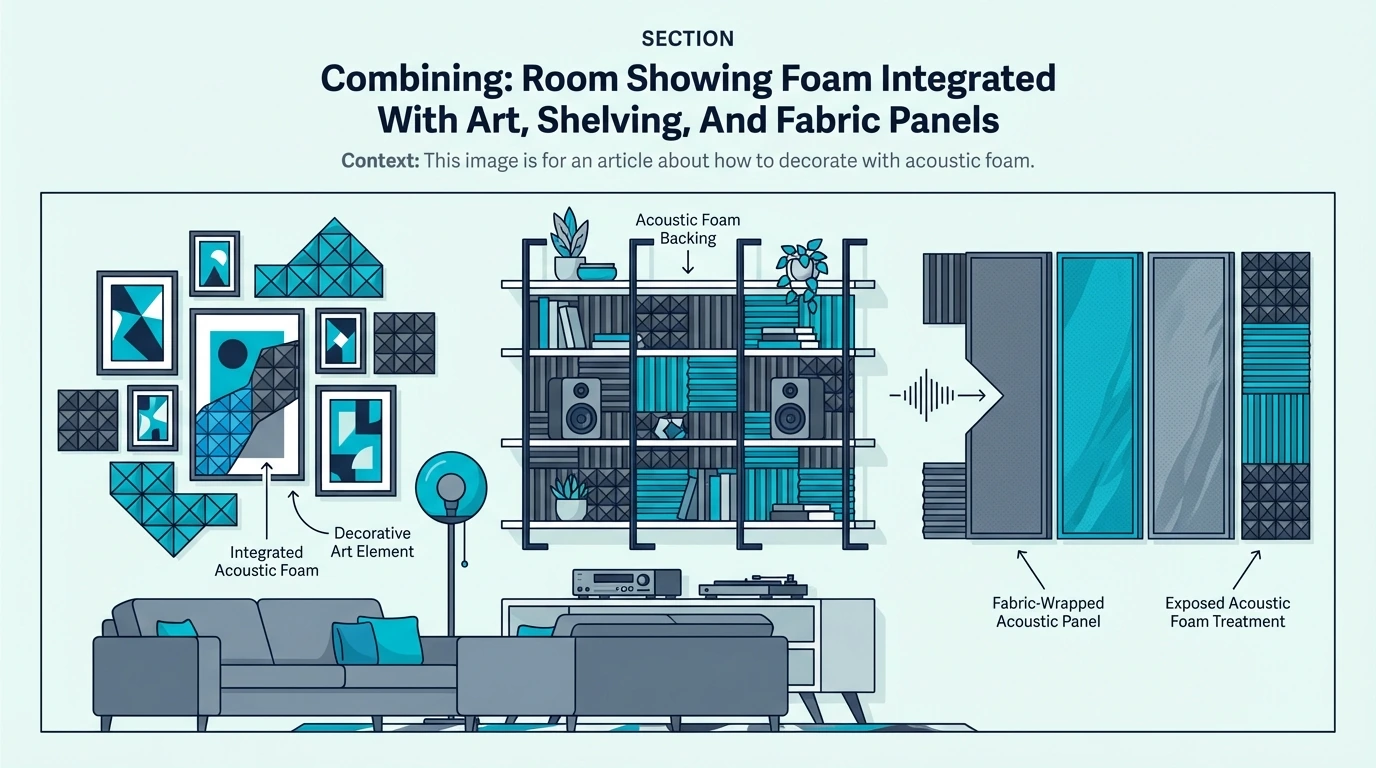
Foam looks cheap when it’s the only texture on the wall. When you break it up with other elements, it stops reading as padding and starts reading as part of the room.
Use Artwork as the Visual Anchor
Choose one piece of art (or one monitor/TV) to be the focal point, and build the foam layout around it. When the eye has a clear main thing to look at, the foam becomes supporting texture instead of the entire wall.
Keep the art centered and let the foam frame it like a border or halo. This is a simple way to make a foam install feel like a gallery wall instead of a sound booth.
Add Shelves (And Let Them Do Double Duty)
Floating shelves break up the foam visually and give you a place for books, plants, and small objects. Books and soft items also add a bit of absorption and diffusion, which can complement the foam.
Don’t overpack shelves with hard collectibles that rattle. If the shelf becomes a noise source, it defeats the point of improving the room sound.
Mix Materials Without Turning It Into a Different Category
If you want a living room look, foam alone is rarely the best aesthetic tool. Fabric-wrapped panels and slat panels usually look better, but they’re a different purchase decision than “I already have foam.”
If you’re choosing between foam and panels, read acoustic foam vs acoustic panels before you spend money twice. If you’re decorating foam you already own, keep going—covering and framing can get you surprisingly close to the panel look.
Can You Cover or Frame Acoustic Foam (Without Killing Performance)?
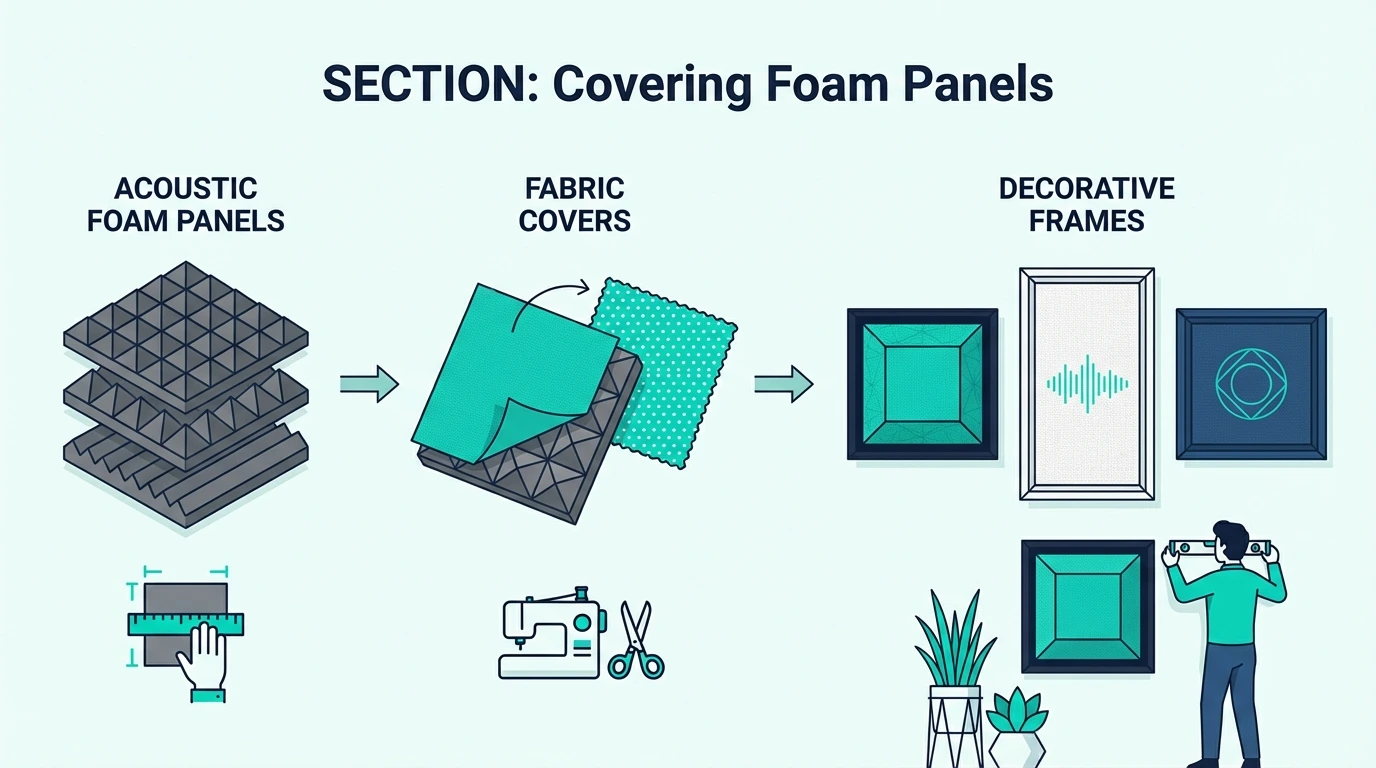
If you hate the foam texture, cover it. You can change the look completely as long as sound can still reach the foam.
Cover Foam With Breathable Fabric (What Works)
The blow test is still the simplest rule: if you can breathe through the fabric easily, sound will pass through it too. Speaker grille cloth and many thin polyester fabrics work well, while vinyl-like or tightly woven fabrics tend to reflect high frequencies.
Don’t paint foam to change color. Paint clogs the open-cell structure, which is why the answer to can you paint acoustic foam is basically “no — use fabric instead.”
Frame Foam Like Art (The Fastest Visual Upgrade)
A simple wood frame makes foam look finished, even if the foam itself is cheap. You can mount the foam on a thin backer board, then hang it like a picture so it’s removable.
This is also renter-friendly if you use the right mounting method. If you’re worried about walls, start with how to remove acoustic foam from walls so you don’t turn better audio into a drywall repair job.
Shadow Boxes and Lighting (Only If You Do It Safely)
Backlighting can look great, but don’t trap heat behind foam or run hot lights against flammable material. If you add LEDs, keep them low-heat, keep wiring clean, and treat fire safety as a real constraint, not a footnote.
How Should You Decorate With Acoustic Foam in Different Rooms?
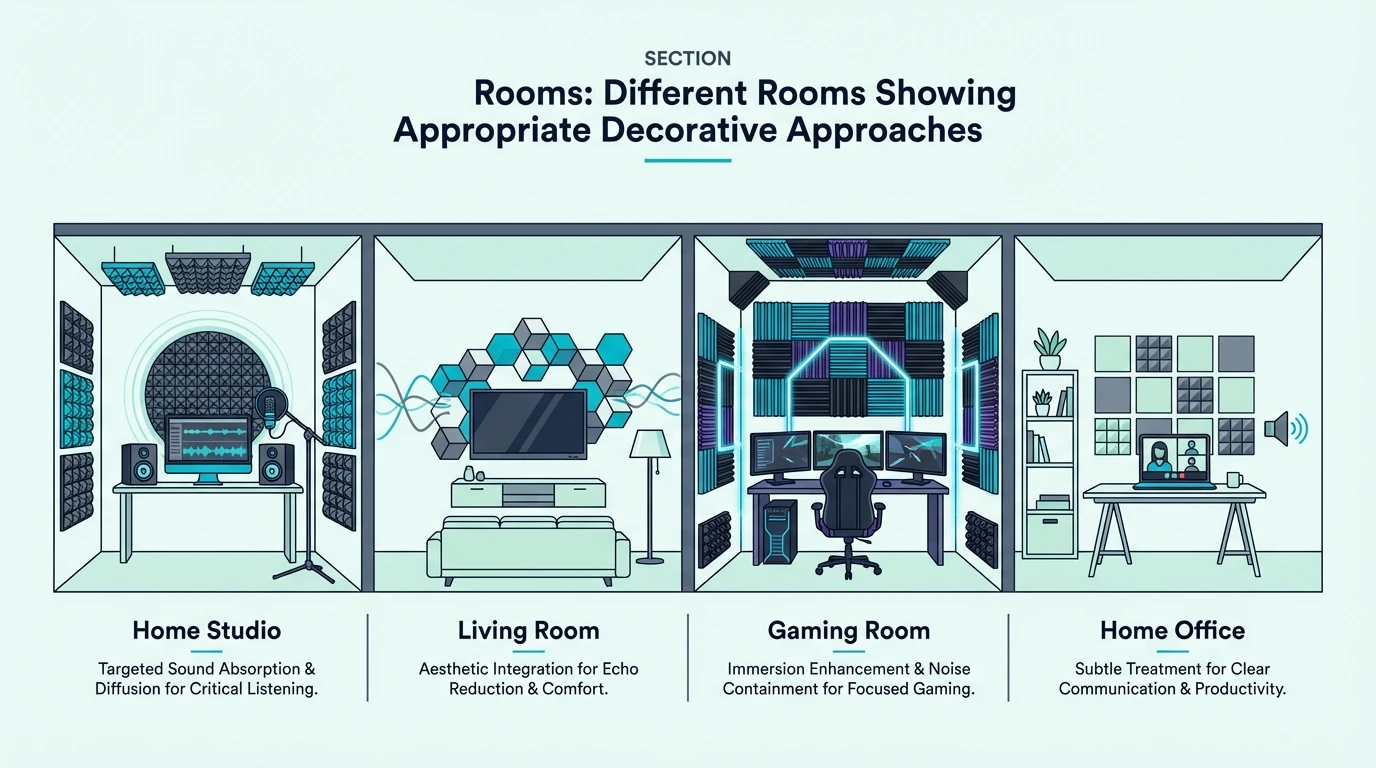
The same foam can look cool studio in one room and why is this here in another. Use the ideas below to match the vibe of the space and the realities of what’s on camera.
Home Studios and Content Corners
Studios can lean into the foam look, especially if the background is part of your brand. Bold colors and clean geometry read as intentional when the rest of the setup looks purposeful.
If you actually like the classic wedge texture (and you’re going to make it a feature wall), start with a set that has a long review history and consistent cuts. JBER Acoustic Foam Wedge Panels is a solid baseline, and you can dress it up with better lighting and cleaner spacing.
JBER Acoustic Foam Wedge Panels
If you’re building from scratch, start with placement first and aesthetics second. The how to arrange acoustic foam guide will keep you from decorating a wall that doesn’t need treatment.
Living Rooms
In living rooms, blending is usually the winning move. Match wall colors, break up foam with art, and keep the foam in one zone instead of covering every surface.
If you share the space with other people, less but placed well almost always wins the argument. You’ll also get a more natural sounding room than you would with wall-to-wall foam.
Home Offices (Video Calls)
Your camera angle matters more than your floor plan. Treat the wall behind your microphone, but think about what the foam looks like behind your head.
Frames and fabric covers do a lot of work here, because they read as decor on a call. Neutral colors also keep your background from looking visually noisy.
Bedrooms
Bedrooms need calm, not visual chaos. Stick to muted colors, keep patterns simple, and don’t over-treat the space.
If you’re unsure whether foam belongs in a bedroom at all, read should you put acoustic foam in a bedroom before you commit. It’ll help you avoid the dead room feeling that makes bedrooms uncomfortable.
Gaming Rooms
Gaming rooms can go bold because the whole room is already aesthetic-forward. If you’re using RGB lighting, pick foam colors that won’t clash under colored light and keep your layout symmetrical enough to look clean on stream.
What DIY Acoustic Foam Decor Projects Actually Work?
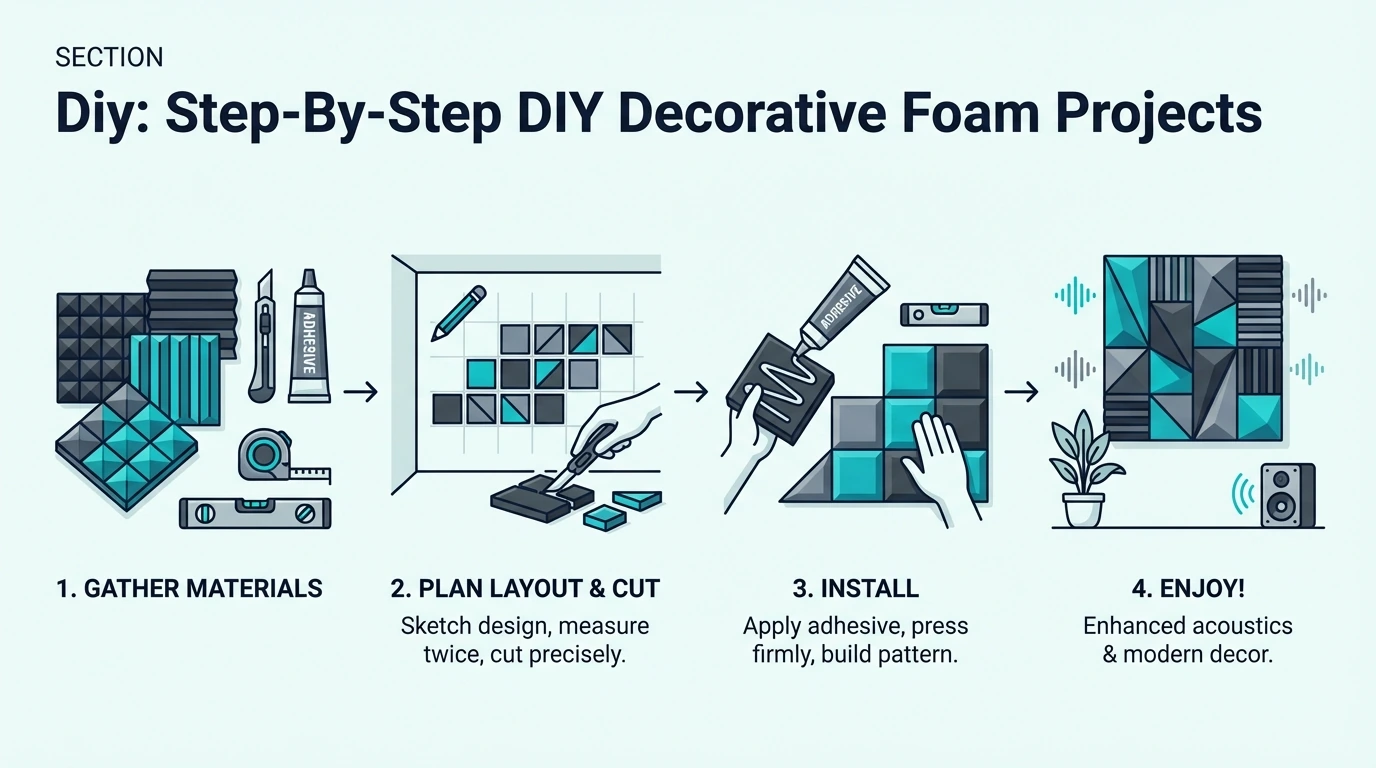
DIY is where foam can start to feel custom instead of store-bought. The trick is clean cuts, clean mounting, and projects you can undo if you change your mind.
Cut Custom Shapes Without Making a Mess
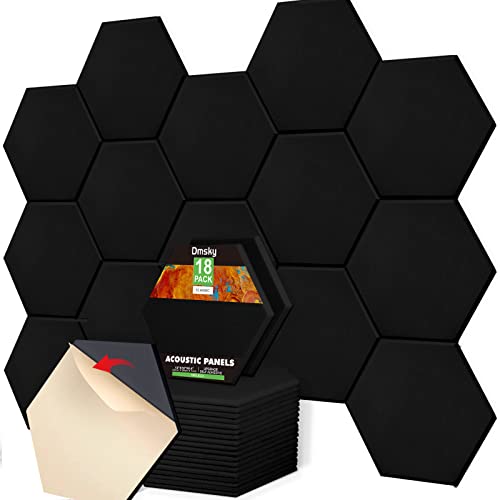
Hexagons, letters, and simple geometric shapes look more modern than big wedge squares. Use a sharp blade and a template, and cut on a sacrificial surface so you don’t crush the foam edges.
If you want a safer cutting workflow, the best way to cut acoustic foam guide covers tools and techniques that keep lines clean. Clean edges matter more than perfect creativity when you’re trying to make foam look designed.
Mount Foam on Panels (So You Can Move It Later)
One of the cleanest looks is mounting foam to a thin board, then hanging the board like a picture. It gives you a crisp perimeter, makes removal easier, and lets you rearrange without ripping foam off the wall.
This approach also lets you use fewer wall adhesives. If you’re still deciding on mounting, best adhesive for acoustic foam is worth reading before you buy random tape and regret it.
Add Lighting Carefully
Lighting can add depth, but foam and heat are a bad combination. Keep lights low-heat, keep them accessible, and don’t hide wiring where it can’t be inspected.
What Mistakes Make Acoustic Foam Look Worse?
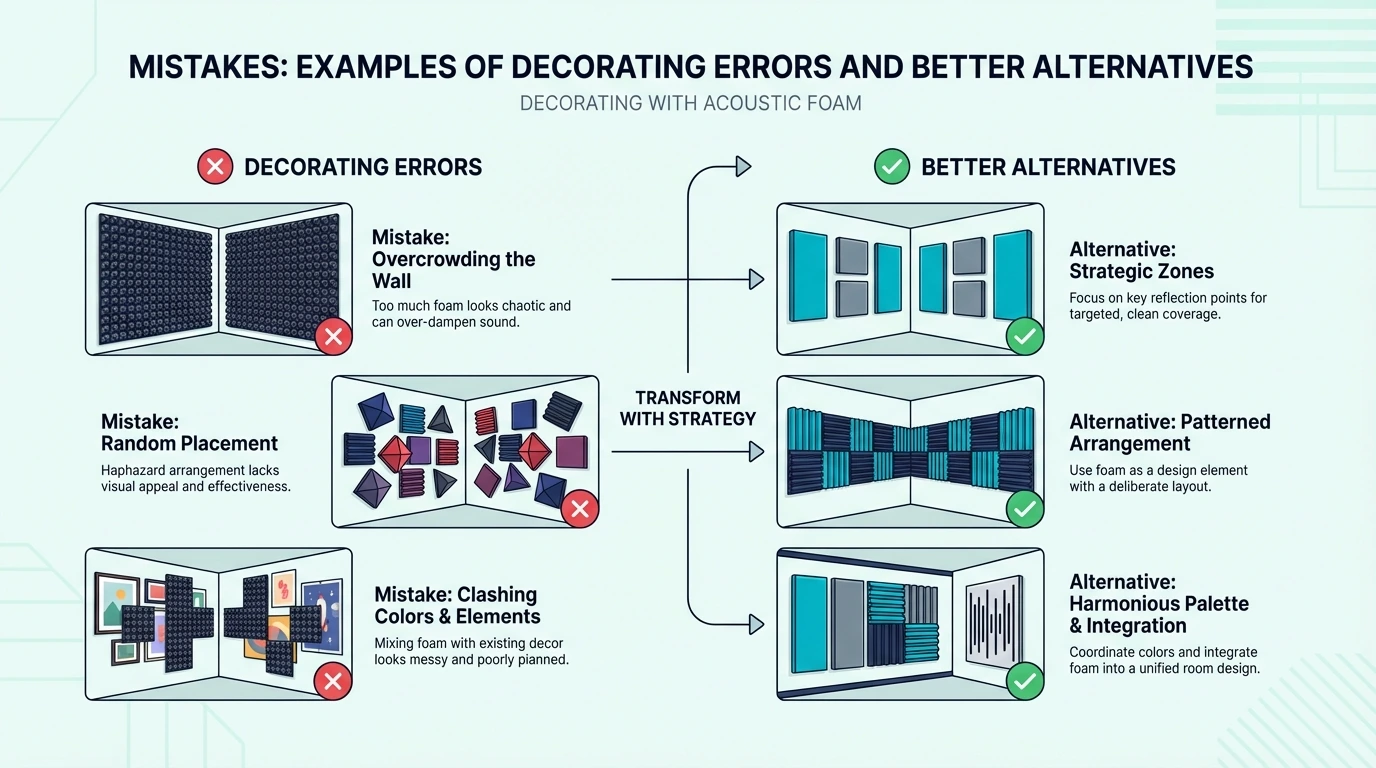
Most ugly foam isn’t a foam problem, it’s an installation problem. These mistakes are common, fixable, and usually cheaper than buying new panels.
Random Placement
Scattering panels around the wall makes the room look cluttered and the treatment look accidental. Pick a pattern or a zone, measure it once, and install it cleanly.
If you’re not sure where that zone should be, start with the how to arrange acoustic foam guide. You’ll get better sound and a cleaner layout in the same move.
Over-Coverage
Covering every wall tends to look overwhelming and can make a room feel smaller. It can also make the space sound unnaturally dead for voice and casual listening.
If you’re tempted to just add more, read can you put too much acoustic foam first. It’ll save you money and keep the room from feeling claustrophobic.
Bad Mounting (Peeling Corners, Sagging Panels)
Nothing makes foam look cheaper than corners peeling off and panels drifting out of alignment. Use a mounting method that matches your wall surface, and do a small test before committing to the whole layout.
If you’re mounting on tricky surfaces, how to put acoustic foam on wall and how to apply acoustic foam to brick are the two guides that prevent the fell-off-overnight nightmare. Fixing the mount first also makes your pattern look cleaner.
Conclusion
You can decorate with acoustic foam without turning your room into a cliche studio wall. The difference is intentionality: color, layout, and clean edges.
Start by choosing whether the foam should blend in or be a deliberate accent. Then commit to one pattern, keep spacing consistent, and use frames or fabric when you want a more finished look.
If you want a quick next step, pick one focal wall and redesign that wall first. Once it looks right, copy the same rules to the rest of the room.
Frequently Asked Questions
What color acoustic foam looks best?
If you want foam to disappear, dark neutrals (charcoal, dark gray) are the safest choice. If you want foam to be a feature, pick one accent color and repeat it elsewhere so it looks intentional.
How do I make acoustic foam look less like a studio?
Use one clean zone instead of covering every wall, and build the layout around art or shelving. If you hate the texture, cover or frame the foam so it reads like decor instead of sound treatment.
Can I paint acoustic foam?
Painting is possible, but it usually reduces absorption because paint clogs the open-cell structure. If you want color, buying foam in the right shade or covering it with breathable fabric is the better path.
Should I cover all my walls with acoustic foam?
No, and not just because it looks overwhelming. Full coverage often sounds unnaturally dead for voice, and it rarely improves recordings as much as treating the right reflection points.
How do I arrange foam so it still works acoustically?
Start with reflection points and the wall behind your mic/monitors, then keep your decorative pattern inside those zones. If you need a placement map, use the how to arrange acoustic foam guide and then apply the color/layout rules from this article.

