
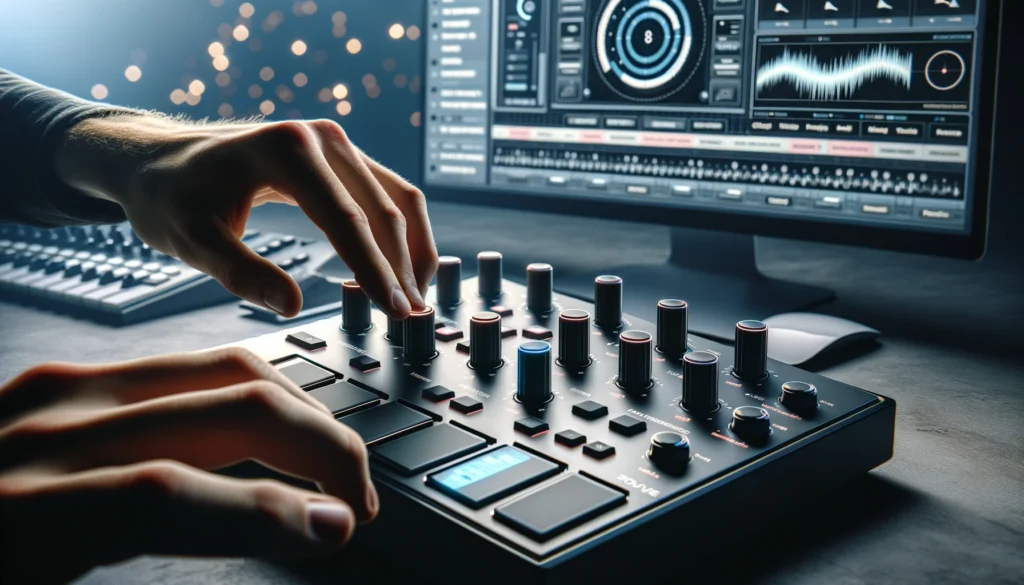
Connecting a hardware MIDI controller unlocks a hands-on, musical workflow when producing digital music.
The right MIDI keyboard, pad controller, or production surface enables playing software instruments, capturing expressive performances, and controlling your digital audio workstation (DAW) with optimized precision.
Let’s dive in to explore how to integrate these tactile tools for next-level music production by covering essential connectivity, mapping controls, capturing MIDI performances, control surface techniques, and additional functionality worth utilizing.
What is a MIDI Controller?
A MIDI controller is a device that allows you to send MIDI data to control software instruments and hardware synthesizers.
MIDI stands for Musical Instrument Digital Interface.
It is a technical standard that allows digital musical instruments, computers, and other equipment to connect and communicate with each other.
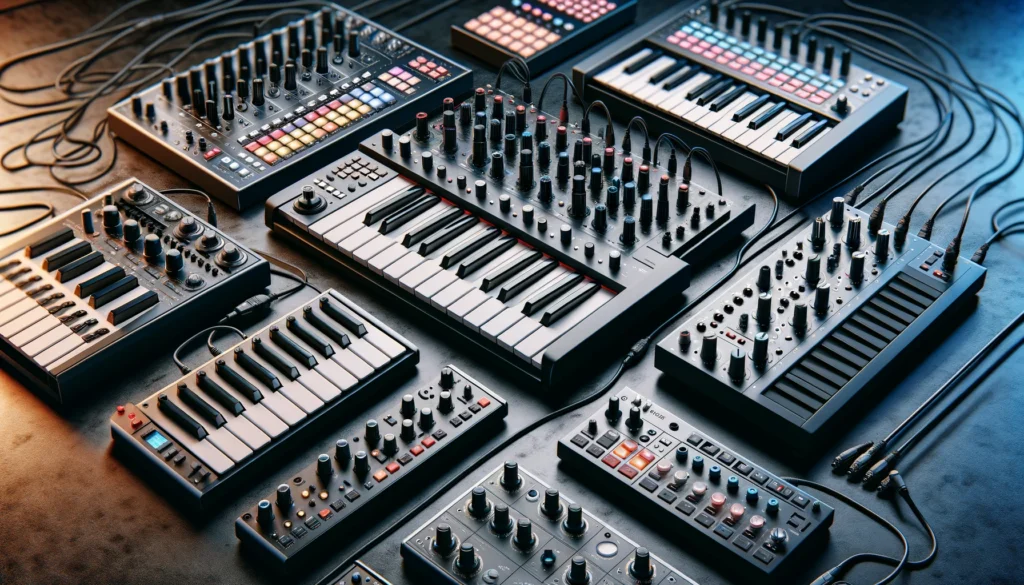
Controllers come in various forms such as keyboard controllers, drum pads, faders, knobs, and buttons.
They act as the interfacing hardware that triggers sounds or adjust parameters based on the MIDI messages being transmitted.
Common examples of MIDI controllers include MIDI keyboards, pad controllers, and control surfaces.
How To Connect Your Midi Controller?
There are a few different ways you can connect a MIDI controller to your computer. The most common options are via USB or a MIDI cable.
USB
Many modern MIDI controllers connect via USB. This provides power to the controller and handles the MIDI data transmission.
Connecting a USB MIDI controller is as simple as plugging it into your computer using a standard USB cable, similar to plugging in a USB flash drive.
When you first connect your USB MIDI controller, you may need to install driver software so your computer recognizes the device properly.
Check the manufacturer’s website for details on getting the required drivers and software for your specific controller.
MIDI Cables
Some MIDI devices connect using standard 5-pin MIDI cables.
One cable transmits MIDI data and the other receives it.
For example, you would connect a MIDI out cable from your controller to the MIDI in on your audio interface.
To use a MIDI controller with a MIDI cable, you need an audio interface or MIDI interface that has MIDI input and output connections.
Most controllers don’t transmit MIDI data without also first receiving it from the host device.
If your audio interface does not supply power over MIDI, you may also need a power adapter for your controller.
How To Map Midi Controllers

Once your MIDI controller is connected, you can assign its various buttons, knobs, faders, pads, and keys to control parameters in your music software.
The process of assigning a function to a physical control on your hardware controller is called mapping.
MIDI Mapping
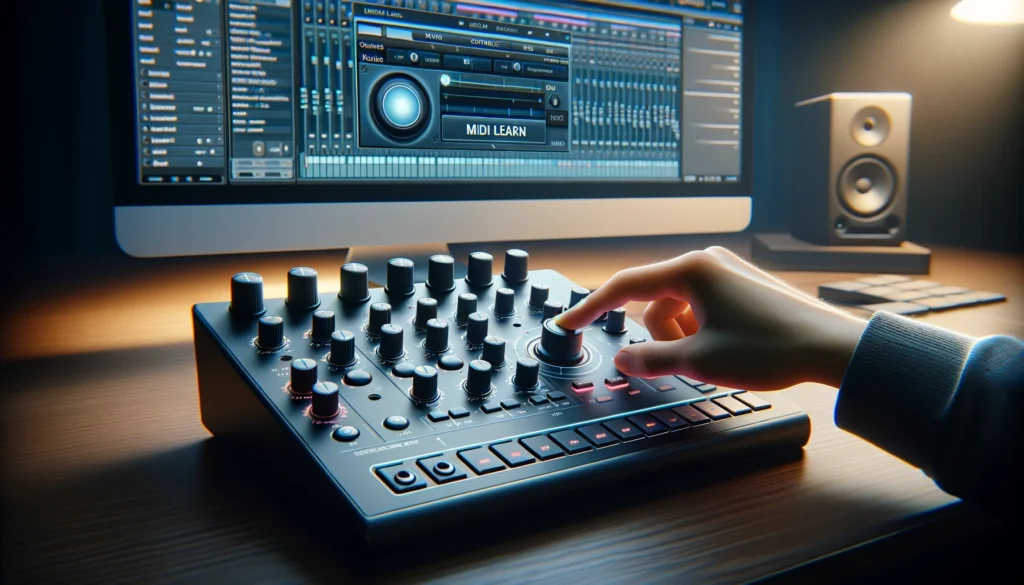
In most digital audio workstation (DAW) software and virtual instrument plugins, you can MIDI map controller functions quickly and easily using MIDI learn.
MIDI learn essentially means the software can detect and automatically map controls from your MIDI controller to parameters in the software.
To MIDI map a control:
1. Open the DAW or plugin you want to map functions in.
2. Select the parameter or function you want to control, such as the volume of a synth track.
3. Activate or enable MIDI learn mode in your software.
This allows the program to “listen” for MIDI signals coming from hardware controls.
The specifics vary by DAW and plugin, but generally there is a MIDI learn button or option you need to select.
4. Move the knob, fader or other control physical hardware control.
The software will instantly map that element to the selected parameter.
That’s it! By repeating this easy process, you can quickly map arrangements of knobs, faders and so on to instruments and effects in your sessions and songs.
Pre-Built Templates
Many MIDI controllers come with pre-loaded control templates for popular DAW platforms like Ableton Live and Logic Pro.
These templates automatically map the most commonly used software parameters to the controller hardware.
This saves you time and makes it easy to control functions like transport, track volumes, EQs, instrument articulations, and more.
You can also find custom templates online for various MIDI controllers.
Or if you want more flexibility, create your own mappings from scratch using the MIDI learn technique outlined above.
Building tailored templates optimized for your workflow allows for very efficient hands-on control.
Playing and Recording With Midi Controllers
One of the big advantages of using a MIDI controller is being able to actually play instruments and record musical performances in real-time, just as you would play a traditional instrument like a piano or guitar.
Performing with Software Instruments
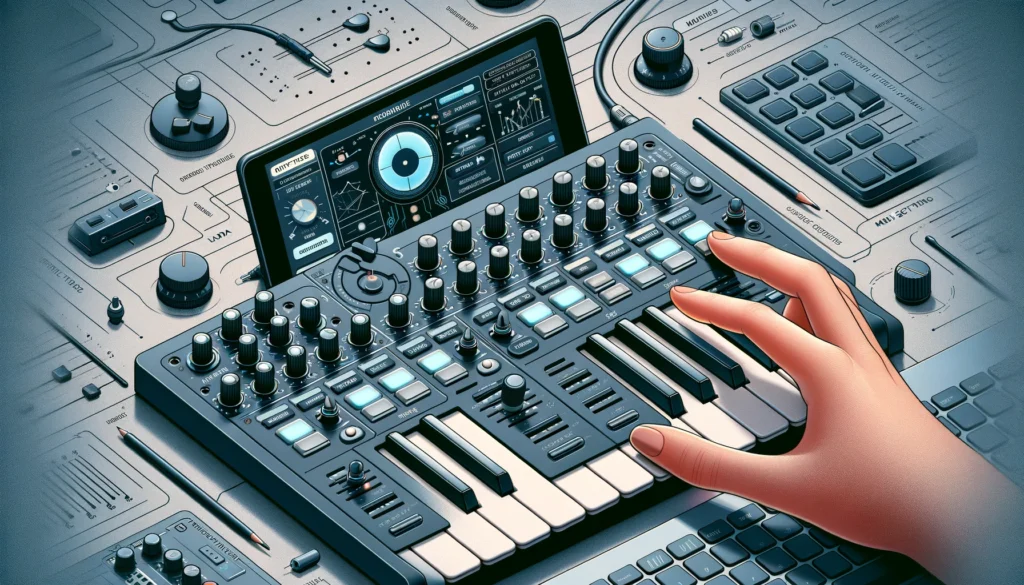
Once you have a MIDI controller set up and mapped to parameters, playing and recording music is very straightforward.
For example, with a MIDI keyboard connected, the keyboard acts similarly to a piano – when you press a key it will trigger and play the corresponding note of the software instrument track armed for recording.
You can then perform and capture MIDI note data from the controller as you would with a virtual instrument plugin like a synth or sampler.
This helps bring an organic, musical feel compared to drawing in MIDI notes with your mouse.
Most controllers also have additional controls like velocity or pressure sensitive keys, pitch/mod wheels, and expressive components to allow for more realistic performances.
Recording MIDI Parts and Data
When it comes to recording, using a MIDI controller allows you to easily capture expressive performances as MIDI data.
This includes the specific notes played, velocities, controller moves like knob tweaks or slider adjustments, modulation changes, and more.
To record a part, you simply arm an instrument track for recording in your DAW, start playback, then begin performing on the controller.
The MIDI performances and automation moves will be recorded live to the track.
This data can then be edited and tweaked after recording, unlike recording audio.
It also keeps projects flexible since you can change synth patches after tracking yet retain the MIDI controller parts.
Compared to quantized step entry or drawing in notes with a mouse, actually performing parts allows for much more realistic and natural MIDI recordings.
This brings the old school virtuosity and feel of working with real instruments into modern productions.
Additional Controller Setup Tips
There are various settings and options worth configuring and customizing on your controller to optimize functionality and workflow integration.
Here are some key MIDI controller setup tips:
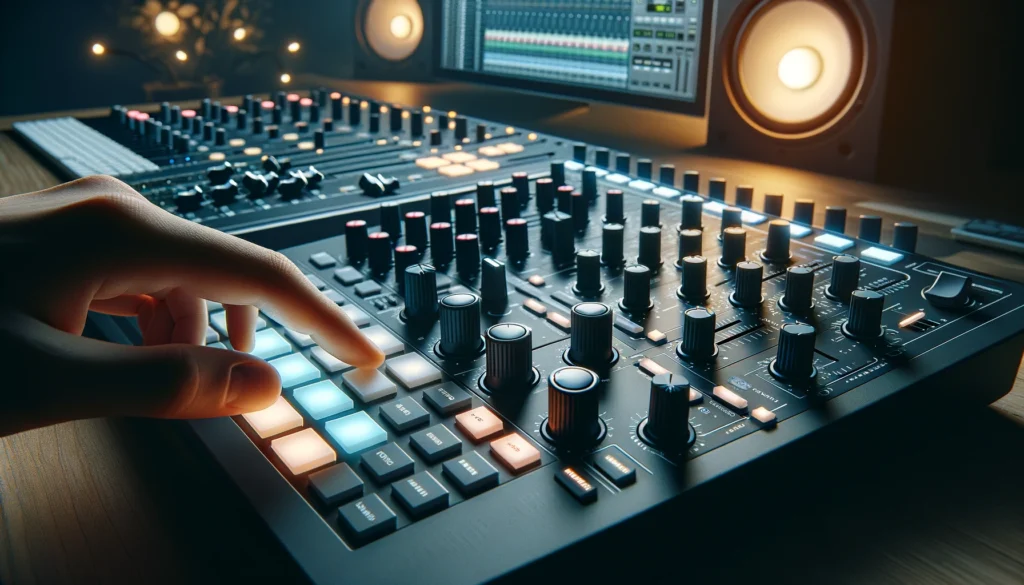
Calibrating Faders and Knobs
Most MIDI keyboards and control surfaces feature continuous encoders and faders for sending MIDI CC messages to adjust parameters.
To ensure accuracy and clutch response, it’s important to calibrate these controls in the device itself or software editor.
Calibration properly sets the minimum, maximum, and middle points for the full throw range of faders and rotation range of knobs.
This dial this in correctly, reference your MIDI controller’s user guide.
Customizing Pad Velocity Sensitivities
Electronic drum pads and velocity-sensitive trigger pads are common features on many modern MIDI controllers.
These pads can be customized match your playing style and needs.
For example, you may want the pads tuned to be more or less sensitive depending on how hard you tend to hit.
Configuring velocity curves and behaviors can be done globally per pad bank or individually per pad.
Refer to your hardware device or editor software for adjusting pad sensitivities.
Dialing in Response Curves
MIDI controllers process and translate physical movements and actions into digital data.
The response curve determines how this translation occurs.
For example, a linear response means the control value scales evenly across the equipment’s physical range of motion.
A logarithmic curve reacts more sensitive towards the low end of rotations for finer control.
Configuring how controls responses can assist with better precision and getting the most out of hardware when producing.
Tweak pitch bends, aftertouch curves, and other behaviors to suit your needs.
Optimizing Keyboard Range
Master keyboards with 88 weighted keys provide great realism for piano playing but may be overkill for broader production purposes depending on your style.
Controller keyboards offering slimmed down ranges like 25, 49, or 61 keys help optimize real estate and portability.
Consider what’s ideal your workflow.
For maximum versatility, some controller keyboards can change the active key range or split zones.
For example, you could set a dedicated bass zone and higher register leads zone across a 49 key controller.
This allows focusing on different instrumental ranges as needed per project without switching hardware.
What Are The Additional Features Of Midi Controllers?
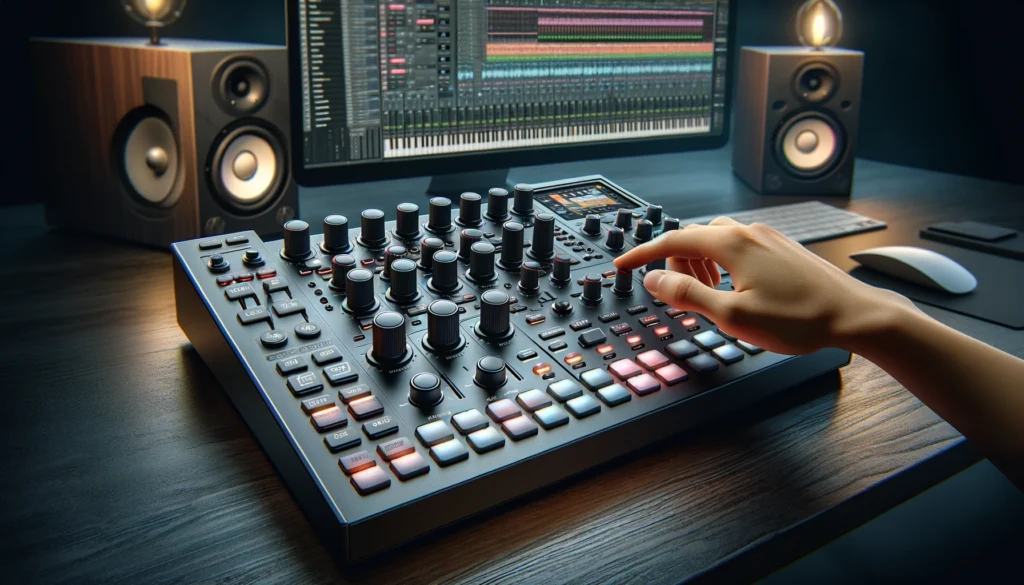
Advanced MIDI keyboards and production controllers offer additional features beyond just playing notes and tweaking software instrument parameters.
Here are some other capabilities worth considering when selecting controller gear:
Dedicated Transport and Track Controls
Well-designed control surfaces feature dedicated transport buttons (play, record, etc.) and mixer-like channel strips for functions like track volumes, solos/mutes, record arming, pans and more.
This allows hands-on control of your overall session workflow.
Encoders vs. Endless Knobs
Encoders, or endless knobs, allow spinning continually in either direction for ongoing value changes.
This facilitates fine tuning parameters through unlimited spinning compared to normal knobs with fixed endpoints.
Touch Strips and Expression Inputs
Touch strips, expression pedal options, and aftertouch enable modulation control by applying physical pressure and gestures.
These components afford more expressive performances when playing virtual instruments.
Advanced Custom Scripting
Some advanced controllers allow power users and manufacturers to create custom control scripts.
These finely tune functionality beyond generic MIDI mapping for better DAW and plugin integration.
However, this requires MIDI scripting skills.
Exploring the various options above allows constructing a tailored MIDI controller setup perfect for your music production needs.
As a quick recap, the key steps covered in this guide include:
– Connecting your MIDI controller via USB or MIDI cables
– Mapping controls using MIDI learn for assigning parameters
– Recording performances and MIDI automation
– Customizing pads, knobs, and other hardware integration
– Utilizing additional controller features as needed
Have fun producing with your new MIDI controller! Let me know if you have any other questions.
Conclusion
In summary, MIDI controllers open up exciting possibilities for hands-on music production and performance.
By following the steps covered regarding setup, mapping controls, recording MIDI, optimizing responsiveness, and utilizing advanced features, you can effectively integrate these devices into your creative workflow.
MIDI controllers bring back the human element with their real-time playing and tactile control over software.