
Struggling with quiet, flat, and unintelligible TV speaker sound?
Connecting a Sony soundbar is the perfect audio upgrade bringing immersive theater-quality surround sound home.
Let’s examine exactly how to hook up a Sony soundbar properly to your TV and external devices in just a few steps.
How To Hook Up A Sony Soundbar
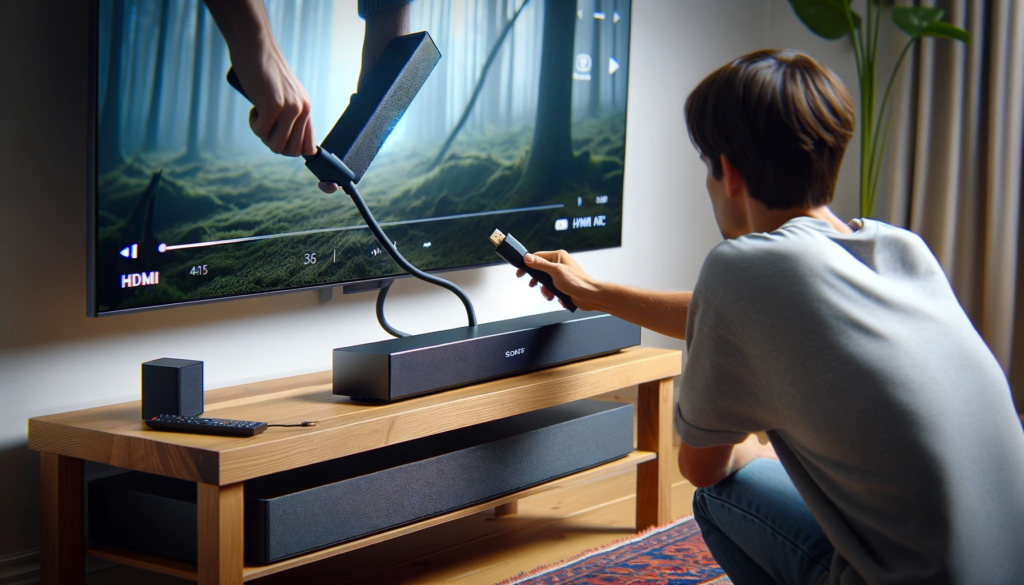
Hooking up a Sony soundbar is quick and easy by following a few key steps. First, determine which ports your TV has available to connect the soundbar, such as HDMI ARC or optical audio.
Select the right cables to send both video and audio signals. Connect the chosen cables to the matching ports on both the TV and soundbar.
Make sure the TV audio output setting is changed to output sound to the soundbar. Finally, place the soundbar centered below the TV, either on a stand or wall mounted at ear level.
Connecting and optimally positioning delivers exceptional audio quality that fully realizes the performance potential.
We’ll explore proper cables, connections points, audio configurations and ideal placement in depth next.
Choose The Right Cables
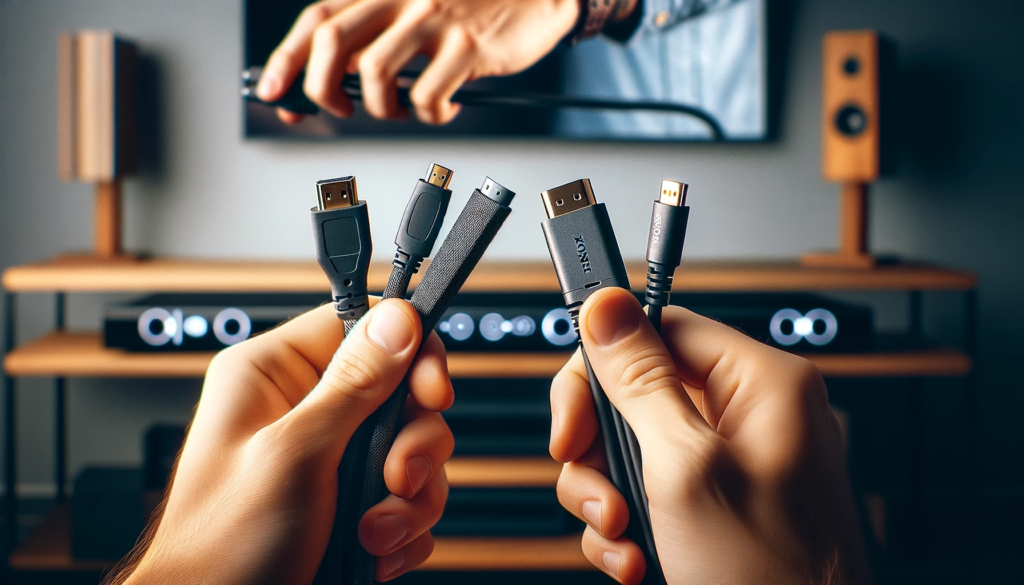
Connecting a soundbar to your TV requires using the right cables that support both video and audio signal transfer.
The most common options are HDMI, optical, analog, and Bluetooth wireless.
HDMI is the best choice if your devices support it because it can transmit both digital video and audio over a single cable.
Make sure to use a certified high-speed HDMI cable for 4K HDR video if applicable.
Optical/Toslink and analog cables can also carry digital and analog audio respectively.
First determine what ports your TV and soundbar have.
Newer TV models usually have at least one HDMI ARC port which supports sending audio directly to a soundbar without an additional cable.
If your TV doesn’t have HDMI ARC, using an optical or analog audio cable along with an HDMI video cable is the next best option.
The ports located on the rear panels of both devices are usually clearly labelled with which type they are.
Refer to the TV and soundbar manuals to identify them if unclear.
Figure out the maximum supported video and audio formats based on the cables, ports, and specifications of your devices.
For example, HDMI 2.0 ports can handle 4K 60fps video signals with HDR while earlier versions max out at 1080p.
Connecting separate analog audio cables limits you to stereo sound instead of surround formats like Dolby Digital or DTS.
Choosing cables that meet your current and future needs ensures full compatibility.
Connect To TV
Connecting cables between your Sony soundbar and TV is a straightforward process once you know which ports to use on both.
We’ll cover how to establish both video and audio connections depending on your setup.
Properly inserting the cables all the way in prevents signal issues.
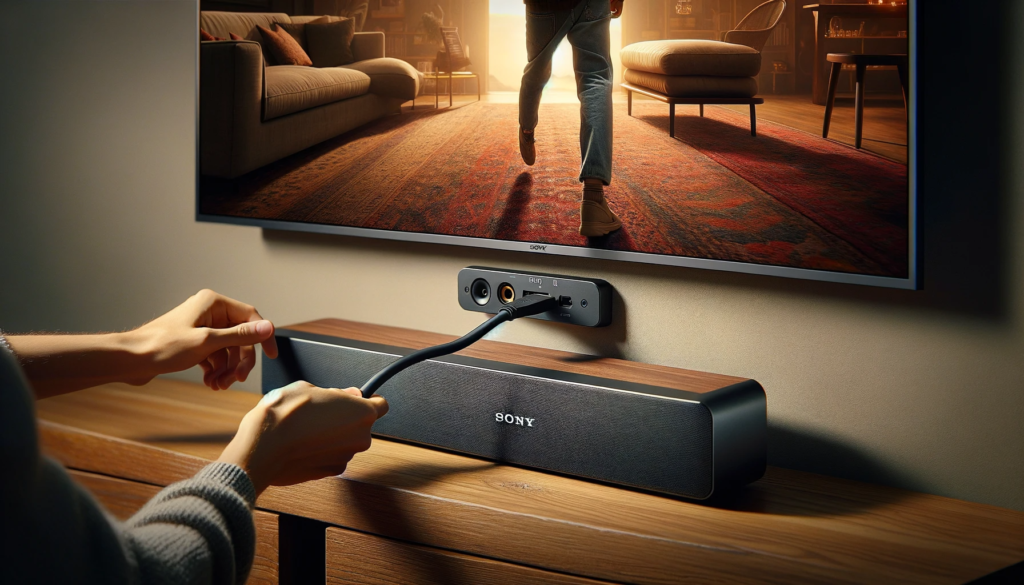
If your TV has an HDMI ARC port, use a certified HDMI cable to connect directly to the matching HDMI ARC port on the soundbar.
This supports digital transfer of both video from the TV to soundbar and audio in both directions all over one cable.
This single connection method keeps wiring neat and simple.
The HDMI ARC port locations vary among TV brands but are always clearly labeled and often located on the side or bottom panels.
On non-ARC setups, use a certified HDMI cable to connect from one of the regular HDMI output ports on your TV to the HDMI input port on the soundbar for video signal.
Use either an optical/Toslink digital audio cable or a 3.5mm stereo analog audio cable to send audio from your TV to the matching digital optical input or analog audio input on the soundbar.
The optical port has a rectangular shape with a cover flap while the analog port is a standard circular 3.5mm jack.
Refer to your TV and soundbar manuals to check the manufacturer specifications for the total number and types of video/audio ports.
Choose unused matching ports on both devices for connecting the cables.
If needed, swap which devices are connected to which ports to enable the proper corresponding connections.
Connect External Devices
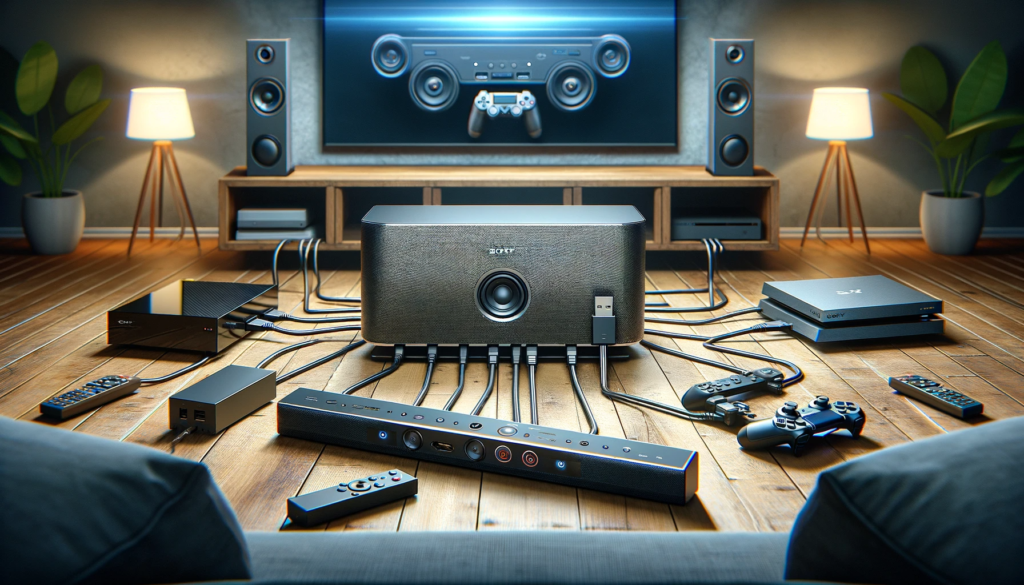
You can enhance your home theater by connecting external devices like Blu-ray players, streaming sticks, cable boxes, and gaming consoles to your Sony soundbar.
This allows a single audio output while keeping all video sources connected to your TV.
First decide whether to connect your secondary device directly to the soundbar or TV. If the device has HDMI ports, routing it through the soundbar first allows both audio and video to transfer via one HDMI cable to the TV from the soundbar’s HDMI ARC connection.
Connect a Blu-ray player or game console this way.
For video streaming sticks without HDMI output, connect directly to the TV instead for video and use an optical cable for sending audio to the soundbar.
Use the same matching port types and cables for connecting external devices.
Connect an HDMI output from the streaming stick or console directly to an available HDMI input port on the soundbar.
Then route HDMI from the output port on the soundbar to an available HDMI input on the TV, preferably the ARC port.
To isolate audio, connect a separate optical or analog stereo cable from the audio output port on the external device to the matching digital optical or analog audio input on the soundbar instead.
The process for connecting additional devices to your Sony soundbar mirrors the previous TV connection steps but in reverse order through the soundbar.
Be sure your port selections and cables result in correct video displayed on the TV and audio playing from the soundbar after everything is powered on.
Consult your owner’s manuals if issues occur.
Configure Sound Settings
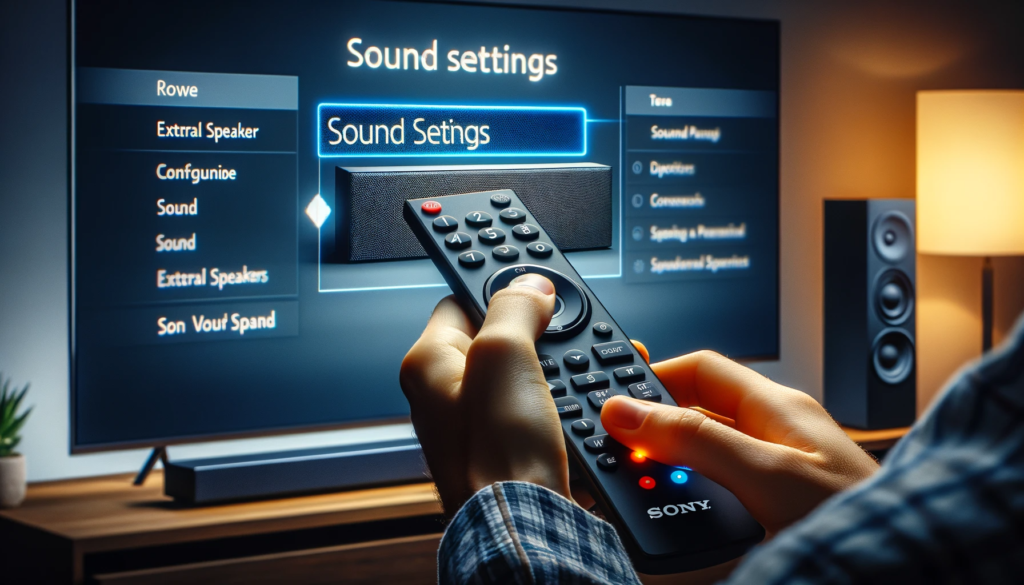
After connecting all of your playback sources to your Sony soundbar and TV, some additional configuration within your TV settings menu is required for proper audio output.
Most steps are quick and easy to enable the soundbar speakers to become the default audio output of your TV.
Navigate to the Sound menu on your TV, accessible by pressing the Menu button on your TV remote.
Within this menu, look for options regarding “Audio out” or “External speakers”.
By default, TV speakers are active so changing this setting is essential.
Select your connected soundbar, such as “HDMI Sound System” or “Optical Sound System”, from the list.
Now your TV outputs all sound through your soundbar by default instead of the built-in speakers.
Additionally, ensure your TV input that has your soundbar connected, often named “HDMI 1” or similar, has advanced audio options like HDMI-ARC, Optical/SPDIF, or Dolby formats enabled.
Menu navigation and naming varies by TV brand but audio codecs are normally found under “Inputs” then selecting the relevant HDMI or Optical input.
Turn these digital audio capabilities “On” if prompted.
While playing video and audio from your TV or connected device, access any sound adjustment options on the soundbar remote itself as well.
Enable surround sound profiles and adjust the equalizer to best suit your video content and audio taste.
Turn up rear speaker channels if applicable.
Additionally tweak built-in audio enhancement options like “ClearAudio+” and “DTS Virtual”.
Connect Wirelessly Via Bluetooth
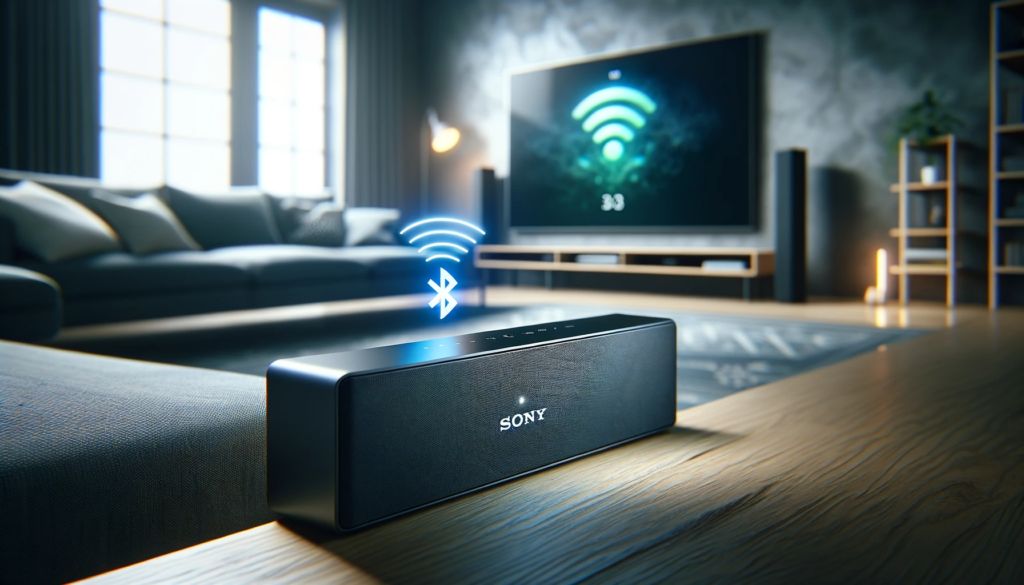
Alternatively, Sony soundbars can connect to your TV wirelessly over Bluetooth if you prefer to eliminate cables running to your TV stand.
Both devices need functioning Bluetooth connectivity support for pairing.
This also allows TV audio output freedom the same as using the wired methods already covered.
Put your Sony soundbar into Bluetooth pairing mode by pressing and holding the Bluetooth button on the included remote or right on top of the soundbar.
An indicator usually blinks signifying when the device is discoverable to other Bluetooth products.
Go into your TV settings menu under Connected Devices/Bluetooth and choose Scan or Search for devices.
Your soundbar model name will now show up in the list of available options.
Select it to automatically pair both pieces of equipment.
Once successfully paired, make sure to again change your default TV audio output to Bluetooth mode just like assigning a wired input.
The pairing persists going forward so turning your TV on/off, playing video, or launching apps will output audio wirelessly without further configuration needed.
If pairing issues arise or the connection drops, unpair and forget the device in both the soundbar and TV settings then re-pair.
Also ensure no obstacles block the signal path between the two devices.
Mount Soundbar Properly

A final key step when integrating a Sony soundbar is proper physical placement and mounting under your TV.
While simply placing the soundbar flat on your TV stand suffices, wall mounting provides cleaner aesthetics at an ideal angled position.
The size, design, and video display height all factor into perfect placement.
Measure how a wall mounted soundbar at the desired height clears your TV stand first without blocking IR sensor visibility.
Center placement focused toward your central seating location ensures balanced audio including both left and right stereo channel separation and shared center channel dialogue reproduction.
Angled side or top firing driver models require slightly different orientation so sound reflects off walls effectively.
Most Sony soundbars include wall mount brackets with necessary screws and templates to facilitate the best viewing angle.
Secure bracket screws into wall studs for sturdy long-term mounting.
Adjust bracket tension to change orientation angle if needed.
Surrounding acoustic environment including shelf barriers and ceiling types also impacts audio performance once mounted.
Place level and observe angled or side-firing driver behavior while fine tuning.
With cables neatly routed and the soundbar securely fastened below your TV, you can now fully enjoy a clutter-free, incredible sounding home theater experience.
Optimizing the connection process from devices to TV and proper physical setup delivers audio bliss.
Troubleshoot and recheck connections if lacking bass response, stereo separation, or dialogue clarity after mounting.
Conclusion
Upgrading your TV audio with a Sony soundbar truly enhances both sound quality and simplicity compared to TV speakers.
Following this guide to choose the right cables, make the correct connections to your TV and devices, adjust audio settings, and mount properly delivers impactful, room-filling surround sound for movies, sports, and music.
Troubleshooting uncommon issues is straightforward when you understand the basic hookup process.
Now transform your entertainment experience and hear every detail like never before by hooking up a Sony soundbar.