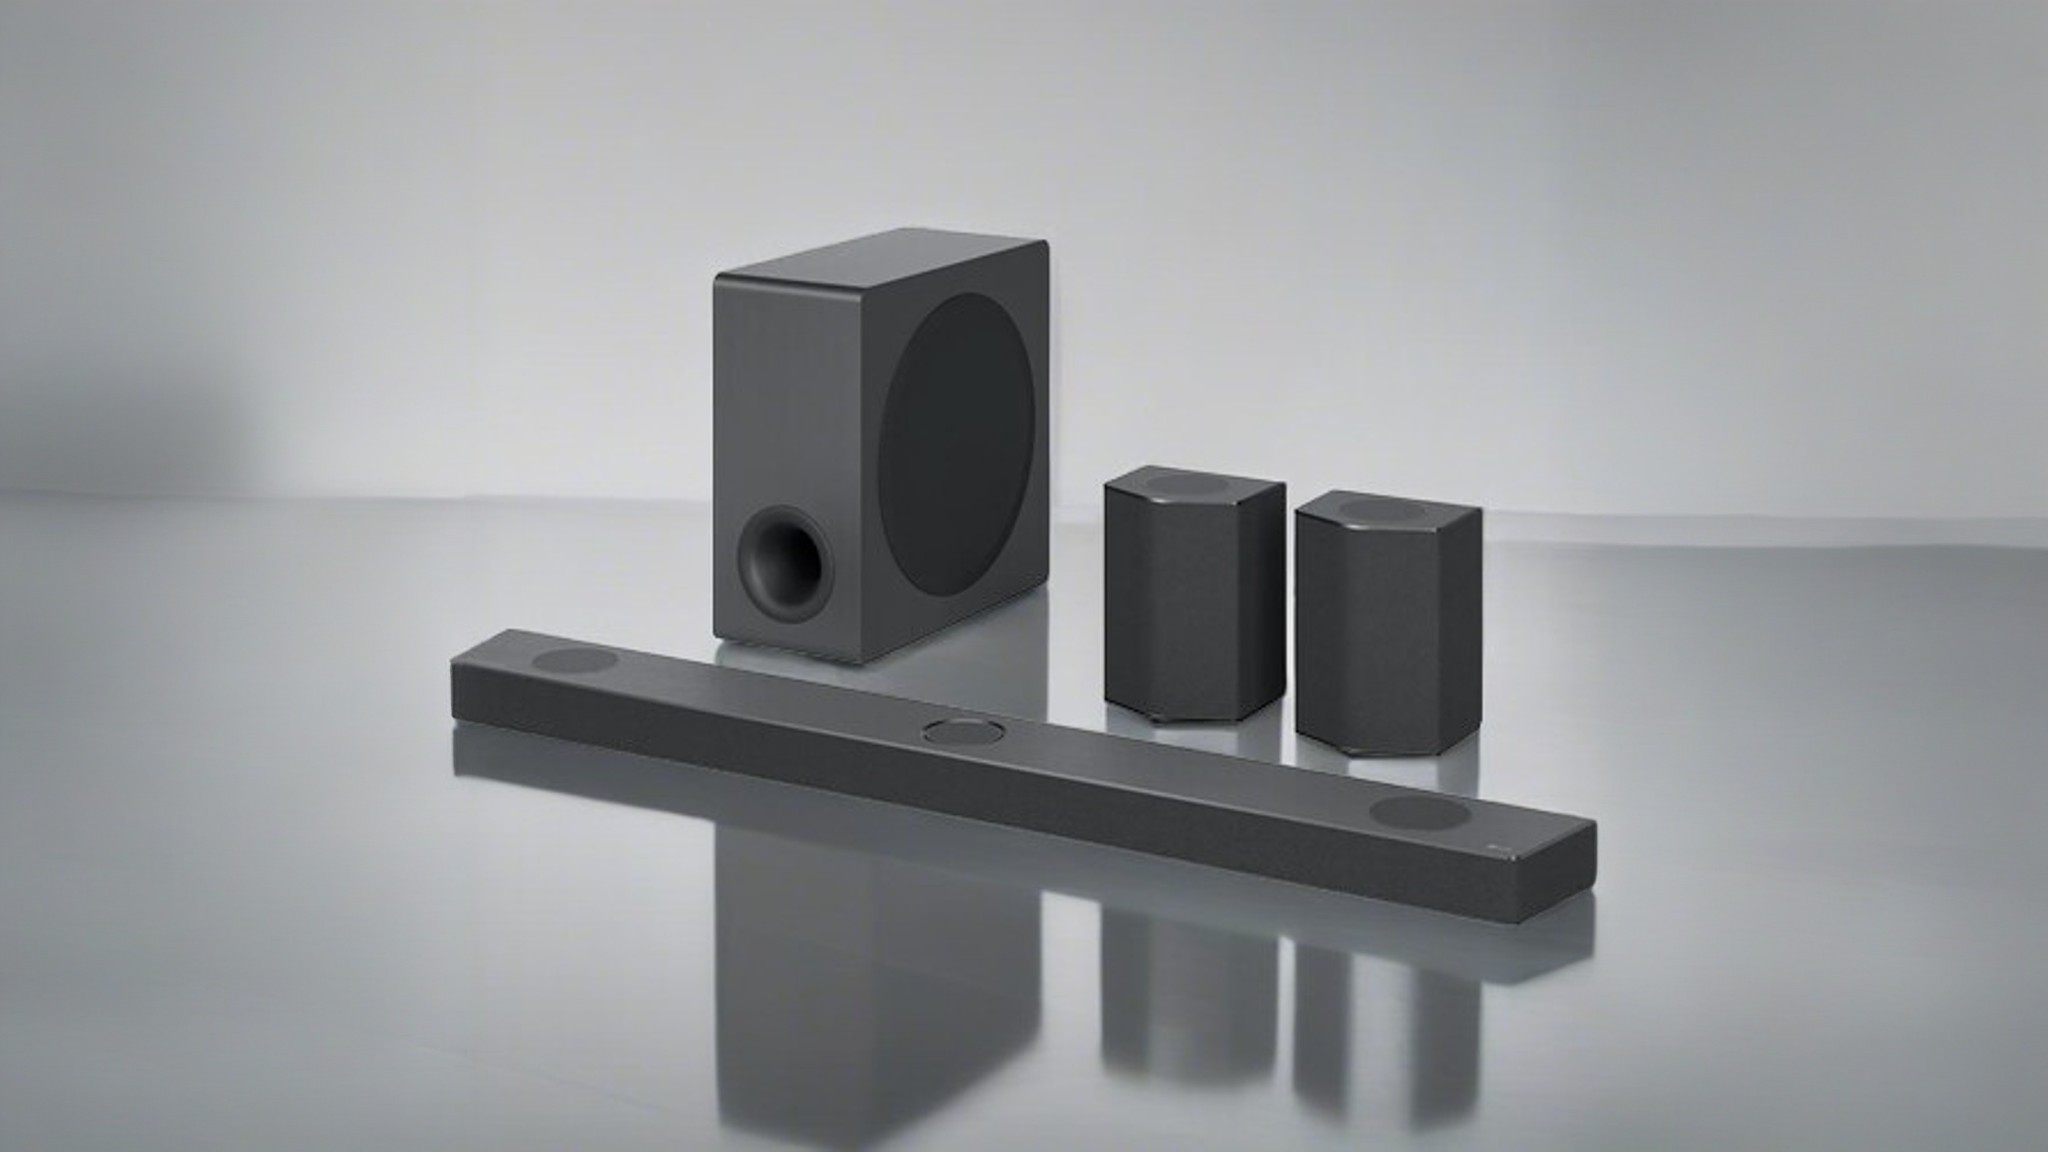
Struggling to hear clear dialogue and robust sound effects from your new Sony TV?
Hooking up an external soundbar can provide louder, richer audio but cables and connections between devices often confuse people initially.
Thankfully, you can easily connect a soundbar to any Sony TV regardless of age or ports available with HDMI, optical, RCA, or wireless Bluetooth options to significantly boost sound performance for all of your entertainment.
Let’s examine exactly how to hook up a soundbar to a Sony TV using the best method for your ports and devices.
How to Hook Up a Soundbar to a Sony TV
Yes, connecting an external soundbar speaker to your Sony TV is straightforward with the right ports and cables.
We’ll explore the step-by-step process for HDMI, optical, RCA, and Bluetooth setup below.
Determine Compatibility Between TV And Soundbar

It is important to first check that your Sony TV and soundbar are compatible with each other before attempting to connect them.
You will need to examine the ports available on both devices Dolby Digital surround soundand ensure that the soundbar is capable of processing the audio formats output by the TV.
Specifically, you should inspect the rear panel of your Sony TV to take note of which audio output ports it contains.
Most modern Sony TVs have an HDMI Audio Return Channel (ARC) port, which is the preferred method of connecting a soundbar.
Some older Sony TV models may only have optical audio out ports or analog RCA ports instead.
Next, you should check the available input ports on your soundbar.
Soundbars typically have at least one HDMI port, sometimes labeled specifically as HDMI ARC or HDMI IN.
Many soundbars also have optical, RCA, Bluetooth, or USB ports to receive audio signals from a TV.
Match up the ports between both devices before deciding how to connect them.
Additionally, confirm that your soundbar can process the audio formats transmitted over the TV’s output connection.
For example, if your Sony TV only has an optical output that sends Dolby Digital surround sound, your soundbar will need an optical input and built-in Dolby Digital decoding capability to play the signal properly.
Without matching audio formats between the TV and soundbar, you may only get stereo sound or no sound at all.
Connect With HDMI Cable (Preferred Method)

The best way to connect a soundbar to a Sony TV is with an HDMI cable between the soundbar’s HDMI IN or HDMI ARC port and the TV’s HDMI ARC port specifically.
This single HDMI connection carries both digital video and multi-channel lossless audio between the devices.
To begin, turn off both your Sony TV and the soundbar so there is no power running through the HDMI ports.
Obtain a high-speed HDMI cable to connect the two devices and plug one end into the HDMI input or HDMI ARC port on your soundbar.
These ports may simply be labeled as HDMI or with the ARC acronym.
Then connect the other end of the cable to the HDMI ARC port on your Sony TV.
Refer to your TV and soundbar manuals if you are unsure of the locations of these ports.
With the HDMI cable securely connecting both ends, turn on your TV first followed by the soundbar.
Most Sony TVs should automatically change the audio output setting for media playback to the external HDMI device.
You may need to enable HDMI-CEC functionality which allows linked devices to be controlled together by the TV’s remote.
Check the sound menu settings on your Sony TV to confirm if audio output was changed to external speakers automatically after connecting the soundbar over HDMI ARC.
The benefit of using the ARC-specific HDMI ports is that the TV can turn on the soundbar automatically and control volume directly.
Connect Optical/Toslink Cable
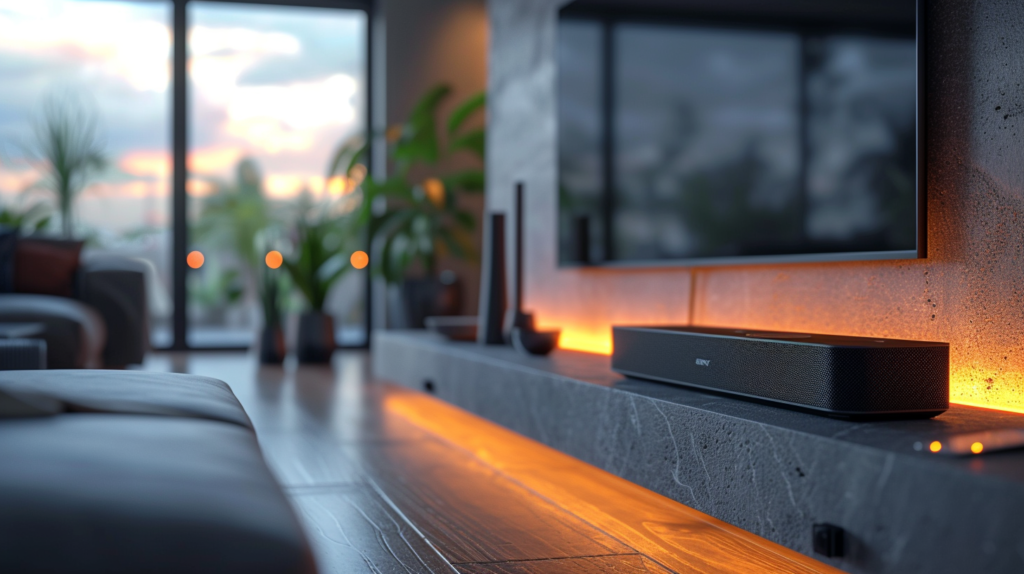
If your Sony TV lacks an HDMI ARC port, you can still connect a soundbar with an optical or TOSLINK digital audio cable.
Optical cables transmit stereo or multichannel surround sound between devices.
However, an optical connection does not offer video passthrough or automatic device control like with HDMI ARC.
To hook up a soundbar to your Sony TV over optical, first ensure both devices have optical ports available—these may be labeled as OPTICAL, OPTICAL OUT, SPDIF or simply with the TOSLINK symbol.
Power off both devices before connecting anything Similar to HDMI, optical is a digital signal that can suffer degradation or loss with bent cables or improper connections.
Obtain a TOSLINK optical audio cable, identify the optical output port on your Sony TV, and connect one end of the cable securely into the port until it clicks.
Then locate the optical input on your soundbar, which may be shared on some soundbars with the device’s HDMI inputs, and connect the other end of the optical cable.
Double check that both connections are fully inserted before proceeding.
Turn on your TV first, followed by the soundbar.
Navigate to your Sony TV’s audio settings menu using the remote.
Under external speakers, audio outputs, or a similar menu, select the optical port as your TV’s current audio output For the soundbar, switch any input selector to optical as well if available.
You should now hear TV audio play from the soundbar over the optical connection instead of the built-in TV speakers.
Connect With RCA/Analog Cables
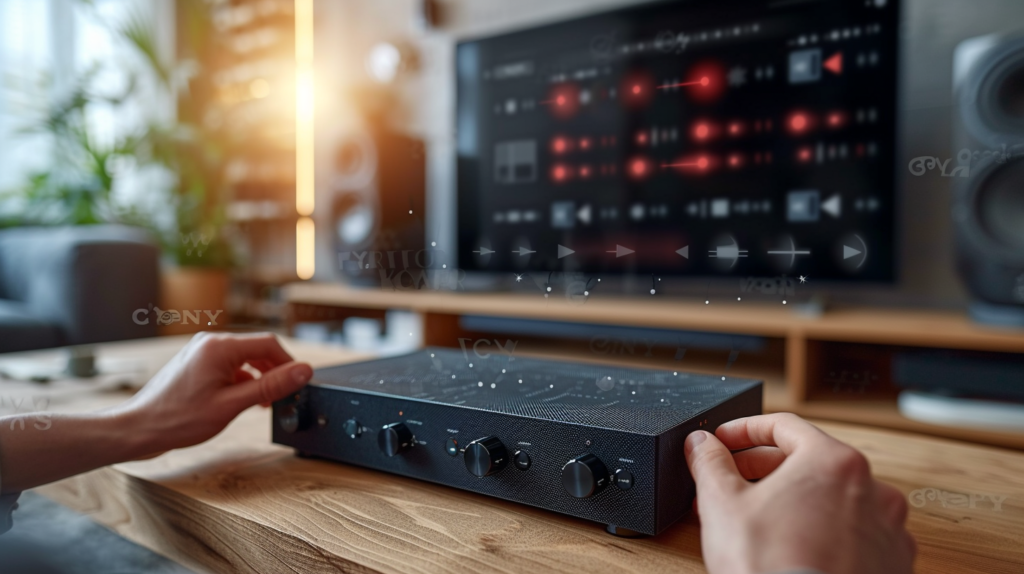
If your Sony TV and soundbar lack HDMI ARC or optical audio ports, you can still transmit basic analog stereo sound between the devices with a pair of RCA audio cables—one red and white.
This is the most basic method of TV to soundbar connection, although RCA will only carry left and right stereo signals and no advanced multi-channel surround formats.
To hook up your soundbar with RCA cables from a Sony TV, first locate the TV’s audio output ports, which are typically colored red for right audio and white for left audio channels.
If you also see yellow composite video output ports, make sure you are working with the red and white ones labeled as audio out.
The soundbar should have a matching set of RCA audio inputs, sometimes labeled as AUDIO IN or RCA.
With both devices powered off, connect the red analog RCA audio cable from your TV’s red audio out port to the red audio in port on your soundbar.
Then repeat the same process for the white RCA cables between the TV and soundbar white ports.
Push the connectors firmly into their ports until they cannot be wiggled free to prevent static or loss of signal.
After double checking correct red-to-red and white-to-white connections on both ends, power on your Sony TV followed by the soundbar.
Navigate to your TV’s audio settings or output menu using the remote and select the option for the TV’s speakers to be turned off with audio sent over the analog RCA outputs instead.
You may also need to select the analog input on your soundbar With an RCA cable connection, audio heard from the soundbar will only be in stereo instead of surround sound.
Connect Wirelessly With Bluetooth
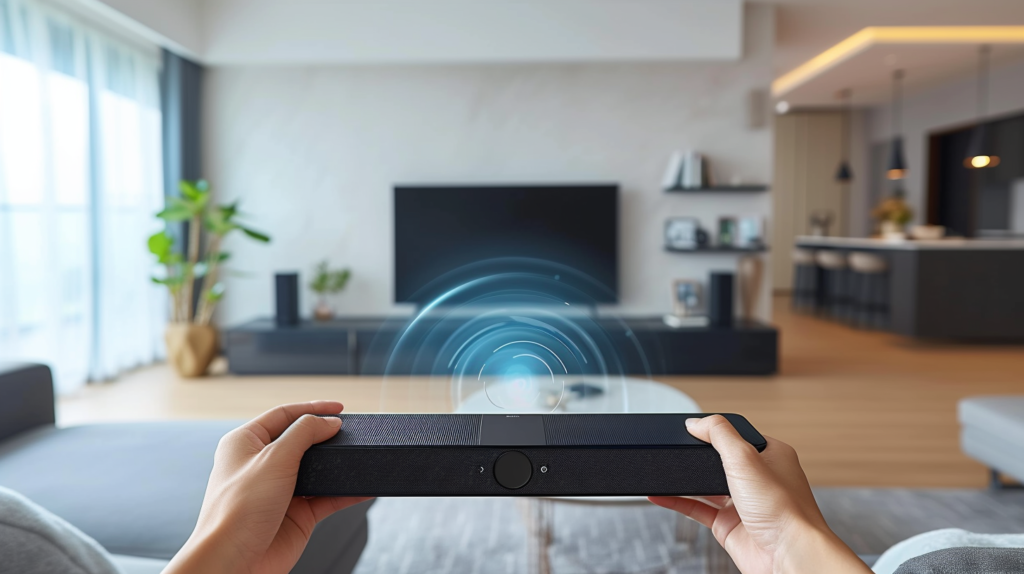
For a clean, wire-free connection between your Sony TV and a soundbar, most soundbars contain integrated Bluetooth that allows the TV to stream audio over Bluetooth instead of physical ports and cables.
Keep in mind Bluetooth streaming can potentially introduce audio lag or compression depending on your setup.
To pair your Sony TV with a soundbar wireless over Bluetooth, navigate to the external speakers or audio outputs settings menu using your TV remote.
Sony smart TVs have built-in Bluetooth, but you may need an external adapter for non-smart TVs.
Under settings, choose to add a new Bluetooth speaker—your soundbar should appear as an available device if powered on and in Bluetooth pairing mode.
Select the soundbar and your TV will automatically pair and remember the wireless Bluetooth connection each time both devices are powered on.
Newer TVs can even grab sound profiles and capabilities from paired Bluetooth speakers like soundbars and automatically adjust audio processing effects to compensate.
No cables or ports are involved as audio transmits directly to the soundbar even from several feet away.
Switch your TV audio output option to the soundbar after pairing completes.
The benefit of using Bluetooth instead of physical cables is clutter elimination and quick setup for temporary needs.
However, sitting a Bluetooth soundbar too far away or experiencing interference from other wireless signals can potentially disrupt your audio.
Always position your soundbar in the same room and pointed at the TV for best Bluetooth results rather than behind furniture or walls to prevent sync issues.
Adjust Audio Settings On TV And Soundbar
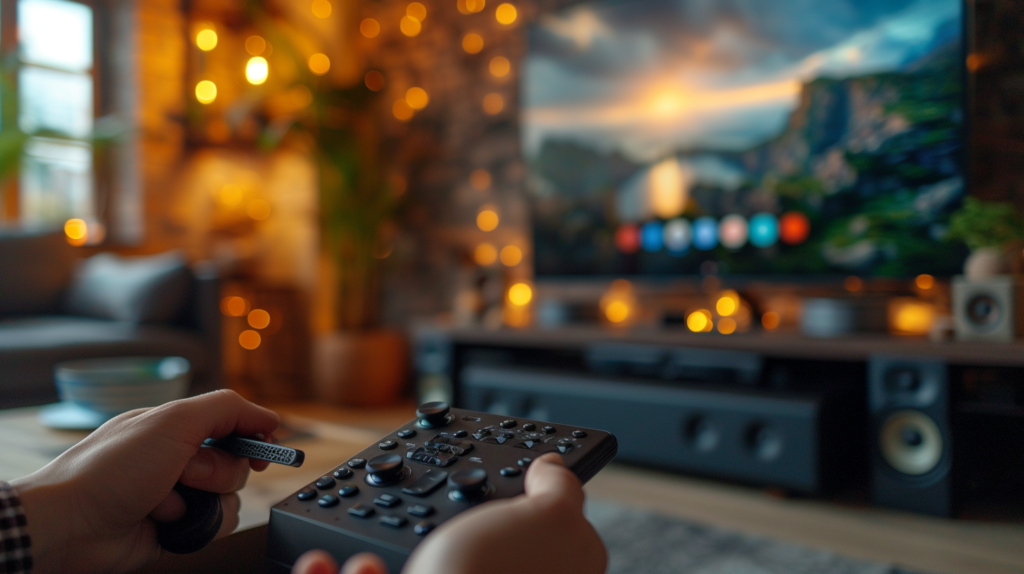
After making the physical connections between your Sony TV and soundbar system, take some time to adjust audio-related settings on both devices to sync up sound properly between them.
Since TVs transmit audio signals out to external speakers differently than their built-in ones, some audio tweaks help everything mesh smoothly.
For your Sony TV, find the audio output settings again and confirm that sound output was automatically changed from the TV speakers to External Speakers or Audio System.
If not, manually change the audio output to use your connected soundbar instead so the TV knows to stop routing sound internally.
The goal is for your TV to output video while relying onaudio delay, lipsync, or AV Sync the capable soundbar to handle only audio portions.
Also check if your TV has additional options for syncing audio to compensate for video-to-sound lag from external speakers.
Features like audio delay, lipsync, or AV Sync help tweak the lineup of audio heard from a soundbar against the video displayed onscreen.
Test with content that combines video and audio like recorded movies or YouTube videos and adjust synchronization offset values as needed until both line up closely during playback without echos.
Switch focus to the soundbar itself next, By default, your soundbar may be set to a generic configuration that simply takes a stereo input signal and amplifies it through multiple speakers.
Manually check for audio modes that upconvert sound to take better advantage of your soundbar’s virtualized surround sound capabilities through sound profiles like Movie, Music, etc tailored EQ modes like Bass Boost can also help balance audio tuned specifically for TV versus cinema listening experiences.
Tweak your soundbar’s built-in volume levels independent of your TV’s main volume control as well.
Use moderately high volume on both devices to prevent noticeable hissing during quiet scenes or blowing out speakers during loud explosions.
Finding the right balance between volumes takes trial and error to fit your room size and preferred loudness levels.
Check your soundbar’s user manual as well for device-specific settings related to input levels, auto volume control, and audio delay tweaks that can improve sync and audio issues.
With some basic troubleshooting and audio fine-tuning on both your Sony TV and the connected soundbar, you can create a robust home theater setup that takes movie and music listening experiences to the next immersive level compared to low-quality built-in TV speakers alone.
Conclusion
In conclusion, connecting a soundbar to your Sony TV can greatly improve your audio experience compared to relying on lackluster built-in TV speakers alone.
With some basic understanding of available ports, cables, and device compatibility, as well as fine-tuning of audio delay sync and surround sound modes, you can setup an immersive home theater setup quickly.
By hooking up a soundbar properly and optimizing accompanying settings on both devices, movies, music, and TV shows can fully come alive and engage your senses during viewing.
