Thinking of installing a generator at your home, but live in close proximity to your neighbors?
The last thing you want is to disrupt the peace in your community with the constant noise of a generator humming away.
In this comprehensive guide, we will show you how to build a soundproof box for your generator.
This project will cover everything from choosing the right materials like Rock Wool Comfort Board and horse stall mats to installing key components like attic vents and blast gates.
The result is not just a quieter generator, but also a more efficient and safer one.
So, if you’re keen on keeping the peace with your neighbors while still enjoying the benefits of a backup power source, let’s dive into the step-by-step process to make that happen.
Getting The Materials Required

Certainly, here is the converted list of items you will require for building a soundproof generator box:
- Garden Shed
- Attic Vent
- Blast Gate
- Dynaflex Sealant
- Galvanized Sheet Metal
- Attic Fan
- Horse Stall Mats
- Rock Wool Comfort Board
- Fiberglass Material Roll
- Muffler Inlet Pipe Sealer
- Temperature Gauge
- Motorcycle Muffler (Optional)
Now, let’s discuss where you can get these items.
Your first stop should be a local hardware store, like Home Depot or Lowe’s, where you can find the garden shed, attic vent, blast gate, Dynaflex sealant, galvanized sheet metal, and attic fan.
These stores often have a wide selection of sizes and types, allowing you to choose items that best fit your specific needs.
For the horse stall mats, you’ll need to head to a farm supply store like Tractor Supply.
These stores specialize in robust, durable goods that are well-suited for heavy-duty projects like this one.
Finally, for specialized items like the Rock Wool Comfort Board, fiberglass material, muffler inlet pipe sealer, and temperature gauge, you may need to look online or visit a store that specializes in building materials and insulation.
If you’re considering adding a motorcycle muffler for extra noise reduction, a specialized auto parts store would be your best bet.
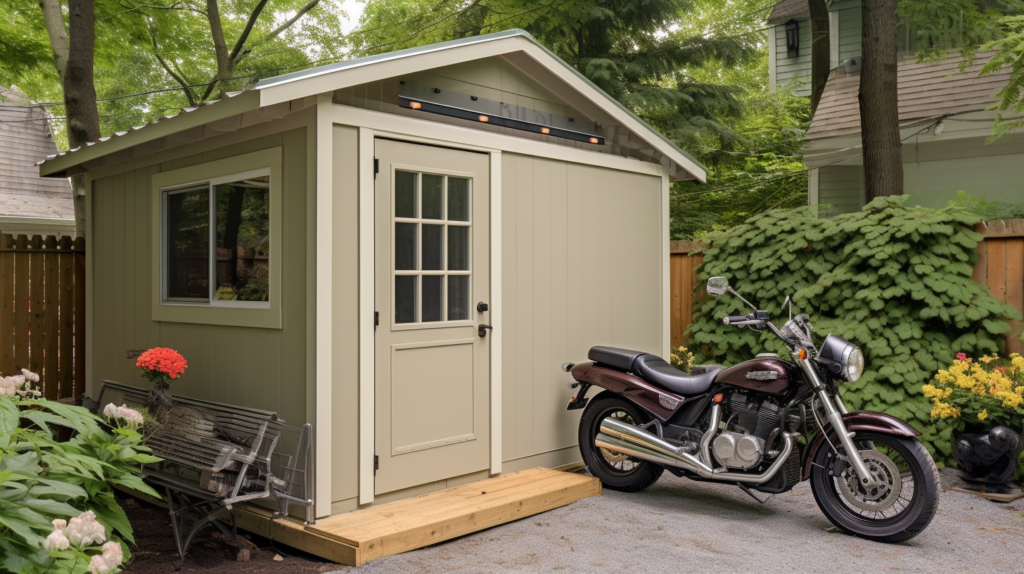
Now that you’ve got all your materials in hand, the first actionable step is to set up the garden shed.
This isn’t just a matter of assembly; it’s also about choosing the right location. The area where you decide to install your shed should meet a few criteria.
First, it should be level to ensure stability. Second, it should be in a well-ventilated area. Good ventilation ensures that even if the internal systems fail, there’s a natural method for heat to dissipate.
Finally, the area should be easily accessible for maintenance and emergencies.
You don’t want to place your generator in a location that’s difficult to reach, as you’ll need to access it for refueling, maintenance, and other tasks.
Once you’ve chosen the ideal location, proceed to assemble the garden shed as per the manufacturer’s instructions. Make sure it’s secure and well-balanced.
The last thing you want is for your generator shed to be wobbly. Once the shed is up, it’s time to introduce the horse stall mats.
These mats serve multiple purposes, the most obvious of which is to provide a stable base for your generator.
Moreover, they offer a degree of soundproofing, absorbing some of the vibrations that generators typically produce.
To ensure the most effective soundproofing, measure the interior dimensions of your shed and cut the mats to fit these measurements as precisely as possible.
Properly cut mats will fit snugly, leaving no gaps for sound to escape or external elements to enter.
Step-by-Step Guide To Build A Soundproof Box For Generator

1. Placing The Garden Shed At Desired Position
Before you begin installing ventilation and access points, the first task is to set up your garden shed in its designated location.
The placement of the shed is an essential part of the project that requires careful thought and consideration.
Before deciding on the location, consider factors like ease of access, distance from your home, and any local regulations concerning outdoor structures.
Once you’ve selected the perfect spot, the next step is to prepare the ground. It should be level and free of any debris to ensure stability.
After preparing the ground, proceed with setting up the garden shed according to the manufacturer’s instructions. If your shed requires a foundation, make sure to lay that down first.
This is an integral step as a sturdy foundation will ensure the longevity and safety of your generator box.
Once the shed is up, it’s a good idea to check for any issues like wobbly panels or misaligned doors and fix them immediately.
This ensures that you’re starting your soundproofing project with a stable and secure base structure.
2. Installing Attic Vents and Blast Gates For Ventilation And Heat Management
Ventilation is a critical aspect of any generator soundproofing project. A generator needs a constant flow of air to operate safely and efficiently.
Without adequate ventilation, the generator could overheat, leading to inefficiency and potential fire hazards.
The first step in setting up the ventilation system is to measure and mark the areas where you’ll install the attic vent and the blast gate.
These aren’t arbitrary placements; they should be strategically located to maximize airflow and ease of access.
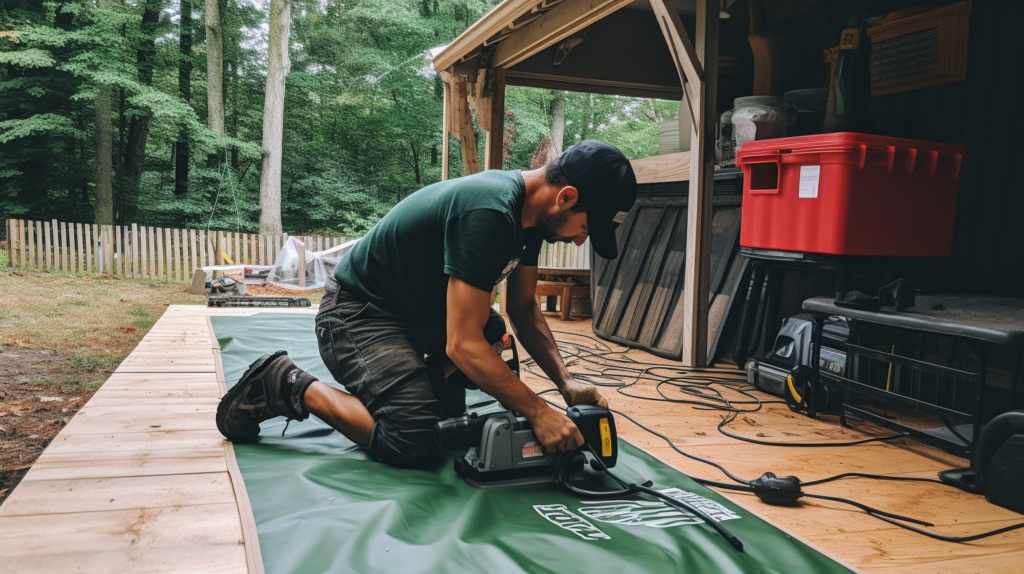
Once you’ve marked the locations, the next step is cutting the holes for these components. While this may sound simple, precision is key.
You’ll be using a reciprocating saw for this part of the project, so safety is of the utmost importance. Make sure to cut just inside the lines you’ve drawn so that the holes are neither too big nor too small for the vent and blast gate.
If you cut outside the lines, you risk making the holes too large, which could compromise the structural integrity of the shed and make it difficult to secure the vent and blast gate properly.
After cutting the holes, you’ll install the attic vent. But before you do, apply some fire block foam around the perimeter of the hole.
The foam will expand and harden, creating an airtight seal that prevents air leakage. After the foam has hardened, place the attic vent in the hole and secure it with galvanized bolts and washers.
Using galvanized materials ensures that the bolts and washers won’t corrode over time, maintaining the integrity of your setup.
You’ll follow a similar process for the blast gate, using the same attention to detail to ensure it fits perfectly and operates smoothly.
Finally, after installing both the attic vent and the blast gate, seal the edges with Dynaflex sealant.
This acts as an additional layer of protection, ensuring that no moisture or small pests can enter your generator shed. This is particularly important in areas with harsh weather conditions, as it adds an extra layer of durability to your setup.
The next aspect of heat management involves the materials you use inside the box.
Rock Wool Comfort board is the recommended material for this project because it’s capable of withstanding temperatures up to 2150 degrees Fahrenheit.
It’s not just about the material’s heat resistance; Rock Wool also provides excellent soundproofing, making it a dual-purpose solution for your generator box.
Installing the Rock Wool is a straightforward process. Measure the internal dimensions of your generator box and cut the Rock Wool boards accordingly.
Use long screws and washers to secure the boards to the interior walls of the shed, ensuring they are tightly fastened.
3. Construct Noise Reduction Boxes For Vents And Exhaust
While the Rock Wool board and the horse stall mats provide some degree of soundproofing, there are additional measures you can take to make your generator as quiet as possible.
One such measure involves the construction of noise reduction boxes for the vent and the exhaust.
These boxes are designed to capture and dampen the sound waves emitted from the generator, reducing the overall noise level.
To build these, you’ll need some plywood, which you’ll cut into panels based on the dimensions of your vent and exhaust.
Assemble these boxes using wood glue for initial stability. Once the glue has dried, use nails to add an extra layer of sturdiness.
But before you install them, don’t forget to insulate the inside with Rock Wool. This will further dampen any sound that tries to escape.
Attach these boxes to the vent and exhaust areas using screws, ensuring they are securely in place.
3. Install Muffler For Reducing Exhaust Noise
In your quest for the quietest generator possible, you might want to go a step beyond the basics. That’s where additional noise reduction features like a motorcycle muffler can come into play.
A motorcycle muffler is designed to reduce exhaust noise, and it can have a similar effect on your generator.
When choosing a muffler, pay attention to the engine type and specifications to ensure compatibility with your generator.
Installing the muffler involves a few intricate steps. First, make sure to use high-temperature glue designed for exhaust systems to connect the muffler to your generator’s existing exhaust pipe.
Secure the connection with metal clamps to ensure it’s air-tight. Remember, an air leak here can result in noise leakage and decreased performance.
Once you’ve installed the muffler, it’s a good idea to test the temperature during operation to ensure it’s not overheating.
Use your temperature gauge for this, aiming for a range that’s well within the muffler’s heat tolerance.
4. Wrap Muffler With Fiberglass Materials For Exhaust Management
Managing the exhaust effectively is vital for both noise reduction and safety. The first step here is wrapping the exhaust pipe with fiberglass material.
This material is heat-resistant and will mitigate the risk of heat-related damage or fire.
As you wrap, ensure that the material covers the entire length of the pipe, from the generator to the point where it exits your soundproof box.
Use metal clamps to secure the fiberglass wrap in place, ensuring that it won’t unravel or slide off during operation.
The next step is to connect this exhaust pipe to the exterior, allowing the fumes to be safely expelled outside the shed.
For this, a galvanized metal flange is often recommended. However, be cautious as metal conducts heat rapidly and could become a safety hazard.
An alternative to consider is a heat-resistant dryer vent, which offers a more insulated option for directing the exhaust outside.
5. Final Touches and Safety Measures
By this point, your generator box is nearly complete. However, there are a few final touches and safety measures that are crucial.
For instance, the propane tank should never be stored inside the box during operation to minimize the risk of fire.
Design your setup so that the propane hose can easily pass through the blast gate, allowing you to keep the propane tank outside the soundproof box.
Sealing all openings with Dynaflex sealant is another critical step. This sealant is weather-resistant and durable, offering an extra layer of protection against the elements.
Make sure to apply it around the edges of all installed components, including the attic vent, blast gate, and any holes or openings you’ve created.
This not only improves the soundproofing but also enhances the overall durability and safety of your generator box.
Step-by-Step Guide To Build A Soundproof Box For Generator

1. Setting Up the Shed and Flooring
- Purchase a Garden Shed: Get a garden shed from a hardware store like Home Depot or Lowe’s.
- Install Horse Stall Mats: Cut and fit the mats inside the shed for flooring.
2. Ventilation and Power Access
- Mark the Vent Locations: Decide and mark where the air intake vent and blast gate will go.
- Cut Holes for Vents: Drill starter holes and then use a reciprocating saw to cut out the marked areas.
- Install the Attic Vent: Apply fire block foam and fit the attic vent into its hole. Secure it with galvanized bolts and washers.
- Seal the Vents: Apply Dynaflex sealant to weather-proof the vents.
3. Exhaust and Electrical Access
- Install the Blast Gate: Cut a hole for the blast gate, which will be used for the power cord and propane hose.
- Weatherproof the Blast Gate: Use galvanized sheet metal to prevent rain from entering the hole.
4. Installing the Fan
- Cut the Hole for the Fan: Cut out a hole for the attic fan that will handle the heat inside the box.
- Install the Fan: Place the fan in its hole and secure it.
5. Insulation with Rock Wool
- Measure and Cut Rock Wool: Take measurements of the shed’s interior and cut the Rock Wool Comfort board accordingly.
- Install Rock Wool: Use screws and washers to secure the rock wool to the interior of the shed.
6. Handling the Exhaust
- Wrap the Exhaust: Wrap the generator’s exhaust pipe with fiberglass material.
- Apply Muffler Inlet Pipe Sealer: Connect the wrapped exhaust to the muffler using the sealer.
- Mount the Exhaust: Secure the exhaust pipe to a wooden fence or similar structure.
7. Noise Reduction Boxes for Vent and Exhaust
- Build Wooden Boxes: Create small wooden boxes with plywood and install them at the intake and exhaust areas.
- Insulate the Boxes: Add insulation inside the boxes for better soundproofing.
8. Final Touches
- Install a Motorcycle Muffler: Attach a motorcycle muffler to further reduce noise.
- Run the Propane Hose and Power Cord: Run these through the blast gate to keep the propane tank outside the shed.
Conclusion
Constructing a soundproof box for your generator is not just a weekend project; it’s a long-term investment in peace and functionality.
By meticulously planning each step, from setting up the foundational garden shed to installing intricate components like attic vents and blast gates, you’re essentially building a secure, sound-optimized environment for your generator.
This project amalgamates different disciplines, including carpentry, engineering, and soundproofing, to achieve a single goal: a quiet and efficient generator that can operate safely for extended periods.
What makes this endeavor truly rewarding is the multiplicity of benefits it offers.
It’s not just about reducing noise; it’s also about optimizing airflow, enhancing safety features, and ensuring the generator’s long-term performance.
Moreover, you’ll find that the materials like Rock Wool Comfort board and horse stall mats provide dual benefits of heat resistance and sound absorption, making your generator box a marvel of modern DIY engineering.
In conclusion, the journey to building a soundproof generator box may be intricate, but the payoff is immense.
You gain not just a noise-free environment but also a safer, more efficient setup for your generator, ensuring that you’re well-prepared for any situation, whether it’s a routine power outage or an emergency.
By following this comprehensive guide, you can turn what could be a noisy nuisance into a silent workhorse, ready to provide power whenever you need it.
