How To Soundproof A Wall (Existing Walls, Shared Walls, And Budget Fixes)
How to soundproof a wall works best when you diagnose the weak point first, because a leaky outlet box, a thin drywall partition, and a vibration-heavy shared wall do not fail for the same reason.
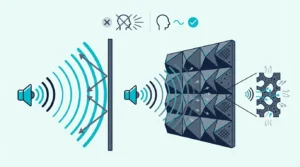
That is where most projects go wrong. People buy surface products that calm echo inside the room, but they never fix the wall assembly that is actually passing sound from one side to the other.
The good news is that wall soundproofing can make a real difference when you match the build to the problem. Existing walls, party walls, and budget retrofits all use the same physics, but they do not ask for the same level of construction.
Start by separating leakage from vibration and airborne voices from structure-borne thumps. Then you can decide whether the next move is sealing, added mass, or a more complete decoupled wall build.
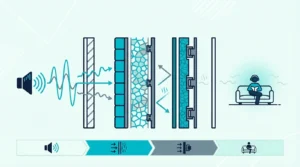
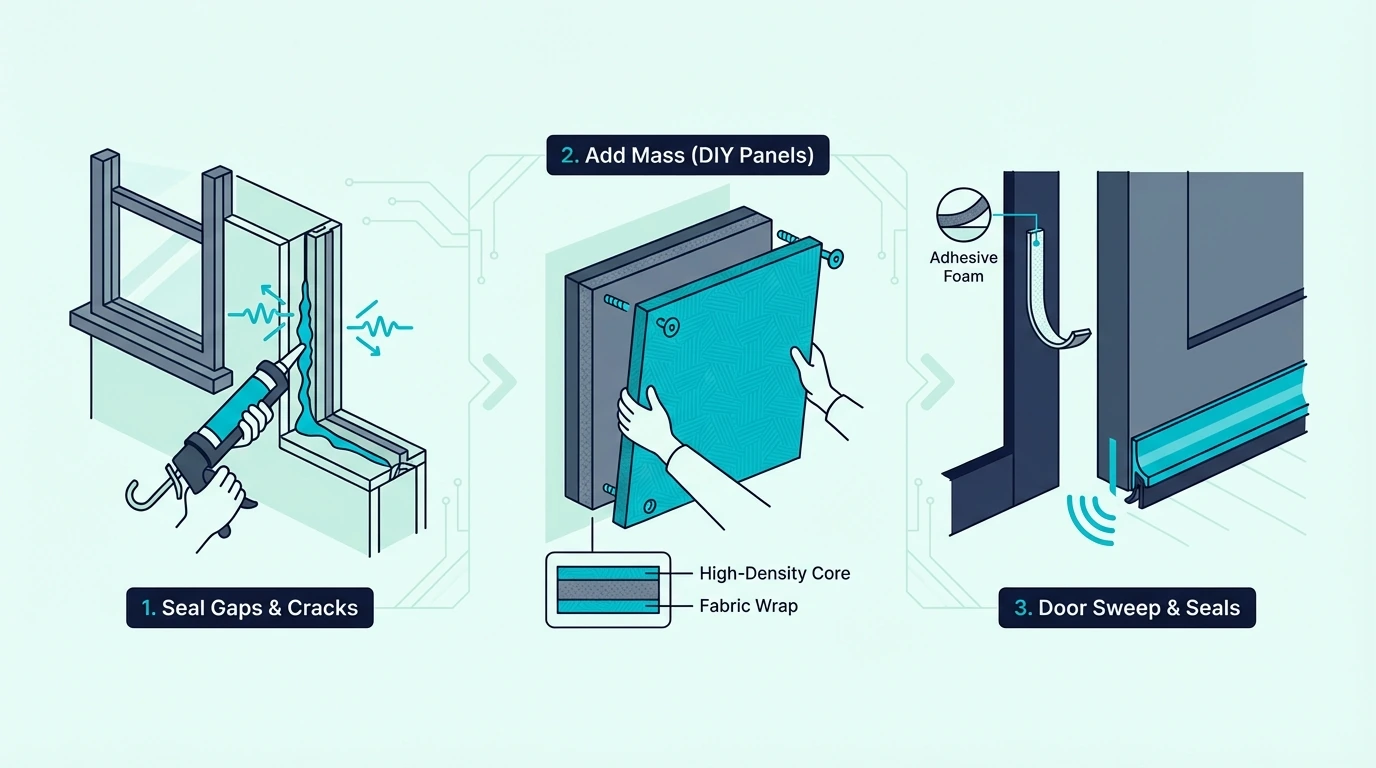
Seal every gap in the wall first – outlets, trim joints, and any cracks or penetrations. After sealing, add mass with an extra layer of drywall and damping compound. For serious noise problems, decouple the wall with resilient channels or a clip system. A sealed wall with added mass can improve sound isolation by 10 – 15 decibels compared to a standard single-layer drywall wall.
Effective Wall Soundproofing Starts With The Physics
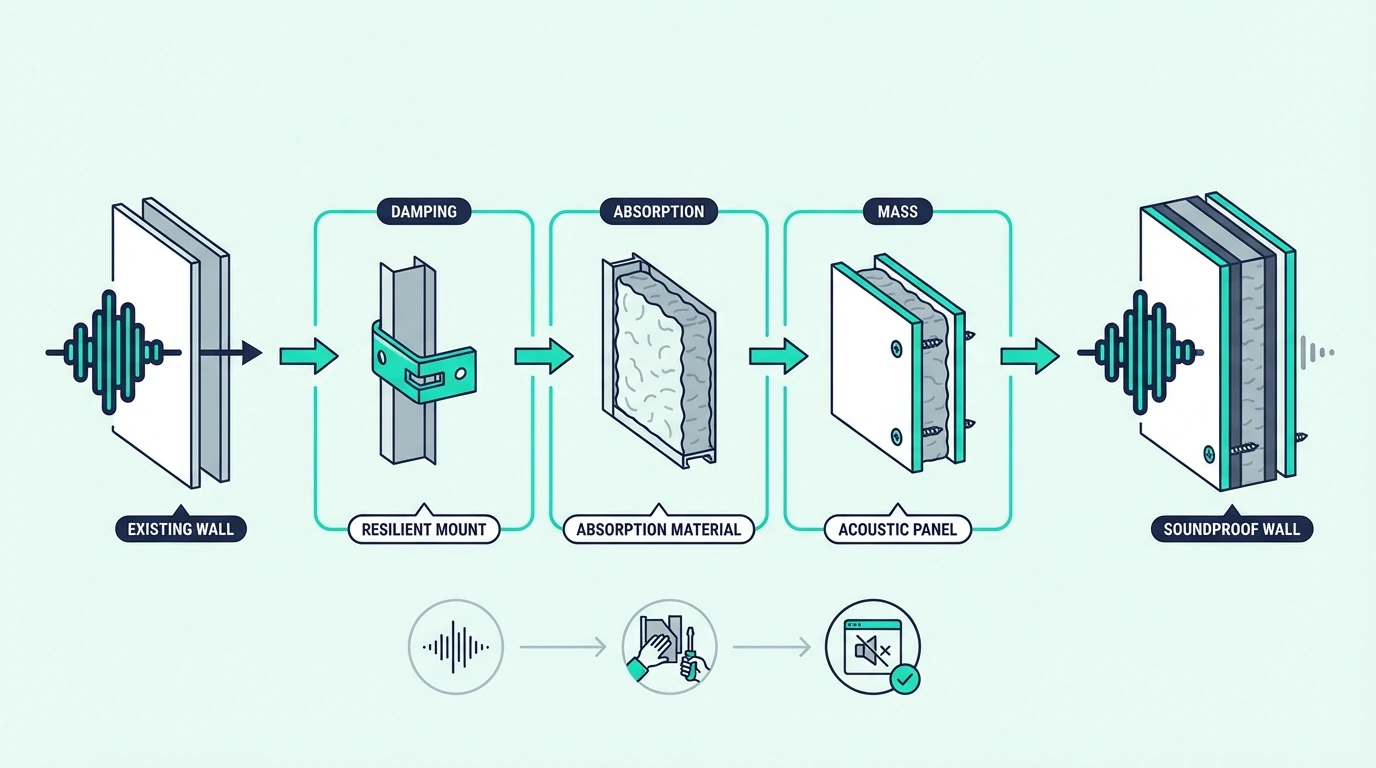
If you skip the physics, every product pitch starts to sound equally convincing.
In reality, walls leak sound in predictable ways, and those failure points tell you which upgrade is worth paying for.
Standard Residential Walls Leak Sound For Predictable Reasons
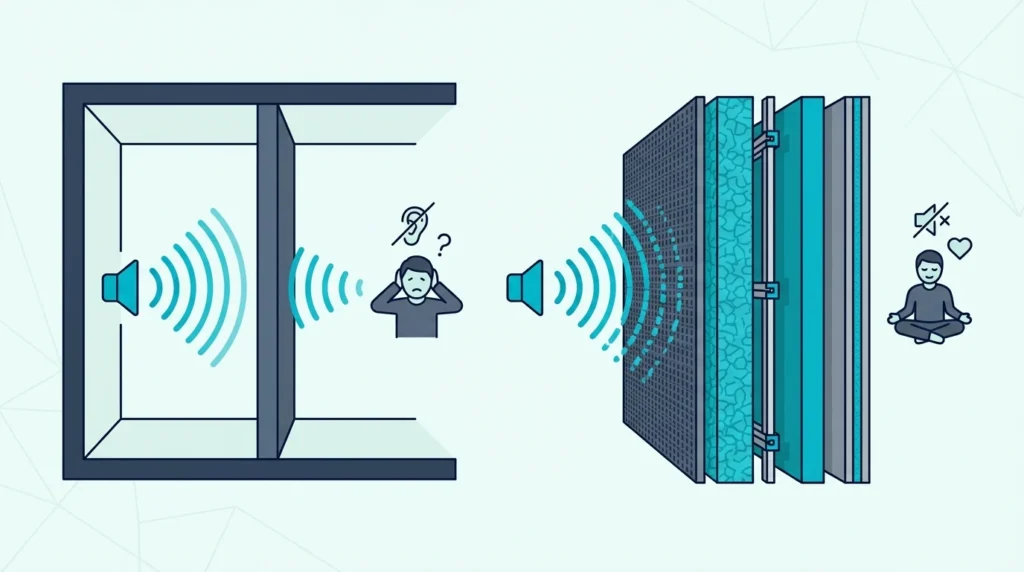
Standard interior walls – a single layer of 1/2-inch drywall on each side of 2×4 studs – rate around STC 33 to 35. That means normal conversation is audible through the wall, and loud speech or music is clearly heard.
The first weakness is low mass. A light wall simply does not have enough weight to resist airborne sound energy very well.
The studs connecting both sides of the wall create a direct vibration path. Sound hits one side, vibrates the stud, and radiates from the other side.
That structural connection is why adding insulation between the studs helps but does not solve the problem on its own.
Gaps around electrical outlets, light switches, and where the wall meets the floor or ceiling create air paths that sound exploits. A single unsealed electrical box can leak as much sound as a hole the size of your fist.
Better Isolation Usually Means Meaningful Reduction, Not Total Silence
Once you see why walls fail, the goal becomes clearer.
Full sound isolation – the kind recording studios achieve – requires a completely decoupled wall with no structural connections, multiple layers of mass, and airtight sealing. That’s a construction project, not a retrofit.
For most residential situations, the goal is noise reduction – making the sound quiet enough that it doesn’t bother you. Reducing noise by 10 to 15 decibels makes loud conversation sound like a murmur, which is enough for most bedrooms and home offices.
That realistic target matters because it keeps you from chasing studio-level expectations with a finished-wall retrofit.
Airborne Voices And Structural Vibration Pull You Toward Different Fixes
Expectation setting only helps if it leads to the right diagnosis.
Airborne noise – voices, TV, music – travels as pressure waves through the air and through the wall structure. Mass and sealing are the primary defenses.
Structure-borne noise – footsteps from above, bass vibration, plumbing rattle – travels through the building frame itself. Decoupling the wall from the structure is the only effective approach for this type of noise, because mass alone can’t stop vibration that’s already in the framing.
If you hear voices through the wall, mass and sealing will help. If you feel bass vibration or hear thumping, you need decoupling – and you may need to address the ceiling and floor too, since structure-borne noise travels through all connected surfaces.
Existing Walls Improve Most In A Clear Retrofit Order
Once you know whether the wall is leaking air or moving too easily, retrofit decisions stop feeling random.
Existing walls usually improve most when you handle the cheap leakage paths first, then add heavier layers only if the remaining problem justifies them.
Seal The Leaks Before You Buy Heavy Materials
Seal every electrical outlet and light switch on the shared wall with acoustic putty pads or foam gaskets behind the cover plates. This alone can make a noticeable difference if the outlets are back-to-back with the neighboring room.
Run acoustic caulk along the base of the wall where it meets the floor, along the top where it meets the ceiling, and around any trim or casing. These joints flex with building movement and develop gaps over time.
Check for any penetrations – cable TV lines, phone jacks, pipe chases – and seal them with acoustic caulk or fire-rated foam. Every unsealed penetration is a direct air path for sound.
Added Mass And Damping Usually Give The Best Mid-Tier Return
Once leakage is under control, the next upgrade should add something the wall does not already have enough of: weight and vibration control.
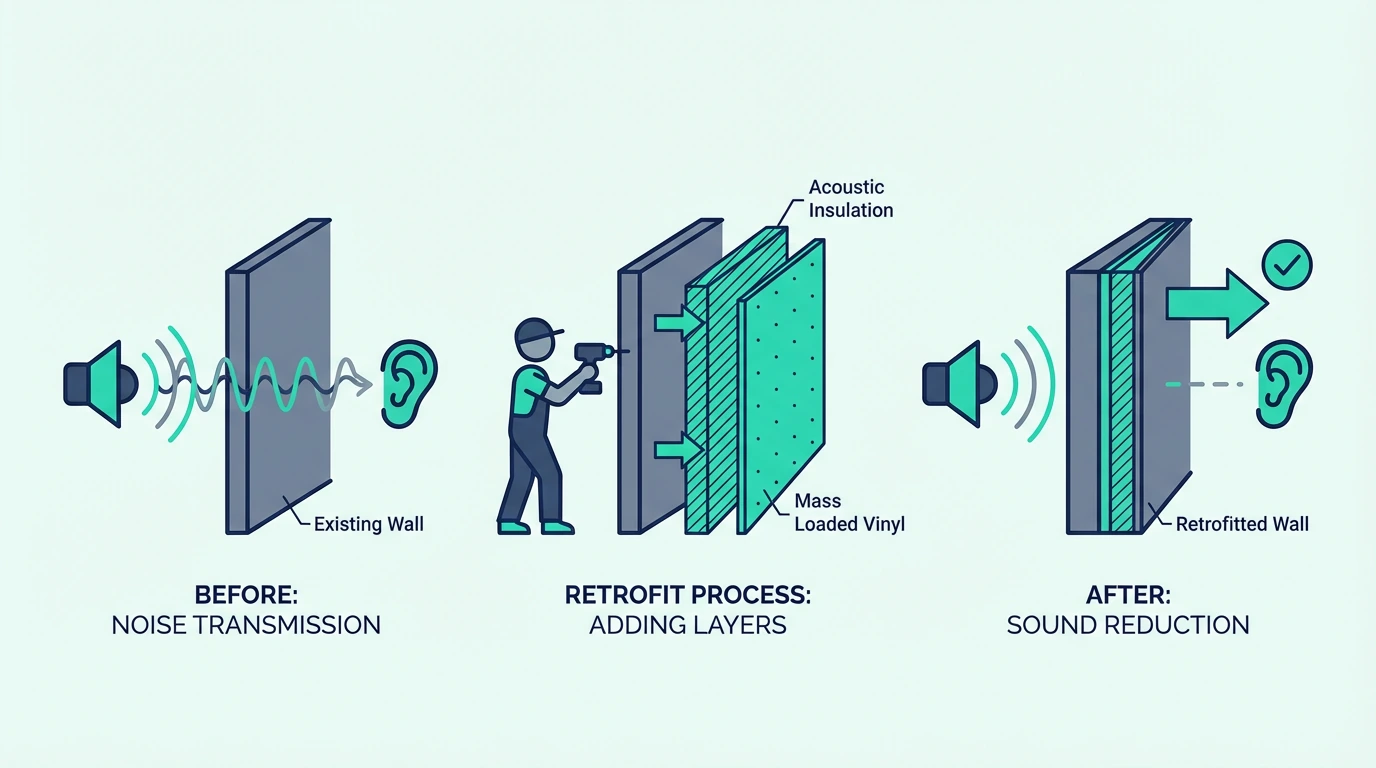
The most effective retrofit is adding a second layer of 5/8-inch drywall over the existing wall with a damping compound (like Green Glue) sandwiched between the layers. The damping compound converts vibration energy into heat, and the extra drywall adds mass.
This combination typically adds 8 to 12 STC points to the wall – enough to drop clearly audible conversation to barely perceptible background noise. The total thickness added is less than an inch.
Trademark Soundproofing Mass Loaded Vinyl is an alternative to the drywall-and-damping approach. MLV adds dense mass in a thin, flexible sheet that can be stapled or glued to the existing wall before adding a finish layer of drywall over it.
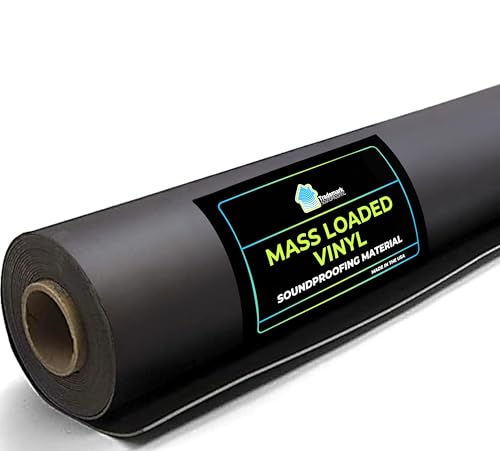
Trademark Soundproofing Mass Loaded Vinyl
Decoupling Earns Its Cost When The Wall Still Passes Too Much Vibration
That drywall-and-damping build solves a lot of airborne noise problems, but it does not remove the stud connection itself.
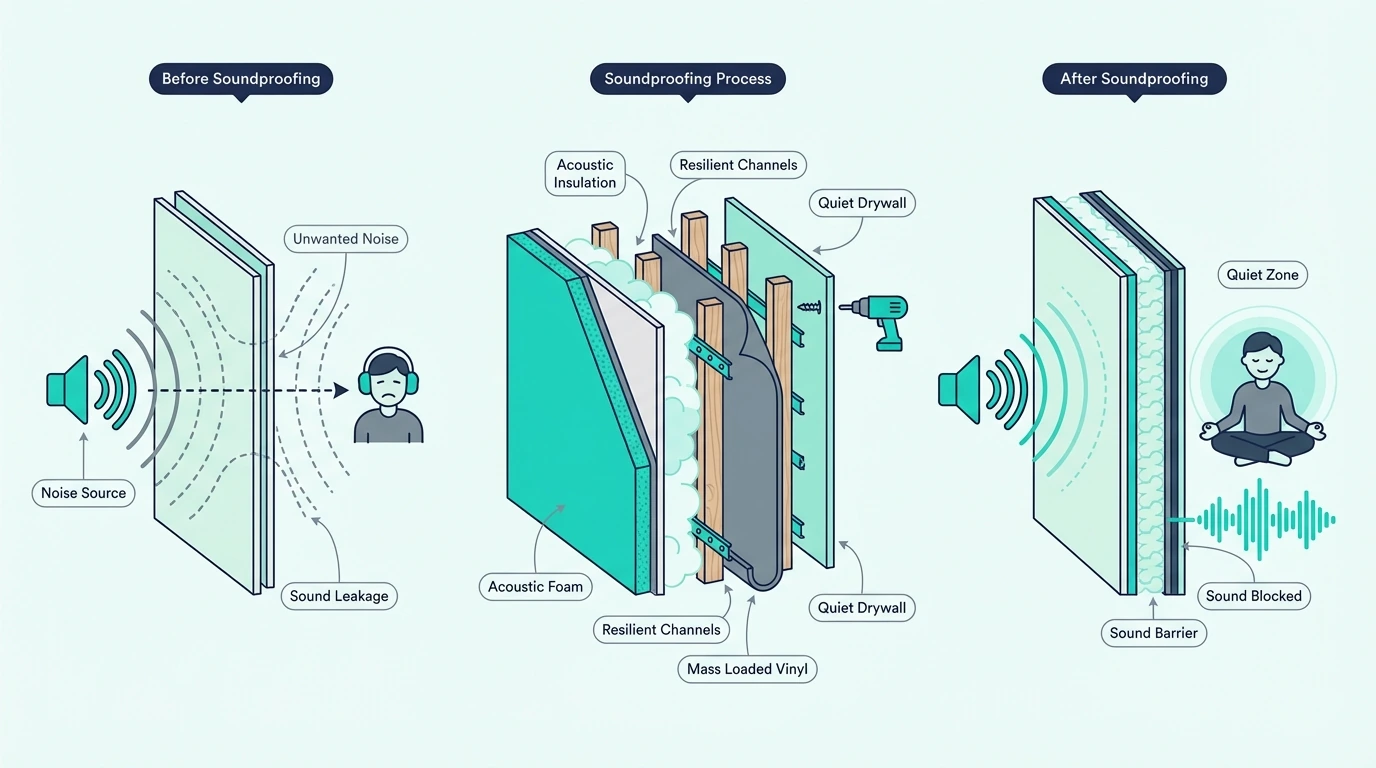
Decoupling means breaking the direct structural connection between one side of the wall and the other. Resilient channels – metal strips screwed horizontally across the studs – create a flexible mount for the new drywall layer so vibrations in the studs don’t transfer directly to the surface.
Clip-and-channel systems (like RSIC clips with hat channel) perform better than resilient channels because they provide more separation and handle a wider range of frequencies. They’re more expensive and slightly more complex to install but deliver measurably better results.
Decoupling is worth the extra work when you’ve already added mass and sealing and the noise is still too loud, or when structure-borne vibration (bass, impact noise) is the primary problem. For airborne noise like conversation, mass and sealing often provide enough improvement without decoupling.
Get Studio Tips Weekly
Join 5,000+ creators getting acoustic treatment advice every week.
No spam. Unsubscribe anytime.Shared Walls Force You To Maximize What One Side Can Do
That staged retrofit logic matters even more on a party wall because you usually control only your side of the assembly.
The goal is no longer perfect isolation. The goal is extracting the biggest realistic improvement from one-sided treatment without pretending structure-borne flanking paths do not exist.
Airborne Neighbour Noise Usually Responds To Sealing And Added Mass
Start with the same sealing steps: outlets, base trim, ceiling joint, and any penetrations. Then add mass – the drywall-plus-damping-compound approach works well here because it’s the most effective retrofit you can do from one side.
For apartments where you can’t modify the wall permanently, hanging heavy sound dampening blankets on the shared wall adds mass without permanent modification. They won’t match drywall for performance, but they’re fully removable.
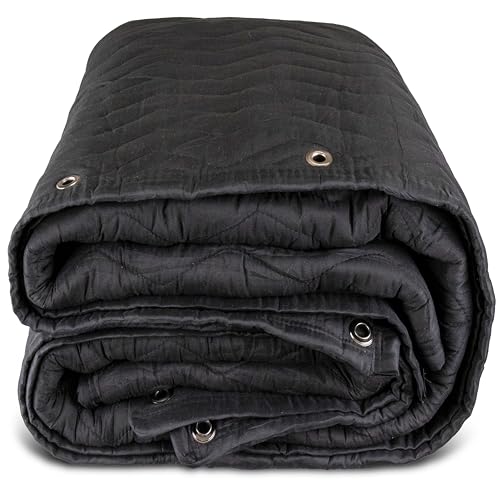
sound dampening blankets
Structural Transfer Reveals The Limits Of A Wall-Only Project
Once the noise feels more like bass, impact, or vibration, the wall stops behaving like a simple air-leak problem.
Bass and impact noise traveling through a shared wall require decoupling on your side. A clip-and-channel system with a new layer of drywall creates separation from the existing structure.
If the noise is coming through both the wall and the floor or ceiling, treating only the wall won’t solve the problem. Structure-borne sound finds the weakest path, and treating one surface just moves the apparent noise source to an untreated one.
The Shared Wall Comes First Only When It Is Clearly The Loudest Surface
That is why the listening test still decides the order of work.
If the shared wall is clearly the primary noise path – you can localize the sound to that wall by standing in the room and listening – treat the wall first. If the noise seems to come from everywhere, the structure-borne vibration is traveling through multiple surfaces and a whole-room approach will be more effective.
Cheap Wall Soundproofing Only Works When Cheap Means Strategic
Budget constraints are real, but cheap advice is where a lot of wall soundproofing articles become actively unhelpful.
The cheapest useful fixes either close real leakage paths or add real mass. Most viral shortcuts do neither.
Start With The Lowest-Cost Fixes That Address Leakage
Sealing gaps costs almost nothing and delivers the highest return per dollar. Acoustic caulk, outlet gaskets, and foam backer rod for larger gaps total ten to twenty dollars and take an afternoon.
After sealing, the next cheapest meaningful upgrade is a second layer of drywall with damping compound. A sheet of 5/8-inch drywall costs roughly fifteen dollars, and a tube of damping compound costs around twenty dollars.
For a single wall in a bedroom, the total materials might run fifty to one hundred dollars.
Most Cheap Surface Tricks Fail Because They Add Almost No Mass
That is the line cheap products either cross or fail.
AFB Mineral Wool Insulation Batts reduce echo and reverberation inside the room, which improves audio clarity for recording and calls. They do not soundproof the wall – foam doesn’t block sound transmission because it has almost no mass.
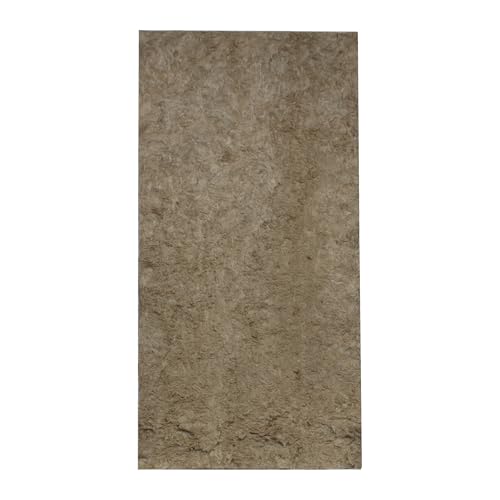
AFB Mineral Wool Insulation Batts
Egg cartons, carpet remnants, and thin tapestries on the wall are effectively useless for soundproofing. They absorb a tiny amount of high-frequency energy inside the room but add zero mass to the wall structure.
Moving furniture against the shared wall – bookshelves full of books, heavy dressers – adds a small amount of mass and can help slightly with mid and high-frequency sound. It’s not a real soundproofing solution, but it’s free and provides a modest improvement.
Renters Need Reversible Mass And Better Expectations
That modest-improvement category still matters when drilling, framing, or adding drywall is off the table.
Heavy blankets or quilts hung on the shared wall from hooks add some mass. Freestanding bookshelves loaded with books placed against the wall add more.
Neither is a real soundproofing treatment, but together they provide a few decibels of improvement that can make a shared-wall situation more bearable.
For rental-specific strategies beyond walls, see our guide to soundproofing a rental room.
The Bottom Line
Good wall soundproofing is really a prioritization problem. Seal leaks first, add mass next, and bring in decoupling only when the wall is still passing too much vibration or low-frequency energy.
The most common mistake is buying surface treatments – foam, decorative panels, tapestries – and expecting them to block sound through a wall. Surface treatments improve acoustics inside the room, while blocking transmission requires mass, sealing, and sometimes decoupling.
For a complete approach to noise in your space, see our guide to soundproofing a room, which covers doors, windows, ceilings, and floors alongside walls.
Frequently Asked Questions
How Do You Block Noise From A Shared Wall?
Seal all gaps and penetrations (outlets, trim, pipes) with acoustic caulk and putty pads first. Then add mass – a second layer of 5/8-inch drywall with damping compound between the layers is the most effective single-side retrofit for shared walls.
Does Rockwool Soundproof A Wall?
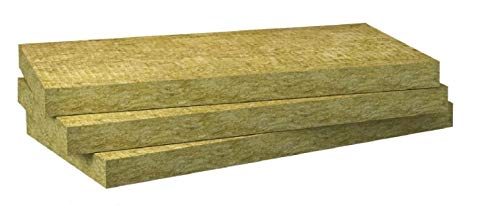
Rockwool insulation in the wall cavity absorbs sound energy traveling through the air space between studs, which reduces transmission by 4 to 8 STC points.
A standard stud-bay product like AFB Mineral Wool Insulation works well in most wall renovations, while a denser option like Rockwool 8 lb Density Mineral Wool makes sense when you’re chasing maximum performance in a serious shared-wall rebuild.
It helps, but it’s not a complete solution on its own – you still need mass and sealing on both faces of the wall for meaningful improvement.
What Is The Cheapest Way To Soundproof A Wall?
Seal every gap with acoustic caulk and add foam gaskets behind outlet covers – total cost under twenty dollars. If you can afford more, add a second layer of drywall with damping compound for fifty to one hundred dollars per wall section.
These two steps together deliver the best noise reduction per dollar spent.