Is your dishwasher the loudest thing in your kitchen? Do you cringe every time it kicks on, disrupting conversations and rattling dishes?
Soundproofing your dishwasher is easier than you may think. With the right materials and a bit of DIY spirit, you can drastically reduce the noise coming from your appliance.
In this guide, we’ll walk through a step-by-step process for soundproofing a dishwasher.
Let’s dive in and quiet things down!
Step 1: Doing a Sound Test Before Soundproofing
It is absolutely essential that you do a thorough sound test on your dishwasher before beginning any soundproofing project. This initial test will give you a baseline decibel reading that can be compared to the final reading once all soundproofing steps have been completed.
Having the before and after measurements will allow you to quantify precisely how much quieter your dishwasher has become.
To perform the sound test, you will need a decibel meter. These are affordable devices available at most hardware stores or online retailers.
Place the decibel meter approximately three feet away from your dishwasher, positioning it at about the same height as the control panel. The distance of three feet is ideal because it represents the typical distance a person would stand away while operating the dishwasher.
With the decibel meter properly positioned, begin a normal wash cycle on your dishwasher. Allow the cycle to run for several minutes, during which time observe the decibel readings on the meter’s display.
The levels may fluctuate slightly, so take note of the highest reading. In the referenced instructional video, the starting decibel measurement was in the range of 55 to 56 dB.
However your initial reading may be higher or lower depending on the age and quality of your particular appliance.
Be sure to carefully record the initial sound measurement prior to soundproofing. This step is truly essential for being able to gauge your soundproofing success.
Having solid before and after data will clearly demonstrate the noise reduction and help you determine if additional soundproofing is needed on your dishwasher.
Step 2: Preparing for Soundproofing
Once the baseline sound test has been completed, you can move on to preparing your dishwasher for soundproofing steps. Proper preparation is key to having full access to all sides of the appliance.
This will allow you to methodically add noise reducing materials for maximum effectiveness.
The first thing you must do is shut off electrical power to the dishwasher at your main circuit breaker panel. Simply flip the switch that corresponds to the dishwasher circuit. This ensures you can work safely without risk of electric shock.
Next turn off the hot and cold water supply lines that feed water to the dishwasher. There are typically cut-off valves located under the sink or near the water heater.
Rotate them clockwise to shut off the water.
With the power and water turned off, you can now gently pull the dishwasher away from the surrounding cabinetry. Pull slowly and carefully to avoid damaging wiring connections or the water supply line.
Pull out the dishwasher several feet which will expose the top, sides and rear. This grants you complete access to add soundproofing materials.
As a final step, remove any existing soundproofing materials already in place. For example, some dishwashers include a basic fabric jacket around the sides.
This will need to be removed prior to adding upgraded materials. Now the appliance is prepped and ready for you to start adding layers of noise reducing materials.
Step 3: Adding Rubberized Coating
One of the most effective soundproofing techniques is to apply sheets of rubberized or elastomeric coating to the exterior surfaces of the dishwasher. These types of coatings work incredibly well to dampen vibrations and block noise.
Popular brand names include Dynamat Xtreme and Kilmat.
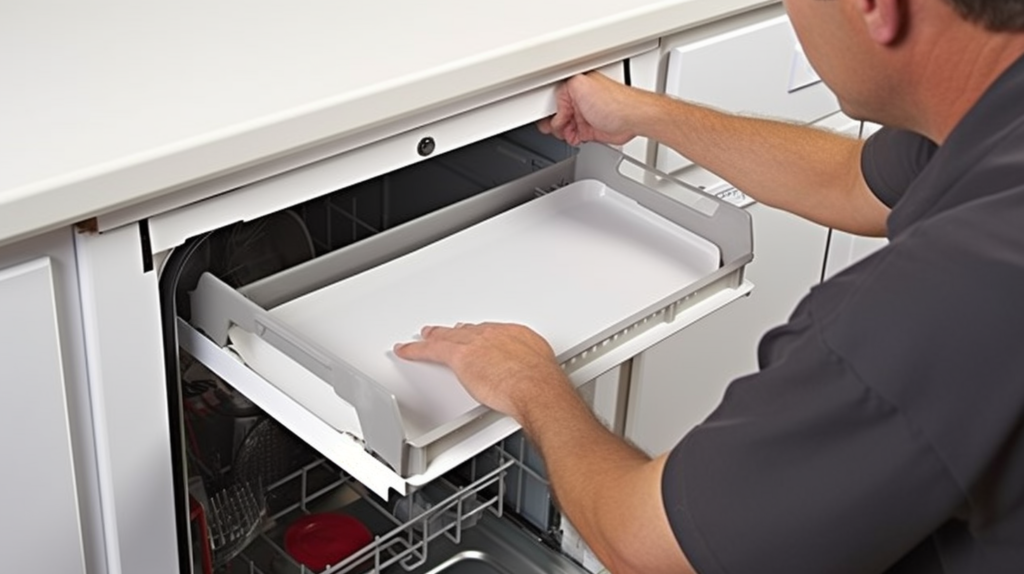
Start by measuring the exterior dimensions of your dishwasher cabinet with a tape measure. Be sure to measure the width and height of all sides including the top, back, left and right sides.
Transfer these measurements to the rubberized sheeting and use a sharp utility knife to cut pieces sized to fit each area.
Apply the pieces of coating starting with the top panel. Peel back the adhesive backing and carefully align the rubberized sheet.
Press it firmly in place while smoothly working out any air bubbles. Use a roller tool to adhere it firmly.
Repeat this process for the side and rear panels, taking care around vents and openings.
The coating will create an effective barrier keeping noise contained inside the appliance.
If necessary, apply a second layer of the elastomeric coating for additional noise blocking capability. The combination of the heavy rubberized material along with the vibration damping quality effectively deadens sound.
This is one of the most important steps for a soundproofed dishwasher.
Step 4: Adding Sound-Deadening Panels
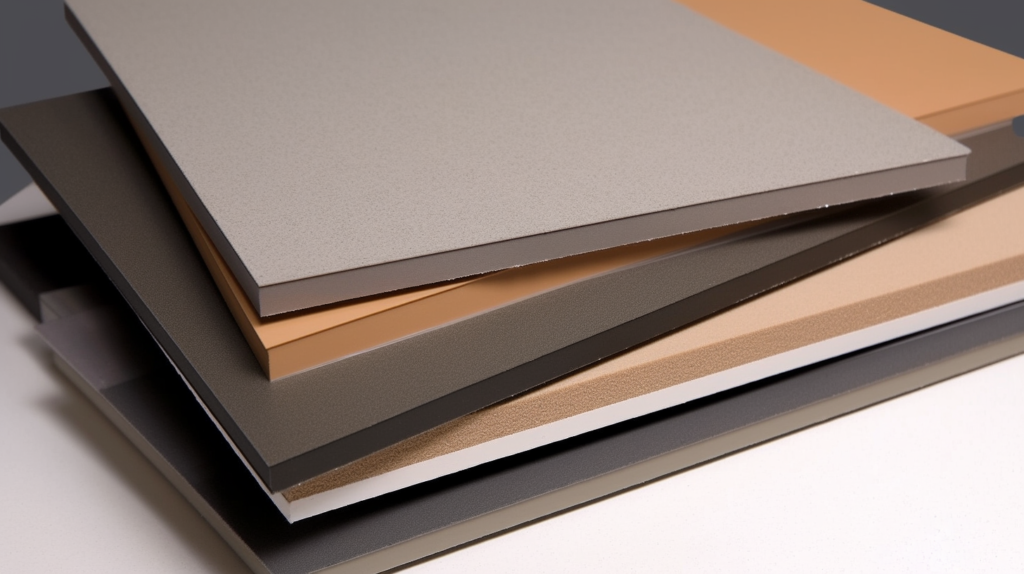
While the rubberized coating targets noise coming directly through the dishwasher’s exterior, you also need to address lateral sound transmission. The solution is adding panels made of a sound deadening, noise absorbing material.
These are commonly marketed as noise barrier or acoustic baffles.
Again measure the exterior dimensions of your appliance and cut panels from the sound absorbing material to fit. Use high quality packing tape or aluminum duct tape to firmly adhere the panels to the sides and rear of the dishwasher.
The tape’s strong bonding is important to eliminate any gaps between the panels and appliance.
Adding these sound deadening accessory panels adds an extra layer of acoustic insulation for your dishwasher. The mass of the material effectively blocks sound waves from emanating outward.
This greatly reduces the amount of ambient noise in your kitchen from a running dishwasher. Be sure to place panels on any sides of the appliance that are adjacent to populated areas of your home.
Step 5: Adding a Rubber Mat Below the Dishwasher
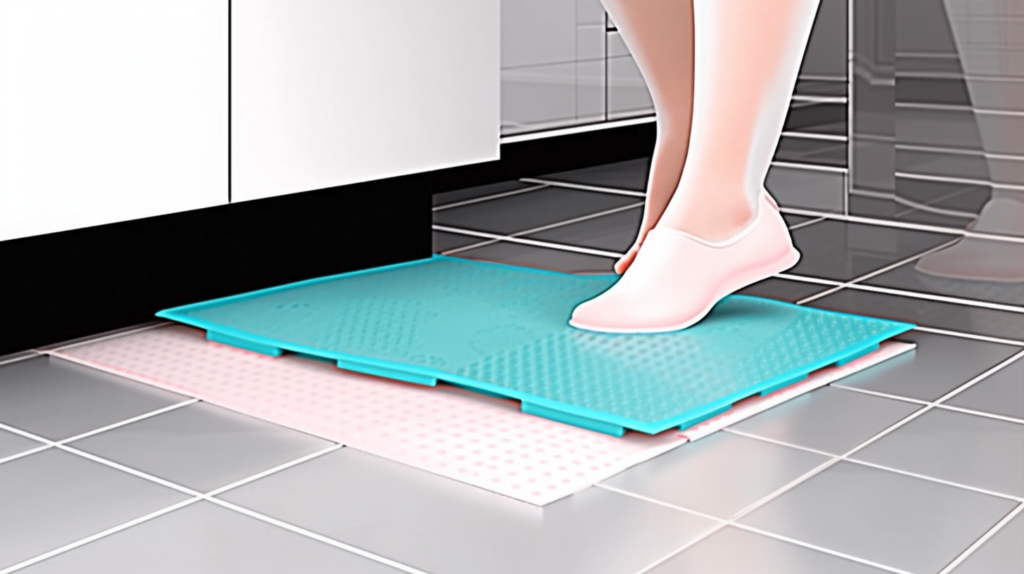
Up to this point the soundproofing steps have targeted the actual dishwasher unit itself. However a significant amount of noise comes from the vibration of the entire appliance on the kitchen floor.
Adding a rubber mat beneath the dishwasher helps isolate it from the floor to reduce mechanical noise.
Take measurements of the width and depth of your dishwasher cabinet cutout. Purchase a rubber mat that is at least 1/2″ thick sized to fit within the cabinet footprint.
These types of isolation mats can be found at hardware stores or ordered from online retailers.
Once you are ready to slide the dishwasher back into the cabinet opening, first lay the rubber mat into place below the cutout. Slowly push the dishwasher back on top of the mat, being careful not to shift its position.
The high density rubber absorbs vibration and acts to decouple the appliance from directly contacting the floor. This is excellent for reducing noise especially in homes with tile or wood floors that resonate easily.
Step 6: Re-Install Dishwasher and Perform Final Sound Test
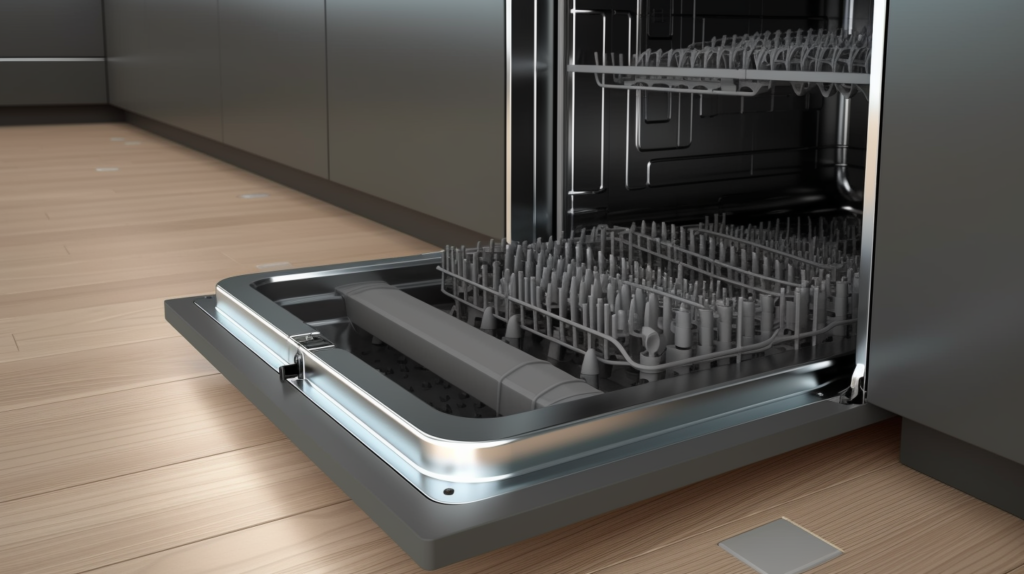
At this stage your dishwasher should be fully encased in sound dampening materials. Now it’s time to put it back in service and validate how quiet it has become.
Carefully slide the appliance back into position, centered within the kitchen cabinet cutout.
Reach around to the rear and reconnect the electrical supply. Restore power at your circuit breaker. Next, turn on the hot and cold water valves to re-pressurize the supply lines.
Confirm that all connections are tight with no leaks. Verify the drain line is clear and properly draining.
With everything hooked back up, run the exact same wash cycle you did during initial sound testing. Position your decibel meter three feet away just as you did originally.
Allow the dishwasher to run through the cycle while observing the readings. The final measurement should be substantially lower than your starting baseline.
Analyze the before and after readings to determine the precise decibel reduction. This quantifies the success of your soundproofing project.
If the final volume is not as low as desired, you can always go back and add additional acoustic insulation. Optimizing the soundproofing results takes a little trial and error.
But the peace and quiet will be well worth the effort!
Conclusion
Soundproofing your dishwasher is a straightforward process that can make a dramatic difference in noise reduction.
With the right materials and some DIY handiwork, you can transform an intrusively loud appliance into one that quietly and discreetly handles the dirty work.
Enjoy the renewed tranquility in your kitchen and the confidence that comes with a successful soundproofing project.
