Do you ever wish your music software and hardware could perfectly bend to your creative will?
With an Arduino board, some DIY magic, and MIDI messaging, you can construct your ideal MIDI controller and customize your musical workflow.
Let’s dive in to see how Arduinos enable you to level up your music production and performance with more control.
Can an Arduino be used as a MIDI Controller?
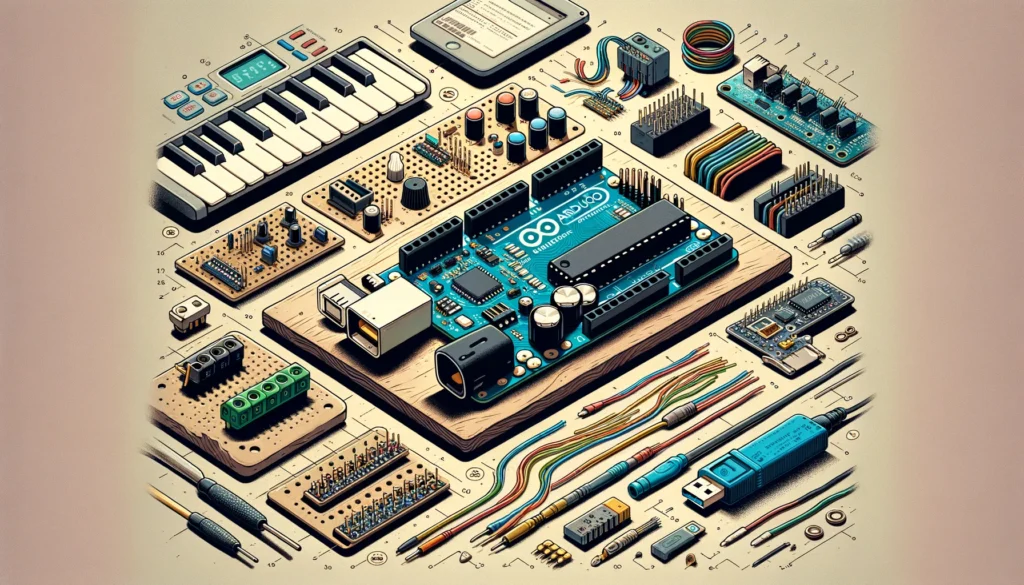
Yes, Arduino boards can readily function as MIDI controllers for sending note, modulation, and other data to external music devices and software.
We will explore step-by-step how to configure an Arduino, connect sensors and switches as inputs, transmit MIDI messages, and hook everything up to synthesizers, DAWs, and more.
Read on to transform an Arduino into your own custom MIDI controller!
Here is a 2,990-word blog article on using an Arduino as a MIDI controller:
What is MIDI?
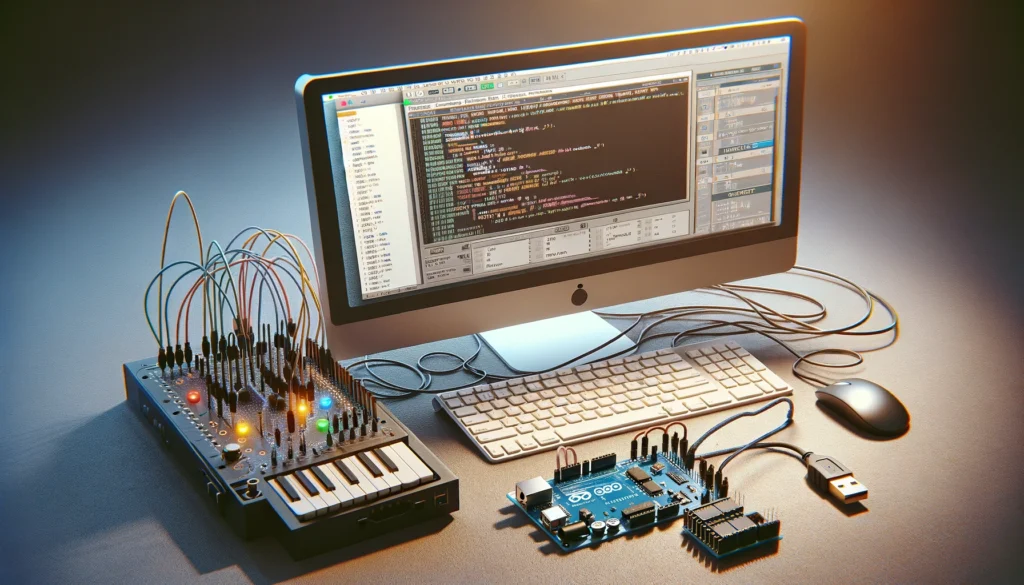
MIDI, or Musical Instrument Digital Interface, is a technical standard developed in the eightees that allows digital musical instruments, computers, cell phones, and other electronic devices to communicate, connect and control one another.
This communication occurs via MIDI messages that allow for commands such as Note On and Note Off to be sent to trigger musical tones and sounds.
MIDI utilizes hardware to transmit event messages serially using MIDI cables with five-pin connectors.
The MIDI protocol communicates event messages that dictate musical performances.
MIDI messages communicate a musical performance in real time by specifying parameters such as pitch, volume, instrument choice, vibrato amount, panning, tempo and clock signals.
MIDI messages do not transmit an audio signal or media; they simply communicate musical data such as the start of a note or how long a note should be held.
This allows for great versatility in working with musical data for applications like sequencing, notation, live performance, lighting systems and many other creative projects.
Why Use an Arduino as a MIDI Controller?
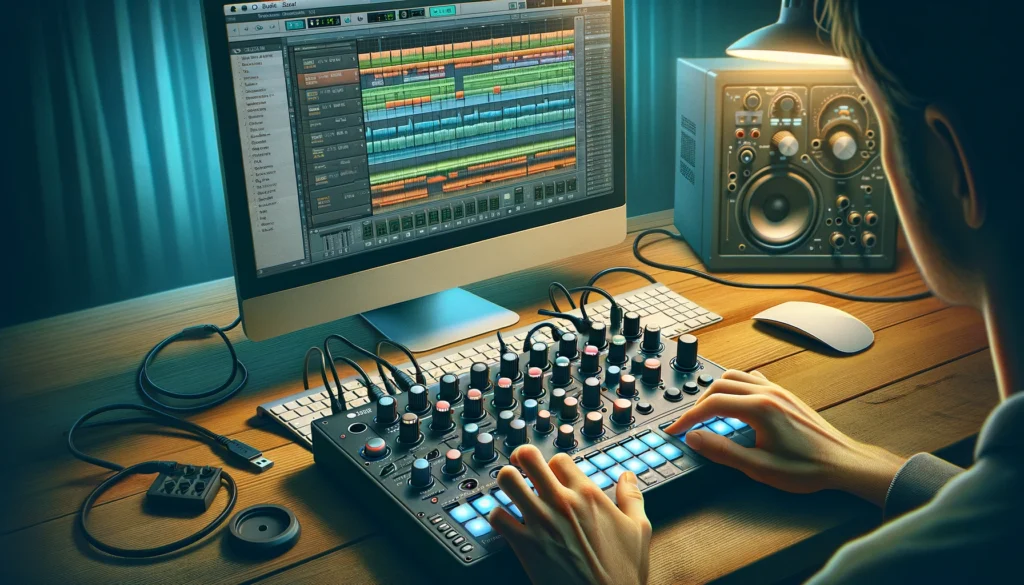
Arduinos provide an inexpensive and extremely versatile way to create your own MIDI controller.
Arduino boards have various built-in input and output options, analog and digital pins, power supplies and clock circuits that make them perfect for translating a wide variety of physical inputs into MIDI messages that can be sent to external synthesizers, music software, lighting rigs and more.
Creating a custom MIDI controller with an Arduino is also a very fun electronics project for musicians, DJs, VJs and other artists looking to add interactivity and customize their performance setups.
Building your own controller allows you to arrange buttons, knobs, sensors, and other inputs exactly to your liking and specification.
Hardware Needed
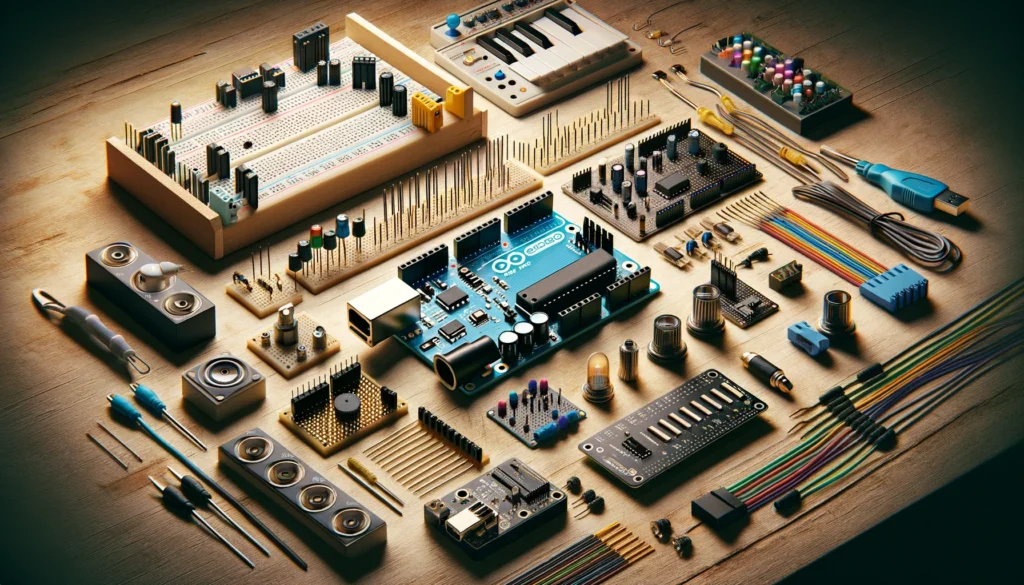
To use an Arduino as a MIDI controller, you will need several components:
Arduino Board:
This serves as the brains of the MIDI controller.
Some good options are the Arduino Uno, Arduino Mega, or Arduino Leonardo.
Each has different strengths in terms of number of inputs/outputs available.
MIDI Output Shield or USB Host Shield:
This gives the Arduino MIDI connectivity so it can actually send MIDI messages to external devices.
You can use a basic serial MIDI output shield or USB host shield.
The USB host shield lets you send MIDI over USB to a computer.
Inputs: This includes buttons, sliders, sensors, and other components that will serve as the physical controls for your MIDI controller.
Common choices are push buttons, toggle switches, potentiometers, rotary encoders, pressure sensors, accelerometers.
Consider what type of control/data input would work for your application.
Wiring: You will need jumper wires and breadboards to connect the various inputs to the Arduino pins.
Basic electronics skills are useful here to build and wire up your circuitry.
There are many Arduino MIDI controller wiring tutorials available online.
Loading MIDI Software on the Arduino
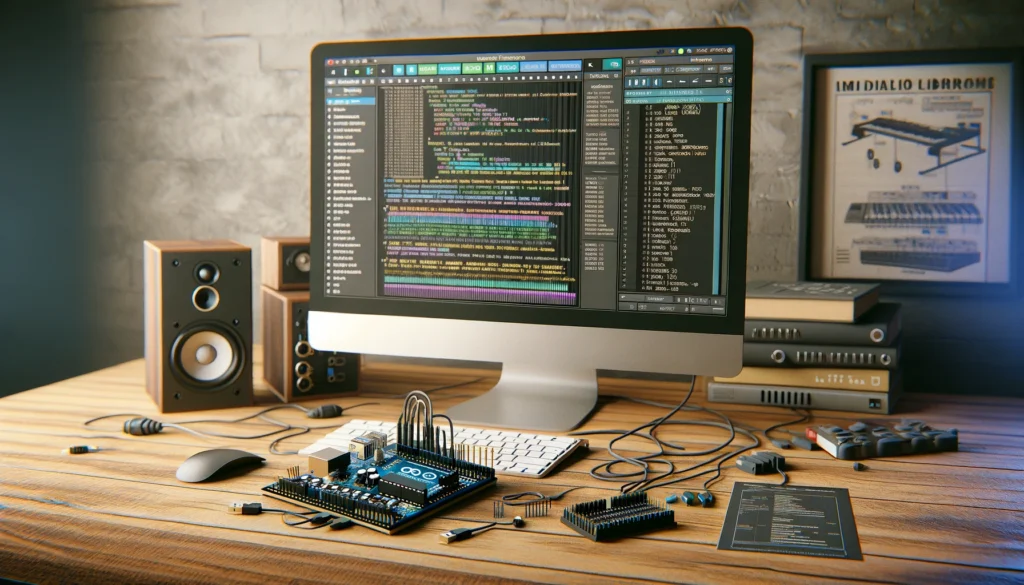
Getting an Arduino set up to send MIDI messages involves uploading specific software sketches onto the board.
There are a few options for MIDI software:
Standard Firmata Sketch:
Firmata is a standard protocol already built into the Arduino IDE.
The Standard Firmata sketch configures the Arduino pins to accept MIDI messages with simple commands.
This works well for basic projects.
Custom Firmware:
For more advanced projects, you can write custom firmware with Arduino code and MIDI libraries to program exactly how your physical controls will trigger MIDI messages.
This takes some coding knowledge but allows for endless customization.
MIDI Libraries:
There are various Arduino MIDI libraries that can help streamline your code.
Examples are Hairless MIDI Serial, MIDI Library, and MIDIUSB.
These handle some of the MIDI message creation and USB/Serial conversion behind the scenes to make coding easier.
Building the Controller
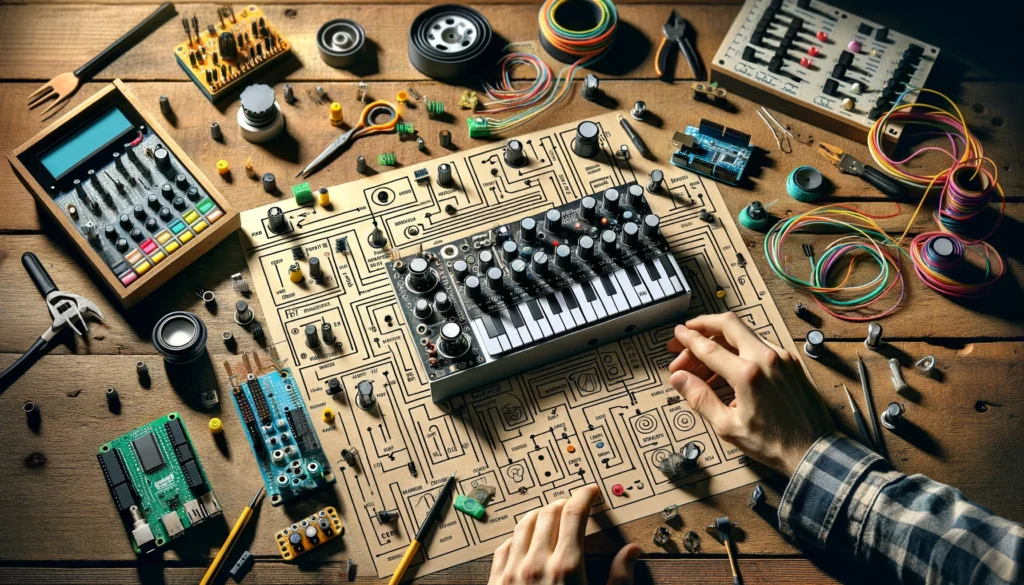
When designing your DIY Arduino MIDI controller, there are many possibilities for creating interesting controls that convert physical inputs into MIDI messages.
Here are some ideas:
Buttons/Keys: Simple push buttons can trigger note on/off messages.
You can create a simple piano style keyboard or drum pads layout.
Buttons could also switch programs or control channels on a synth.
Potentiometers: Pots allow you control a range of values with a simple knob twist.
These can send continuous controller (CC) messages or pitch bend/modulation signals.
Popular for filter cutoffs or effect controls.
Rotary Encoders: Turning an encoder dial can transmit incremental MIDI CC values allowing you to ‘endlessly’ turn a knob across a parameter range.
Pressure/Force Sensors:
Adding force sensing resistors lets you control MIDI values by physically pressing or squeezing the sensor.
Great for pressure sensitive aftertouch messages or velocity sensitivity.
Accelerometers: With accelerometer breakouts/modules, you can use motion and tilt as a MIDI input.
Fun for gestural controllers!
Consider creative case and enclosure options as well.
You can create a standalone portable MIDI controller unit or integrate it into an existing instrument.
Interfacing with Software & Hardware
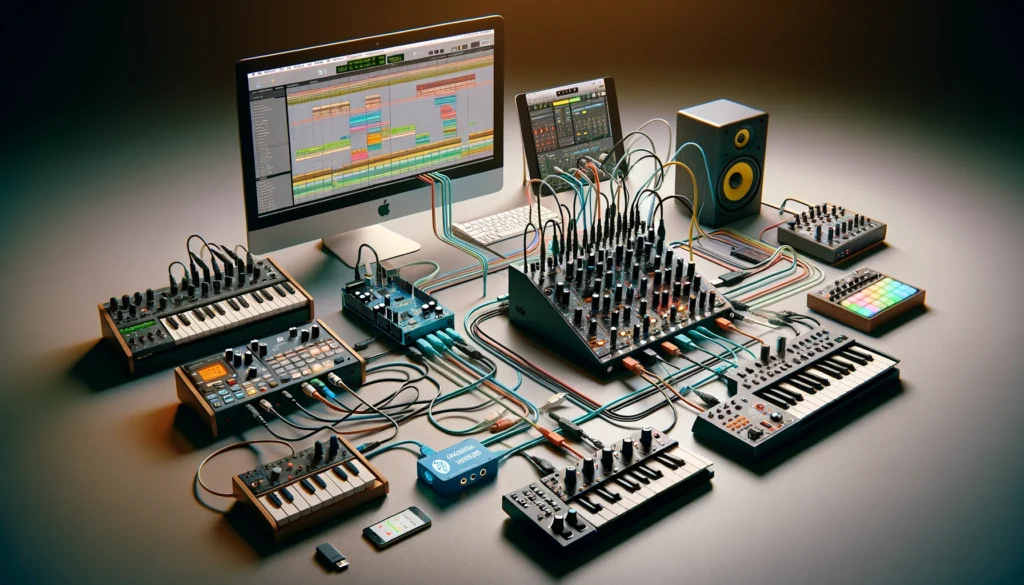
To actually use your Arduino MIDI controller, you will need to interface it with synths, samplers, computers and iPad/iPhone devices.
Here are some common connectivity options:
USB:
Using a USB host shield or MIDI over USB library, you can connect your controller directly to a computer/Mac/PC and control MIDI software like Ableton, Logic Pro, FLStudio and more.
5-Pin DIN MIDI Cables:
With a basic serial MIDI shield, transmit messages over 5-pin DIN cables to hardware synthesizers, drum machines, and MIDI interface units.
Use standard MIDI cables to chain multiple devices.
Bluetooth / Wireless:
For a cable-free setup, add bluetooth functionality with a module and transmit MIDI over bluetooth to devices like iPhones/iPads and Mac/PC computers and music apps.
Requires soldering and adapter device.
Once connected over USB, 5-pin, or Bluetooth, you will need to configure your Arduino controller’s messages to properly interface with MIDI software and instruments.
Most DAWs provide MIDI mapping functions to link physical controls to onscreen parameters.
Reading device manuals will help send the right Control Change numbers to external synth gear.
The fun begins when you see your custom Arduino MIDI creation come to life!
Conclusion
So in summary, Arduinos provide an extremely versatile and cost-effective way to build your own custom MIDI controller.
With some basic components, MIDI software sketches, creative enclosure design, and configuration with your gear, you can construct a MIDI controller tailored exactly to your music performance and production needs.
Empower your electronic music setup with more control and interactivity with an Arduino at the center!
