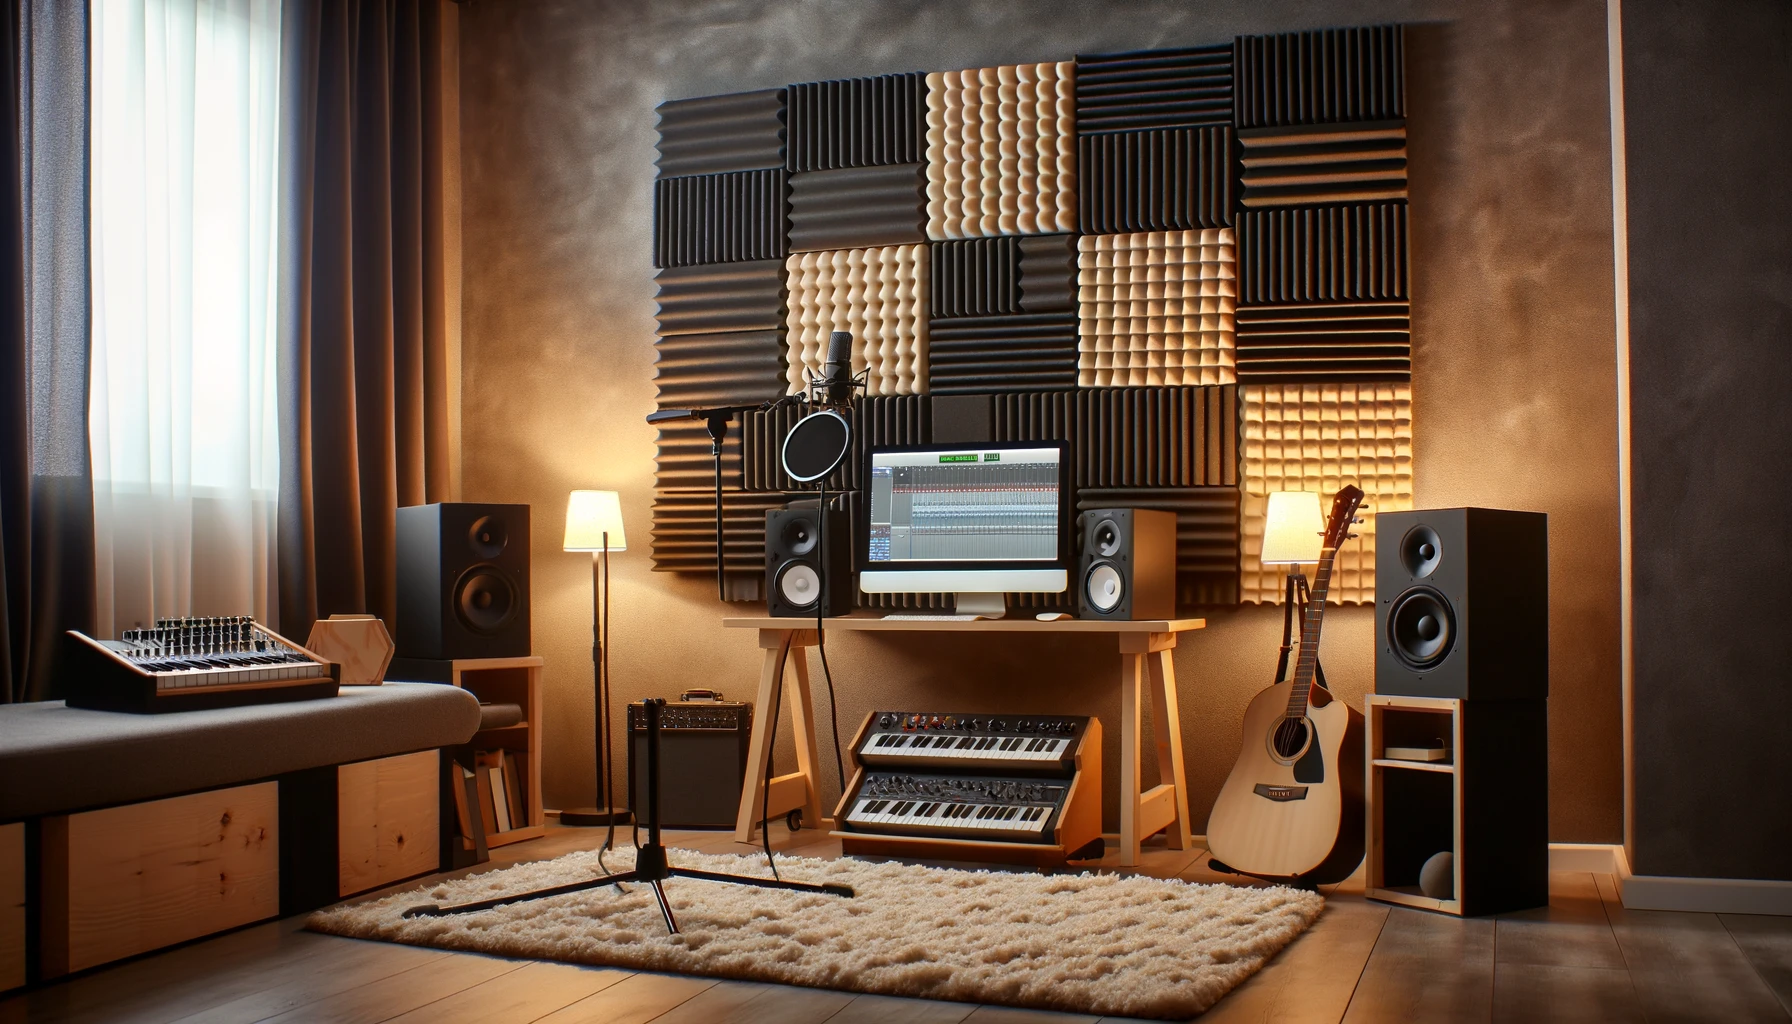
Struggling with bad acoustics but don’t want to damage your walls?
Installing acoustic foam can help absorb sound and reduce echoes without permanently altering your walls if done correctly.
Let’s take a closer look at how to put up acoustic panels the right way.
Can I install acoustic foam without damaging my walls?
Yes, you can install acoustic foam on walls without causing any damage by using removable adhesive options.
Double-sided foam tape offers a secure but non-permanent method.
Just be sure to properly prepare surfaces and carefully measure foam panels first.
We’ll explore more damage-free acoustic foam application techniques below.
Choose the Right Type of Acoustic Foam
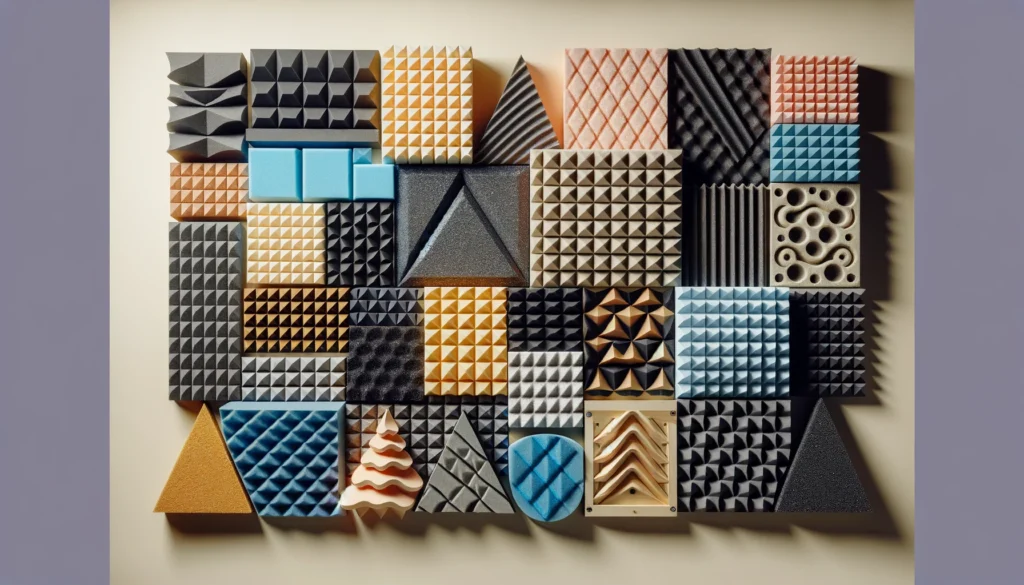
Acoustical foam panels come in different types and materials.
Open-cell foam panels allow sound to penetrate in and be absorbed at a higher rate, rather than reflecting it back into a room like closed-cell foam does.
Open-cell foam panels tend to be more delicate though, so they may not be the best choice for situations where durability is paramount.
For an installation method that minimizes potential wall damage, consider self-adhesive, peel and stick acoustic foam panels.
These have an adhesive already applied to the back of them, so no messy glues or caulking compounds are needed.
Foam tiles with a removable, repositionable adhesive backing are another great option.
These can be rearranged or replaced easily if you decide to modify your setup down the road.
Self-adhesive Foam Panels
Self-adhesive foam panels are the easiest acoustic foam option to install without damaging walls.
The adhesive allows you to stick the foam directly onto the wall surface.
Many types of self-adhesive panels use a strong foam tape that adheres securely, but does not leave behind residue when removed.
Self-adhesive acoustic foam typically provides decent sound absorption and diffusion properties.
The open-cell polyurethane material traps audio waves as they hit the wall and enter the foam, reducing echoes and reverberation.
The wave pattern contours on many self-adhesive foam panel types also help scatter sound effectively.
However, for extremely demanding soundproofing applications with high sound pressure levels, self-adhesive foam panels may not be suitable.
Prepare the Wall Surface

Any wall where you want to adhere foam panels will need to be properly prepped first.
Thoroughly clean the surface area to remove dust, oils, or any contaminants that could get in between the adhesive and wall surface.
Make sure the wall does not have any large cracks, holes, bumps or other major surface defects.
Smooth out small gaps or imperfections with drywall joint compound or wall filler if necessary.
Prime Painted Walls
Painted walls should be lightly sanded with fine grit sandpaper to remove gloss and slightly etch the surface.
Apply one coat of quality primer formulated for wall adhesion, tinting the primer similar in color to the paint color if possible.
This will maximize the adhesive bond between the foam panel materials and wall paint.
After priming, let the wall dry fully before installing panels.
For Rental Properties
If you are in a rental home or apartment, consider limiting acoustic wall panel installations only to certain areas, or using options that do not require adhesive at all.
That way, you can remove panels cleanly upon moving without concern of wall damage or conflict with property management over “defacing” walls.
Your options may be more limited, but even tensile-mounted wall panels or foam tiles using non-damaging putty can still help reduce echo and reverberation issues in problematic rooms.
Use Appropriate Adhesives
Depending on what exact material you are applying to the wall, different adhesives may be suitable.
For easily removable foam tiles, a repositionable mounting putty works well.
For slightly more permanent peel and stick foam pads, the existing applied adhesive backing should suffice.
And for hardcore permanent installations, low VOC construction adhesive applied in small amounts offers a damage-free method.
Double-sided Foam Tape
Double-sided foam tape provides the least damaging adhesive solution for attaching acoustic foam panels to walls.
The foam tape comes in thin rolls with adhesive on both sides.
Simply cut pieces to size and attach them to the back of foam panels per the manufacturer’s guidelines.
Then press the foam/tape combo onto the wall for instant mounting.
This method allows for damage-free future removal if necessary.
When shopping for double-sided foam tape, opt for one rated for the weight of the panels and that uses acrylic-based, pressure sensitive adhesive.
The adhesive strength should be suitable for foam but still repositionable.
For example, 3M offers several double-sided foam tapes perfect for use in mounting foam acoustic panels without wall damage upon removal, such as their VHB Tape.
Measure and Cut Foam Panels

For a professional looking installation with minimal gapping or excess adhesive needed, accurately measuring and cutting panels is essential.
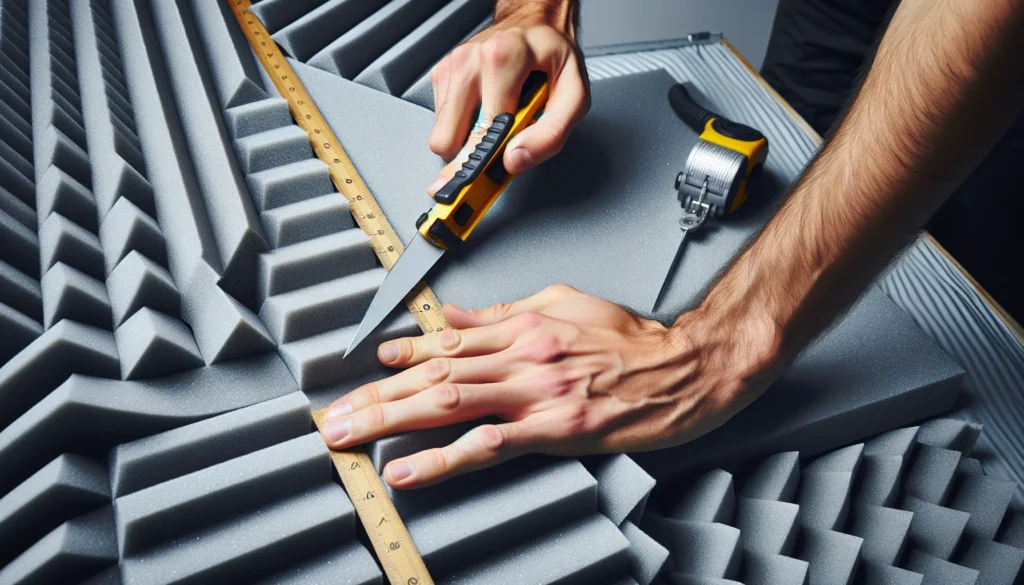
Determine the wall dimensions where the panels will be placed, and utilize an adjustable large ruler or tape measure to size them accordingly.
Mark all cutting lines clearly with pencil or pen, and clamp a straight metal ruler as an edge guide.
Use a Sharp Utility Knife
Carefully cut foam panels to required sizes using a new, sharp utility knife and steady downward force along the guides.
Change blades frequently for easiest cutting through the material.
This will also help achieve the straightest possible cut edges with a minimum of fraying.
Avoid a rough sawing motion to prevent tearing foam.
Additionally, any ragged edges can be lightly sanded smooth after cutting if desired.
Properly measured and cut panels mean you won’t have large gaps that require filling with excessive caulk or other permanent adhesives for a finished look.
This in turn prevents potential damage upon future foam panel removal.
Take your time measuring twice and carefully cutting for the most professional DIY acoustic foam wall installation results.
Apply Foam Panels Carefully

When securing foam panels to walls using adhesive, take care in application for damage-free installation and future removal capability.
Remove any protective plastic film covering self-adhesive foam prior to sticking onto walls.
Press panels gently but firmly in place, being careful not to let them slip out of position.
Finally, follow any adhesive manufacturer recommendations for proper curing time before finishing.
Use Adhesive Sparingly
One key tip when using construction adhesive for foam panels is applying it sparingly.
Rather than running full beads across the panel backs, use small dabs instead.
This lessens bonding contact with the wall, allowing the panels to be removed later with less surface impact.
It also reduces adhesive squeeze-out between panel edges for easier cleanup.
Apply tiny drops of adhesive evenly across panel backs, then gently press into place on walls.
Use a soft roller tool to firmly adhere the entire foam surface and maximize acoustic performance.
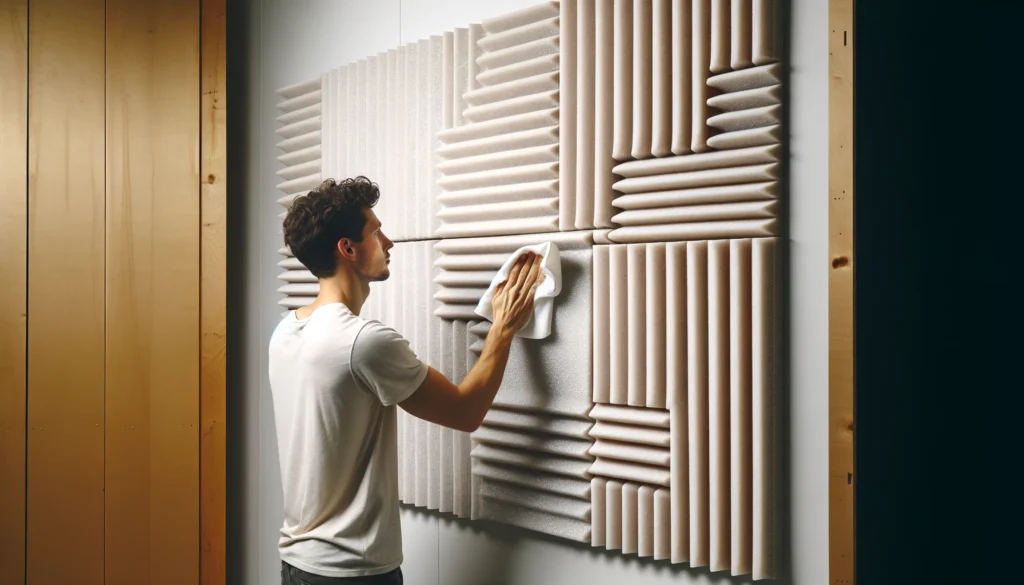
Wipe away any minimal adhesive oozing immediately with a damp cloth.
Allow panels to cure fully before enjoying your new sound absorption solution.
Fill Gaps and Corners
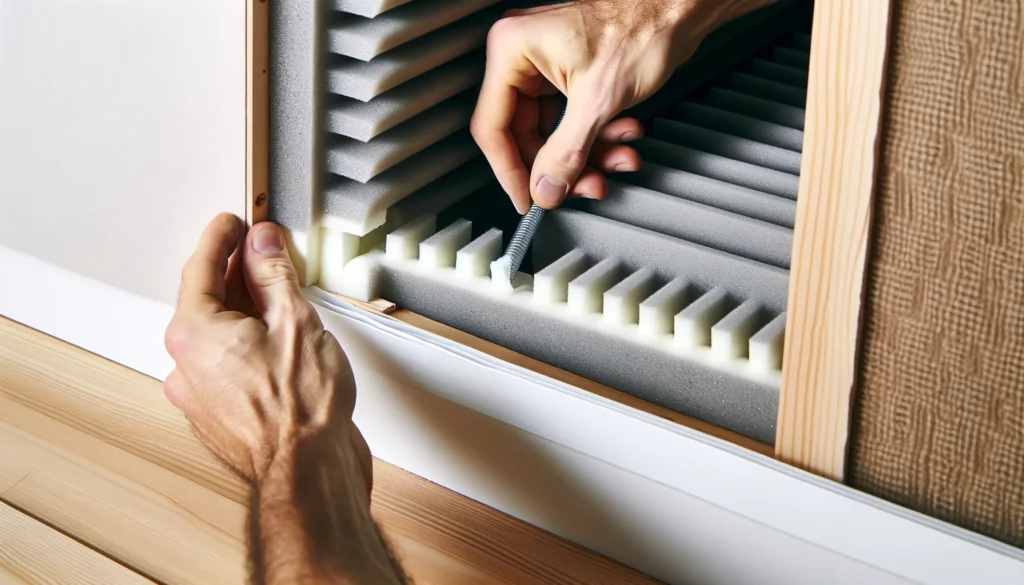
For the most seamless, aesthetic look, fill any gaps between foam panels and wall edges with appropriate flexible trim pieces.
Use forgiving materials similar to the panels that can flex if touched or impacted without damage.
For precision corner fitting, cut narrow filler strips from panel material scraps with a sharp utility knife and sand smooth if needed.
Foam Backer Rods
Flexible foam backer rod offers an excellent choice for light filling and sealing between spaced out wall panels.
This cylindrical, rope-like foam comes in variable diameters to accommodate different gap widths.
Push into spaces between panels and wall edges, then seal ends in place with a dab of clear silicone or acrylic caulk for subtle, effective light blocking.
Backer rod insertion between foam acoustic panels minimizes sound leakage while allowing arrangements to flex slightly without cracking caulk joints.
This preserves future panel removability without firmly adhering gaps shut or requiring permanent caulking compound use, preventing wall surface damage.
Carefully plan panel layouts and measure gap widths precisely before purchase and application of backer rods for flawless acoustic foam panel installations.
Conclusion
With the right acoustic foam products selected, appropriate adhesives, careful measurement and cutting techniques, and mindful wall surface preparation, you can achieve studio-grade sound absorption without permanently altering or damaging walls.
Test panels in small areas first before deploying throughout larger rooms.
Follow all manufacturer instructions for adhesive use and foam care.
Most importantly, enjoy the peaceful tranquility resulting from reduced noise and enhanced audio clarity after acoustic foam installation.
Your ears will thank you!
