How to Put Acoustic Foam on Cinder Blocks (4 Methods That Stick)
How to put acoustic foam on cinder blocks starts with a simple assumption: “easy mounting” is a trap. Yes, foam can go on block, but only if you plan for dust, porosity, and texture.
If you’ve tried spray adhesive and watched panels sag, that’s the wall soaking up glue and shedding chalky dust. You end up re-hanging foam, scraping residue, and still hearing slapback.
Do it the right way and you get panels that stay put and a room that sounds tighter and less harsh. If you’re still choosing foam, compare the best acoustic foam panels and the best acoustic foam shape options before you commit to something that’s a pain to mount.
Start by picking the wall/area you’re treating (usually the reflection path near your mic or speakers), then clean and test the surface. After that, choose either a board/strip approach for the cleanest finish or screws/washers when you want maximum security.
If your main problem is boomy bass rather than harsh reflections, foam won’t fix that by itself. Start with the bass traps hub and the broader acoustic treatment hub so you’re treating the right problem.
Bare block usually needs boards/strips or fasteners. Painted or sealed block can work with heavy-duty strips if the surface is truly clean.
Why Cinder Blocks Are Challenging
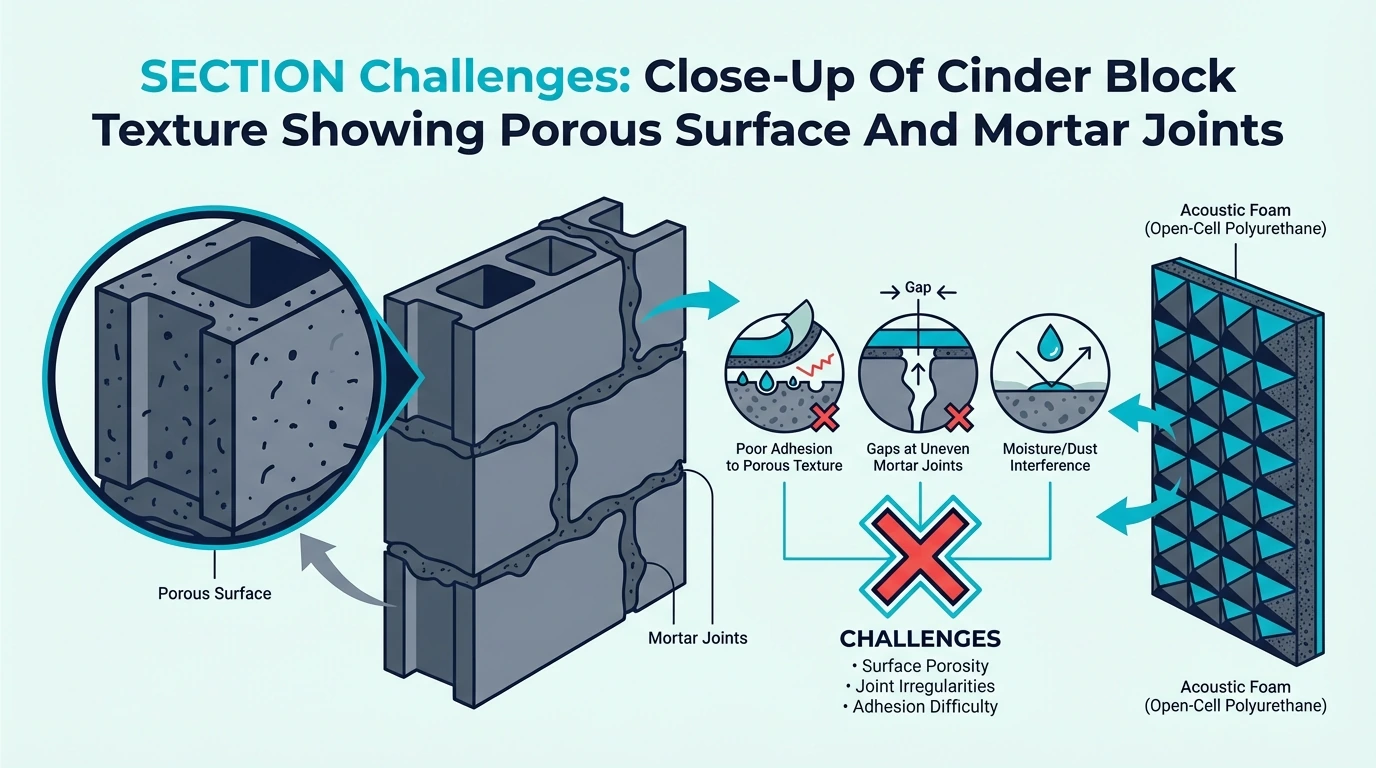
Cinder blocks fight you in three ways: they absorb adhesive, they don’t give you full contact, and they shed dust.
Once you understand those constraints, the “best” mounting method becomes obvious. You either create a smoother mounting surface (boards/strips) or you fasten mechanically.
Porous Surface
Cinder blocks absorb adhesive, weakening the bond. Standard spray adhesives get sucked into the block before they can grip the foam.
This porosity is why methods that work on drywall fail on masonry. On cinder blocks, you need a gap-filling adhesive or a mounting method that doesn’t depend on full surface contact.
The absorption rate varies by block age and composition—older blocks tend to be more porous, while painted or sealed blocks are less so. Testing adhesive on a small area first reveals how your specific blocks behave and prevents you from wasting a full can on an approach that won’t stick.
If your foam needs trimming to fit around obstacles, our guide to cutting acoustic foam covers clean techniques.
Rough Texture
The uneven surface means foam only contacts high points. Less contact area means weaker adhesion.
Where drywall provides nearly full contact, cinder blocks might only provide partial contact depending on texture. That’s why you either need more adhesive to fill gaps or fasteners to physically secure the foam.
This reduced contact area requires either more adhesive (to fill gaps) or mechanical fasteners (to physically secure the foam regardless of surface contact).
Mortar Joints
Joints between blocks create gaps where foam can’t make contact. Panels spanning multiple blocks may bridge over joints, creating air pockets behind the foam.
These gaps don’t significantly affect acoustic performance—foam still absorbs sound regardless of what’s behind it. But they can affect adhesion if panels are only secured at the blocks and not the joints.
Dust and Debris
Cinder blocks shed dust continuously. Surface contamination prevents adhesive bonding.
Even blocks that look clean often have a fine dust layer that compromises adhesive grip. If your wipe comes away gray, you’re not ready to mount yet.
Thorough cleaning is non-negotiable for adhesive methods. Skip this step and your foam will eventually fall off, regardless of which adhesive you use.
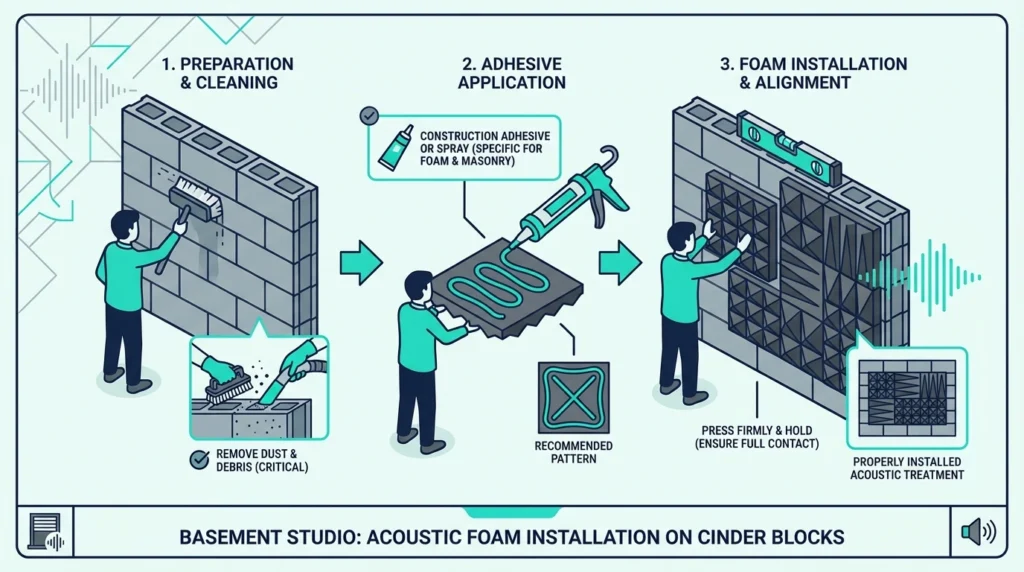
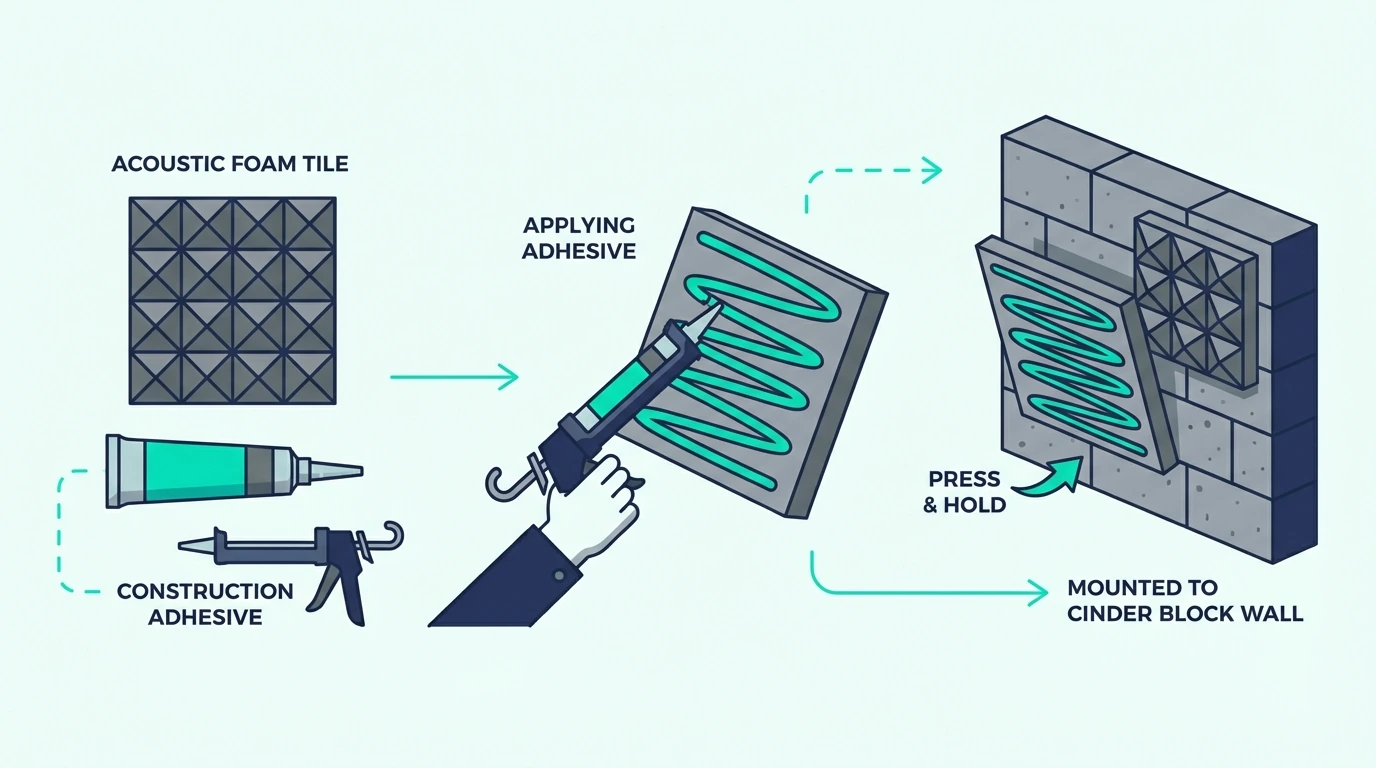
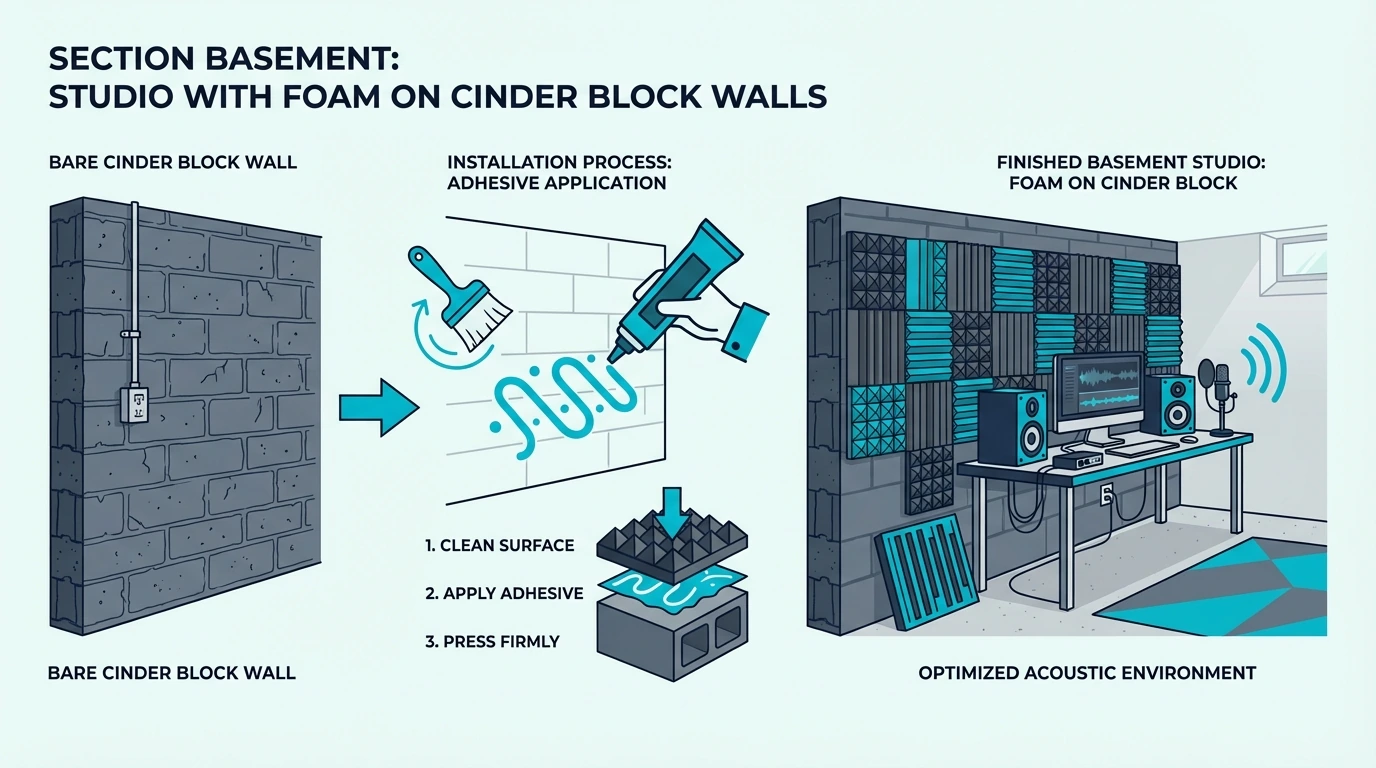
Method 1: Construction Adhesive (Recommended)
Construction adhesive provides the strongest bond for porous surfaces.
If you’re bonding foam to a backing board first (the cleanest way on rough block), 3M Super 77 Multi-Surface Spray Adhesive spreads evenly and grabs quickly.
3M Super 77 Multi-Surface Spray Adhesive
For a more controlled application (and less mess), Auralex Tubetak Pro lets you run beads and press the foam in place without overspray.

Auralex Tubetak Pro
Start by brushing or vacuuming the block, then do a wipe test; if the cloth still comes away gray, keep cleaning.
Apply adhesive in thick beads or a zigzag so it can bridge the block texture, then press the foam (or board) firmly for about a minute.
Support the panel while it cures using painter’s tape or temporary props.
Give it a full day before you trust it without support, and longer if the room is cold or humid.
Use more adhesive than you would on drywall and push the foam into the high points so you get real contact.
Work in small sections so the adhesive doesn’t skin over before you seat the panel.
Get Studio Tips Weekly
Join 5,000+ creators getting acoustic treatment advice every week.
No spam. Unsubscribe anytime.Method 2: Mechanical Fasteners
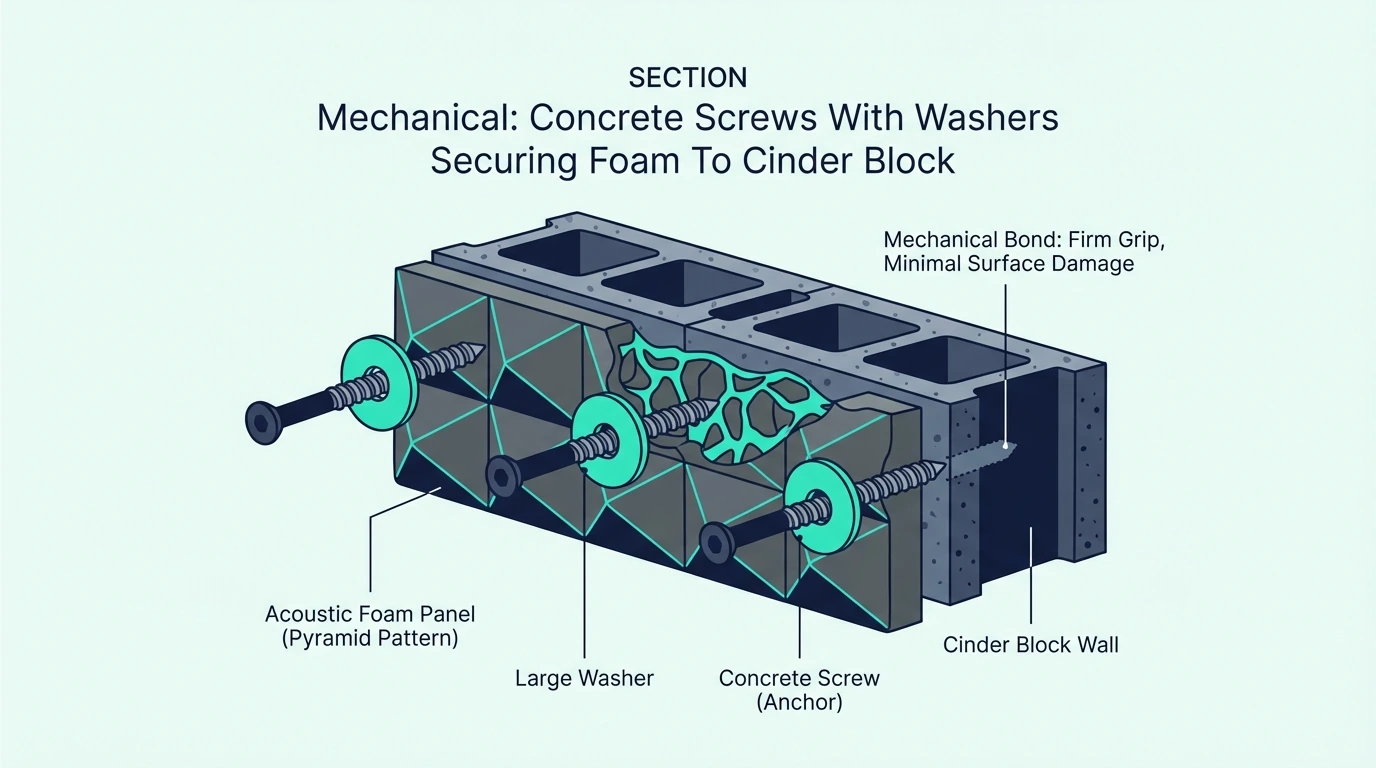
For maximum security, mechanical fasteners can’t fail.
You’ll need concrete screws, large fender washers, a hammer drill with a masonry bit, plus safety glasses and a dust mask.
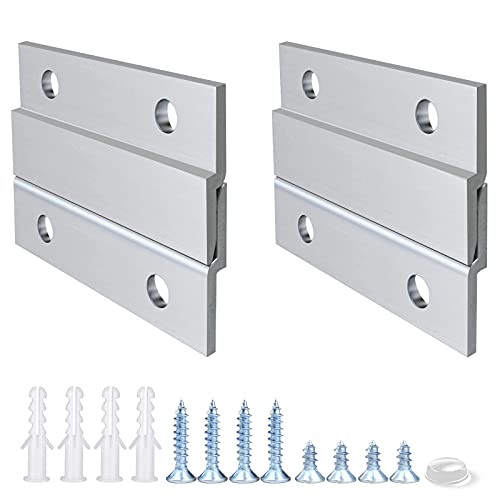
If you want to mount a backing board cleanly and keep it removable later, a hanging system like Aluminum Z-hanger wall-mount brackets makes the board lift on/off once it’s secured to the wall.
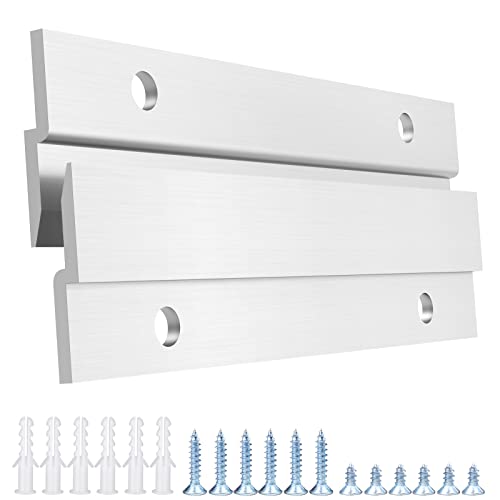
Aluminum Z-hanger wall-mount brackets
Mark corner and center points, then pre-drill clearance holes through the foam so the screw doesn’t tear it.
Drill into the block, add a washer, and tighten just until the foam is held, not compressed flat.
Mechanical fastening is the most reliable option because it doesn’t depend on adhesion at all, and you can remove panels later by backing the screws out.
The tradeoff is visible hardware and permanent holes, plus the added time and masonry dust from drilling.
Method 3: Furring Strips
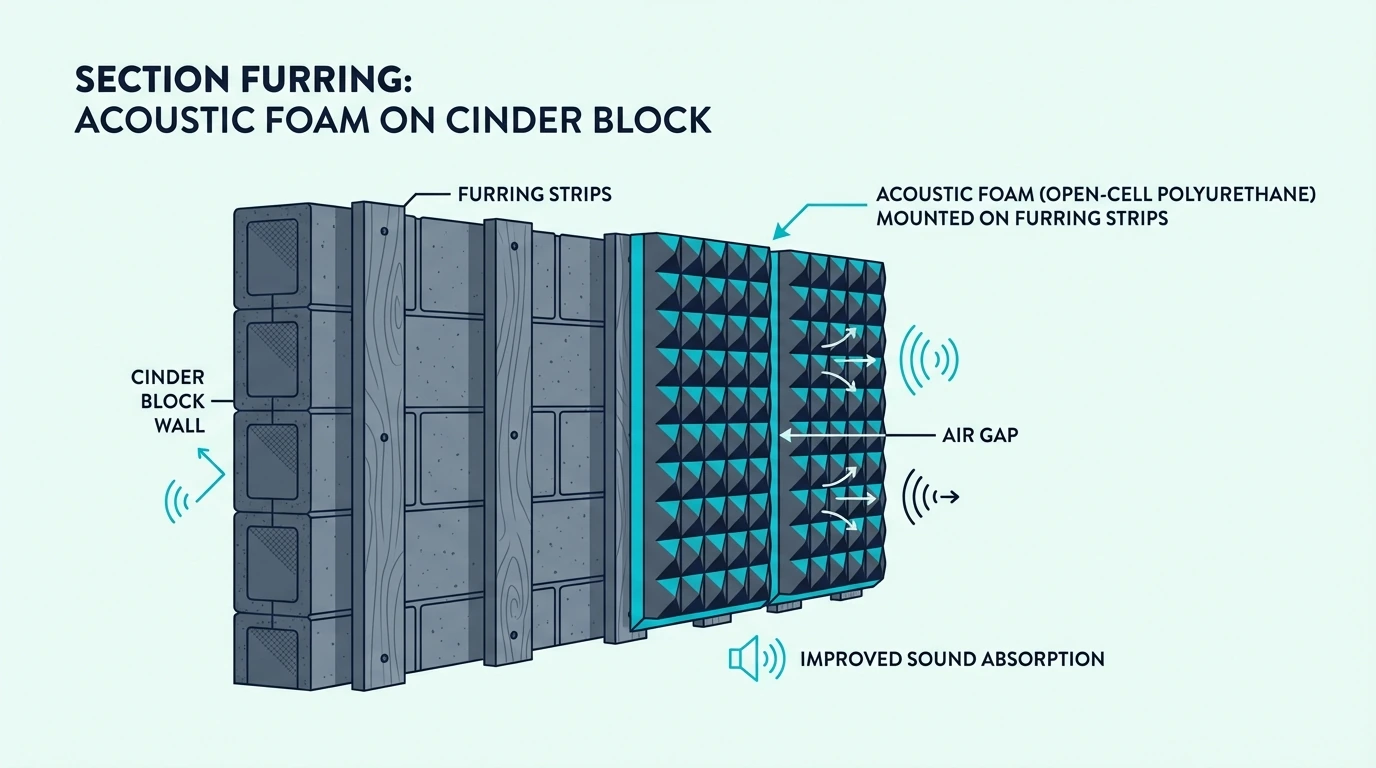
Furring strips create a smooth mounting surface, enabling standard installation methods.
Mount wooden furring strips to the cinder blocks, then attach foam to the wood using standard methods.
First mount the strips with masonry fasteners and check they’re flat and aligned.
Then attach foam to the strips using adhesive, fasteners, or staples, depending on how permanent you want it.
The main benefit is that you create a smooth mounting surface, which makes straight rows and consistent adhesion much easier.
You also get an air gap behind the foam, which can slightly improve low-frequency absorption compared to foam pressed directly against the block.
Method 4: Heavy-Duty Adhesive Strips
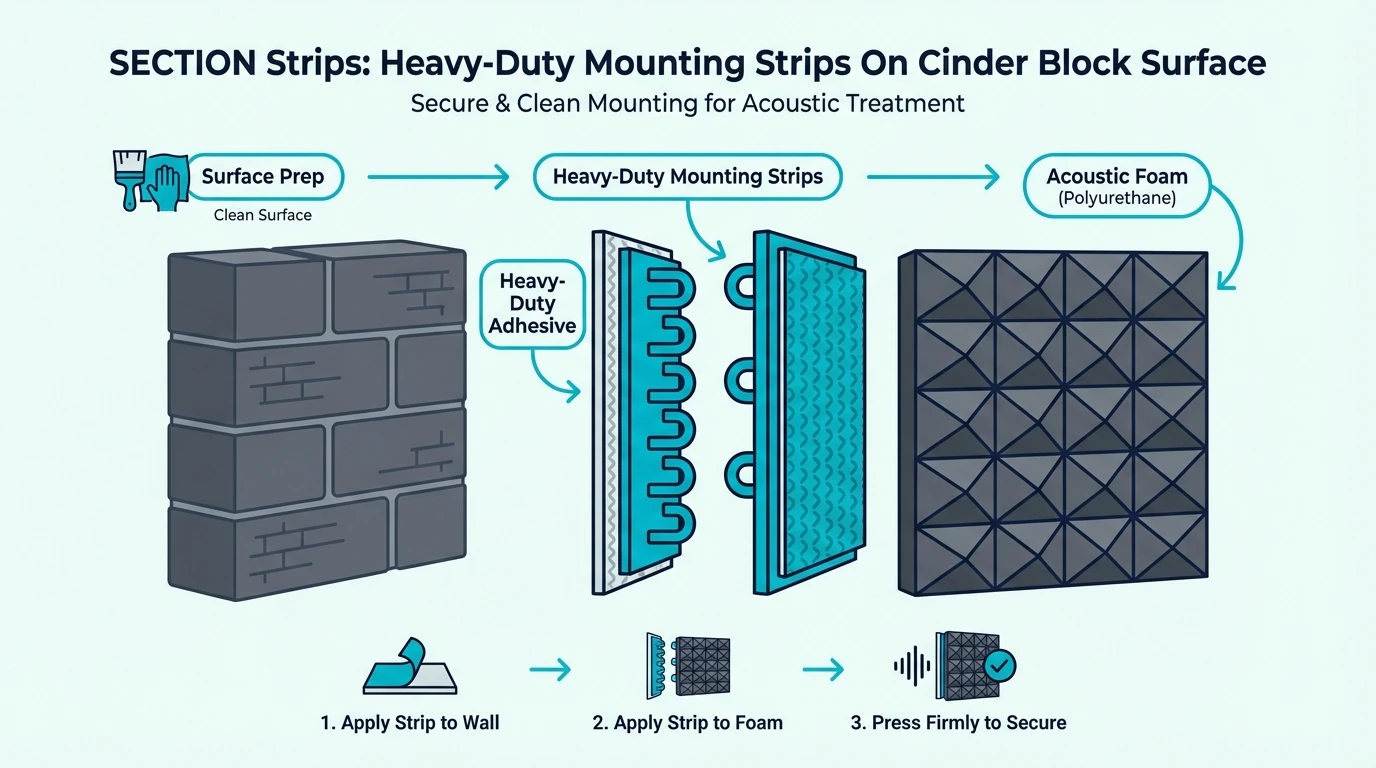
For removable installation, heavy-duty strips can work—with limitations.
For painted or sealed block, Command 20 lb X-Large Picture Hanging Strips are one of the few removable options that can work.

Command 20 lb X-Large Picture Hanging Strips
For small, light foam tiles (and only on a truly clean surface), Command Poster Strips can be useful.
Command Poster Strips
Clean the surface thoroughly with rubbing alcohol, then let it fully dry. If the wall still feels chalky, stop and switch to furring strips or fasteners.
Apply strips to the high points on the block texture and use more pairs than you would on smooth walls. Press firmly for 30+ seconds per strip, then allow 24 hours before full load.
This approach is less reliable than permanent methods, and humidity can weaken adhesive over time.
It also depends on a very clean surface, and it’s a poor choice for ceiling mounting.
Surface Preparation

Proper prep is critical for any adhesive method.
Start with a wire brush to knock loose material off, then vacuum the pores so you’re not trapping dust under adhesive.
Finish with a damp wipe and give the wall enough time to dry before you mount anything.
If blocks are painted:
Make sure the paint is well-bonded and not peeling, then scuff glossy paint lightly and clean the sanding dust thoroughly.
For very porous blocks, a concrete sealer helps in several ways. It reduces adhesive absorption, creates a more consistent bonding surface, and can help with moisture management in damp spaces.
Apply sealer, let cure per product instructions, then mount foam.
Basement and Garage Considerations
Cinder block walls are common in basements and garages, which have additional considerations.
If you’re treating a vocal corner in a small, reflective room, the best acoustic foam for podcasts roundup can help you pick foam that’s easy to work with.
Before you mount foam, check for water infiltration and deal with it first, because trapped moisture is a mold risk.
If the basement runs damp, prioritize ventilation and consider a barrier behind any boards you mount.
In garages, big temperature swings can weaken adhesives over time.
If you want set-and-forget reliability, use mechanical fasteners or mount boards/strips and hang them.
These spaces tend to be dustier, so plan to vacuum the foam occasionally with a brush attachment. Our guide to cleaning acoustic foam covers safe techniques that won’t damage the cells.
If maintenance is a priority, consider treatment options that are easier to wipe down than open-cell foam.
For more foam buying and placement guides, start at the acoustic foam hub.
Combining Methods
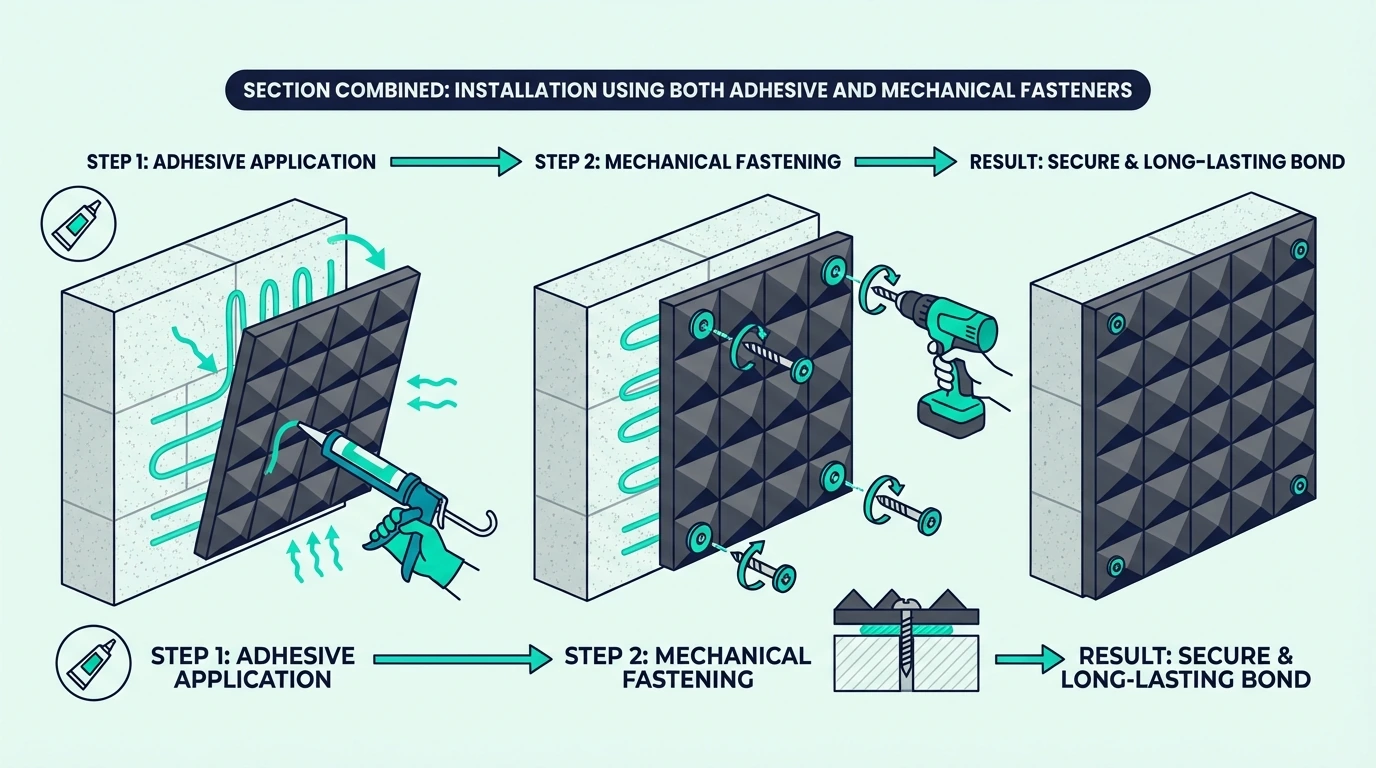
For maximum security, combine methods.
Apply adhesive, then add one or two screws per panel so the foam can’t slide while the adhesive cures.
This “belt-and-suspenders” combo is ideal when failure would be expensive to fix.
Mount strips mechanically, then attach foam to the strips with adhesive for a clean look.
If you want removable boards instead of permanent strips, French Cleat Picture Hanger 2 Inches Aluminum Z Hanger can make it easy to lift panels on and off.
French Cleat Picture Hanger 2 Inches Aluminum Z Hanger
Consider combining methods when you’re mounting overhead, using large/heavy panels, or working in high humidity. The more “consequences” you have from a panel falling, the more redundancy you want.
Alternative Approaches
If traditional mounting proves too difficult, consider alternatives.
Freestanding panels lean against the wall, which avoids mounting entirely and works on any surface.
They’re also easy to reposition, which is useful if you’re still experimenting with placement.
Ceiling-hung panels can treat reflections without touching the wall at all.
The downside is that you need safe ceiling anchor points and you have to plan your height and spacing.
DIY frames let you build panels you can lean, hang, or mount to boards without fighting the block texture.
They can also look better than bare foam, and if you want foam packs that mount cleanly on boards, see best acoustic foam panels.
Conclusion
Cinder block walls require more effort than drywall, but secure foam installation is achievable. The best method depends on whether you want permanent mounting or the ability to take the setup down later.
For most people, furring strips (or boards) are the cleanest long-term solution because they create a smooth mounting surface. Mechanical fasteners are the most secure option when you need near-zero failure risk.
Whatever method you choose, thorough surface preparation is essential. Clean blocks, remove dust, and allow adequate drying time.
For basement and garage installations, also account for moisture and temperature swings, since those conditions can weaken adhesives over time. When in doubt, combine methods so screws hold while adhesive cures.
Frequently Asked Questions
Will regular spray adhesive work on cinder blocks?
Not reliably. Standard spray adhesive gets absorbed into porous cinder blocks before it can bond properly.
If you want adhesive-only mounting, use a construction adhesive formulated for porous surfaces. For cleaner results, mount a backing board first and glue the foam to the board.
Can I use Command strips on cinder blocks?
Heavy-duty strips can work on clean, painted cinder blocks, but they’re less reliable than on smooth surfaces. Use more strips than recommended, press firmly, and allow 24 hours before full load.
Avoid this method for ceiling mounting or humid environments. If you need reliability, switch to boards, strips, or fasteners.
Do I need to seal cinder blocks before mounting foam?
Sealing isn’t required, but it can help. A concrete sealer reduces porosity, which can create a more consistent bonding surface for adhesives.
If your blocks are very porous or you’re seeing adhesion problems, sealing is worth considering. Test on a small area first to see whether it changes grip.
How do I remove foam from cinder blocks later?
Removal depends on your mounting method. Construction adhesive is usually permanent, so expect the foam to tear and leave residue.
Mechanical fasteners allow clean removal by unscrewing. If you used strips, removal depends on how smooth the surface is and how long the adhesive has been in place.
Should I paint cinder blocks before mounting foam?
Paint can help or hurt. Quality paint in good condition provides a smoother bonding surface, while peeling or chalky paint will cause adhesive failure.
If you paint, use masonry primer and allow full cure time before mounting anything. Treat it like you’re preparing for tape, not just making the wall look nicer.
What about the gaps at mortar joints?
Mortar joints create gaps where foam doesn’t contact the wall. For most acoustic purposes, this doesn’t matter, because the foam still absorbs sound.
If gaps bother you visually, use smaller panels that fit within individual blocks, or mount foam to boards so the layout ignores the joint pattern. That also makes it easier to keep rows straight.

