How to Cut Acoustic Foam (Clean Edges, Straight Lines, No Tear-Out) [2026]
Cutting acoustic foam is easy—but it’s also the fastest way to ruin a panel if you rush it.
One heavy pass with a dull blade crushes the ridges and leaves a fuzzy edge that looks obvious once it’s on the wall.
This guide shows you which tools actually cut foam cleanly, how to get straight lines, and how to fix the usual mistakes without starting over.
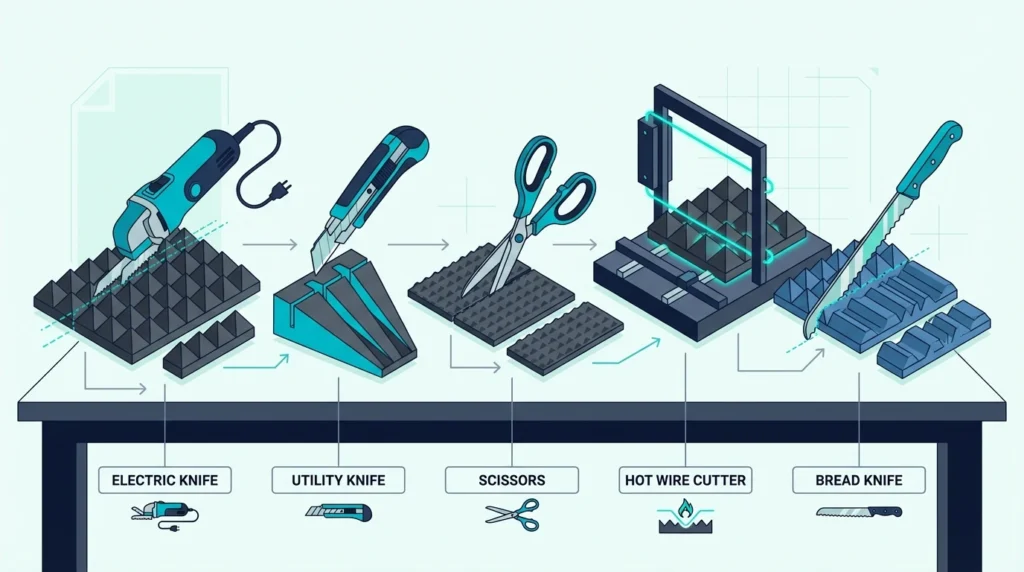
Start with the utility-knife method, then switch to scissors, an electric knife, or a hot wire cutter only when the foam and the cut shape call for it.
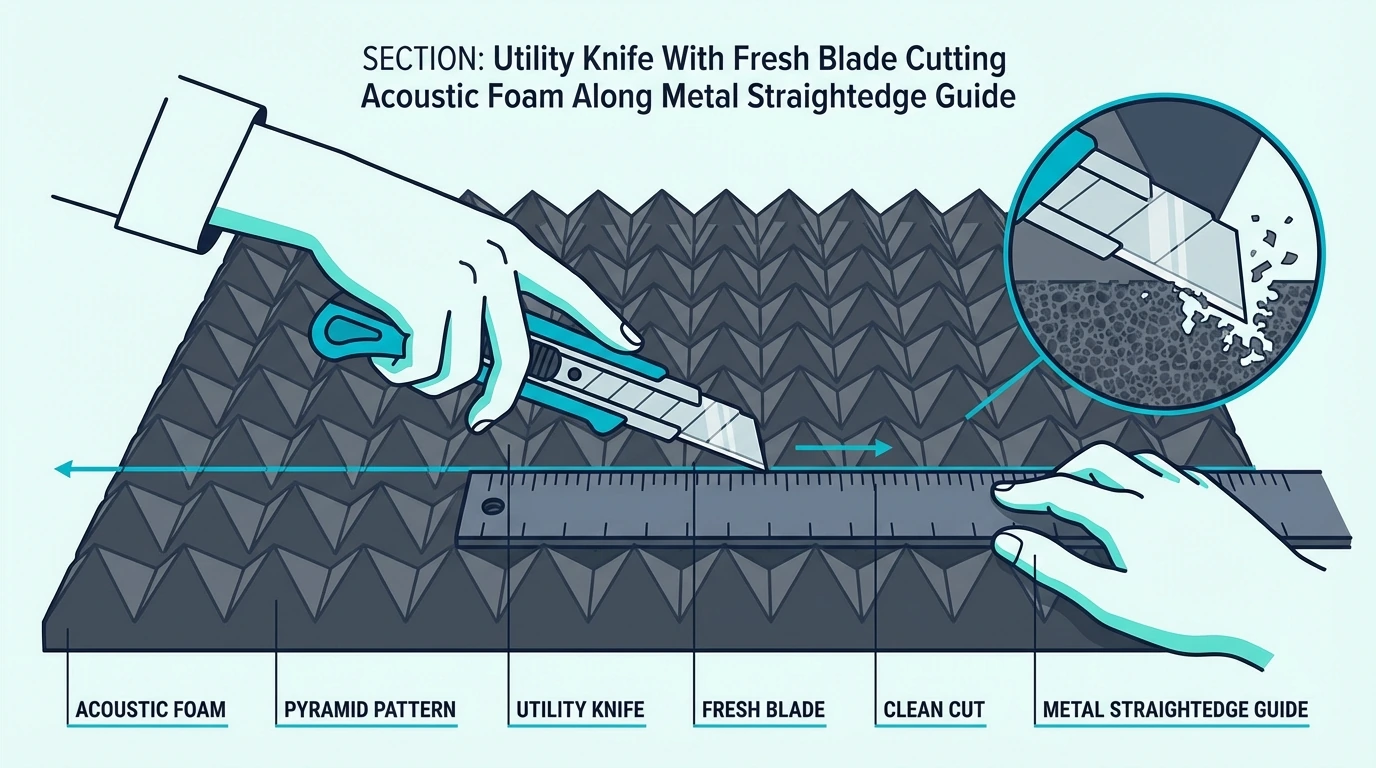
For straight cuts, mark the back of the panel, use a metal straightedge, and make several light passes with a sharp utility knife. For thick foam or lots of cuts, an electric carving knife is often faster and cleaner than forcing one blade through.
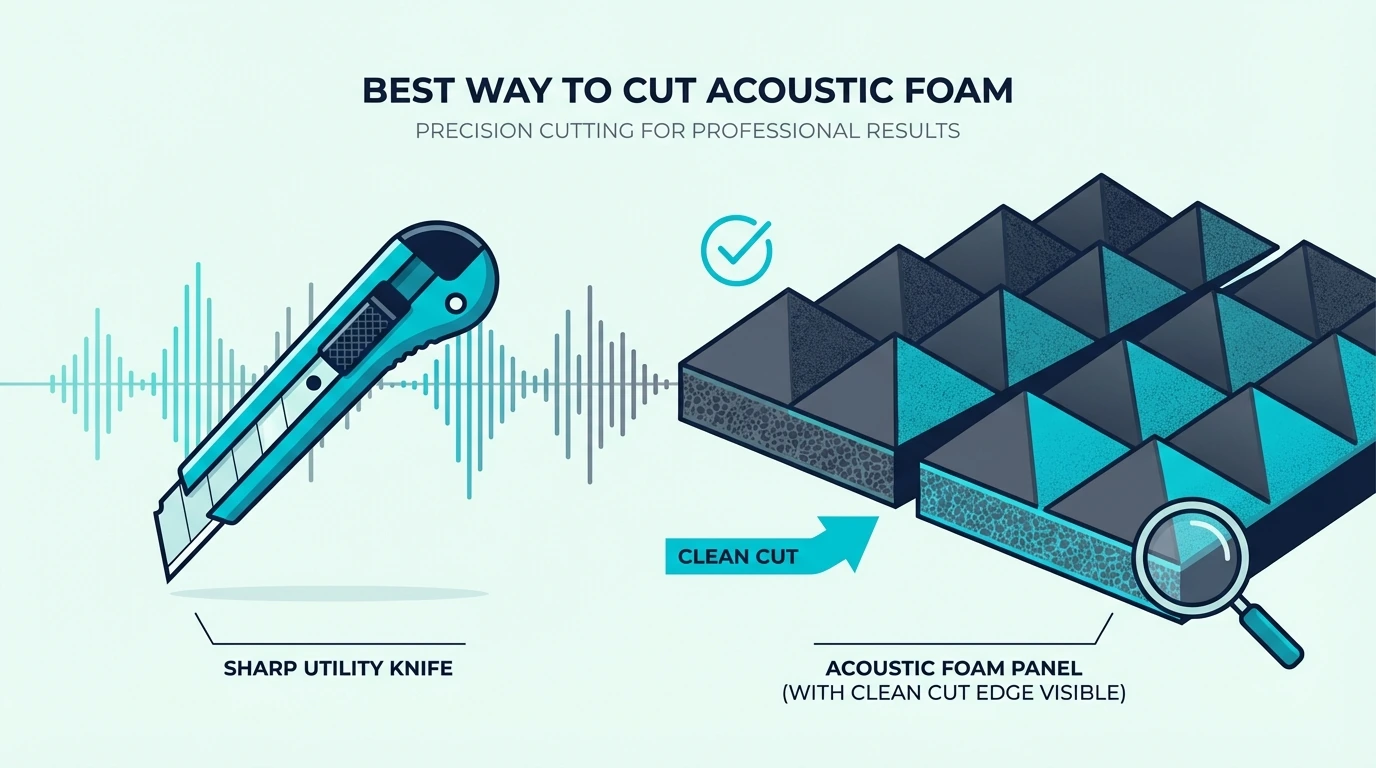
What’s the Best Way to Cut Acoustic Foam?

The “best way” depends on two things: how thick the foam is and how visible the cut edge will be once you install it.
If you’re trimming a hidden edge behind a corner or desk, you can get away with less. If the edge will be front-and-center, take the slower route and do it clean.
Here’s the short decision guide:
For most straight cuts, a sharp utility knife and a metal straightedge give you the cleanest line. Use sharp fabric scissors for thin foam and small notches, switch to an electric carving knife when the foam is thick or you have a lot of cuts, and only reach for a hot wire/hot knife when you need precision shapes and can ventilate the area.
If you’re cutting foam to fit a layout, plan your coverage first so you don’t trim twice. Use how to arrange acoustic foam to map the wall before you start shaving panels down.
How to Cut Acoustic Foam Straight (Utility Knife Method)
This is the cleanest method for most foam thicknesses, and it’s the one to learn first.
The goal is to slice the foam cells, not compress them. That’s why multiple light passes beat one “power cut” every time.
If you want a knife that makes blade swaps painless, the Stanley Quick-Change Utility Knife is a solid pick for foam work.
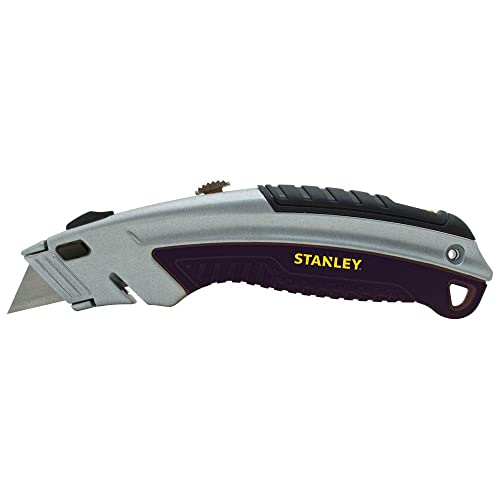
Stanley Quick-Change Utility Knife
Step 1: Mark from the back
Flip the foam panel so the flat side is facing up. Mark your cut line on the back so any tiny imperfections end up hidden.
Use a marker, not a pencil. Pencil lines disappear into foam texture, and you’ll start “guessing” mid-cut.
Step 2: Lock your straightedge in place
Use a metal ruler, drywall square, or aluminum angle as your guide. Weight it down or clamp it so it can’t slide.
If your straightedge shifts halfway through, the cut will wander. Foam is forgiving, but it can’t fix a wobbly line.
Step 3: Make light passes (don’t force it)
On the first pass, barely score the surface to create a groove. Then repeat, letting the blade drop deeper each pass.
If you feel yourself pushing hard, stop and change blades. “More pressure” is what makes foam tear and look fuzzy.
A simple rule: if the blade starts dragging or snagging, swap it immediately. Blades are cheaper than foam, and a fresh edge is what makes the cut look intentional instead of “ripped.”
On 1-inch foam, you’ll usually need 2–3 light passes; on 2-inch foam, plan on 4–6. If you try to force a one-pass cut through thick tiles, you crush the cells first and the edge ends up fuzzy even with a straightedge.
Step 4: Keep the blade vertical
Hold the knife at roughly 90 degrees to the foam. Angling the blade compresses one side and creates a beveled edge that never looks quite straight.
If you’re cutting panels before mounting, pair this with your install plan so your seams land where they’re least noticeable. The install steps in acoustic foam wall install help you avoid weird gaps and misaligned rows.
Get Studio Tips Weekly
Join 5,000+ creators getting acoustic treatment advice every week.
No spam. Unsubscribe anytime.How to Get Clean Edges (and Fix Ragged Cuts)
Most “bad cuts” aren’t permanently bad. They just need a cleanup pass with a sharper blade and a calmer hand.
Start by checking the foam itself. If it’s old, brittle, or crumbling, it will shed no matter how perfect your technique is.
Here are the fastest fixes that work in real life:
If the edge looks fuzzy, do one shallow cleanup pass with a fresh blade, barely shaving the surface. If the line wandered, re-square your straightedge and trim a thin strip to true it up, and if the ridges are crushed, cut from the back next time and avoid pressing the guide into the peaks.
If your foam feels too soft to cut cleanly, you may be fighting low-density material. Compare what you bought against the better picks in best budget acoustic foam before you spend hours trying to “make it look expensive.”
If panels are already mounted and you’re trying to trim in place, be careful with adhesives. You’ll get a cleaner result removing the panel first, then re-mounting with the right approach from acoustic foam adhesive.
When Scissors Actually Work (Thin Foam and Small Trims)
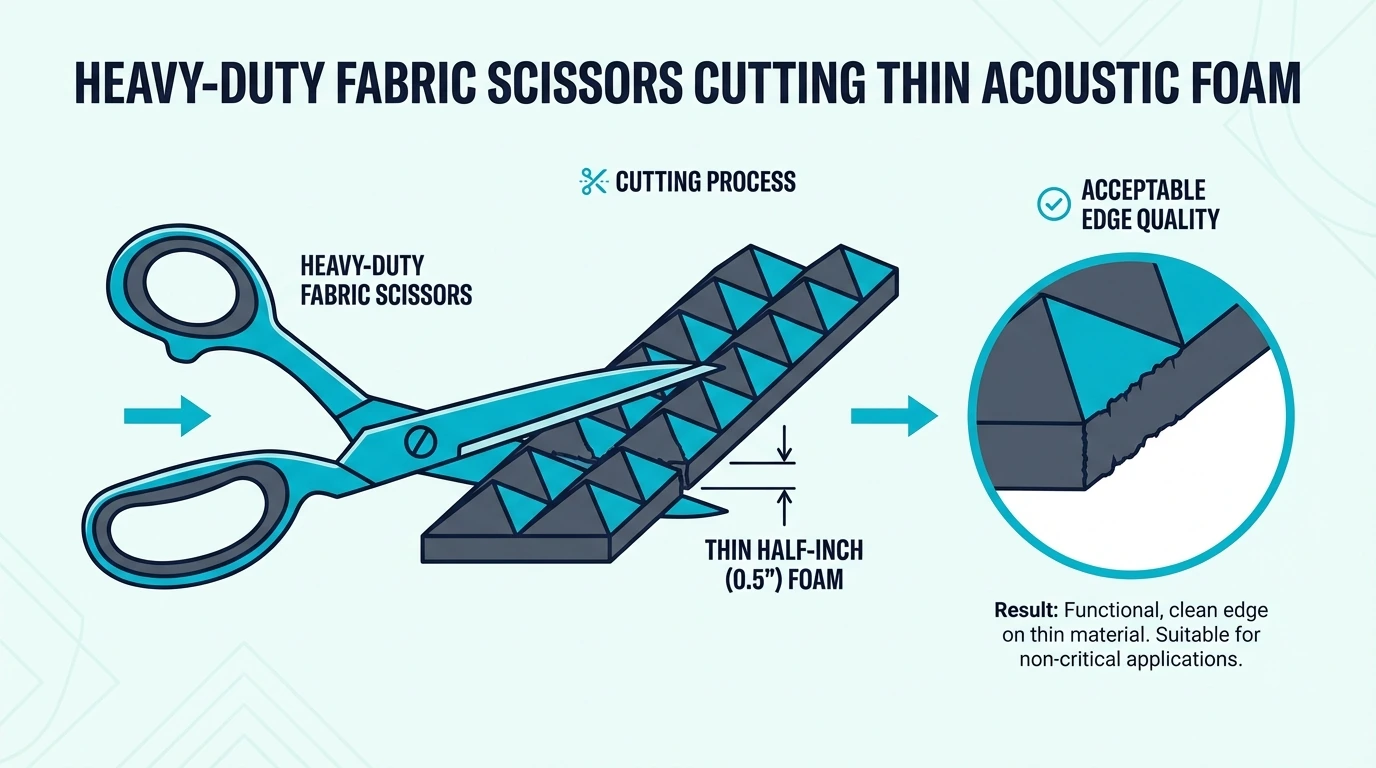
Scissors are useful, but only in the right situation. They’re best for thin foam, quick corner trims, and small notches where a utility knife would overcut.
They’re not great for long straight cuts on thick foam, because the blades compress the material as they close.
For thin foam and clean trims, the professional fabric scissors make the job less frustrating.
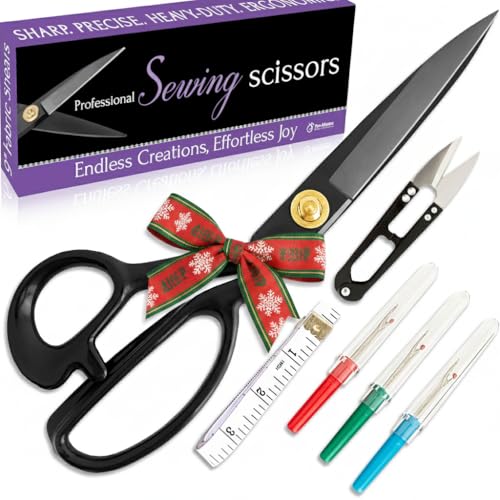
professional fabric scissors
Scissor technique that avoids jagged edges
Use the longest cuts you can instead of lots of short snips. Short snips create a scalloped edge that looks like it was chewed.
Cut near the pivot (not the tip) to get the most leverage. The tip is where scissors flex, and flex is where foam tears.
If you’re cutting foam for a ceiling install, keep your cuts neat because overhead seams are harder to hide. The placement and mounting notes in acoustic foam ceiling install will save you from redoing a row later.
Electric Knives: The Easiest Way to Cut Thick Foam
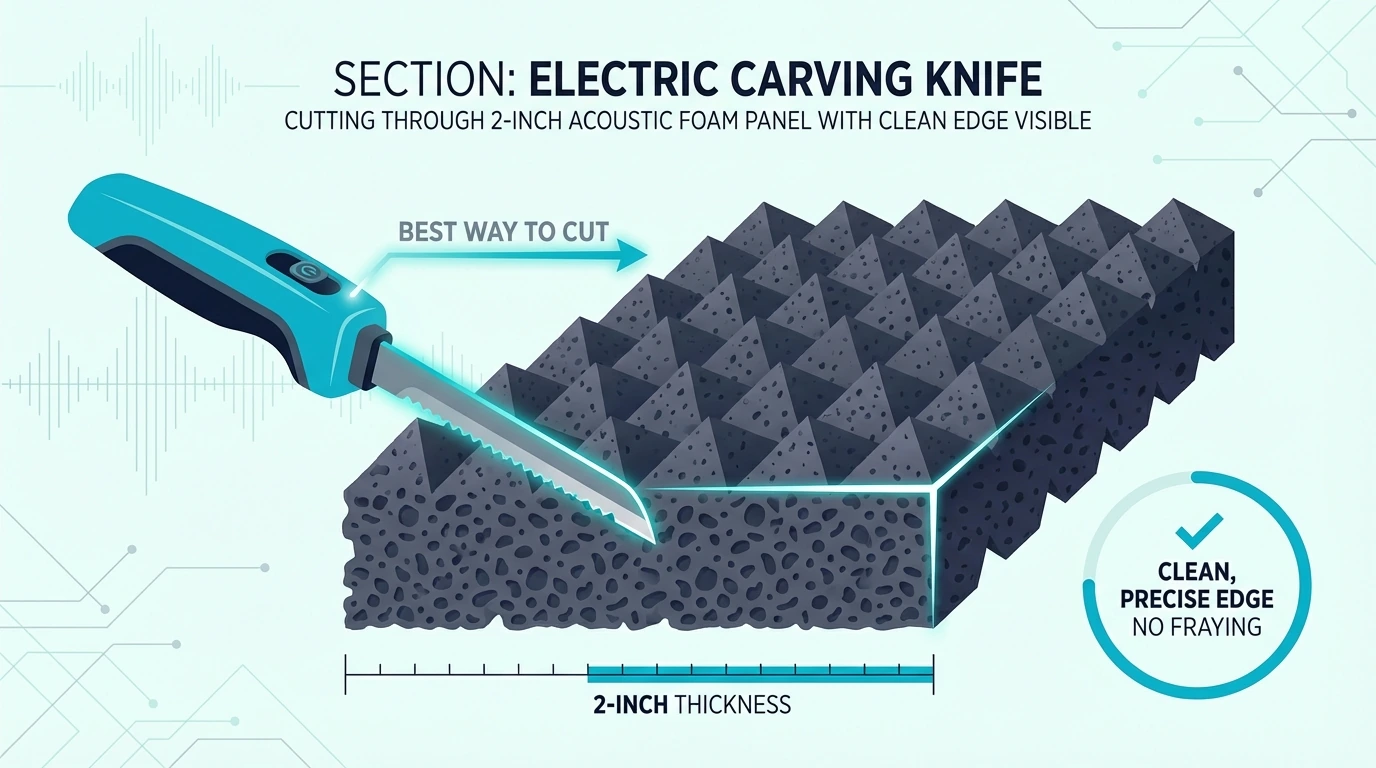
If you’re cutting a lot of foam—or you’re working with thicker tiles—an electric carving knife can be the easiest option.
The reciprocating blades slice without you pressing down hard, which means less compression and cleaner edges.
The electric carving knife is a good fit when you want clean cuts without doing five passes by hand.
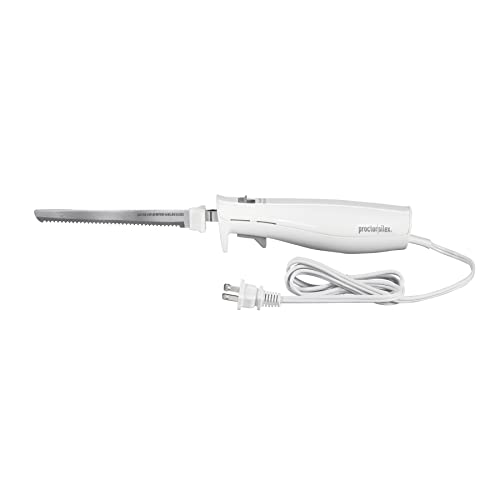
electric carving knife
Electric-knife tips that keep cuts straight
Mark and guide the cut the same way you would with a utility knife. The tool is faster, but it still follows your line.
Let the blades do the work and avoid pushing down hard. If you force it, you’ll still compress the foam and the cut will wander.
If you’re buying thicker foam specifically because you want better absorption, make sure you’re choosing the right shape and thickness for your goal. The picks in best acoustic foam panels and best acoustic foam shape can help you avoid “thick foam that still doesn’t do much.”
Hot Wire / Hot Knife Cutters: Clean Cuts, But Not for Every Setup
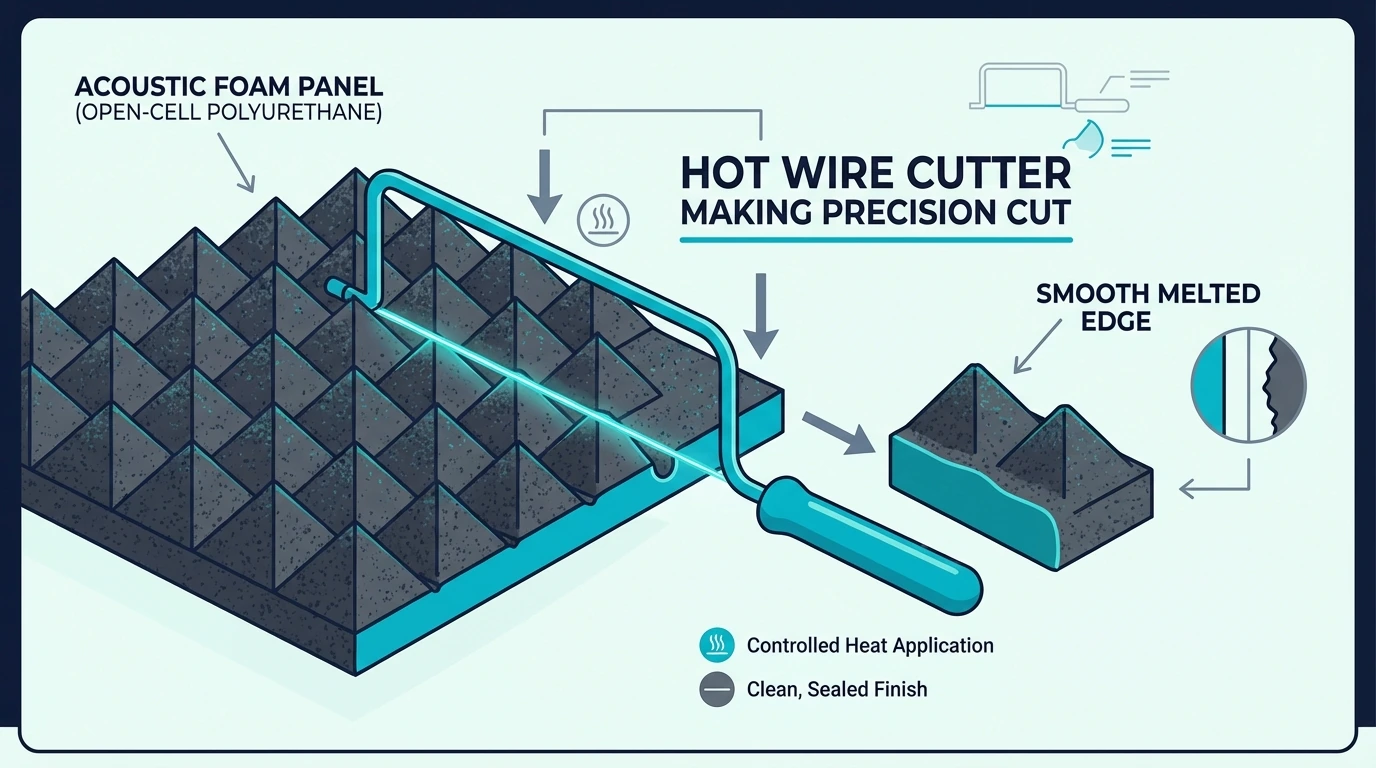
Hot wire and hot knife cutters can make very clean, smooth edges, especially on custom shapes.
The trade-off is heat, fumes, and setup time. If you’re cutting foam in a small room, this is the one method you shouldn’t casually improvise.
If you do want a hot cutting tool for precision work, a hot knife foam cutter set is a reasonable way to get started.
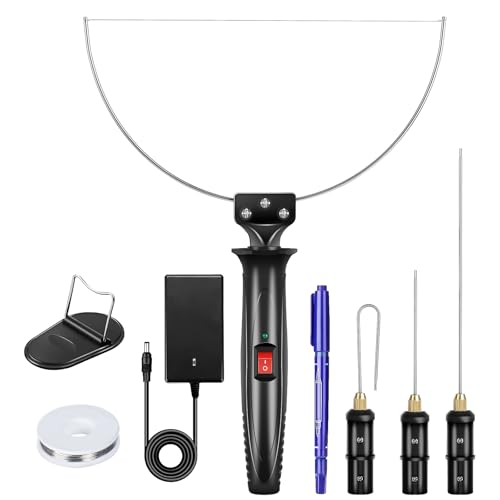
hot knife foam cutter set
Safety and “is it worth it?”
Cut in a ventilated area and keep the hot tool away from anything you don’t want melted. Don’t treat this like a quick kitchen hack.
For most people, the utility knife method is still the cleanest, lowest-risk approach. If you’re trying to fix a bigger acoustic problem, it’s worth remembering that foam is treatment, not soundproofing, and sometimes the better upgrade is panels instead.
If you’re on the fence, compare options in acoustic foam vs acoustic panels. It’ll help you decide whether you should be trimming foam or changing the plan entirely.
The Bottom Line
For most projects, the best way to cut acoustic foam is a sharp utility knife, a metal straightedge, and patience. Multiple light passes create cleaner edges than one hard cut.
Use scissors for thin foam and tiny trims, an electric knife for thick foam or lots of cuts, and a hot wire cutter only when you truly need precision shapes and can work safely.
If your foam won’t cut cleanly no matter what you do, it may be the foam—not you. In that case, upgrading the material can save more time than perfecting the technique.
Frequently Asked Questions
Can you cut acoustic foam while it’s on the wall?
You can, but it’s rarely worth it. Removing the panel first gives you cleaner cuts and helps you avoid tearing the foam or the wall.
Does cutting acoustic foam reduce its performance?
Not by itself. The problem is tearing or crushing the foam cells during cutting, which can make edges less effective and look messy.
How do you cut foam around outlets or switch plates?
Make a paper template, trace it on the back of the panel, and cut the opening slightly small. You can always shave a little more off, but you can’t put foam back.
Can you use a serrated bread knife on acoustic foam?
Sometimes, especially on thick foam, but it’s easier to tear the ridges if you saw aggressively. If you use one, go slow and keep the foam supported.
What’s the cleanest cut for visible edges?
A sharp blade, a straightedge, and light passes from the back side. If you need a perfect edge for a visible seam, plan your layout so the seam lands in a less noticeable spot.

