Do you cringe when noises from other rooms echo through your wall vents?
Soundproofing your wall vents can help block irritating noise transfer for more peaceful rooms.
Let’s dive into a complete guide on how to soundproof a wall vent in 6 simple steps.
Why Soundproof a Wall Vent?
Having noise transfer from one room to another through wall vents can be annoying and disruptive.
The sounds from televisions, music, appliances, and even conversations can easily travel through open ductwork and vents, reducing privacy and peace within your home.
Soundproofing a wall vent blocks unwanted noise and helps prevent vibrations from your HVAC system from emitting noise into rooms.
There are several benefits to soundproofing wall vents:
It reduces noise transferring between rooms, containing sounds to their source and preventing echoing of voices or media throughout your home.
This increase in acoustic isolation allows each room to have its own peaceful environment without disruptive ambient noise.
With a soundproofed vent, noises stay where they originate instead of intruding into other spaces.
Soundproofed vents also help block noise from your HVAC system, like the humming or whooshing sounds the ductwork makes when the system turns on.
This distracting mechanical noise can be heard throughout the home, but soundproofing materials absorb and dampen the vibrations so the sounds are minimized room by room.
Increased privacy is another reason to soundproof wall vents. You likely don’t want private conversations or sounds drifting into other rooms for housemates to hear.
Soundproofing contains noise and gives each room personalized acoustic privacy without concerns over noise transfer to other areas of your home.
Additionally, soundproofed vents can allow for more individualized sound environments in each room.
For example, someone can listen to music in one room while another person watches a loud action movie in another without the noise crossover bothering anyone.
Overall, soundproofing a wall vent is an effective way to reduce unwanted noise traveling through your ventilation system.
The simple project helps rooms maintain their own distinct auditory environments for privacy and acoustic comfort.
Materials Needed

Soundproofing a wall vent requires just a few materials that can be easily purchased or found around your home:
- Acoustic caulk – This flexible caulking is used to seal air gaps and cracks around the vent to prevent sound leakage. Acoustic caulk stays permanently flexible to absorb vibrations rather than transferring them like rigid caulking. This is key for noise reduction.
- Soundproof duct liner – This insulation liner is molded to fit inside ductwork right in the ventilation path. It’s installed inside the vent opening to absorb sound within the duct before it emits into rooms. The soft, porous liner dampens noise.
- Vibration isolating duct connector – This flexible connector installs between the vent and ductwork to decouple the system. It acts as a buffer that reduces noise caused by vibrations from the HVAC system transferring through the ducts to the vents. This prevents mechanical noise from emitting from the vent.
- MDF or plywood – Thin sheets are used to build an enclosed soundproof box around the vent. MDF and plywood block noise while the enclosed box isolates and contains the noise without letting it spread.
- Acoustic sealant – Sealant is brushed onto the interior joints of the soundproof box to seal them completely. This creates an airtight barrier that prevents any noise leakage from the box. High-quality acoustic sealantoptimizes the box’s noise blocking.
- Insulation – Sound-absorbing insulation like fiberglass or rockwool is inserted into the soundproof box around the vent to further dampen noise. The materials absorb any sound waves within the box to prevent transfer beyond the enclosure.
These supplies are readily available at most hardware stores or home improvement centers.
Many materials may already be available in your home or garage, like plywood or fiberglass insulation offcuts.
Purchase only what is needed for your specific vent soundproofing project without overbuying.
How To Soundproof A Wall Vent
Unwanted noises traveling from room to room through wall vents can be annoying.
The sounds of televisions, music, appliances, and conversations echoing through your ductwork destroy privacy and disrupt your home’s peace.
Follow this guide to learn how to effectively soundproof a wall vent.
1. Prepare the Vent
Before installing soundproofing materials, the wall vent must be prepped properly:
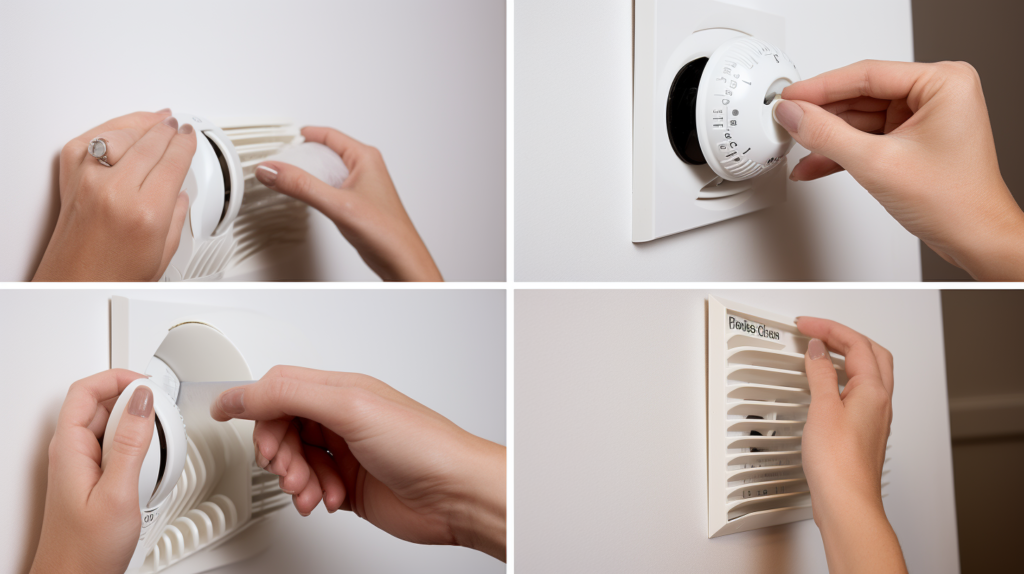
First, turn off your HVAC system via the thermostat to prevent air from blowing through the vent while you work.
Your HVAC system should remain off until the project is complete to keep air pressure and flow at zero during the soundproofing process. This allows for safe access.
Use a screwdriver to remove the vent cover so you can access the full vent opening and ductwork behind it.
Be sure to save any screws for later reinstallation. Set the cover and screws in a safe, out-of-the-way space for later reattachment.
Thoroughly clean inside the vent and duct opening using a vacuum hose with a soft brush attachment.
Remove any dust, dirt, cobwebs or debris that could impede adhesion of the soundproofing materials later applied.
A clean application surface allows for optimal noise reduction, while any lingering debris can allow sound to pass through gaps.
Check the edges around the vent opening and use a flexible acoustic caulk to seal any cracks, gaps, or imperfections.
These small openings allow noise to leak through, so it’s crucial to seal them completely with caulk to create an impermeable barrier.
Take time to carefully seal around all vent edges and perimeter surfaces.
The vent is now prepped for installation of soundproofing materials. Ensuring it is clean, sealed and accessible allows the materials to work most effectively.
2. Add Soundproof Lining

One method to reduce noise within the vent ductwork itself is to install sound absorbing duct liner:
Measure the dimensions of the vent opening so you can precisely cut the liner to an ideal size for full coverage.
Use a sharp utility knife to carefully cut the duct liner to match the exact shape of the vent. Wear gloves when handling the insulation to avoid skin irritation from the fiberglass material.
Apply adhesive to the backside of the liner as directed by the manufacturer, using the included adhesive brush or notched trowel to spread it evenly.
Press the liner firmly into place, smoothing it out fully to cover the inside duct surfaces of the vent opening. The insulation should adhere tightly.
Use acoustic caulk around the entirety of the liner edges to seal it into place within the vent ductwork.
Run a smooth caulk bead around all sides and corners to prevent any sound leaks or gaps around the liner.
The soundproof duct liner absorbs noise within the ventilation system itself, reducing the amount of noise emitted from the ducts into the room.
The liner material dampens the noise before it can enter the living space.
3. Install Vibration Isolator
Even with soundproof duct liner installed, vibrations from the HVAC system can still transfer through the hard connection of the vent to the ducts and cause noise.
Installing a vibration isolating duct connector between the ductwork and vent opening helps prevent this mechanical noise transfer:
Attach one end of the vibration isolating duct connector to the open vent using adhesive, screws or metal tape based on the connector type.
Attach it securely to create a smooth, seamless bond with the vent mouth.
Attach the other end of the connector to the open ductwork in the same manner, creating a secured connection to the ducts.
This suspends the vent within the flexible connector, decoupling it from the ductwork.
The connector acts as a buffer that absorbs system vibrations coming from the ductwork before they can reach the vent.
This reduces any noise emitted into rooms, providing acoustic isolation.
Proper installation of the connector is critical for reducing noise caused by ductwork vibrations transferring through wall vents.
A poorly attached or incomplete connection will still allow noise transmission.
4. Build a Soundproof Box
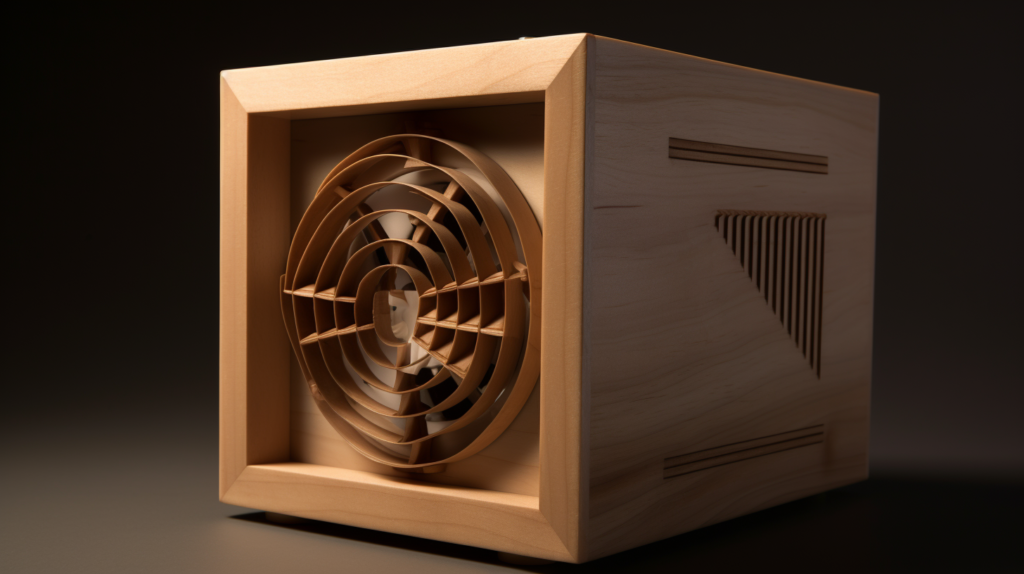
For optimal noise blocking, building an enclosed soundproof box around the vent isolates and contains any remaining noise:
First, measure the area surrounding the vent opening and cut panels of MDF or plywood to size to fit around it.
Cut the boards accurately to allow full coverage on all sides. Use adhesive to join boards into panels as needed to create surfaces large enough to span the required area.
Install the MDF or plywood panels around the vent opening using adhesive and sealant, overlapping at corners.
The vent should be fully enclosed with the panels while still allowing a 1-2 inch gap for proper airflow around the edges.
Fill the gaps between the vent and soundproof panels with sound-absorbing insulation like rockwool or fiberglass.
Pack it densely into the spaces to create a noise dampening barrier. This further absorbs any noise within the enclosure.
Use acoustic caulk or sealant applied with a caulk gun around all edges, seams and joints to seal the box.
Run the sealant between panels and against the wall surface to prevent air and noise leakage. The goal is an airtight box.
The soundproof box provides a sealed enclosure that contains noise and restricts transfer beyond the vent opening into the room.
Combined with the other soundproofing techniques, this isolated box delivers maximum noise reduction through the wall vent.
5. Reinstall Vent Cover
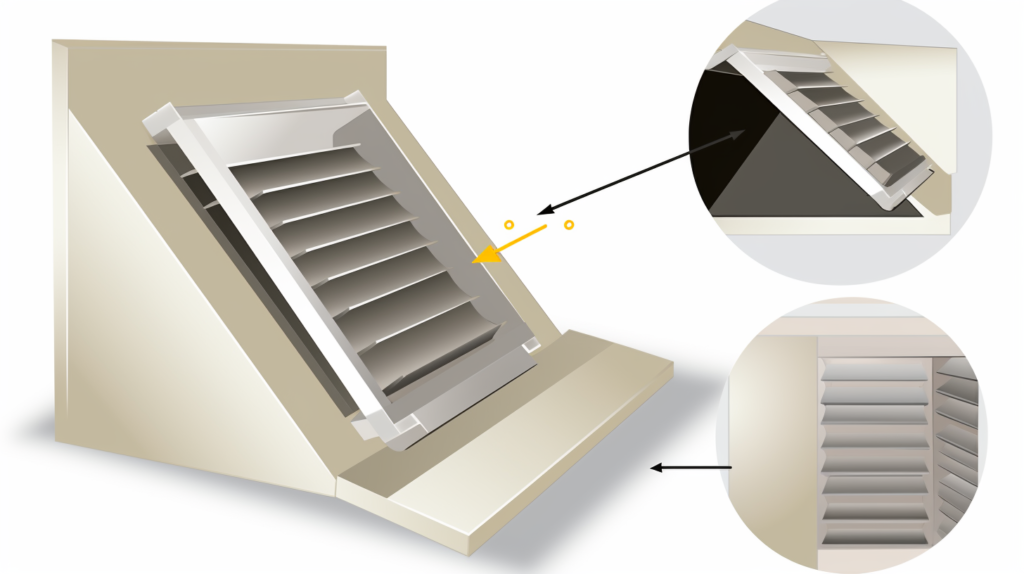
Once all soundproofing steps are complete, the vent cover can be reinstalled:
Locate the vent cover saved from removal in the first steps.
Place it back over the opening, carefully lining up any screw holes with those on the soundproof box or vent surface depending on the setup.
Reattach the cover using the original screws, checking that each is tightened securely without stripping. Ensure the vent cover is properly aligned and attached firmly against the wall or ceiling.
With the cover reinstalled and visually indistinguishable from before, the vent will appear normal on the surface but is now soundproofed to block noise emission.
Take care not to damage or shift the soundproofing materials attached behind when reinstalling the vent cover.
6. Test for Noise Reduction

The final step is confirming the soundproofing efforts were successful by testing noise reduction:
Turn your HVAC system back on via the thermostat. Air should flow properly through the vent to allow heating and cooling functions.
The soundproofing should not restrict desired ventilation when correctly installed.
Listen closely on each side of the wall vent to determine if noise levels are reduced between rooms.
Have someone speak or generate sound on one side while you listen from the other.
The transmission of sound through the vent should be significantly decreased compared to before the soundproofing project.
If noise is still able to be heard between rooms, double check for overlooked gaps in the soundproof materials.
Look for cracks or openings allowing sound leakage and recaulk these spots. Additional insulation or adjustments of the soundproof box panels may also help optimize noise blocking.
The project is complete once unwanted noise is no longer able to transmit through the wall vent.
With effective soundproofing, occupants on each side will enjoy increased acoustic isolation for privacy, comfort and peaceful environments.
With a few simple materials and following these steps, you can successfully soundproof a wall vent for substantial noise control and increased acoustic isolation between rooms or floors.
Just be sure to allow proper continued airflow and ventilation by not over-sealing vents. Reduced noise transfer makes for happier occupants and a more pleasant home environment.
Conclusion
Soundproofing a wall vent is an effective DIY project for reducing disruptive noise transfer between rooms.
Following the step-by-step instructions outlined here, you can successfully contain sounds and increase acoustic isolation using basic materials.
With some strategic soundproofing techniques, your home’s vents will no longer transmit unwelcome noise.
Your improved sound environments will make for more peaceful, private rooms.
