Best Acoustic Treatment For Small Rooms (Priority Order That Actually Works)
Best acoustic treatment for small rooms can make a cramped setup far more usable, but small spaces punish bad treatment choices faster than large ones. It is surprisingly easy to quiet the room down while still leaving the worst bass and reflection problems untouched.
That is why small rooms frustrate people so quickly. You spend money, cover walls, and still hear muddy low end, a blurry stereo image, and mixes that fall apart everywhere else because the room is still dictating what you hear.
The good news is that small rooms improve fast when you treat the highest-leverage surfaces first. Once the corners, first reflections, and ceiling are handled in the right order, the room starts giving you cleaner decisions instead of constant second-guessing.
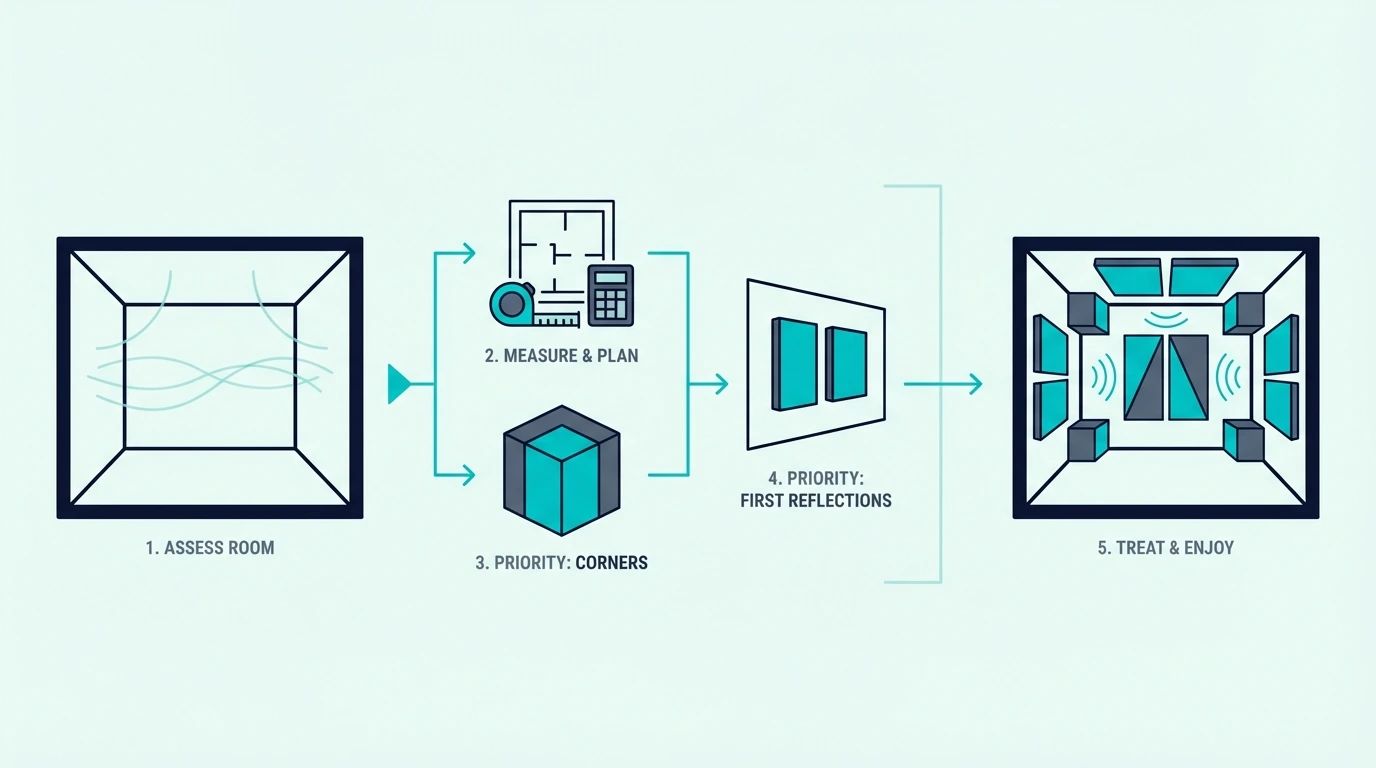
The first move is almost never “more wall coverage” — it is treating the corners behind your speakers, then the first reflection points, then the ceiling cloud. Below, this guide walks through that order, explains the 38% rule, and shows which products actually make sense when wall space is tight.
The best acoustic treatment for small rooms starts with bass control, not decorative wall coverage. Treat the corners first, add fiberglass panels at the first reflection points on the side walls, then hang a ceiling cloud above the listening position. In a small room, placement matters as much as the products themselves, so combine treatment with a sensible speaker/listening position before you judge the result.
Best Acoustic Treatment For Small Rooms — Where Do You Start?
The best place to start is not with the walls you see first. It is with the problems you hear first.
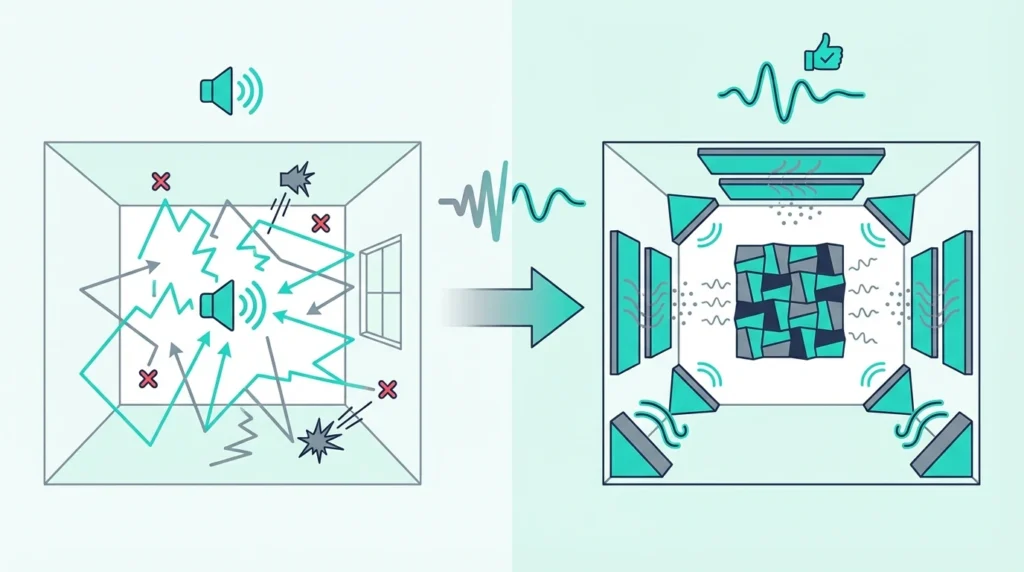
In a small room, the biggest damage usually comes from bass buildup in the corners, followed by strong early reflections from the side walls and ceiling. That is why the treatment order matters so much more here than it does in a larger room.
A lot of people start with thin foam because it looks like acoustic treatment and feels affordable. In practice, that usually means solving flutter echo while leaving the low end just as unreliable as before.
That tradeoff is brutal in a bedroom studio. The room may sound less ringy after a weekend of sticking foam on the walls, but kick drums still read too loud in one spot and too weak in another.
For anyone building a bedroom setup, the same priorities show up in a broader home studio treatment plan too.
So start by asking one question: what is making your decisions wrong? In most small rooms, the answer is not “I need more wall coverage.” It is “my low end is lying to me, and the reflections are making it harder to tell.”
That is why the right starting order is so consistent. Corners first, reflection points second, ceiling third, and only then any extra coverage for edge cases like a close rear wall or a strong front-wall bounce.
That same decision tree makes more sense once you start from what acoustic treatment is instead of treating every surface like the same problem.
Why Are Small Rooms Acoustically Challenging?

Small rooms are harder to treat because all the bad acoustic behavior is packed into a shorter distance. Reflections return faster, bass modes are more obvious, and your listening position ends up much closer to every boundary.
Bass Buildup And Room Modes
Bass is the real reason small rooms feel impossible. Long low-frequency wavelengths do not care that your room is cramped, so they bunch up against the room boundaries and create exaggerated peaks and deep cancellations.
That is what room modes do. A note that sounds huge in one position can nearly disappear a foot away, which makes every EQ or balance decision feel less reliable than it should.
A 10×12 foot room is a perfect example. It is common to hear one-note bass in the corners, weak bass at the desk, and a completely different low-end balance if you stand up and walk toward the rear wall.
That is why broadband corner treatment matters so much more than random surface coverage. If the corners stay untreated, the room keeps exaggerating the exact part of the spectrum that causes the most mix translation problems.
That is also why acoustic treatment for corners does more in a small room than almost any cosmetic wall upgrade.
Flutter Echo Between Parallel Walls
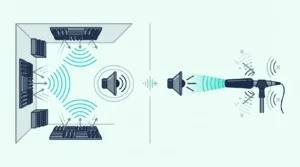
The second problem is flutter echo. In a narrow room, the side walls are close enough together that reflections bounce back and forth quickly, creating that metallic clap you hear in an untreated bedroom or office.
Flutter echo is easier to fix than bass, but it still matters. It adds a sharp, papery character to vocals, acoustic instruments, and even the way speech sounds while you work.
The good news is that this problem responds fast to correctly placed absorption. A pair of fiberglass panels at the first reflection points can clean up the side-wall bounce almost immediately.
The bad news is that people often stop there. That makes the room sound less splashy, but it does not solve the modal low-end chaos underneath it.
If you record close-mic sources, this is one reason acoustic treatment for vocals usually starts with reflections and room tone before anything fancy.
Get Studio Tips Weekly
Join 5,000+ creators getting acoustic treatment advice every week.
No spam. Unsubscribe anytime.What Acoustic Treatment Do Small Rooms Need?

The best treatment plan for a small room is not complicated. It just needs discipline.
Each layer solves a different problem, and each layer works better when the previous one is already in place. If you reverse the order, you usually spend more and solve less.
Corner Bass Traps Are Priority One
If you can only buy one thing first, buy corner treatment. Corners are where low-frequency energy piles up, which makes them the highest-leverage position in a small room.
That does not mean any foam wedge in a corner counts as a full bass-trap strategy. Small foam pieces can help a little in the upper-bass range, but serious low-end control usually needs more depth, more density, or both.
For a stronger first step, something like the 2 Pack Wooden Acoustic Bass Traps makes more sense than scattering thin foam around the room and hoping for a miracle.
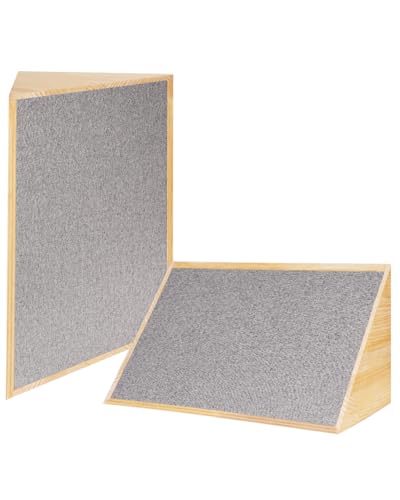
2 Pack Wooden Acoustic Bass Traps
Start with the two front corners behind your speakers. If budget allows, add the rear corners next, because small rooms benefit quickly from getting all four vertical corners involved.
If you need a cheaper entry point before stepping up to thicker traps, best budget acoustic treatment helps sort the compromises.
First Reflection Points On Side Walls
Once the corners are under control, move to the first reflection points on the side walls. These are the spots where sound leaves the speakers, hits the wall, and reaches your ears just after the direct signal.
That tiny timing offset is enough to smear the stereo image and create comb filtering. You hear less focus, less center definition, and less confidence in panning or EQ decisions.
This is where a straightforward fiberglass pack earns its keep. The UMIACOUSTICS 4 PCS Acoustic Panels with Hanging Bracket is the kind of pack that fits this job well because it gives you enough panels for both side walls without turning the room into a full remodel project.

UMIACOUSTICS 4 PCS Acoustic Panels with Hanging Bracket
Use the mirror trick to find the exact spots. Sit in your listening position and have someone slide a mirror along the wall until you can see a speaker in it.
Where you see the speaker, place the panel. Do that on both walls and you have handled one of the biggest clarity upgrades available in a small room.
If you want a shorter buying path, acoustic treatment kits can cover this reflection-point stage faster than sourcing every part separately.
Ceiling Cloud Above Listening Position
After the side walls, look up. In a room with a normal residential ceiling height, the ceiling reflection is often close enough to matter almost as much as the side-wall reflections.
That is why a ceiling cloud is not some luxury add-on for pro studios. In a small room, it is often part of the basic treatment plan.
The actual panel matters less than the mounting and placement. You want the cloud centered between the speakers and your head, with a small air gap above it so it can work more efficiently.
Secure mounting hardware with a small air gap is the key detail, because small-room clouds only help when they are positioned correctly and suspended firmly.
If you have very limited wall space, a ceiling cloud can do more than people expect. It will not replace bass trapping, but it can make a short room feel much more controlled without eating up the last open wall you still need for a desk or storage.
If low clearance is the main obstacle, ceiling acoustic treatment goes deeper on cloud placement and clearance tradeoffs.
The 38% Rule And Speaker Placement In Small Rooms
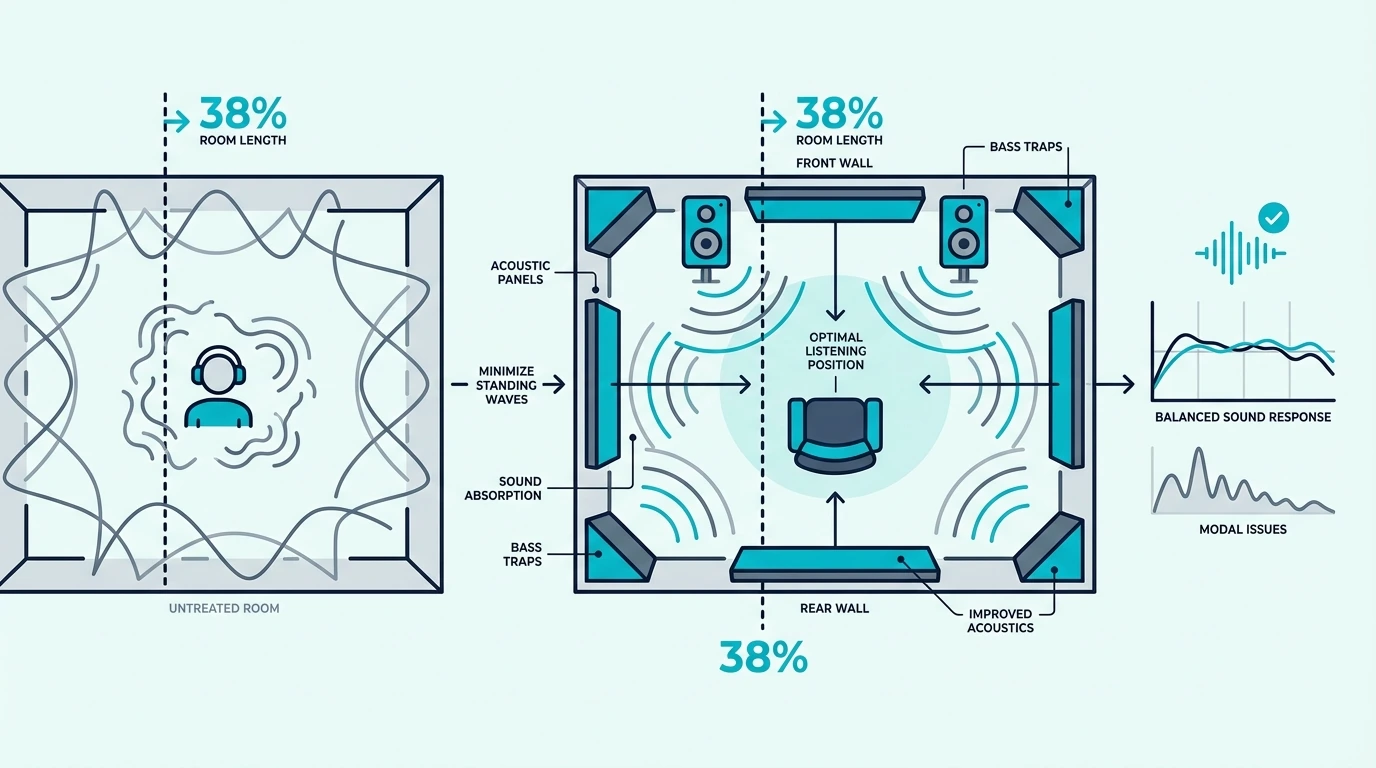
Treatment alone does not rescue a bad listening position. In a small room, where you sit changes the bass almost as much as what you hang on the walls.
The 38% rule is a practical starting point. Measure the room length from the front wall, then place your listening position about 38% of that distance into the room.
That position tends to avoid the worst modal hotspots and nulls. It is not magic, but it is a far better starting point than sitting exactly in the center of the room or pushed hard against the back wall.
Small rooms make this awkward because the furniture layout is usually already compromised. If the room is short, the 38% point can leave your chair closer to the speakers than you expected.
That is still better than building the whole setup around convenience and fighting the room forever. Get the speakers and listening position into the best workable geometry first, then treat around that reality.
Compact panels also help here because tight rooms do not always have space for large-format absorbers everywhere you want them. The Olanglab Fiberglass Acoustic Wall Panels 4 Pack is a sensible fit when full-size panels would crowd doors, windows, or furniture clearances.

Olanglab Fiberglass Acoustic Wall Panels 4 Pack
If the room is extremely small, orient the desk along the longer dimension whenever possible. That gives the monitors more room to breathe and gives you a more practical version of the 38% position to work with.
That tradeoff between layout and budget is also why acoustic treatment cost climbs quickly once a small room needs traps, panels, and a ceiling cloud together.
The Bottom Line
The best acoustic treatment for small rooms is not “more panels.” It is the right treatment in the right order.
Treat the corners first so the room stops lying about the low end. Then handle the side-wall reflection points, then the ceiling cloud, and only after that decide whether the room needs more coverage anywhere else.
Combine that with a sensible 38% listening position and even a modest bedroom setup starts behaving more like a room you can trust. You will not make a tiny room perfect, but you can make it dramatically more honest.
Frequently Asked Questions
What is the 38% rule room acoustics?
The 38% rule places your listening position about 38% of the room length away from the front wall. It is a starting point that helps reduce the worst overlap of strong room modes at the mix position.
Do smaller rooms have better acoustics?
No. Smaller rooms usually have more obvious acoustic problems because reflections return faster, bass modes feel more extreme, and you are forced to work closer to every boundary.
How many acoustic panels do I need for a small room?
A practical small-room setup often starts with four corner treatments, two side-wall reflection panels, and one ceiling cloud. For DIY builders, a single 6-pack of Rockboard 60 mineral wool boards provides enough material for corner traps and wall panels in one purchase. From there, you add only what the room still proves it needs instead of covering surfaces blindly.