How Much Does Acoustic Treatment Cost (Real Numbers, Not Guesses)
How much does acoustic treatment cost depends on one decision that most people skip — whether you build the panels yourself or buy them ready-made, but that single choice changes the total by 50-70% in either direction.
A bedroom studio can sound dramatically better for a few hundred dollars if you source the right materials. The same coverage in commercial panels pushes the budget past a thousand without adding any acoustic advantage.
The problem is that most cost guides either lowball the number with foam-only setups that barely work or inflate it with professional installation quotes that assume you cannot hang a panel yourself.
Below, this guide gives you real price ranges for every approach — DIY, commercial, and professional — so you can match the treatment to your budget without overspending or undertreating.
To treat a small home studio acoustically, expect to spend between 200 and 500 dollars for DIY panels built from fiberglass or rockwool, or between 500 and 1,500 dollars for equivalent coverage in commercial pre-made panels. The biggest cost variable is not the material — it is whether you build or buy.
How Much Does Acoustic Treatment Cost — A Realistic Breakdown
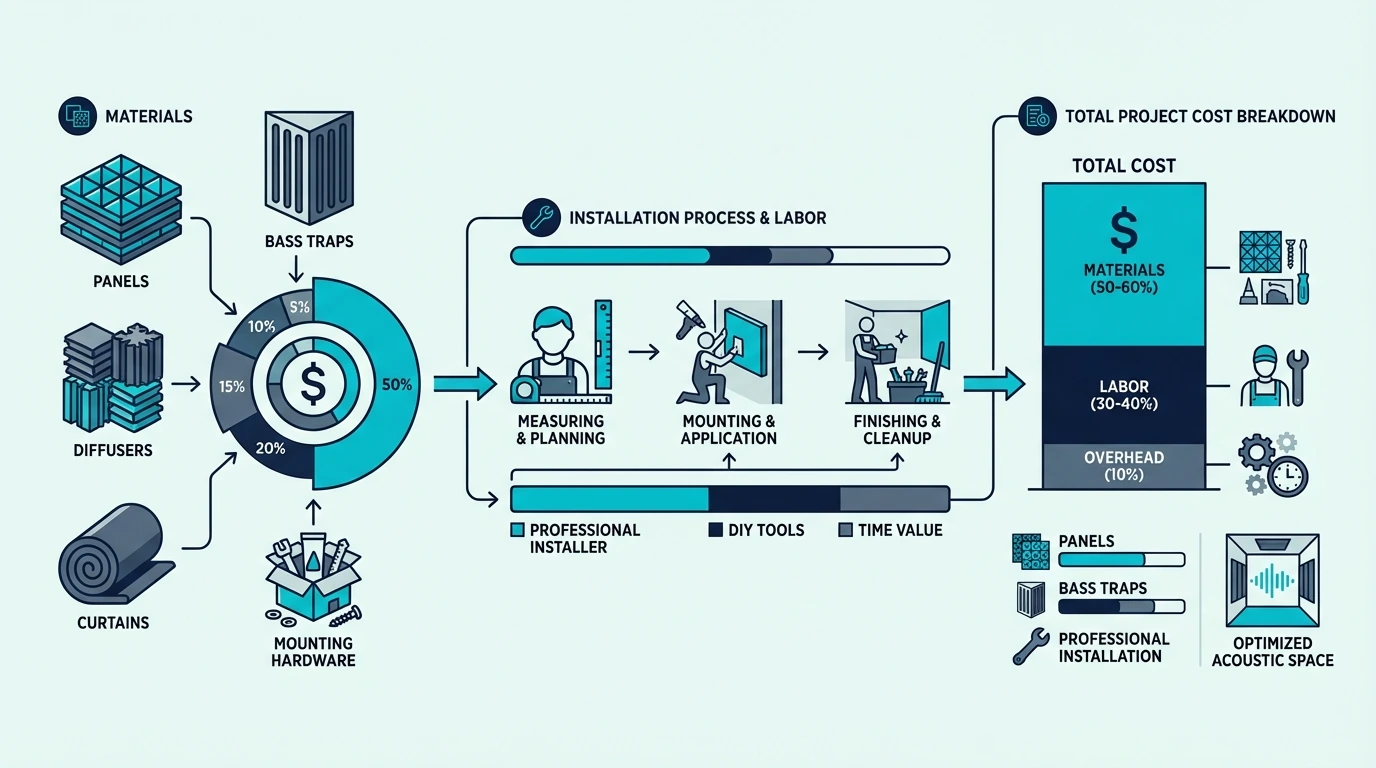
The total cost of acoustic treatment falls into three tiers depending on your approach, your room size, and how much of the work you do yourself. Each tier delivers real acoustic improvement — the difference is time, convenience, and finish quality.
The Three Cost Tiers
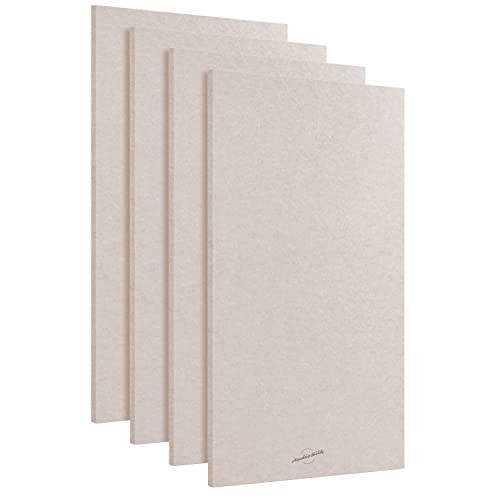
A DIY setup using fiberglass or mineral wool insulation, pine frames, and fabric wrap runs between 200 and 500 dollars for a typical bedroom-sized home studio. That covers 4-6 wall panels and 2-4 corner bass traps — enough to control the worst reflections and tighten the low end.
Commercial pre-made panels for the same coverage land between 500 and 1,500 dollars depending on brand, panel size, and whether you buy individual panels or a bundled room kit. A 4-pack of mid-range fiberglass panels typically runs 80-130 dollars, and most rooms need 2-3 packs plus separate bass traps.
Professional installation — where a contractor or acoustics company designs and installs a custom treatment plan — starts around 1,500 dollars and climbs past 5,000 for larger rooms or specialized spaces like home theaters. Most home studio owners skip this tier entirely because the acoustic benefit over a well-executed DIY job is marginal.
What Factors Affect Acoustic Treatment Cost?
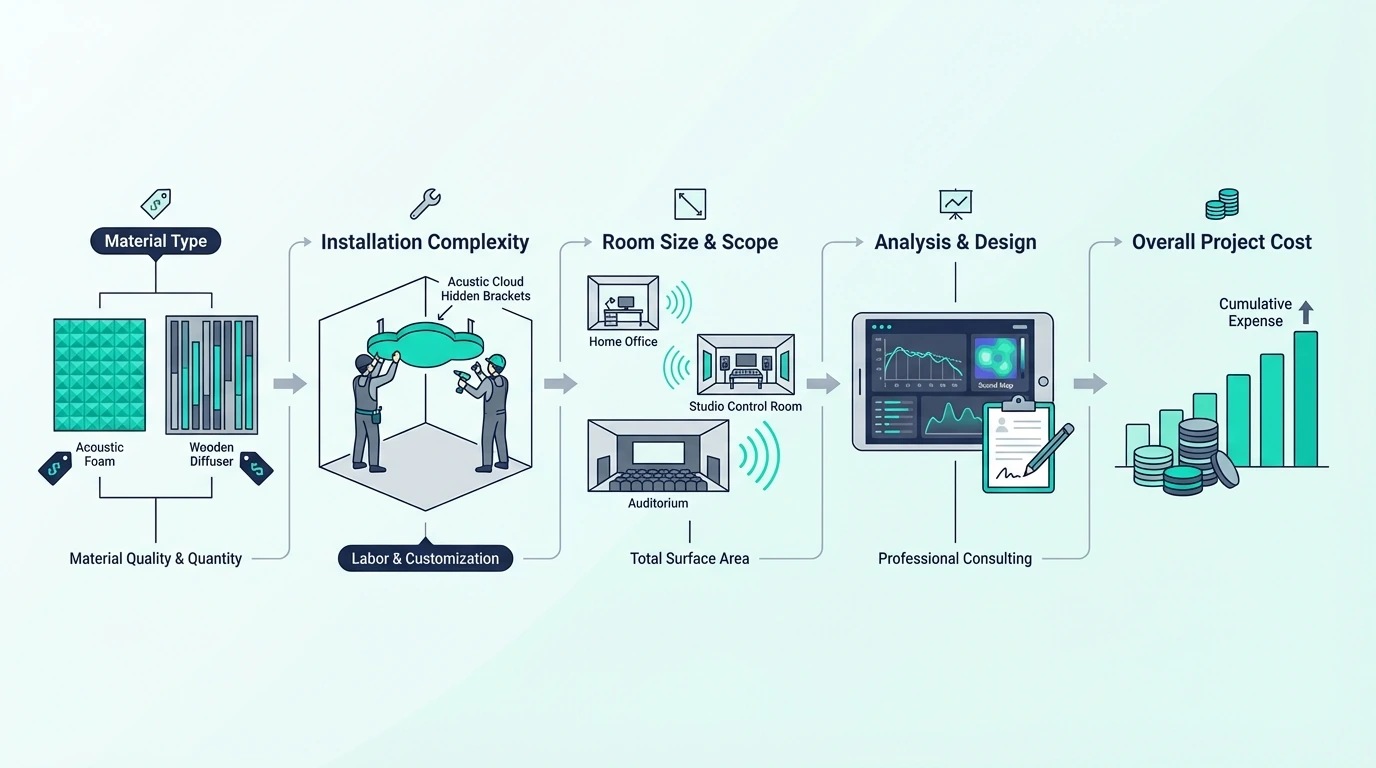
The sticker price on a single panel tells you almost nothing about what your room will actually cost to treat. Four variables stack on top of each other, and missing any one of them leads to either overspending or undertreating.
Room Size And Coverage Needs
A 10 x 10 foot bedroom studio needs 6-10 panels to control first reflections and corner bass buildup. A 15 x 20 foot dedicated recording space or home theater needs 12-20 panels because every additional square foot of wall and ceiling creates more reflective surface area.
The math is straightforward: figure out how many reflection points your room has (two side walls, the ceiling above the mix position, the wall behind the monitors, and two to four corners), then count the panels needed to cover them. Most rooms need fewer panels than people expect because treatment only goes at specific acoustic problem spots, not across every surface.
Material Quality And Type
Acoustic foam is the cheapest entry point — thin polyurethane tiles that absorb some high-frequency energy. Foam panels help with flutter echo and basic room ring, but they do almost nothing below 500 Hz where bass buildup and room modes cause the real problems.
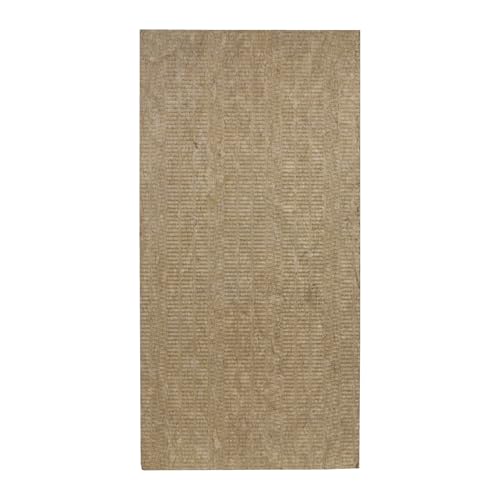
Rigid fiberglass panels (like Owens Corning 703) and mineral wool (like Rockwool Safe’n’Sound) absorb across a much wider frequency range — including the low-mids that foam misses entirely. The material cost per square foot is higher, but you need fewer panels to achieve the same acoustic result because each one works harder.
The cost difference between foam and fiberglass isn’t just per-panel pricing — it’s total coverage cost. A room treated with foam often needs twice the panel count to match the acoustic improvement of half as many fiberglass panels placed at the right spots.
Get Studio Tips Weekly
Join 5,000+ creators getting acoustic treatment advice every week.
No spam. Unsubscribe anytime.DIY vs Commercial — What Does Each Approach Actually Cost?
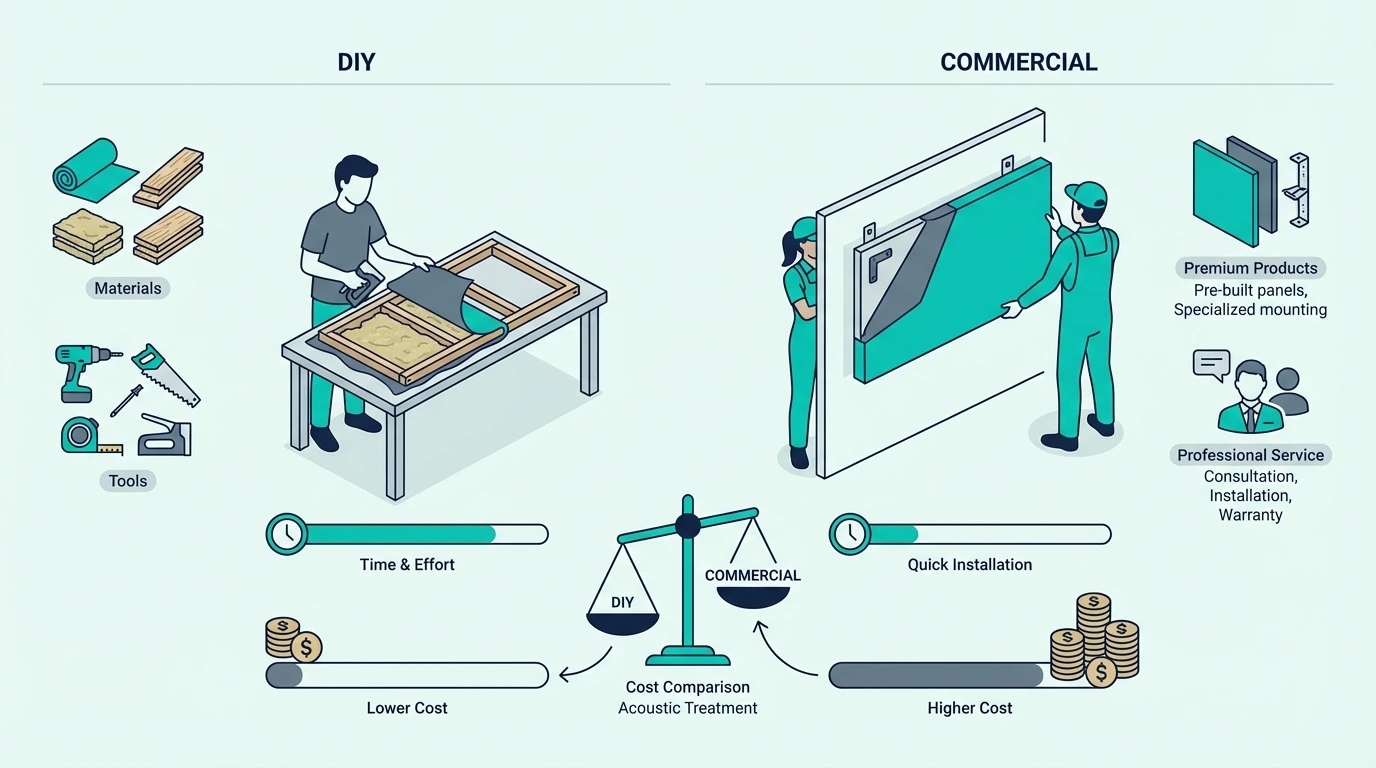
The DIY-versus-commercial decision is where most of the budget variation lives. Both approaches use the same core materials — the commercial version just adds labor, packaging, and a finished look to the price.
DIY Panel Cost Breakdown
A single 2 x 4 foot DIY panel built from a 1 x 4 pine frame, a 2-inch slab of Rockwool Safe’n’Sound, and acoustically transparent fabric costs roughly 15-25 dollars in materials. That includes the insulation (about 1 dollar per square foot), lumber for the frame (3-5 dollars), fabric (3-5 dollars per panel), and mounting hardware (2-3 dollars).
Eight panels — enough for a bedroom studio — runs 120-200 dollars in raw materials. Add another 40-80 dollars for corner bass traps built from the same materials at double thickness, and the full room lands between 160 and 280 dollars.
The tradeoff is time — plan a full weekend for measuring, cutting, assembling, and wrapping.
If you want a step-by-step walkthrough of the build process, the approach is simple enough for anyone comfortable with a saw and a staple gun.
Commercial Panel Pricing
Entry-level commercial panels run 30-50 dollars per panel for smaller sizes in basic fabric wraps. Mid-range panels like the Olanglab Fiberglass Panels land in the 80-90 dollar range for a 4-pack of fiberglass-core panels with fabric wrapping — a solid middle ground between foam and premium brands.
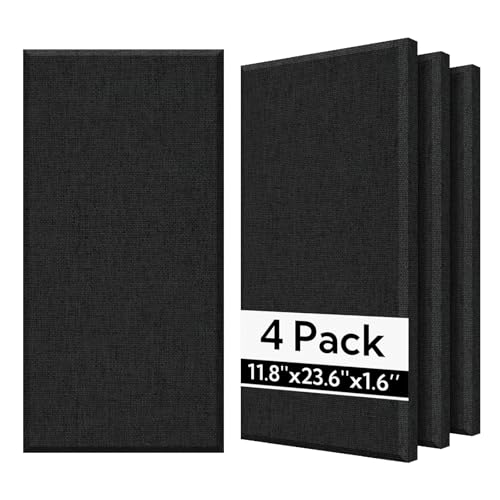
Olanglab Fiberglass Panels
Panels that include mounting brackets save you the separate purchase of clips or hooks — a detail that matters when you’re trying to calculate the true total.
Premium room kits like the Acoustic Panels 4-Pack Room Kit bundle larger panels designed to cover a full room in one purchase. The per-panel cost is higher, but the cost per square foot of coverage often beats buying smaller panels individually.
Acoustic Panels 4-Pack Room Kit
When comparing options, always calculate cost per square foot of panel coverage — not cost per panel. A pack of four 12 x 12 inch panels covers 4 square feet, while a pack of four 46 x 23 inch panels covers roughly 29 square feet.
The larger panels almost always win on a per-square-foot basis even when the sticker price looks higher. That math matters more than any single panel price when you’re budgeting for a full room.
How To Get The Most Treatment For Your Budget
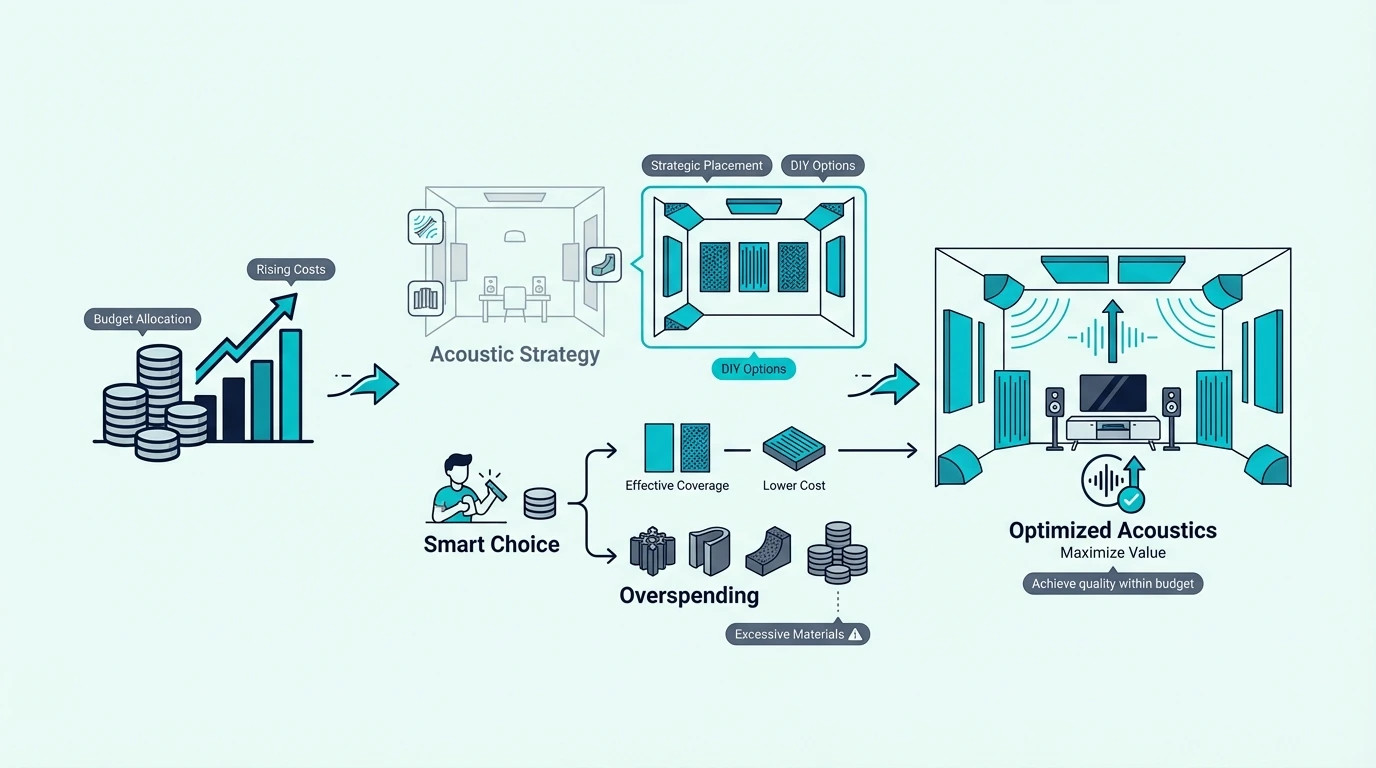
The order you treat your room matters more than how much you spend on each panel. Placing the right treatment at the highest-impact spots first means you hear improvement from day one — and every additional panel compounds the result.
Treatment Priority Order
Bass traps in corners deliver the single highest return per dollar because they address room modes — the low-frequency buildup that no amount of wall panels or EQ can fix. Four corner traps built from 4-inch thick fiberglass or mineral wool should be the first purchase regardless of budget.
Side wall panels at first reflection points come next. Two panels per side wall, placed at ear height between you and the monitors, restore clarity to everything you hear at the mix position.
A ceiling cloud above the listening position is the third priority. One overhead panel tightens stereo imaging and reduces the low-mid smear that an untreated ceiling creates.
Everything beyond those three priorities — rear wall diffusion, additional side panels, floor treatment — refines the sound rather than fixing fundamental problems. If you’re working on a tight budget, stop after corners, sides, and ceiling, and you’ll have a room that performs better than most untreated commercial spaces.
Where To Save And Where To Spend
Save on fabric and frames — these are cosmetic components that don’t affect acoustic performance. A plain muslin wrap absorbs the same frequencies as premium speaker cloth at a fraction of the cost.
Spend on insulation thickness. A 2-inch panel handles mid and high frequencies, but a 4-inch panel reaches meaningfully deeper into the low-mids.
The extra inch or two of material costs very little per panel but absorbs frequencies that thinner panels miss completely. That single upgrade delivers more acoustic improvement per dollar than any other change you can make. Panels like the UMIACOUSTICS 4-Pack with Hanging Brackets bundle the hardware with the panel, which keeps the true per-panel cost honest.

UMIACOUSTICS 4-Pack with Hanging Brackets
If you want a ready-made kit that handles the whole room in one purchase, the best acoustic treatment kits roundup compares options by coverage area and included components. For individual panel picks across every price point, the budget acoustic treatment guide breaks down what actually delivers results without overspending.
The Bottom Line
Acoustic treatment costs between 200 and 1,500 dollars for a home studio depending on whether you build or buy — and the acoustic result from a well-placed DIY setup is nearly identical to commercial panels costing three times as much.
Start with corner bass traps and side wall panels at reflection points, then add a ceiling cloud when the budget allows. That three-step sequence gives you 80-90% of the acoustic improvement for 30-40% of the cost of treating every surface.
The full guide to acoustic treatment covers every placement priority and surface type if you’re ready to plan the whole room.
Frequently Asked Questions
Is acoustic treatment expensive?
Not if you prioritize correctly. A bedroom studio needs 6-10 panels, and building them from fiberglass insulation and pine frames costs 200-400 dollars in materials.
Commercial panels for the same coverage run 500-1,000 dollars. The key is treating the right spots — corners and first reflection points — instead of covering every wall.
Will acoustic treatment give my vocal more clarity?
Reducing room reflections directly improves vocal recording clarity because the microphone captures less of the room and more of the voice. Two panels flanking the mic position and one behind the singer eliminate the early reflections that cause the biggest problems in untreated rooms.
Is a mattress good for acoustic treatment?
A mattress absorbs some mid and high frequency energy, but it’s impractical as a permanent solution. The absorption is uneven — thick in some frequency ranges and almost transparent in others.
A mattress does virtually nothing for bass frequencies, which is where most room problems live. A single 2-inch fiberglass panel at the right spot outperforms a mattress leaning against a wall. A 6-pack of Rockboard 60 mineral wool boards costs under 125 dollars for six panels worth of material — one of the lowest cost-per-panel options for serious broadband absorption.