How To Soundproof An Existing Wall (Without Guessing At The Fix)

How to soundproof an existing wall can work, but only if you choose the retrofit path that matches the wall you already have. The fix for moderate voices through a finished bedroom wall is not the fix for bass through a shared party wall, and neither one works well if the real leak is actually the ceiling edge, outlets, or a nearby door.
Most finished-wall projects fail because people buy a product before they diagnose the weak path. Leak control, added mass, damping, cavity treatment, and isolated build-outs all belong in existing-wall work, but not in the same order for every wall.
The good news is that existing walls usually do improve when the diagnosis is right.
Start with the decision table, then move through the no-demo versus open-wall split, the shared-wall cases, and the cheap mistakes that waste money.
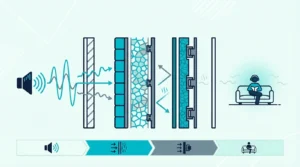
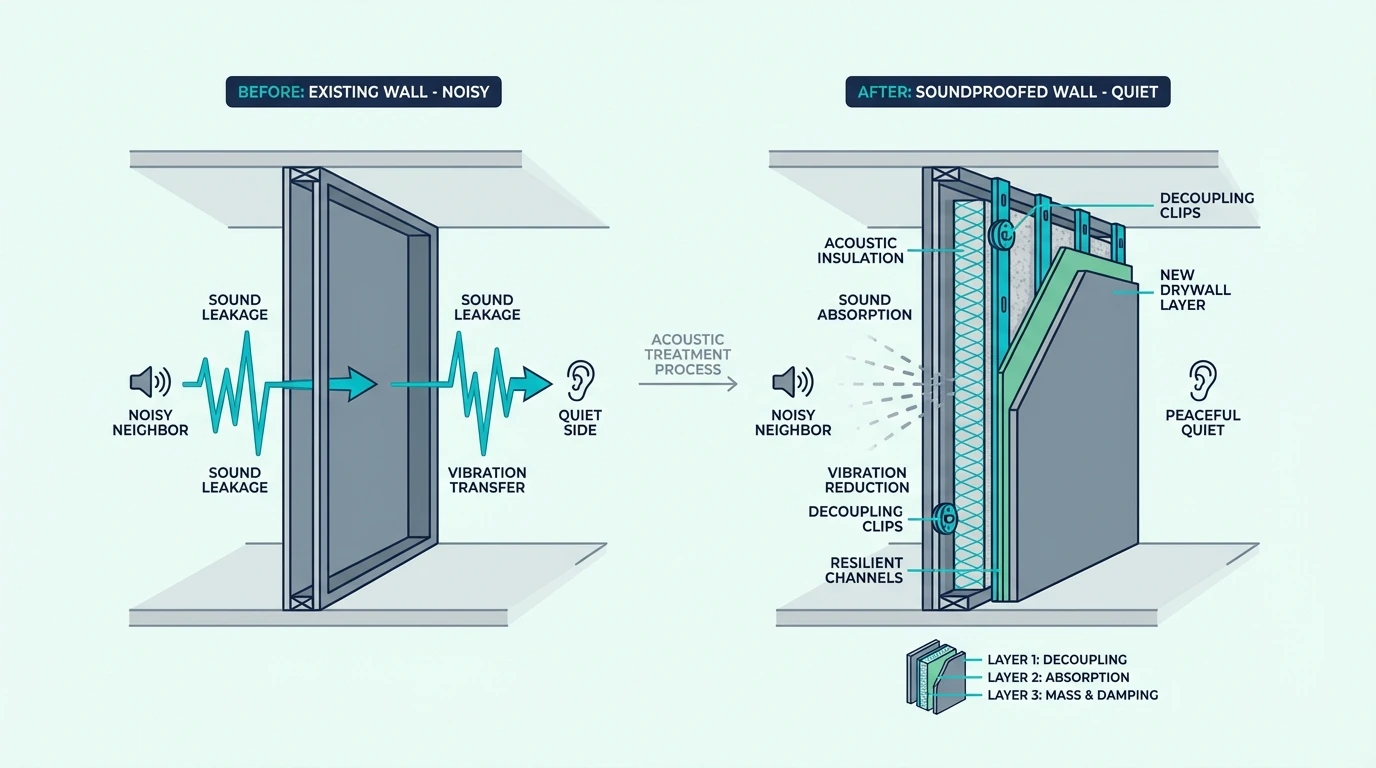
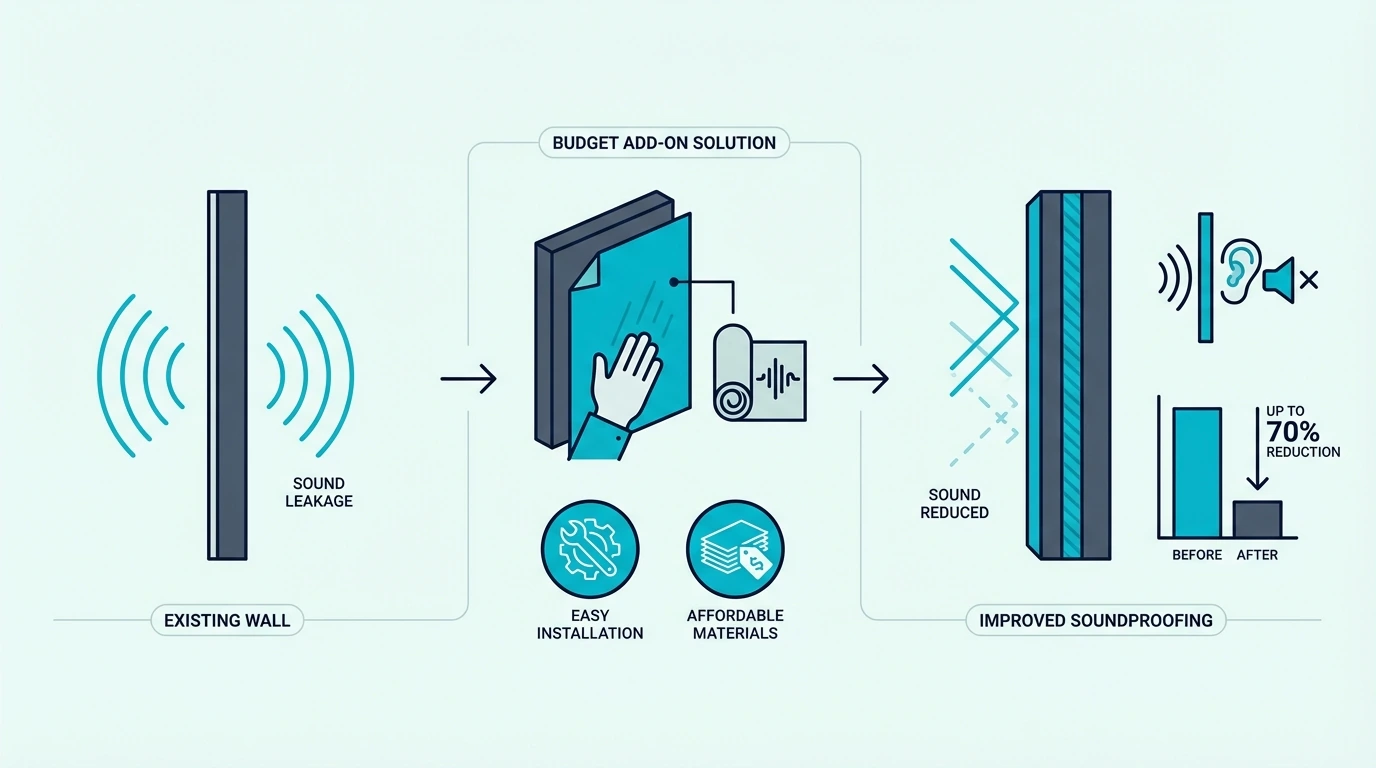
The best way to soundproof an existing wall is usually to seal every leak first, then add mass with a second drywall layer and damping if the wall must stay closed. If the noise is bass-heavy, privacy-critical, or still obvious after those steps, opening the wall, improving the cavity, and sometimes decoupling are the stable next moves.
| If your existing-wall situation is… | Best first move | Usually enough when… | Escalate when… |
|---|---|---|---|
| Moderate voices or TV through a finished wall | Seal leaks, then add a second drywall layer with damping | You want meaningful reduction, not silence | Speech is still clear after sealing and added mass |
| The wall must stay closed and space loss matters | Prioritize trim gaps, outlets, adjacent openings, and the strongest no-demo wall layer | The noise is light to moderate and mostly airborne | The wall is lightweight or bass-heavy |
| The wall is already open or being renovated | Add cavity treatment, reseal penetrations, and rebuild with stronger wall faces | You can control the cavity and finish details properly | Privacy matters a lot or low-end noise remains |
| You share the wall with neighbours | Treat leaks first, then add mass and damping on your side | The problem is mainly voices, TV, or daily living noise | The whole room vibrates or the sound wraps through ceiling and floor paths |
| Bass, subwoofer, or strong thumping is the main complaint | Expect stronger assembly work and possible decoupling | The low-end issue is mild and infrequent | Bass is the main problem or earlier wall-only fixes already failed |
| You need the cheapest worthwhile start | Fix obvious leak paths and nearby weak openings before buying bigger materials | The wall has clear leakage and the budget is tight | You are about to spend money on decorative “soundproof” products |
Existing-Wall Soundproofing Starts With Diagnosis
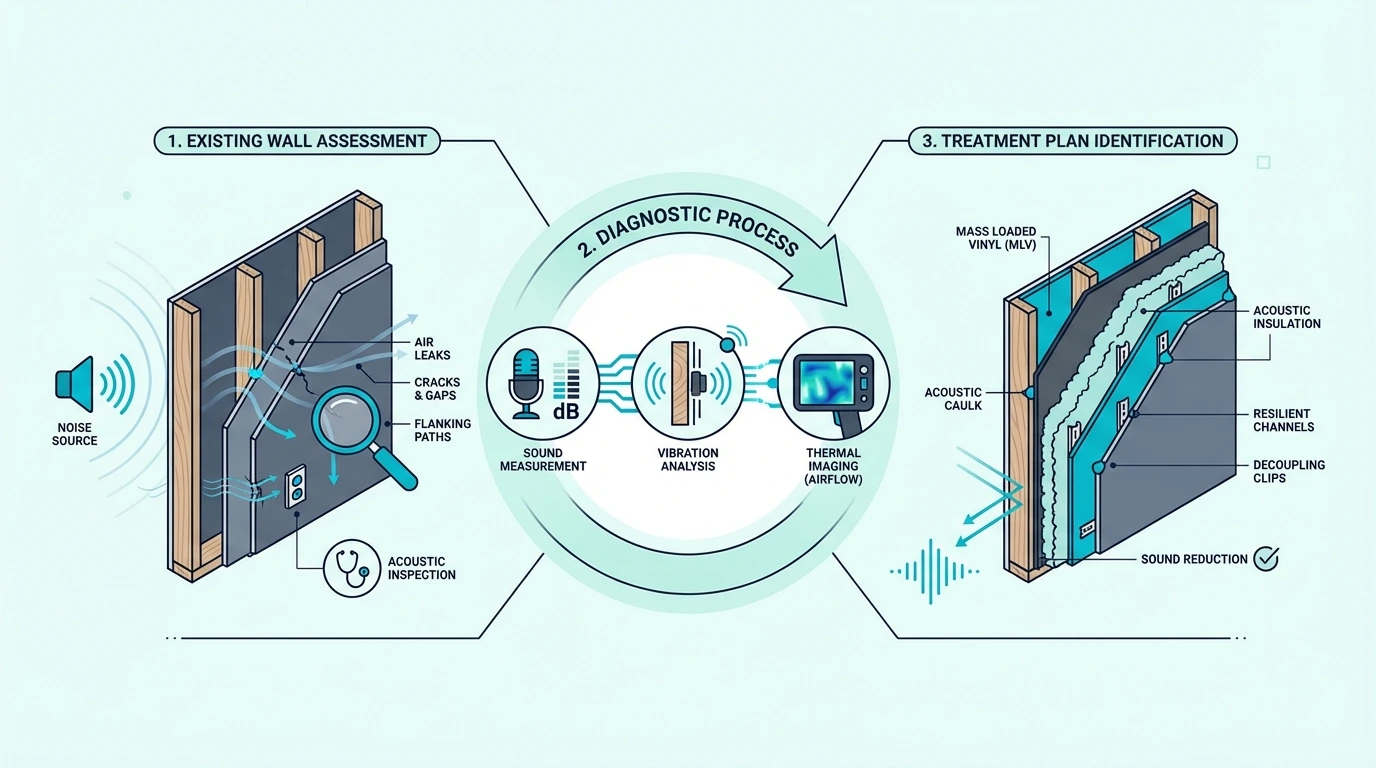
Existing-wall retrofits move much faster once you sort the problem into a few buckets first.
You need to know whether the wall is too light, too leaky, or not the only path carrying the noise before you buy materials.
Airborne Noise And Bass Need Different Expectations
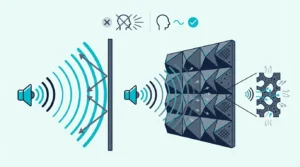
Voices, TV bleed, and most daily household noise are airborne problems. That usually points toward better sealing, more wall mass, and damping so the wall face does not re-radiate sound as easily.
Bass, thumping, and stronger vibration are harder because they involve structure-borne transfer as well as airborne sound. That is where a simple surface-only upgrade can disappoint, especially if the framing, ceiling line, or floor line is helping the sound travel.
If you are still deciding whether the problem is the wall alone or the room more broadly, compare this with how to soundproof a room and how to soundproof a wall before buying wall materials blindly.
Existing Walls Usually Fail At The Edges First
Many existing walls fail at the easy-to-miss points first. Outlets, trim gaps, perimeter cracks, back-to-back boxes, a weak nearby door, or a leaky window can all bypass a wall that looks solid in the middle.
Wall diagnosis should include the surrounding surfaces too. If the obvious weak point is beside the wall rather than in the drywall face, fixing the door or the window can outperform another random layer on the wall itself.
Realistic Retrofits Aim For Reduction, Not Silence
For many finished-wall retrofits, realistic means meaningful reduction rather than total silence. If speech becomes much less intelligible or TV bleed drops into background murmur, that is already a strong real-world result.
That expectation matters because privacy-grade isolation from an already-built wall usually requires heavier construction choices. If your target is dramatic separation, the wall may eventually need more than a thin surface treatment.
Closed Walls Need A No-Demo Upgrade Ladder

Once the wall is staying closed, the smartest move is to treat the no-demo options like a ladder. Sealing, added mass, and damping do not deliver the same return, so the order matters.
Leak Control Is The First No-Demo Upgrade
Tier one is leak control. If the wall has trim gaps, sloppy outlet cutouts, perimeter cracks, or nearby weak openings, those paths can erase more performance than people expect.
Existing-wall soundproofing should always include crack sealing, outlet attention, and any obvious leakage around trim or adjacent openings. If the wall includes a weak door or nearby window, you may also need to address the door or the window instead of blaming the wall alone.
Tier two is a serious new outer layer. A product like Green Glue Noiseproofing Compound usually makes more sense than decorative panels because it adds real mass and damping to the finished wall you already have.
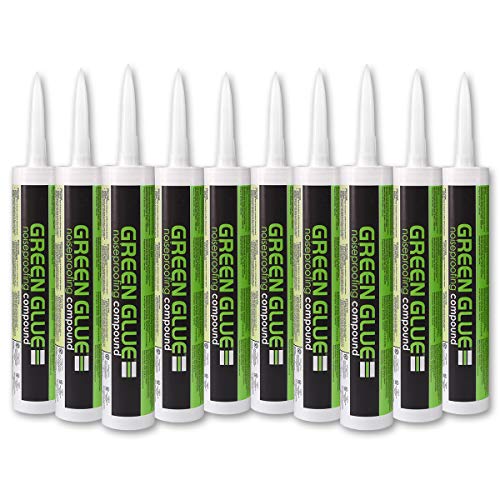
Green Glue Noiseproofing Compound
Tier three is a denser build-up when the wall is still too light. Materials like Soundsulate Next Generation 1 lb MLV can help when it is part of a proper wall build-up, not when it is treated like a cosmetic shortcut.
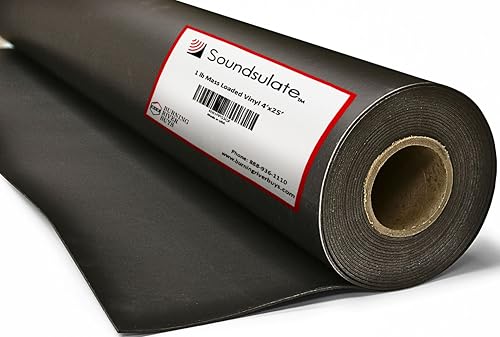
Soundsulate Next Generation 1 lb MLV
Added Mass And Damping Carry The Main Closed-Wall Upgrade
A no-demo fix is often good enough when the main complaint is moderate voices, TV bleed, or general room-to-room noise and the wall is otherwise serviceable. In those cases, sealing plus a stronger face layer can deliver noticeable improvement without turning the project into a full rebuild.
It stops being enough when the complaint is heavy bass, repeated thumping, or privacy that still matters after the first serious upgrade. In those cases, a closed-wall approach is often just the strongest partial fix, not the final answer.
Closed-Wall Retrofits Still Hit A Hard Limit
The biggest limit is that the old wall assembly still controls part of the outcome. You cannot fully inspect the cavity, correct hidden back-to-back boxes, or remove every flanking weakness without opening more of the system.
Some finished-wall upgrades plateau. If the wall already has insulation, or if the real sound is wrapping through the ceiling, floor, or adjoining wall, more surface material on the target wall alone can underperform.
Get Studio Tips Weekly
Join 5,000+ creators getting acoustic treatment advice every week.
No spam. Unsubscribe anytime.Open Walls Let You Rebuild The Assembly Properly
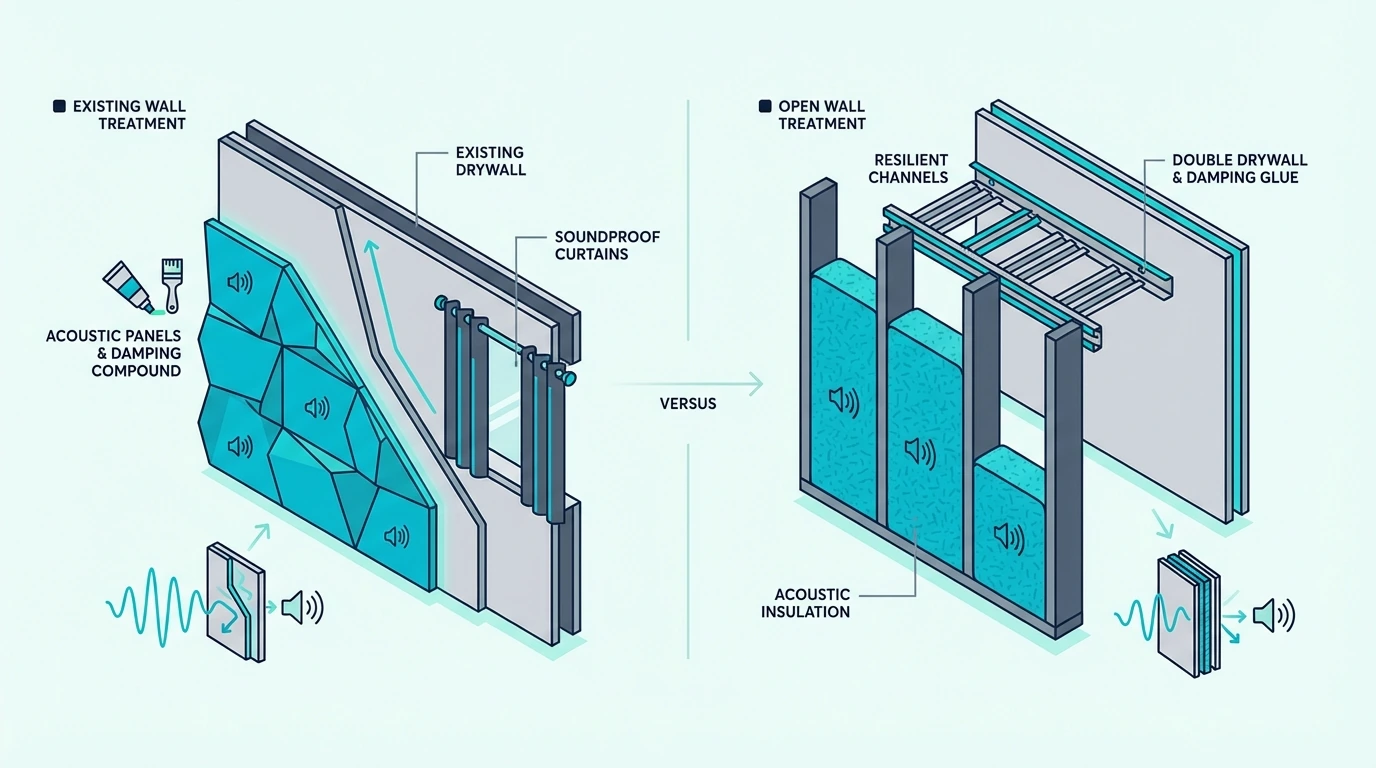
Once the wall is open, you can stop guessing about what is inside the assembly. That is where cavity treatment, penetration sealing, and stronger rebuild choices start to change the result for real.
Open Stud Bays Change What You Can Fix
Access to the stud bays lets you verify whether insulation is missing, whether the boxes and penetrations are sloppy, and whether the framing needs a better isolation plan. That is valuable because cavity-side fixes and face-layer fixes do different jobs.
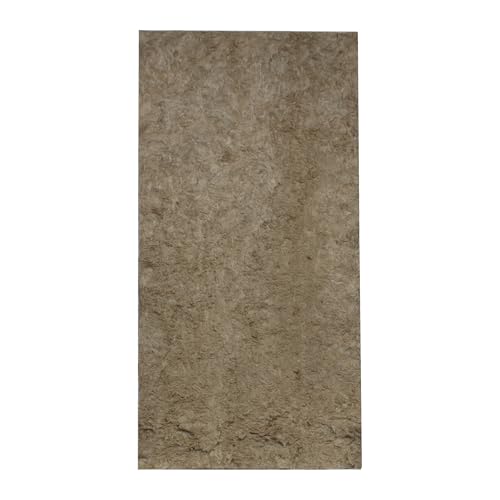
Products like Rockwool ComfortBoard 80 and AFB Mineral Wool Insulation belong in the conversation. They help absorb energy inside the assembly, but they still work alongside mass, sealing, and stronger wall faces rather than replacing them.

Rockwool ComfortBoard 80
Rigid boards make more sense when you are building out a new isolated face or need semi-rigid material that will stay put behind a new layer. Batt mineral wool makes more sense when you are refilling standard stud bays and want full, even cavity coverage without odd gaps.
If you are comparing whether the real upgrade belongs in the cavity or on the wall face, our guide on best insulation for soundproofing helps separate what insulation can do from what the wall faces still need to do.
Spray Foam Is Rarely The Core Soundproofing Answer
Usually no, not as the core answer. Spray foam can help with some air sealing and thermal performance, but it is not the stable centerpiece of a serious existing-wall soundproofing plan.
This is one of the biggest retrofit myths because people hear the word foam and assume a full cavity fill means full soundproofing. In reality, stronger wall assemblies still lean on mass, damping, sealing, and sometimes decoupling more than spray products.
Bigger Rebuilds Pay Off In Severe Cases
A bigger rebuild is worth it when the noise is constant, bass-heavy, privacy-critical, or already proven resistant to lighter upgrades. Shared bedroom walls, office privacy walls, and party walls with clear voices or thumping are the classic cases.
This is also where clip systems, resilient channel, thicker drywall stacks, and full build-outs start to make sense. If you are already opening the wall, it is usually smarter to build the stronger assembly once than to layer weaker fixes over time.
For readers weighing that level of work, best soundproofing material and how to soundproof a wall from noisy neighbours are useful next reads because they show what belongs in a more serious wall retrofit.
Shared Walls Force Harder Tradeoffs
Shared walls are where existing-wall soundproofing becomes most frustrating because you only control one side. That makes scenario-based decisions more important than generic wall advice.
Voices And TV Usually Respond To Seal-Then-Mass Upgrades
For voices, TV, and daily household noise, the best practical sequence is seal first, add mass second, and escalate to damping or a stronger build-out if the wall still is not good enough. That keeps the project grounded in real wall physics instead of surface-level wishful thinking.
A second drywall layer with damping usually makes more sense here than decorative panels. If you are dealing specifically with neighbour noise, compare this plan with how to soundproof a wall from noisy neighbours and how to soundproof an apartment so the solution matches shared-building realities.
Bass And Thumping Push The Wall Into Harder Territory
Bass and impact-like noise push shared-wall projects into a harder category because the structure itself may be participating. A wall-only fix can still feel weak when the floor, ceiling, or common framing is helping carry the low-end energy.
This is also the point where expectations need to get stricter. If bass is the main complaint, stronger wall construction and flanking-path control matter more than simply adding one more surface product.
Flanking Paths Can Matter More Than The Party Wall Alone
The neighbor wall is not the only problem when the sound seems to wrap around the room, when the whole wall vibrates, or when the assembly shares framing with adjacent ceilings, floors, or side walls. In those cases, the wall may be part of the problem but not the only path.
Some party-wall fixes need help from the ceiling, the floor, or other connected surfaces. If you only treat one face while the flanking paths stay open, the sound often just reappears somewhere nearby.
Cheap Existing-Wall Fixes Only Work When They Target Weak Paths
Budget matters, especially when the wall is already built and the problem may be one part of a larger room issue. Cheap existing-wall soundproofing only works when the first dollars go to the highest-return weak points.
Cheap Wins Start With Leaks And Nearby Weak Openings
Sealing obvious gaps is the first cheap win because it targets direct leak paths without forcing a full rebuild. If the wall has trim gaps, bad outlet sealing, or obvious perimeter leakage, that is where the first dollars should go.
The next cheap win is controlling the nearby weak openings that keep bypassing the wall. A product like 33 Ft Gray Self-Adhesive Soundproofing Weather Stripping is not a wall-face upgrade, but it is a good example of the surrounding leak control that often deserves money before decorative wall products do.
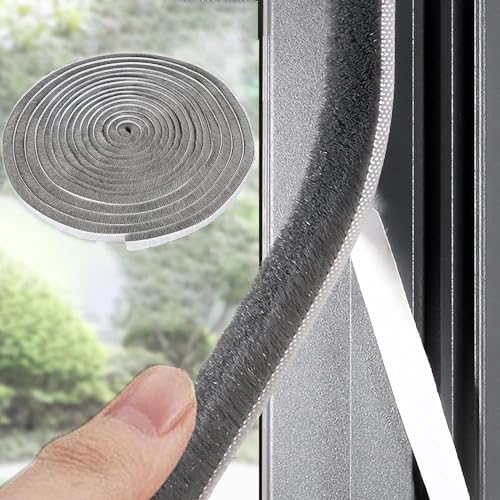
33 Ft Gray Self-Adhesive Soundproofing Weather Stripping
After that, cheap stops being relative to ambition. A serious but still efficient move is saving for one strong mass-and-damping upgrade rather than scattering money across weak treatments that never add enough wall performance.
Foam, Paint, And Decorative Panels Do Not Add Real Isolation
Acoustic foam, ordinary fabric panels, paint, and wallpaper are the biggest hype magnets when people try to soundproof a finished wall cheaply. They can change how the room sounds inside, but they usually do very little to stop transmission through a real wall.
A real absorber like Owens Corning 703 Fiberglass Boards can help if the room sounds harsh or echoey, but even that kind of panel does not add the barrier mass needed to stop neighbor noise through an existing wall.
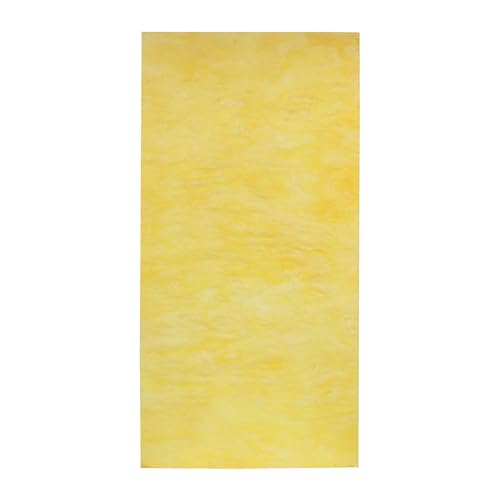
Owens Corning 703 Fiberglass Boards
Readers should not confuse acoustic treatment with real retrofit soundproofing. If you are curious why soft panels get confused with isolation so often, compare this with sound deadening vs soundproofing and do soundproof panels work before spending money on the wrong category.
Cheap myths also include expecting furniture, rugs, or decorative layers to behave like construction materials. Those ideas can help a little at the margins, but if the wall is clearly the transmission path, the real answer still comes back to mass, sealing, and better assembly choices.
Stop Guessing When The Retrofit Gets Structural
Call a professional when the wall problem is severe, when you suspect complicated flanking, when the room shares ceiling voids or structural paths with another space, or when the fix may involve electrical relocation, trim rebuild, or a substantial independent wall system.
That is especially true if the goal is privacy in a bedroom, office, or attached-home setting where failure costs time and money. A professional is not always necessary, but guessing gets expensive fast when the wall is already finished and the problem is misdiagnosed.
The Bottom Line
How to soundproof an existing wall gets much easier once you match the fix to the path that is actually failing.
If the wall leaks through gaps and weak openings, seal those first.
If the wall is closed and simply too light, add mass and damping next.
If the wall is open, bass-heavy, privacy-critical, or still underperforming after the first serious upgrade, rebuild the assembly and consider stronger isolation.
If the sound keeps wrapping through the room, stop treating the wall like a single magic surface and bring the ceiling, floor, door, or other flanking paths into the plan.
Frequently Asked Questions
Can you soundproof an existing wall without removing drywall?
Yes, sometimes. The best no-demo version is usually leak control plus a second drywall layer with damping, but the result depends on how light the wall is and whether bass or flanking paths are still involved.
What works best on a shared wall with neighbours?
For voices and TV, the best order is usually seal first, then add mass and damping on your side. If bass is still getting through, the wall may need stronger construction and help from the ceiling, floor, or other connected paths.
Does rockwool soundproof by itself?
Rockwool helps inside a wall assembly because it absorbs energy in the cavity, but it does not replace mass, sealing, or a strong wall face. It is useful when the wall is open or being built out, not as a magic answer spread over a finished painted wall.