Best Acoustic Foam for Recording: Top Picks for Home Studios
Best acoustic foam for recording can clean up that boxy, harsh “bedroom studio” sound.
But it only works if you treat the reflections your microphone is actually hearing.
If your takes sound smeared or “roomy,” the mic is capturing your room a split-second after your voice.
Start with the wall behind the mic, then hit the closest side-wall reflection points so your takes sound tighter and more direct.
Below are eight foam picks that fit real home-studio scenarios, plus a simple way to choose the right pack for your room and mic position.
For a broader overview of foam categories, start with the acoustic foam hub.
For recording, start with 2-inch foam at the wall behind your microphone and first reflection points on side walls. These two zones eliminate the strongest early reflections that smear vocal takes. Eight to twelve well-placed panels can outperform thirty scattered randomly. If budget is tight, treat behind the mic first — that single wall delivers the biggest improvement.
Quick Picks: Best Acoustic Foam for Recording

Here is a quick side-by-side look at the top picks to help you compare specs and use cases at a glance.
What Makes Acoustic Foam Good for Recording?

Recording is less forgiving than casual listening. A microphone will capture quick reflections your ears might ignore, and those reflections can smear detail in a take.
NRC Rating Matters for Recording
NRC (Noise Reduction Coefficient) measures how much sound a material absorbs. A rating of 0.85 means 85% of sound energy gets absorbed; 0.50 means only half.
For recording, aim for NRC 0.6 or higher. Lower ratings can leave more reflected sound reaching your microphone.
Budget foam often lands around NRC 0.3-0.5. It can help, but higher-rated panels tend to control reflections more effectively.
Thickness Determines Frequency Range
Thin foam (1 inch) only absorbs high frequencies effectively. Mid frequencies—where most vocal and instrument energy lives—pass through largely unaffected.
For recording, 2-inch foam is a common minimum. This thickness absorbs effectively down to about 500Hz, covering much of the vocal range.
Thicker panels (3-4 inches) extend absorption lower but cost more and take up more space.
The wall behind your microphone benefits most from thicker treatment. First reflection points can use standard 2-inch panels since you’re primarily catching direct reflections rather than bass buildup.
Density Affects Performance
Denser foam tends to absorb more sound. Two panels of identical thickness can perform very differently based on foam density.
Quality acoustic foam uses higher-density polyurethane that maintains its structure over time. Budget foam often uses lower-density material that compresses, sags, and loses effectiveness within a year or two.
You can’t always tell density from product listings, but price often correlates. Very cheap foam is often low-density.
Mid-range and premium options typically use denser, more durable materials. For a complete overview of all top options, see the best acoustic foam panels roundup.
Get Studio Tips Weekly
Join 5,000+ creators getting acoustic treatment advice every week.
No spam. Unsubscribe anytime.Best Acoustic Foam Panels for Recording
![]()
These picks are based on how the foam behaves in common home-studio setups, not just marketing claims.
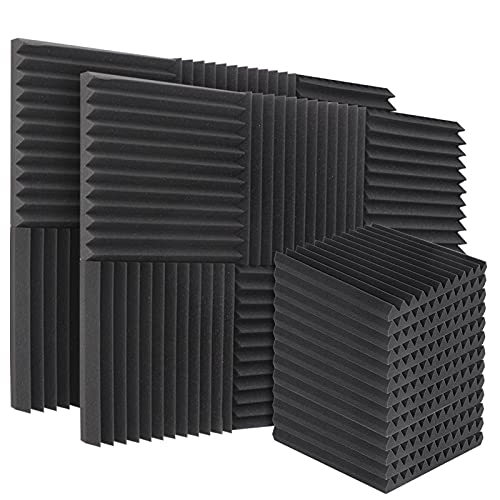
Best Overall: Foamily 12-Pack Acoustic Wedge Panels
Foamily 12-Pack Acoustic Wedge Panels are a solid balance of absorption and coverage for home recording. At 2 inches thick, they can help tame early reflections on vocals and close-miked instruments.
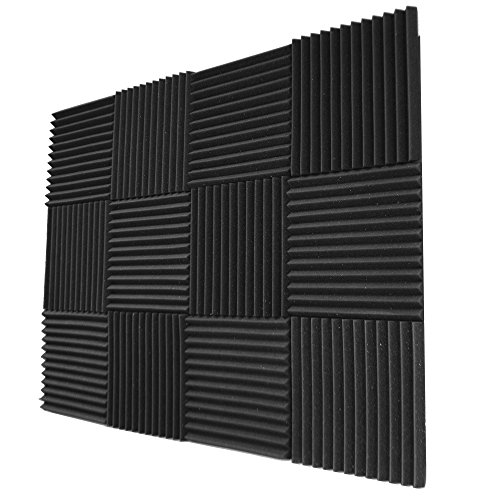
Foamily 12-Pack Acoustic Wedge Panels
What sets this pack apart is consistency. In many rooms, more even absorption helps you avoid obvious “hot spots” where one wall area sounds different than another.
The 12-pack covers approximately 12 square feet, enough for basic treatment around a recording position. Most home studios need 2-3 packs for full coverage of first reflection points plus the wall behind the microphone.
Installation is simple with adhesive strips or spray adhesive, and the foam cuts cleanly with a sharp knife if you need custom sizes. Color options include charcoal, burgundy, and blue for basic aesthetic matching.
Best for Vocals: Auralex Studiofoam Wedgies
Auralex Studiofoam Wedgies are widely used to tighten up early reflections in small vocal booths and voice-over corners.
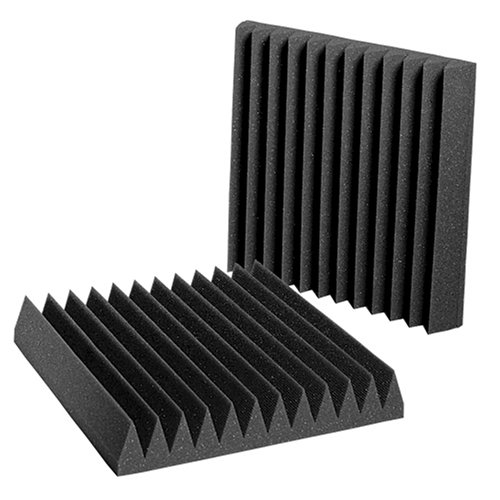
Auralex Studiofoam Wedgies
Placed behind and to the sides of the mic, the wedge pattern helps break up flutter echo and reduce the “boxy” sound you hear in untreated rooms.
The difference isn’t magic, and placement still matters most. But denser, consistent foam often does a better job in the midrange where vocal detail lives.
The 24-pack is enough to build a focused “vocal zone” around your microphone. If you record vocals often and want predictable results, it’s a solid upgrade from ultra-cheap foam.
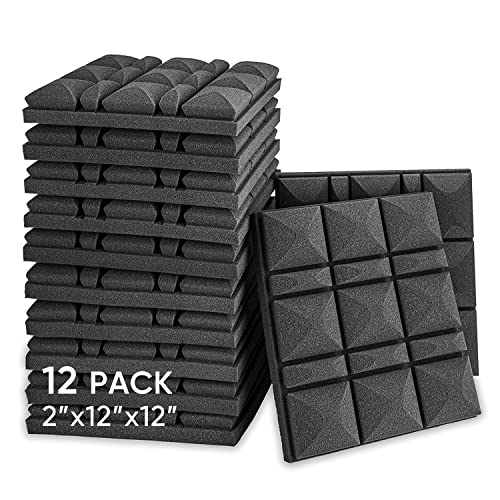
Best Budget: DEKIRU 12-Pack Acoustic Panels
DEKIRU 12-Pack Acoustic Panels are an approachable way to start treating a recording corner. They won’t match denser foam, but they can reduce obvious flutter echo and high-frequency splash.
DEKIRU 12-Pack Acoustic Panels
The pyramid shape offers slightly better high-frequency diffusion than wedge patterns. For recording, this translates to a more natural sound with less harshness in the upper frequencies.
They won’t match denser sets, but the difference vs bare drywall is usually noticeable. For beginners, that’s often enough to confirm that placement matters before upgrading.
Expect to replace them sooner than premium foam as the material compresses over time. Many people start with a budget pack, then upgrade once they’ve learned what placement works in their room.
Best Premium: Auralex SonoFlat Panels
Auralex SonoFlat Panels sit at the premium end of foam treatment. The flat profile maximizes surface contact, and the larger 24×24 inch size covers more area per panel.
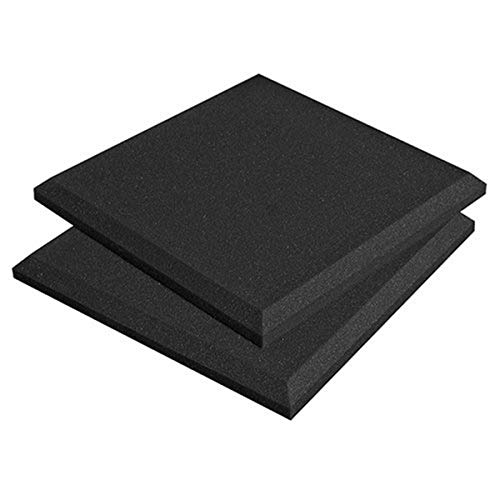
Auralex SonoFlat Panels
They also look more polished than spiky foam, which can matter in client-facing rooms. A flatter look is easier to integrate into a studio backdrop.
Absorption is strong in the mid and high frequencies where foam helps most. The 2-inch thickness is a workable baseline for vocals and many instruments, and the higher-density material tends to hold up over time.
The 16-pack covers a good amount of wall area for a small recording room. If you’re building a dedicated space and want a cleaner look, it can be a good fit.
Best for Small Spaces: Sonic Acoustics Pyramid Panels
Sonic Acoustics Pyramid Panels offer solid coverage for bedroom studios and small recording spaces. The 12-pack provides enough panels to treat a compact recording corner, and two packs can cover a small room without uneven results.
Sonic Acoustics Pyramid Panels
The pyramid pattern works well in small rooms where flutter echo between close walls is common. The angled surfaces scatter reflections while the foam body absorbs them—a combination that’s particularly effective in tight spaces.
Quality sits in the mid-range: better than many budget panels, not as dense as premium foam.
Best Variety Pack: BUBOS Art Acoustic Panels
BUBOS Art Acoustic Panels help with the aesthetics problem that plagues most acoustic foam. The hexagonal shape and color variety create patterns that look more intentional than typical pyramid foam.
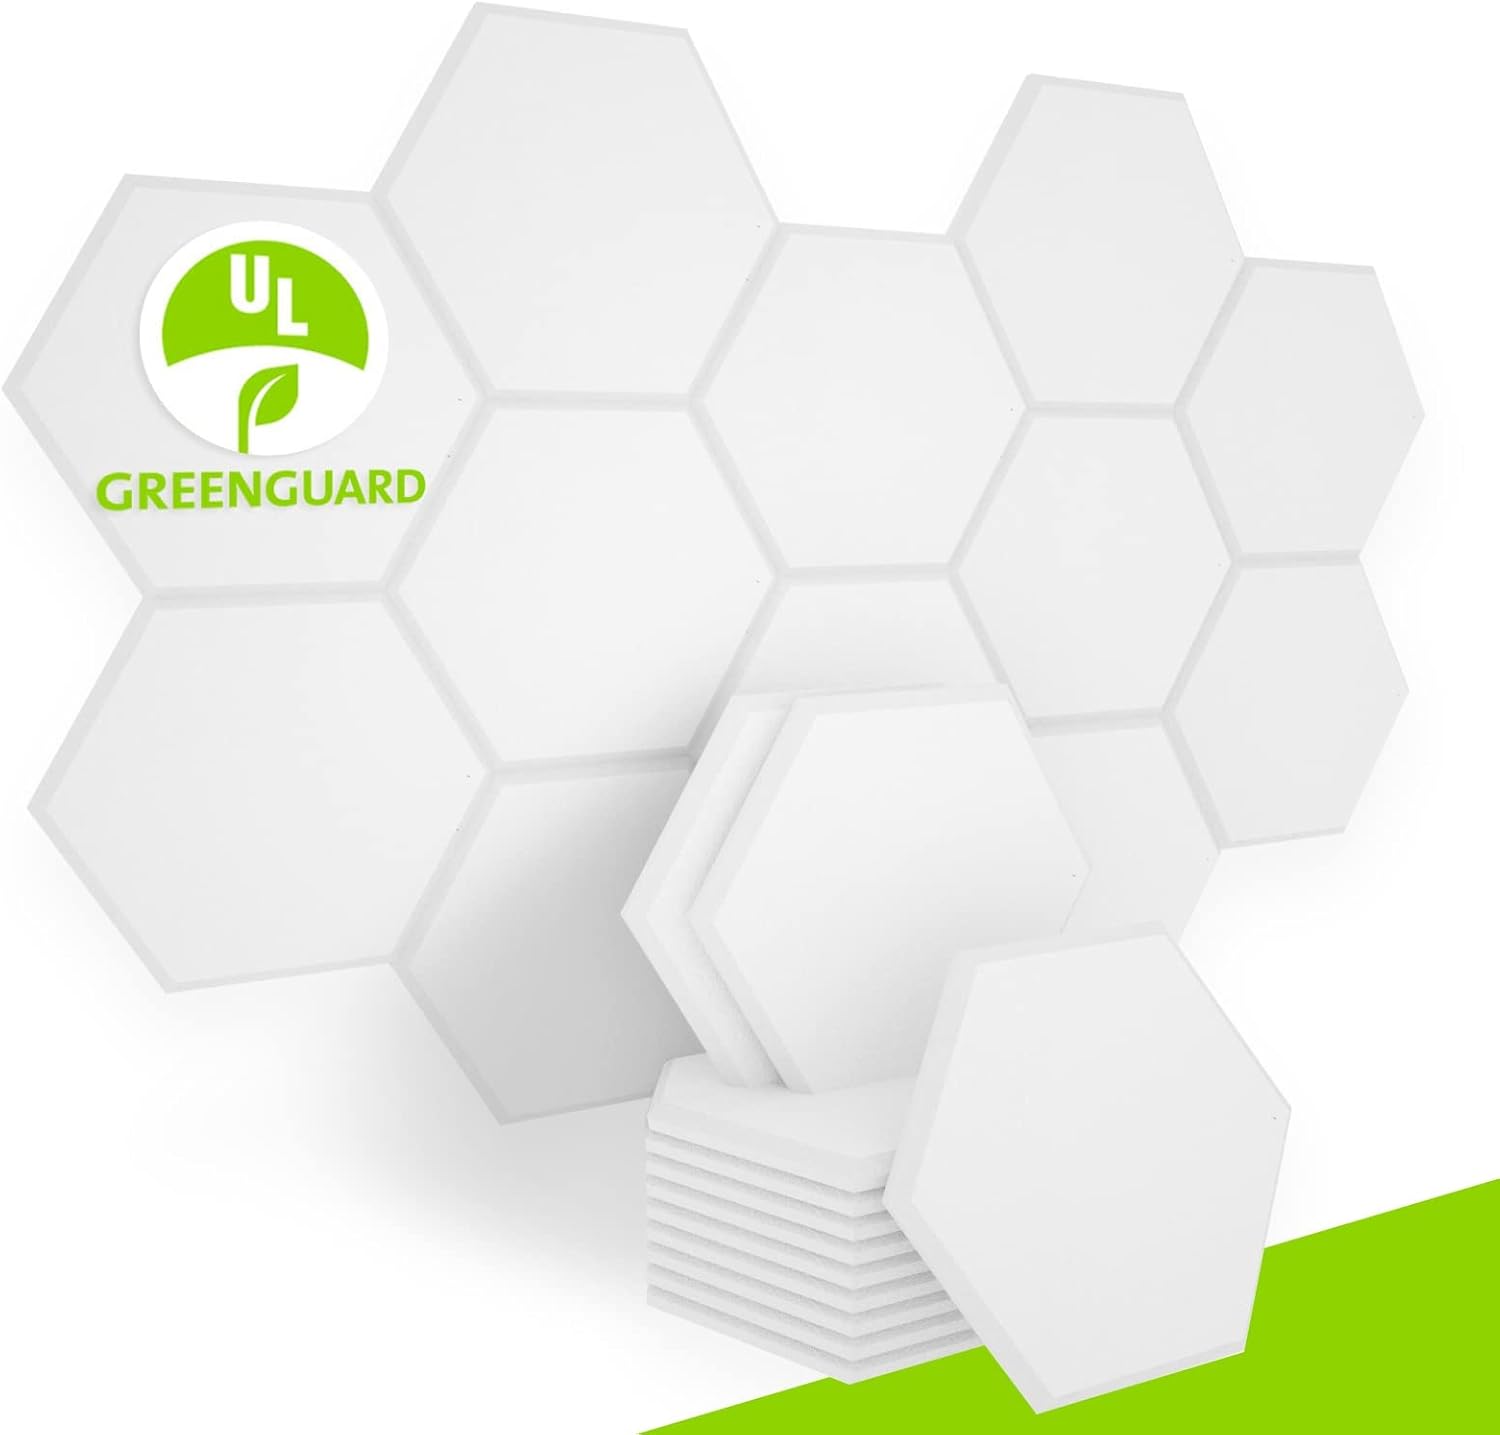
BUBOS Art Acoustic Panels
For recording spaces that double as living areas or client-facing studios, appearance matters. These panels can be a nicer-looking option for background walls, especially if you’re on camera.
The thinner profile (0.4 inch) means less absorption than 2-inch panels. Use these for visible areas and supplement with thicker panels behind your microphone where performance matters most but visibility doesn’t.
Best Value Pack: TroyStudio Thick Acoustic Foam Panels
If you want meaningful coverage without playing “panel math,” larger packs can be the simplest way to treat a small room consistently.
The TroyStudio Thick Acoustic Foam Panels are a good fit when you need enough foam to cover first reflection points plus the wall behind the mic without mixing multiple small packs.
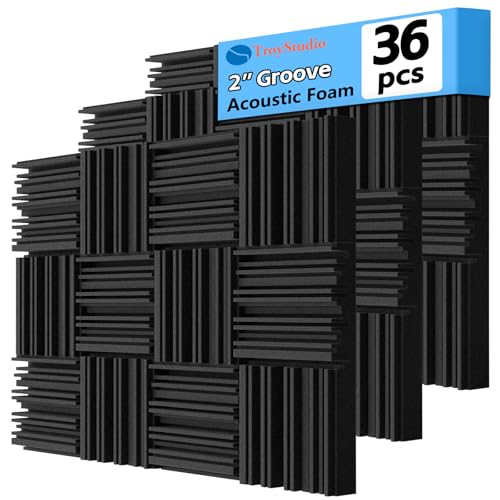
TroyStudio Thick Acoustic Foam Panels
Because the panels are 2 inches thick, they’re better suited to vocals and acoustic instruments than the 1-inch “starter” foam you often see bundled in bulk packs.
Best Starter Pack: JBER 6 Pack Acoustic Foam Wedge
If you’re trying to hear a difference fast, a small pack can still be useful — as long as you place it where it matters.
The JBER 6 Pack Acoustic Foam Wedge makes the most sense when you use it behind the microphone (or directly behind you if you face the mic), where early reflections do the most damage.
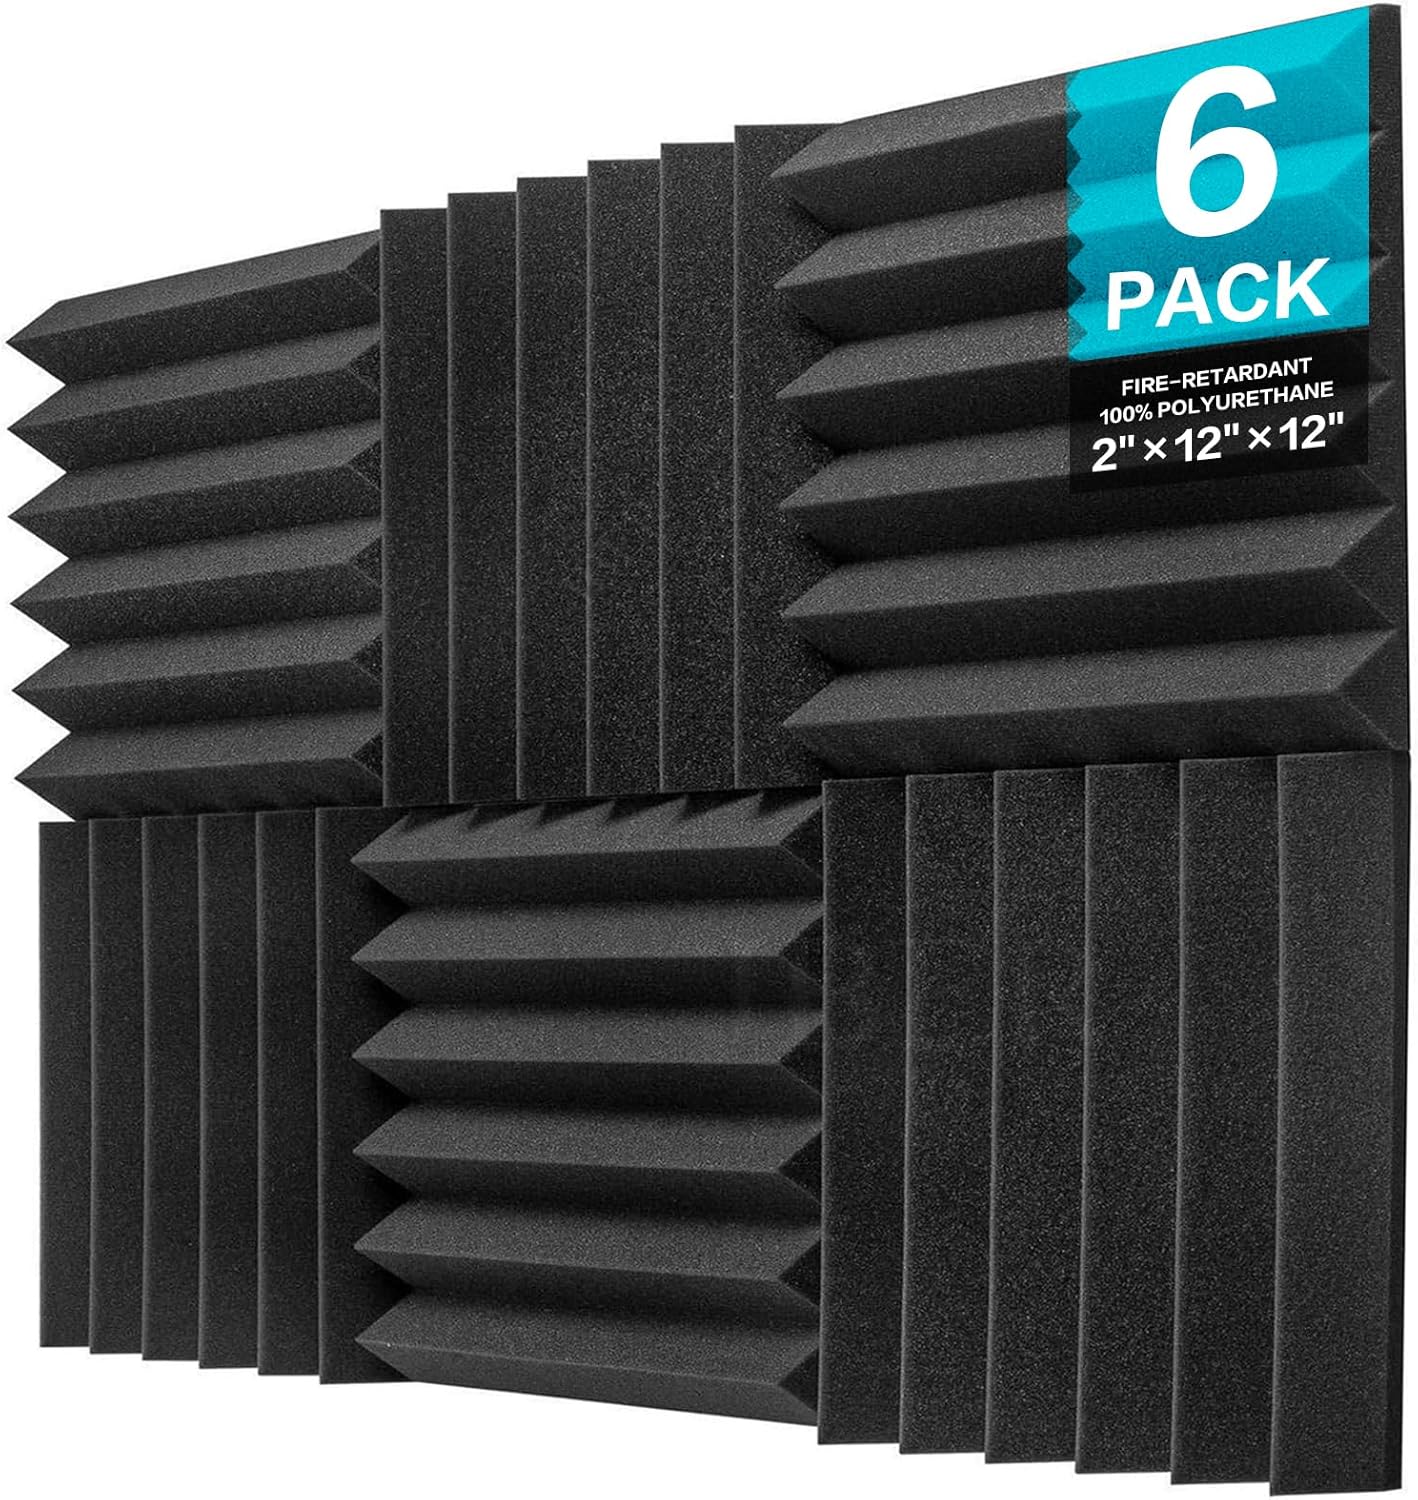
JBER 6 Pack Acoustic Foam Wedge
Six panels won’t treat a full room, but they can be enough to tame a “hard wall” reflection in many bedroom-studio setups.
How Much Foam Do You Need for Recording?

Recording usually needs less coverage than you might expect—if you treat the right spots.
The Recording Position Priority
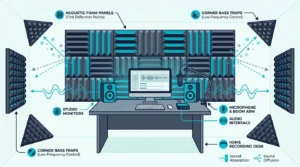
Your microphone position needs the most treatment. Sound travels from your mouth (or instrument) to the mic, but it also bounces off nearby walls and returns milliseconds later.
Those early reflections can muddy your recordings.
Treat the wall directly behind your microphone first. This catches sound that would otherwise reflect back into the mic.
A 4×4 foot treated area behind the mic often reduces the most obvious “room” in the recording.
Next, treat the walls to either side of your recording position at ear/mic height. These first reflection points are often the biggest offenders after the wall behind the mic.
Two panels per side wall typically suffices.
Coverage Calculation for Recording
For a dedicated recording space, aim for 30-40% wall coverage focused on the recording area. A 10×10 room has about 320 square feet of wall surface; 30% coverage means roughly 96 square feet of treatment.
That sounds like a lot, but you’re concentrating treatment around the recording position, not distributing it evenly. The wall behind your mic might be heavily covered while distant walls have minimal treatment.
The acoustic foam hub walks through coverage calculations for different room sizes.
For recording in a larger room, you can create a “recording zone” with heavier treatment in one area while leaving the rest of the room relatively untreated. This approach often costs less and still works well.
Minimum Effective Treatment
If budget is tight, this minimum setup can still improve recording clarity:
- 4-6 panels directly behind microphone position
- 2 panels at each side wall first reflection point
- Total: 8-10 panels minimum
This configuration targets the reflections that most often show up on close-mic recordings. It won’t create a fully treated room, but it can reduce the boxy sound you hear in many untreated spaces.
If you’re on a tight budget, the best budget acoustic foam guide has more affordable options.
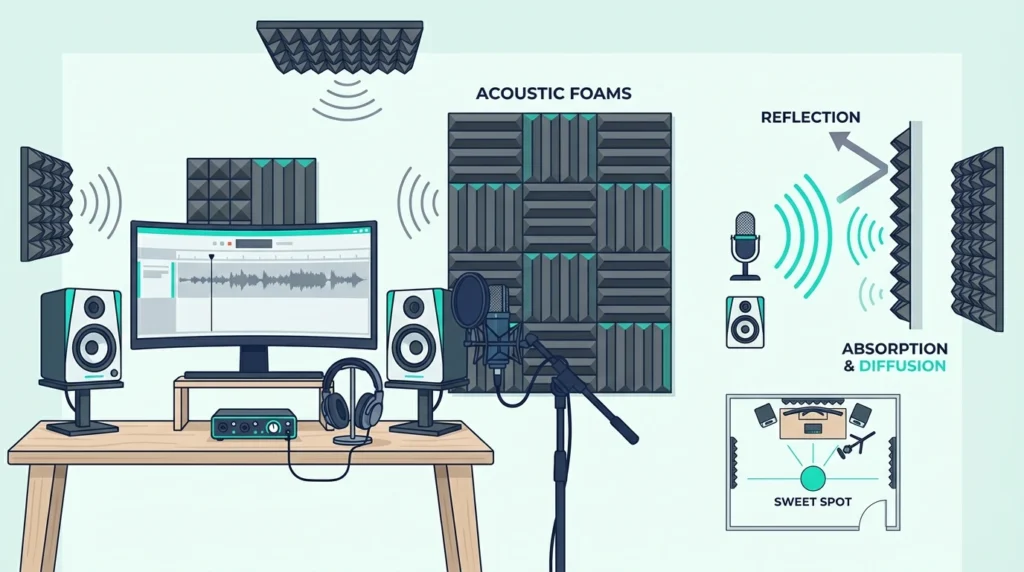
Foam Placement for Recording Studios

Where you put foam often matters more than how much you buy. Strategic placement of fewer panels usually beats buying a lot and placing them randomly.
Behind the Microphone
The wall behind your microphone is priority one. Sound that passes by the mic reflects off this wall and returns, creating a “roomy” quality in recordings.
Cover as much of this wall as practical, focusing on the area at microphone height. Floor-to-ceiling coverage is ideal but not required—concentrate on the 3-4 foot vertical range where your mic sits.
Thicker foam (2-3 inches) works best here because you’re catching direct sound, not just reflections. The extra thickness absorbs more energy before it can reflect back to the mic.
First Reflection Points
First reflection points are where sound bounces from your mouth/source to the microphone via the side walls. These reflections arrive just milliseconds after the direct sound and cause comb filtering.
Find these points using the mirror trick: sit at your recording position and have someone slide a mirror along the side wall. Where you can see the microphone in the mirror, that’s a first reflection point.
Standard 2-inch panels work well at first reflection points. You’re catching reflections, not direct sound, so extreme thickness isn’t necessary.
Ceiling Treatment
The ceiling above your recording position contributes reflections too, especially if it’s a hard surface like drywall.
A ceiling “cloud”—panels mounted horizontally above the recording area—addresses this. Even 2-4 panels directly overhead make noticeable improvement in recording clarity.
Ceiling mounting requires more effort than wall mounting. Adhesive alone often fails; consider mechanical fasteners or a suspended frame for reliability.
What About Behind You?
The wall behind the performer (facing the microphone) matters less for recording than the wall behind the mic. Sound traveling away from the microphone has less impact on recordings.
That said, treatment here reduces overall room reverb, which can help. If you have panels left after treating priority areas, the wall behind the performer is a reasonable place for them.
For more placement strategy ideas, start with the acoustic foam hub.
Recording-Specific Considerations

Different recording applications have different treatment needs.
Vocal Recording
Vocals benefit most from treatment directly around the microphone. The human voice carries most of its energy in the 200Hz-4kHz range, which 2-inch foam absorbs effectively.
Create a “vocal zone” with heavy treatment on three sides: behind the mic and both side walls. Some vocalists add a portable reflection filter behind them as well, which can further reduce room reflections.
For voice-over and podcast recording, focused treatment around the mic can get you much closer to a controlled, dry sound without treating the entire room. The best foam for podcasts guide covers mic-focused setups in more detail.
Instrument Recording
Instruments vary widely in their frequency content and recording requirements. Acoustic guitars often need treatment similar to vocals.
Drums typically benefit from broader room treatment. Electric guitars recorded through amps may need less treatment if you’re trying to preserve some natural room ambience.
For most home recording of acoustic instruments, treat the area around the microphone(s) as you would for vocals. Add treatment based on what you hear in recordings—if the room sound is problematic, add more panels.
Multiple Microphone Setups
Recording with multiple microphones (drum kits, ensemble recording) requires fuller treatment. Each mic captures room reflections, and the interactions between mics can create phase issues.
For multi-mic recording, aim for fuller room treatment: 40-50% coverage distributed more evenly throughout the space. This reduces reflections reaching all microphones, not just one position.
Corner treatment with bass traps becomes more important in these setups. The best corner acoustic foam guide covers dedicated corner solutions.
Comparing Foam Shapes for Recording
![]()
Acoustic foam comes in various shapes. Here’s how they compare for recording applications.
Wedge Foam
Wedge patterns are the most common and work well for recording. The angled surfaces provide some diffusion while the foam body absorbs.
Wedges perform consistently across the frequency range they’re designed for. They’re a safe, effective choice for most recording setups.
The best foam shape guide goes deeper on how profile geometry affects absorption.
Pyramid Foam
Pyramid patterns offer slightly more high-frequency diffusion than wedges. The four-sided peaks scatter sound in more directions.
For recording, this extra diffusion can help in small rooms where high-frequency flutter echo is problematic. The difference from wedges is subtle but real.
Flat Foam
Flat panels maximize surface contact for absorption. They provide the most absorption per square foot but no diffusion.
For recording, flat panels work well behind microphones where maximum absorption is the goal. They’re also easier to cover with fabric if aesthetics matter.
Egg Crate Foam
Egg crate patterns are mostly aesthetic. The shallow depressions often don’t add much benefit over flat foam.
For recording, wedge, pyramid, or flat options are usually a better starting point than egg crate.
For more on shape selection, see the best acoustic foam shape guide.
Installation Tips for Recording Spaces

Proper installation ensures your foam performs as expected and stays in place.
Adhesive Options
Spray adhesive (like 3M 77) provides strong, permanent bonds. It’s the professional choice for studios where panels won’t need to move.
Command strips offer removable mounting for renters or temporary setups. Use more strips than you think necessary—foam is light but gravity is persistent.
Construction adhesive works but makes removal difficult and may damage walls. Use only if you’re certain about placement and don’t need to remove panels later.
Mounting Height
For recording, mount panels at the height where recording happens.
Vocalists standing at a mic need treatment at standing head height. Seated instrumentalists need treatment lower.
Most recording happens in the 3-6 foot range from the floor. Concentrate your treatment in this zone rather than covering floor-to-ceiling uniformly.
The best beginner foam guide covers starter kits sized for common mounting heights.
Air Gaps Improve Performance
Mounting panels with a small air gap (1-2 inches) behind them improves low-frequency absorption. The gap acts as additional absorptive space.
Use furring strips or standoffs to create consistent gaps. This technique extracts more performance from the same panels—worth the extra installation effort for recording spaces.
The acoustic treatment hub covers air-gap mounting in more detail.
Cutting Foam for Custom Fits
Acoustic foam cuts easily with a sharp utility knife or electric carving knife. Mark your cut lines and use a straightedge for clean edges.
Fabric-wrapped acoustic panels are another option if you want a cleaner look without cutting foam.
Cut panels to fit around outlets, windows, and other obstacles. Custom-fit treatment looks more professional and eliminates gaps that could allow reflections.
For detailed mounting instructions, see the acoustic treatment hub.
The Bottom Line
The best acoustic foam for recording balances absorption, durability, and value. For most home studios, Foamily 12-Pack Acoustic Wedge Panels are a practical starting point.
If you focus heavily on vocals, Auralex Studiofoam Wedgies are a strong upgrade. If you’re starting on a tighter budget, DEKIRU 12-Pack Acoustic Panels can still make a noticeable difference when placed well.
For recording specifically, prioritize the wall behind your microphone and first reflection points on side walls. These locations have the highest impact on recording quality.
Don’t over-buy. Eight to twelve well-placed panels can beat thirty panels scattered randomly.
Quality acoustic foam is an investment that can pay off over time. Cleaner captures usually mean less corrective EQ and denoising, especially on close-mic vocals and spoken word.
The best acoustic foam panels roundup covers the full range of options beyond recording-specific picks.
Frequently Asked Questions
How many acoustic foam panels do I need for recording?
For a basic setup, 8-12 panels usually cover the essentials: 4-6 behind your microphone and 2-3 at each side wall reflection point. That’s often enough to hear a clear difference on close-mic vocals and spoken word.
If you’re treating a larger room or recording multiple sources, you may need more coverage. Focus on placement first, then add panels where reflections show up in your test recordings.
What thickness acoustic foam is best for recording?
Two-inch foam is a common starting point for recording because it helps with mid and high frequency reflections. Thicker panels (3-4 inches) can help more, but they cost more and take up more space.
Does acoustic foam shape matter for recording?
Shape has a modest impact compared with thickness, density, and placement. Wedge, pyramid, and flat foam can all work well when you cover early reflection points around the mic.
Where should I put acoustic foam for vocal recording?
Prioritize the wall directly behind your microphone. Next, treat first reflection points on side walls at microphone height.
If you can, add a small ceiling “cloud” above the recording position as well. This focused treatment around the mic typically gives the biggest improvement for vocals.
Is expensive acoustic foam worth it for home recording?
Mid-range foam (like Foamily 12-Pack Acoustic Wedge Panels) is often a good value for home recording. Premium options (like Auralex SonoFlat Panels) can be worth it if you want better durability or you’re recording often.
Budget foam can work for beginners, but it may need replacement sooner. The biggest improvement usually comes from adding any treatment and placing it well.
The best budget foam guide has more affordable picks worth comparing.
Can I use regular foam instead of acoustic foam?
Regular foam (mattress foam, packing foam) isn’t optimized for sound absorption and may lack fire-retardant treatment. It can help a little, but performance is less predictable.
Acoustic foam uses open-cell structures and densities designed for absorption. It’s also generally a safer choice for permanent installation.